Introduction to Cheesy Garlic Zucchini
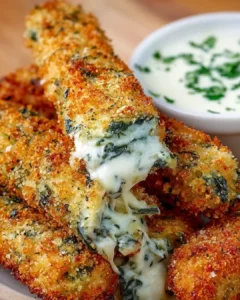
There’s something magical about a dish that combines simplicity with flavor, and that’s exactly what you get with Cheesy Garlic Zucchini. This recipe is a lifesaver for those busy weeknights when you want to whip up something quick yet impressive. Picture this: a side dish that not only complements your main course but also steals the show with its cheesy goodness. Whether you’re cooking for family or friends, this dish is bound to earn you some serious kitchen cred. Let’s dive into this deliciously easy recipe that’s perfect for any occasion!
Why You’ll Love This Cheesy Garlic Zucchini
This Cheesy Garlic Zucchini is a game-changer in the kitchen. It’s incredibly easy to make, taking just 35 minutes from start to finish. The combination of garlic and melted cheese creates a flavor explosion that will have everyone asking for seconds. Plus, it’s a fantastic way to sneak in some veggies without anyone noticing. Trust me, this dish will quickly become a favorite in your household!
Ingredients for Cheesy Garlic Zucchini
Gathering the right ingredients is the first step to culinary success. For this Cheesy Garlic Zucchini, you’ll need:
- Zucchinis: Fresh, medium zucchinis are the star of the show. They’re tender, mild, and soak up flavors beautifully.
- Olive Oil: A splash of olive oil adds richness and helps the zucchinis roast to perfection.
- Garlic: Minced garlic brings a punch of flavor. It’s aromatic and pairs perfectly with cheese.
- Italian Seasoning: This blend of herbs adds depth. It’s a quick way to infuse your dish with classic Italian flavors.
- Salt and Black Pepper: Essential for seasoning, these two enhance the natural flavors of the zucchinis.
- Shredded Mozzarella Cheese: This cheese melts beautifully, creating that gooey, cheesy layer we all love.
- Grated Parmesan Cheese: A sprinkle of Parmesan adds a nutty flavor and a delightful crispness on top.
- Fresh Parsley: Chopped parsley is for garnish. It adds a pop of color and freshness to the dish.
For those looking to spice things up, consider adding a pinch of red pepper flakes to the zucchini mixture before baking. If you’re feeling adventurous, swap out the mozzarella for cheddar cheese for a different flavor profile. You can find the exact quantities for each ingredient at the bottom of the article, ready for printing!
How to Make Cheesy Garlic Zucchini
Creating Cheesy Garlic Zucchini is a breeze! Follow these simple steps, and you’ll have a delicious side dish that’s sure to impress. Let’s get cooking!
Step 1: Preheat the Oven
Start by preheating your oven to 400°F (200°C). Preheating is crucial because it ensures even cooking. You want those zucchinis to roast perfectly, not steam. Trust me, this step makes all the difference!
Step 2: Prepare the Zucchini Mixture
In a large bowl, toss the sliced zucchinis with olive oil, minced garlic, Italian seasoning, salt, and black pepper. Make sure every slice is coated well. This mixture is where the magic begins, as the flavors meld together beautifully.
Step 3: Spread on Baking Sheet
Next, spread the zucchini mixture evenly on a baking sheet lined with parchment paper. This helps with cleanup and ensures the zucchinis cook evenly. Give them a little space; overcrowding can lead to soggy veggies!
Step 4: Bake the Zucchini
Pop the baking sheet into the preheated oven and bake for 15 minutes. Keep an eye on them! You want the zucchinis to become tender but not mushy. They should be slightly golden at the edges when you take them out.
Step 5: Add the Cheeses
Once the zucchinis are ready, sprinkle the shredded mozzarella and grated Parmesan cheese evenly over the top. This is the moment when your dish transforms into a cheesy delight. The mozzarella will melt beautifully, creating that gooey texture we all crave!
Step 6: Final Bake
Return the baking sheet to the oven and bake for an additional 10 minutes. Watch for the cheese to bubble and turn golden brown. That’s your cue that it’s ready to come out. The aroma will be irresistible!
Step 7: Garnish and Serve
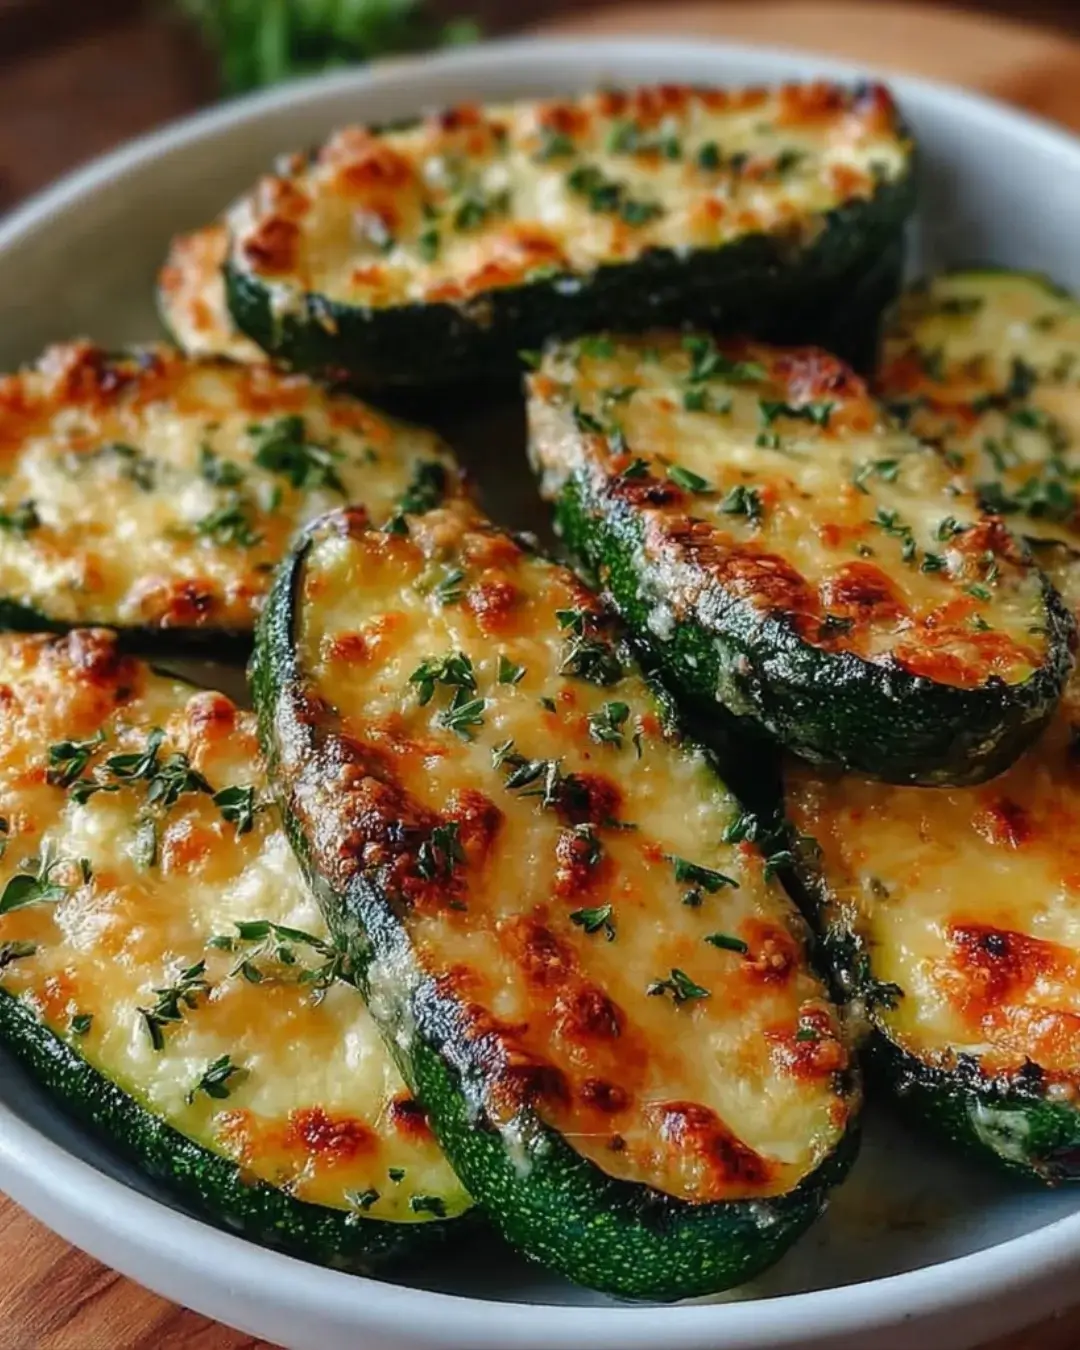
After removing the dish from the oven, let it cool for a few minutes. Then, garnish with fresh parsley for a pop of color and freshness. Serve it warm, and watch your family and friends dig in!
Tips for Success
- Use fresh zucchinis for the best flavor and texture.
- Don’t skip the preheating step; it’s key for even cooking.
- For extra flavor, let the zucchini mixture marinate for 15 minutes before baking.
- Experiment with different cheeses like cheddar or gouda for a unique twist.
- Keep an eye on the cheese during the final bake to avoid burning.
Tips for Success
- Choose firm, fresh zucchinis for the best texture and flavor.
- Preheat your oven; it’s essential for achieving that perfect roast.
- Let the zucchini mixture sit for about 15 minutes to enhance the flavors.
- Feel free to mix in other veggies like bell peppers for added color.
- Keep an eye on the cheese during the final bake to ensure it’s perfectly melted.
Equipment Needed
- Baking Sheet: A standard baking sheet works great. If you don’t have one, a large oven-safe dish will do.
- Parchment Paper: This helps with easy cleanup. If you’re out, lightly greasing the baking sheet is a good alternative.
- Mixing Bowl: Any large bowl will suffice for mixing the zucchini and seasonings.
- Knife and Cutting Board: Essential for slicing the zucchinis. A sturdy chef’s knife is ideal.
Variations
- Spicy Cheesy Garlic Zucchini: Add a pinch of red pepper flakes to the zucchini mixture for a kick of heat.
- Cheddar and Bacon Zucchini: Substitute mozzarella with sharp cheddar and sprinkle cooked bacon bits on top for a savory twist.
- Herbed Zucchini: Mix in fresh herbs like basil or thyme for an aromatic flavor boost.
- Vegan Option: Use dairy-free cheese alternatives and olive oil to keep it plant-based while still delicious.
- Stuffed Zucchini Boats: Hollow out the zucchinis and fill them with the cheesy mixture for a fun presentation.
Serving Suggestions
- Pair with grilled chicken or fish for a balanced meal.
- Serve alongside a fresh garden salad for a light lunch.
- Complement with a glass of chilled white wine, like Sauvignon Blanc.
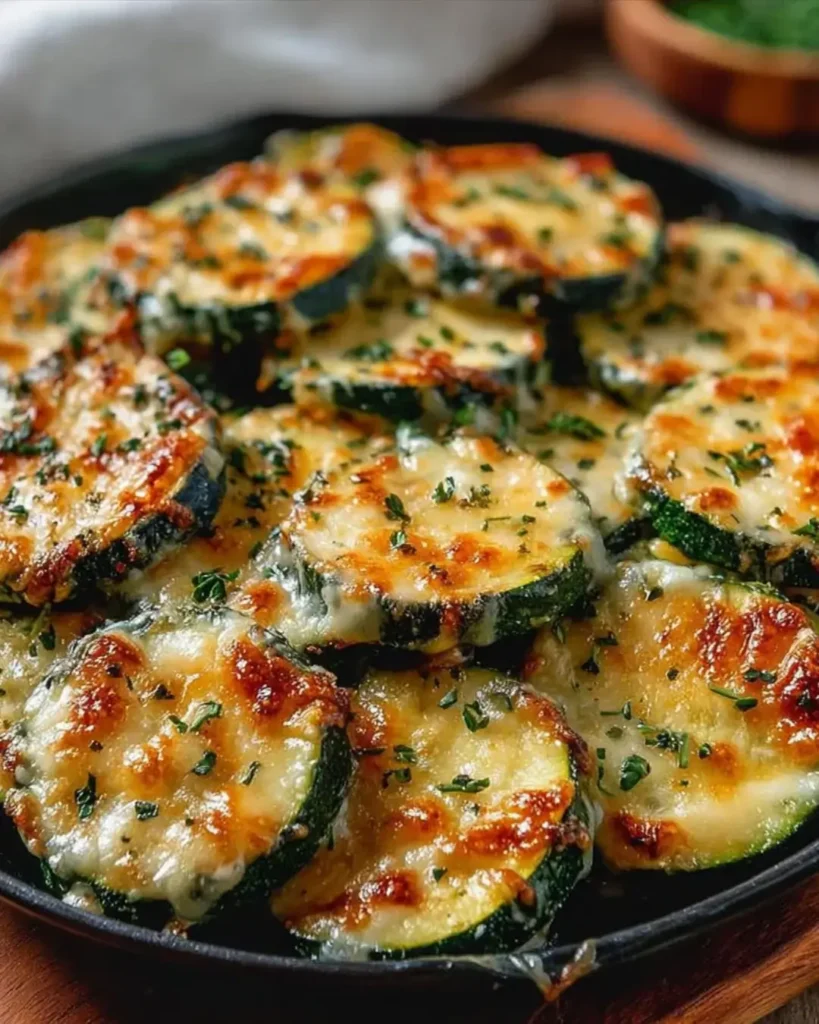
- For a rustic touch, present in a cast-iron skillet.
- Top with extra parsley for a vibrant finish.
FAQs about Cheesy Garlic Zucchini
Can I use other vegetables in this recipe?
Absolutely! While zucchini is the star, you can mix in other veggies like bell peppers or yellow squash. Just make sure to adjust the cooking time as needed.
How can I make Cheesy Garlic Zucchini ahead of time?
You can prepare the zucchini mixture and store it in the fridge for up to a day. Just bake it when you’re ready to serve. It’s a great way to save time on busy nights!
Is this dish suitable for meal prep?
Yes! Cheesy Garlic Zucchini makes a fantastic meal prep option. Just store it in airtight containers, and it will last for about 3-4 days in the fridge.
Can I freeze Cheesy Garlic Zucchini?
While it’s best fresh, you can freeze it after baking. Just let it cool, then store in a freezer-safe container. Reheat in the oven for the best results.
What can I serve with Cheesy Garlic Zucchini?
This dish pairs wonderfully with grilled meats, pasta, or even as a topping for baked potatoes. It’s versatile enough to complement many meals!
Final Thoughts
Cooking Cheesy Garlic Zucchini is more than just preparing a dish; it’s about creating a moment of joy in the kitchen. The aroma of garlic mingling with melting cheese fills the air, making your home feel warm and inviting. This recipe is a reminder that simple ingredients can lead to extraordinary flavors. Whether you’re serving it at a family dinner or enjoying it as a light meal, this dish brings smiles and satisfaction. So, roll up your sleeves, embrace the process, and let this cheesy delight become a staple in your culinary repertoire!
PrintCheesy Garlic Zucchini: A Deliciously Easy Recipe!
- Total Time: 35 minutes
- Yield: 4 servings
- Diet: Vegetarian
Description
A deliciously easy recipe for Cheesy Garlic Zucchini, perfect as a side dish or a light meal.
Ingredients
- 2 medium zucchinis, sliced into rounds
- 2 tablespoons olive oil
- 4 cloves garlic, minced
- 1 teaspoon Italian seasoning
- 1/2 teaspoon salt
- 1/4 teaspoon black pepper
- 1 cup shredded mozzarella cheese
- 1/4 cup grated Parmesan cheese
- 2 tablespoons fresh parsley, chopped (for garnish)
Instructions
- Preheat your oven to 400°F (200°C).
- In a large bowl, combine the sliced zucchinis, olive oil, minced garlic, Italian seasoning, salt, and black pepper. Toss until the zucchinis are well coated.
- Spread the zucchini mixture evenly on a baking sheet lined with parchment paper.
- Bake in the preheated oven for 15 minutes.
- Remove the baking sheet from the oven and sprinkle the mozzarella and Parmesan cheeses evenly over the zucchinis.
- Return the baking sheet to the oven and bake for an additional 10 minutes, or until the cheese is melted and bubbly.
- Remove from the oven and let cool for a few minutes. Garnish with fresh parsley before serving.
Notes
- For a spicy kick, add a pinch of red pepper flakes to the zucchini mixture before baking.
- Try substituting the mozzarella with cheddar cheese for a different flavor profile.
- Prep Time: 10 minutes
- Cook Time: 25 minutes
- Category: Side Dish
- Method: Baking
- Cuisine: American
Nutrition
- Serving Size: 1 serving
- Calories: 150
- Sugar: 2g
- Sodium: 300mg
- Fat: 12g
- Saturated Fat: 5g
- Unsaturated Fat: 7g
- Trans Fat: 0g
- Carbohydrates: 6g
- Fiber: 2g
- Protein: 8g
- Cholesterol: 20mg