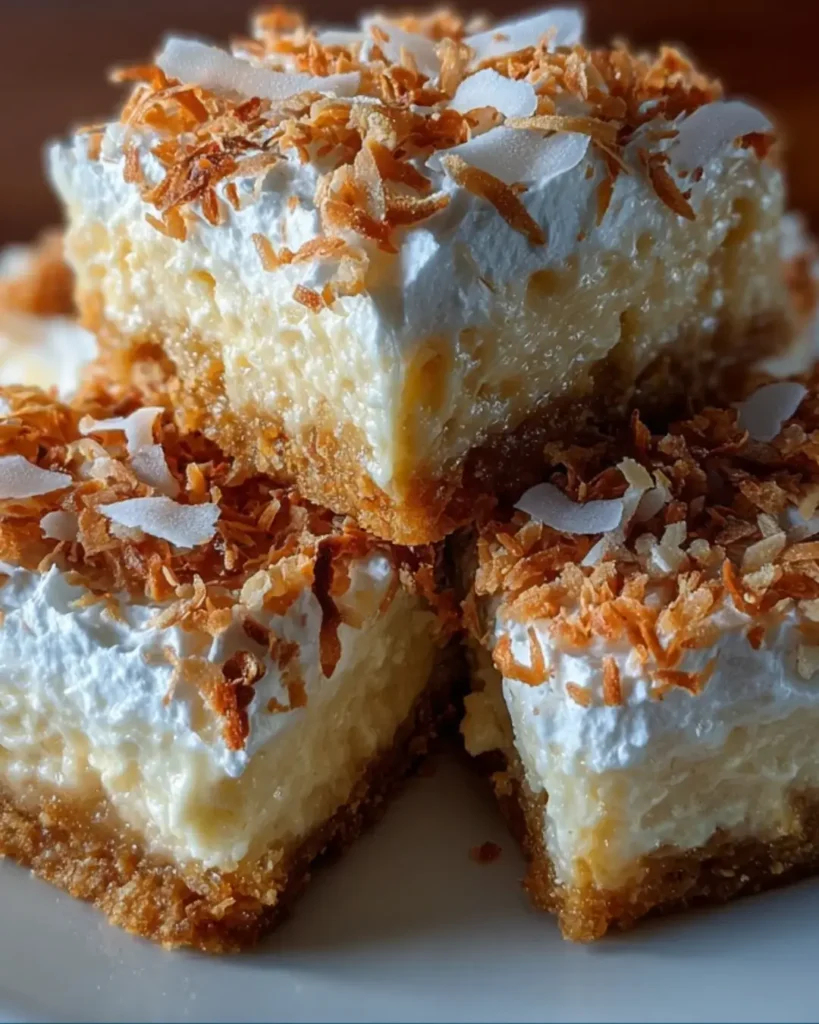
Introduction to Coconut Cream Dream Bars
There’s something magical about desserts that transport you back to simpler times. Coconut Cream Dream Bars do just that, wrapping you in a creamy, coconut embrace with every bite. This easy dessert is perfect for those busy days when you want to impress your loved ones without spending hours in the kitchen. With a buttery crust and a luscious filling, these bars are a delightful treat that will have everyone asking for seconds. Whether it’s a family gathering or a casual weeknight, these bars are sure to bring smiles and sweet memories to your table.
Why You’ll Love This Coconut Cream Dream Bars
These Coconut Cream Dream Bars are a game-changer for any home cook. They come together in no time, making them perfect for last-minute gatherings or a sweet craving. The combination of creamy coconut and a buttery crust is simply irresistible. Plus, they’re a hit with both kids and adults alike, ensuring that everyone leaves the table with a smile. Who wouldn’t love a dessert that’s as easy to make as it is delicious?
Ingredients for Coconut Cream Dream Bars
Gathering the right ingredients is the first step to creating these delightful Coconut Cream Dream Bars. Here’s what you’ll need:
- All-purpose flour: This forms the base of your buttery crust, providing structure and a tender bite.
- Unsweetened shredded coconut: Adds texture and a rich coconut flavor, making each bite a tropical delight.
- Powdered sugar: Sweetens the crust and gives it a melt-in-your-mouth quality.
- Unsalted butter: Essential for that rich, buttery flavor in the crust. Make sure it’s softened for easy mixing.
- Sweetened condensed milk: The star of the filling, it brings creaminess and sweetness that’s hard to resist.
- Sour cream: Adds a tangy note that balances the sweetness, making the filling extra creamy.
- Fresh lemon juice: Brightens the flavors and adds a refreshing zing to the filling.
- Vanilla extract: Enhances the overall flavor profile, bringing warmth and depth.
- Salt: Just a pinch helps to elevate all the flavors, making them pop.
- Whipped topping: A light and fluffy layer that adds a creamy finish to the bars.
- Toasted coconut flakes: For garnish, these add a crunchy texture and a beautiful presentation.
For those looking to mix things up, consider substituting lime juice for a zesty twist or drizzling melted chocolate on top for a decadent touch. You can find the exact measurements for each ingredient at the bottom of the article, ready for printing!
How to Make Coconut Cream Dream Bars
Creating Coconut Cream Dream Bars is a delightful journey that’s as easy as pie—well, easier! Follow these simple steps, and you’ll have a dessert that’s sure to impress.
Step 1: Preheat the Oven
Start by preheating your oven to 350°F. This step is crucial because it ensures even baking. While the oven warms up, prepare your baking dish. Grease an 8×8-inch dish or line it with parchment paper. This will make removing the bars a breeze later on.
Step 2: Prepare the Crust
In a medium bowl, combine the all-purpose flour, unsweetened shredded coconut, powdered sugar, and softened unsalted butter. Mix until the mixture resembles coarse crumbs. It should feel a bit like sand between your fingers. Press this mixture firmly into the bottom of your prepared baking dish. This forms the buttery crust that will cradle the creamy filling.
Step 3: Bake the Crust
Pop the crust into your preheated oven and bake for about 15 minutes. Keep an eye on it! You want it to turn a light golden brown. This step is essential for developing that rich, buttery flavor. Once it’s done, take it out and let it cool slightly.
Step 4: Make the Filling
While the crust cools, it’s time to whip up the filling. In another bowl, whisk together the sweetened condensed milk, sour cream, fresh lemon juice, vanilla extract, and a pinch of salt. Mix until smooth and creamy. This filling is the heart of your Coconut Cream Dream Bars, so make sure it’s well combined. Pour this luscious mixture over the cooled crust, spreading it evenly.
Step 5: Bake the Filling
Return the baking dish to the oven and bake for an additional 20-25 minutes. You’ll know it’s done when the filling is set and slightly golden on top. The aroma wafting through your kitchen will be heavenly, trust me!
Step 6: Cool and Chill
Once baked, remove the dish from the oven and let it cool completely at room temperature. This is important for the filling to set properly. After it’s cooled, pop it in the refrigerator for at least 2 hours. Chilling helps the bars firm up, making them easier to cut.
Step 7: Add Toppings and Serve
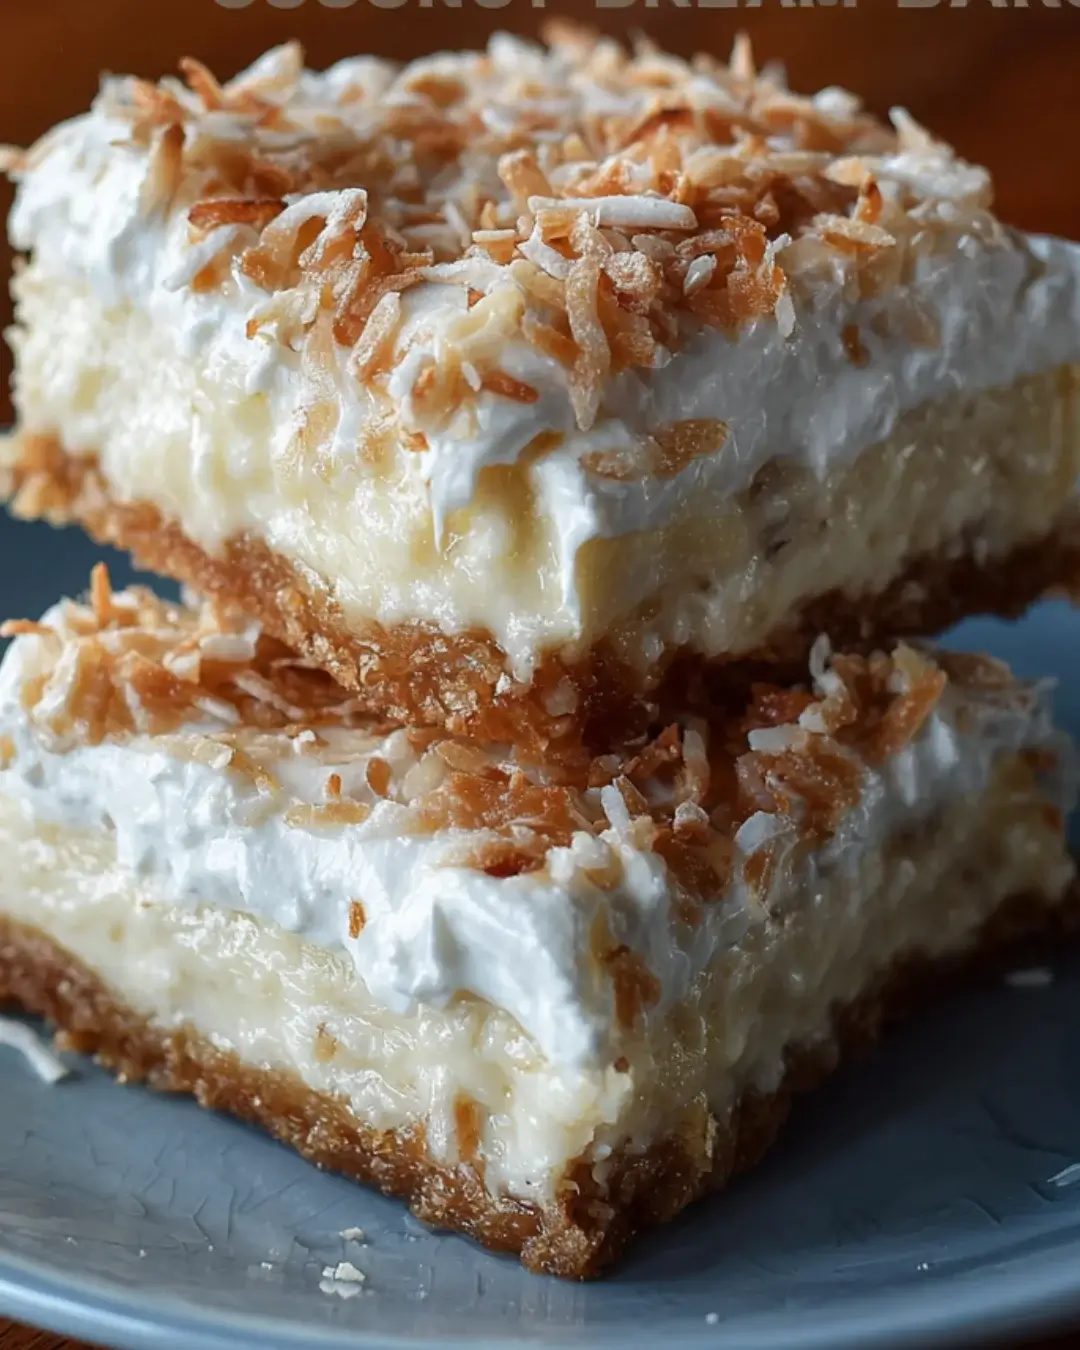
Before serving, spread the whipped topping evenly over the chilled bars. This adds a light, fluffy layer that complements the creamy filling perfectly. Finally, sprinkle toasted coconut flakes on top for that extra crunch and a beautiful presentation. Cut into squares, and you’re ready to enjoy your Coconut Cream Dream Bars!
Tips for Success
- Use room temperature ingredients for a smoother filling.
- Don’t skip the chilling time; it’s key for the perfect texture.
- For a cleaner cut, use a sharp knife and wipe it between slices.
- Experiment with different toppings like chocolate drizzle or fresh fruit.
- Store leftovers in an airtight container in the fridge for up to 3 days.
Equipment Needed
- 8×8-inch baking dish: A square pan is ideal, but a round one works too.
- Mixing bowls: Use any size, just ensure they’re large enough for mixing.
- Whisk: A fork can substitute if you don’t have one handy.
- Measuring cups and spoons: Essential for accuracy in baking.
- Sharp knife: For cutting the bars into perfect squares.
Variations
- For a tropical twist, add crushed pineapple to the filling for a fruity flavor.
- Swap out the lemon juice for lime juice to create a zesty lime version.
- Incorporate dark chocolate chips into the filling for a rich chocolate-coconut combo.
- Use gluten-free flour to make the bars suitable for gluten-sensitive friends.
- Try adding a layer of fresh fruit, like sliced strawberries or mango, on top of the whipped cream for a refreshing touch.
Serving Suggestions
- Pair with a scoop of vanilla ice cream for a delightful contrast in temperature and texture.
- Serve alongside fresh fruit, like berries or sliced mango, for a refreshing touch.
- Drizzle with chocolate sauce for an indulgent twist.
- Garnish with mint leaves for a pop of color and freshness.
FAQs about Coconut Cream Dream Bars
As you embark on your journey to create these delightful Coconut Cream Dream Bars, you might have a few questions. Here are some common queries that can help you along the way:
Can I make Coconut Cream Dream Bars ahead of time?
Absolutely! These bars are perfect for making in advance. Just prepare them, chill, and store them in the fridge. They’ll stay fresh for up to three days, making them a great option for parties or gatherings.
What can I substitute for sweetened condensed milk?
If you’re looking for a healthier alternative, you can use coconut cream mixed with a bit of honey or maple syrup. This will give you a similar creamy texture with a hint of sweetness.
Can I freeze Coconut Cream Dream Bars?
Yes, you can freeze these bars! Just wrap them tightly in plastic wrap and then in aluminum foil. They can be frozen for up to two months. Thaw them in the fridge before serving for the best texture.
What’s the best way to cut these bars?
For clean cuts, use a sharp knife and wipe it with a damp cloth between slices. This prevents the filling from sticking to the knife, giving you those perfect squares.
Can I add other flavors to the filling?
Definitely! Feel free to experiment with flavors. Adding a splash of coconut extract or even a bit of almond extract can elevate the taste. Just remember to keep the balance of sweetness in mind!
Final Thoughts
Creating Coconut Cream Dream Bars is more than just baking; it’s about crafting sweet memories. Each bite transports you to a sun-soaked beach, where the flavors of coconut dance on your palate. The joy of sharing these bars with family and friends is unmatched. They’re perfect for celebrations or simply to brighten a regular day. Plus, the ease of making them means you can whip them up anytime the craving strikes. So, roll up your sleeves, gather your ingredients, and let the magic of these bars bring a little sunshine into your kitchen!
PrintCoconut Cream Dream Bars: Indulge in this Easy Recipe!
- Total Time: 2 hours 55 minutes (including chilling time)
- Yield: 9 servings
- Diet: Vegetarian
Description
Coconut Cream Dream Bars are a delicious and easy dessert that combines a buttery crust with a creamy coconut filling, topped with whipped cream and toasted coconut flakes.
Ingredients
- 1 cup all-purpose flour
- 1/2 cup unsweetened shredded coconut
- 1/2 cup powdered sugar
- 1/2 cup unsalted butter, softened
- 1 (14-ounce) can sweetened condensed milk
- 1/2 cup sour cream
- 1/4 cup fresh lemon juice
- 1 teaspoon vanilla extract
- 1/4 teaspoon salt
- 1 cup whipped topping (like Cool Whip)
- 1/4 cup toasted coconut flakes (for garnish)
Instructions
- Preheat your oven to 350°F. Grease an 8×8-inch baking dish or line it with parchment paper for easy removal.
- In a medium bowl, combine the flour, shredded coconut, powdered sugar, and softened butter. Mix until the mixture resembles coarse crumbs. Press this mixture firmly into the bottom of the prepared baking dish to form a crust.
- Bake the crust in the preheated oven for 15 minutes, or until lightly golden. Remove from the oven and let it cool slightly.
- In another bowl, whisk together the sweetened condensed milk, sour cream, lemon juice, vanilla extract, and salt until smooth. Pour this mixture over the cooled crust.
- Return the baking dish to the oven and bake for an additional 20-25 minutes, or until the filling is set and slightly golden on top. Remove from the oven and allow to cool completely at room temperature.
- Once cooled, refrigerate the bars for at least 2 hours to firm up. Before serving, spread the whipped topping evenly over the top and sprinkle with toasted coconut flakes for garnish.
- Cut into squares and serve chilled.
Notes
- For a chocolate twist, consider drizzling melted chocolate over the top before serving.
- You can also substitute lime juice for lemon juice for a different flavor profile.
- Prep Time: 20 minutes
- Cook Time: 35 minutes
- Category: Dessert
- Method: Baking
- Cuisine: American
Nutrition
- Serving Size: 1 bar
- Calories: 210
- Sugar: 10g
- Sodium: 150mg
- Fat: 12g
- Saturated Fat: 7g
- Unsaturated Fat: 3g
- Trans Fat: 0g
- Carbohydrates: 18g
- Fiber: 1g
- Protein: 2g
- Cholesterol: 30mg