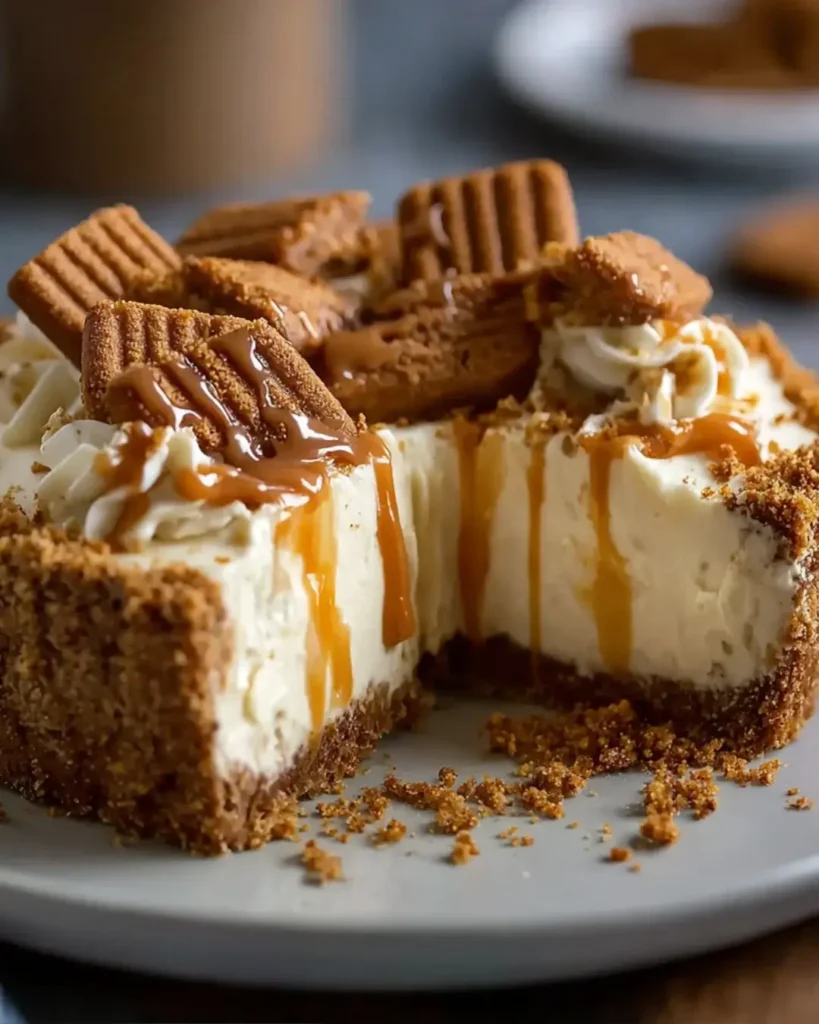
Introduction to Cookie Butter Pie – Creamy No-Bake Biscoff Dessert
There’s something magical about desserts that require little effort but deliver big on flavor. The Cookie Butter Pie – Creamy No-Bake Biscoff Dessert is just that! This delightful treat is perfect for those busy days when you want to impress your family or friends without spending hours in the kitchen. With its rich, creamy filling and crunchy crust, it’s a dessert that brings smiles and satisfied sighs. Plus, it’s a no-bake recipe, making it a breeze to whip up. Trust me, once you try this pie, it’ll become a go-to for any occasion!
Why You’ll Love This Cookie Butter Pie – Creamy No-Bake Biscoff Dessert
This Cookie Butter Pie is a game-changer for dessert lovers. It’s incredibly easy to make, requiring no baking skills whatsoever. In just 20 minutes of prep, you can create a show-stopping dessert that tastes like a dream. The combination of creamy Biscoff cookie butter and a crunchy crust is simply irresistible. Plus, it’s perfect for any occasion, whether it’s a family gathering or a cozy night in.
Ingredients for Cookie Butter Pie – Creamy No-Bake Biscoff Dessert
Gathering the right ingredients is the first step to creating this delicious Cookie Butter Pie. Here’s what you’ll need:
- Biscoff cookie crumbs: These are the star of the show, providing a sweet and crunchy base for your pie. You can find them in most grocery stores or make your own by crushing Biscoff cookies.
- Unsalted butter: This helps bind the cookie crumbs together, creating a sturdy crust. Unsalted is best to control the saltiness of your dessert.
- Cream cheese: Softened cream cheese adds a rich, creamy texture to the filling. Make sure it’s at room temperature for easy mixing.
- Cookie butter (Biscoff spread): The key ingredient that gives this pie its unique flavor. It’s a sweet, spiced spread made from crushed Biscoff cookies.
- Powdered sugar: This sweetens the filling and helps achieve a smooth consistency. It dissolves easily, making it perfect for no-bake desserts.
- Vanilla extract: A splash of vanilla enhances the overall flavor, adding warmth and depth to the pie.
- Heavy whipping cream: Whipped to perfection, this ingredient lightens the filling and gives it a fluffy texture. It’s essential for that creamy mouthfeel.
- Biscoff cookie crumbs (for topping): A sprinkle of these on top adds a delightful crunch and makes your pie look irresistible.
For those looking to mix things up, consider adding mini chocolate chips to the filling for a chocolatey twist. If you can’t find Biscoff cookie crumbs, graham cracker crumbs work as a tasty substitute. Exact measurements for each ingredient can be found at the bottom of the article, ready for printing!
How to Make Cookie Butter Pie – Creamy No-Bake Biscoff Dessert
Creating this Cookie Butter Pie is a straightforward process that anyone can master. Follow these simple steps, and you’ll have a delicious dessert ready to impress!
Step 1: Prepare the Crust
Start by mixing 1 cup of Biscoff cookie crumbs with 1/4 cup of melted unsalted butter in a medium bowl. Stir until the crumbs are well-coated. This mixture should feel like wet sand.
Next, press the crumb mixture firmly into the bottom of a 9-inch pie dish. Make sure it’s even and compact. This will give your pie a sturdy base. Refrigerate the crust for about 15 minutes to set while you prepare the filling.
Step 2: Make the Filling
In a large mixing bowl, beat 1 package of softened cream cheese with an electric mixer until it’s smooth and creamy. This step is crucial for a velvety texture.
Now, add 1 cup of cookie butter, 1 cup of powdered sugar, and 1 teaspoon of vanilla extract to the cream cheese. Beat everything together until well combined. The mixture should be thick and luscious, making your taste buds tingle with anticipation!
Step 3: Whip the Cream
In a separate bowl, whip 1 cup of heavy cream until stiff peaks form. This means when you lift the beaters, the cream holds its shape. It’s like magic!
Gently fold the whipped cream into the cookie butter mixture. Use a spatula and be careful not to deflate the whipped cream. This step is what gives your pie that light, airy texture.
Step 4: Combine and Pour
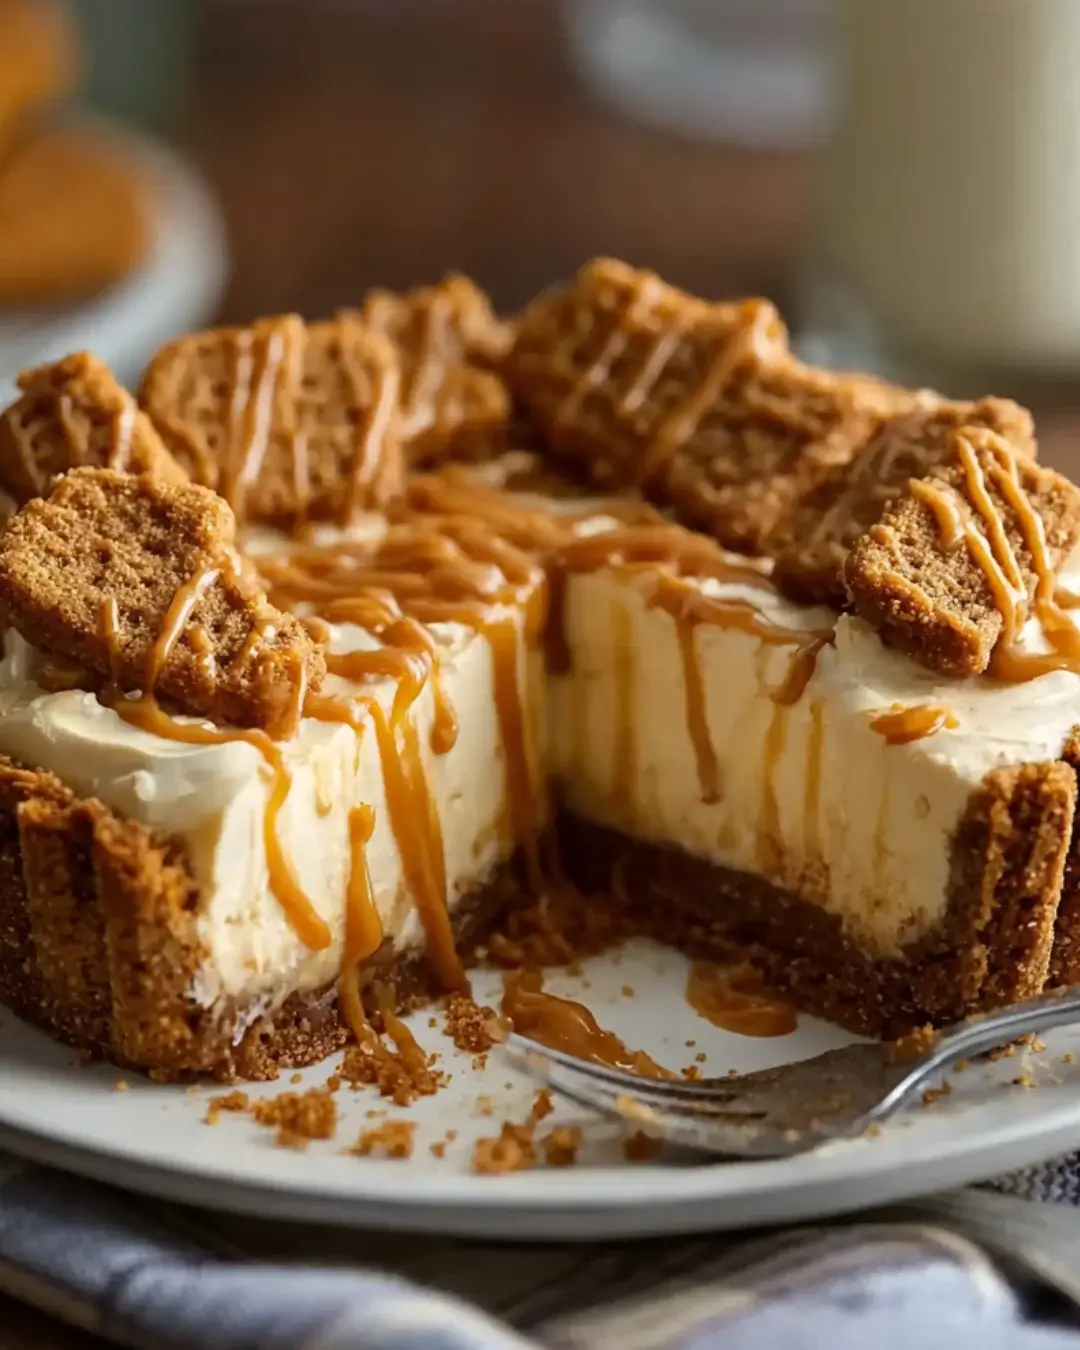
Once the whipped cream is fully incorporated, pour the filling into your chilled crust. Use a spatula to smooth the top, making it look as inviting as it tastes.
Sprinkle 1/2 cup of Biscoff cookie crumbs on top for that extra crunch and visual appeal. It’s the finishing touch that makes this pie irresistible!
Step 5: Chill and Serve
Now, it’s time for the hardest part—waiting! Refrigerate the pie for at least 4 hours, or overnight if you can resist. This allows the flavors to meld and the pie to set properly.
When you’re ready to serve, slice it up and enjoy your creamy no-bake dessert. Each bite is a delightful experience that will have everyone asking for seconds!
Tips for Success
- Make sure your cream cheese is at room temperature for easy mixing.
- Use a rubber spatula to gently fold in the whipped cream; this keeps the filling light and fluffy.
- Chill the pie overnight for the best flavor and texture.
- For a cleaner slice, use a hot knife to cut through the pie.
- Experiment with toppings like chocolate shavings or fresh fruit for added flair!
Equipment Needed
- 9-inch pie dish: A standard pie dish works best, but a springform pan can also be used for easy removal.
- Mixing bowls: Use medium and large bowls for mixing ingredients; any size will do!
- Electric mixer: A hand mixer is perfect, but a whisk can work if you’re feeling adventurous.
- Spatula: A rubber spatula is ideal for folding in whipped cream and smoothing the filling.
Variations
- Chocolate Chip Cookie Butter Pie: Add 1/2 cup of mini chocolate chips to the filling for a delightful chocolate twist.
- Nutty Delight: Mix in 1/2 cup of chopped nuts, like pecans or walnuts, for added crunch and flavor.
- Vegan Option: Substitute cream cheese with vegan cream cheese and use coconut cream instead of heavy whipping cream for a plant-based version.
- Spiced Pumpkin Variation: Add 1/2 cup of pumpkin puree and a teaspoon of pumpkin spice to the filling for a seasonal twist.
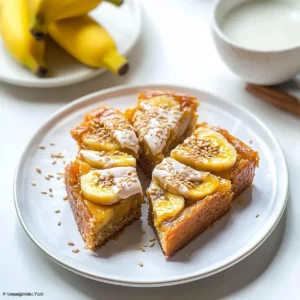
- Fruit Topping: Top the pie with fresh berries or sliced bananas for a refreshing contrast to the creamy filling.
Serving Suggestions
- Pair your Cookie Butter Pie with a dollop of whipped cream for an extra creamy touch.
- Serve alongside a scoop of vanilla ice cream to elevate the dessert experience.
- For drinks, consider a rich coffee or a sweet dessert wine to complement the flavors.
- Garnish with chocolate shavings or fresh mint leaves for a beautiful presentation.
FAQs about Cookie Butter Pie – Creamy No-Bake Biscoff Dessert
Can I make this Cookie Butter Pie ahead of time?
Absolutely! This no-bake dessert is perfect for making ahead. In fact, it tastes even better after chilling overnight. Just cover it well in the fridge to keep it fresh.
What can I use instead of Biscoff cookie crumbs?
If you can’t find Biscoff cookie crumbs, graham cracker crumbs are a great alternative. They’ll give your pie a different flavor but still create a delicious crust.
How long will the Cookie Butter Pie last in the fridge?
This creamy no-bake dessert can last up to 5 days in the fridge. Just make sure to keep it covered to maintain its freshness and flavor.
Can I freeze Cookie Butter Pie?
Yes, you can freeze this pie! Just slice it and wrap each piece tightly in plastic wrap. It can be frozen for up to a month. Thaw it in the fridge before serving.
What’s the best way to serve Cookie Butter Pie?
For the best experience, serve it chilled with a dollop of whipped cream on top. You can also add a sprinkle of Biscoff crumbs or chocolate shavings for an extra touch!
Final Thoughts
Creating this Cookie Butter Pie – Creamy No-Bake Biscoff Dessert is more than just whipping up a treat; it’s about sharing joy and indulgence with those you love. Each slice is a delightful blend of creamy and crunchy, a perfect balance that leaves everyone wanting more. Whether it’s a family gathering or a quiet evening at home, this pie brings smiles and satisfied sighs. Plus, the ease of preparation means you can focus on what truly matters—enjoying the moment. So, grab your ingredients and let this pie become a cherished part of your dessert repertoire!
PrintCookie Butter Pie – Discover This Irresistible No-Bake Delight!
- Total Time: 4 hours 20 minutes
- Yield: 8 servings
- Diet: Vegetarian
Description
A creamy no-bake pie made with Biscoff cookie butter and a crunchy cookie crust, perfect for dessert lovers.
Ingredients
- 1 cup Biscoff cookie crumbs
- 1/4 cup unsalted butter, melted
- 1 (8 oz) package cream cheese, softened
- 1 cup cookie butter (Biscoff spread)
- 1 cup powdered sugar
- 1 teaspoon vanilla extract
- 1 cup heavy whipping cream
- 1/2 cup Biscoff cookie crumbs (for topping)
Instructions
- In a medium bowl, combine 1 cup of Biscoff cookie crumbs and melted butter. Mix until the crumbs are evenly coated. Press the mixture firmly into the bottom of a 9-inch pie dish to form the crust. Refrigerate for 15 minutes to set.
- In a large mixing bowl, beat the softened cream cheese with an electric mixer until smooth and creamy.
- Add the cookie butter, powdered sugar, and vanilla extract to the cream cheese. Beat until well combined and smooth.
- In another bowl, whip the heavy cream until stiff peaks form. Gently fold the whipped cream into the cookie butter mixture until fully incorporated.
- Pour the filling into the chilled crust and smooth the top with a spatula.
- Sprinkle 1/2 cup of Biscoff cookie crumbs on top of the pie for garnish.
- Refrigerate the pie for at least 4 hours, or overnight, to allow it to set properly.
- Slice and serve chilled. Enjoy your creamy no-bake dessert!
Notes
- For a chocolate twist, add 1/2 cup of mini chocolate chips to the filling before folding in the whipped cream.
- Substitute the Biscoff cookie crumbs with graham cracker crumbs for a different flavor profile.
- Prep Time: 20 minutes
- Cook Time: 0 minutes
- Category: Dessert
- Method: No-Bake
- Cuisine: American
Nutrition
- Serving Size: 1 slice
- Calories: 320
- Sugar: 20g
- Sodium: 200mg
- Fat: 22g
- Saturated Fat: 12g
- Unsaturated Fat: 10g
- Trans Fat: 0g
- Carbohydrates: 30g
- Fiber: 1g
- Protein: 4g
- Cholesterol: 60mg