Introduction to Cotton Candy Cake
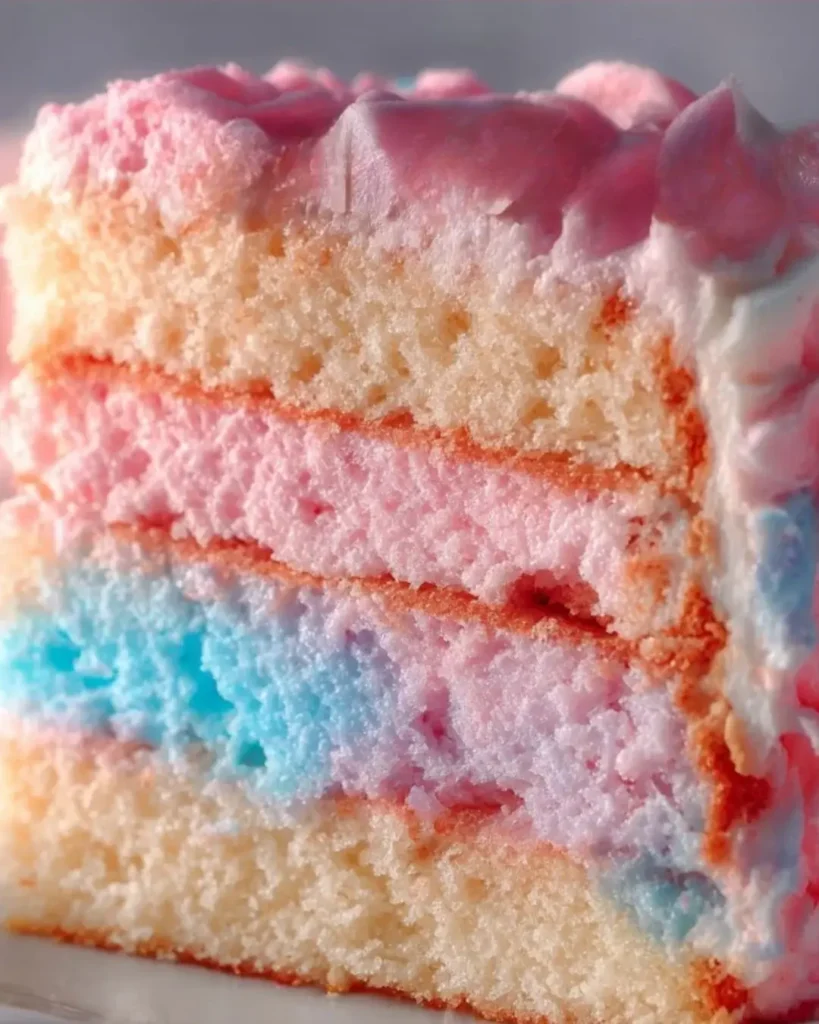
There’s something magical about the sweet, fluffy clouds of cotton candy that take us back to childhood fairs and summer nights. Now, imagine capturing that whimsical delight in a cake! The Cotton Candy Cake is not just a dessert; it’s a celebration of joy and nostalgia. Perfect for impressing friends or simply treating yourself after a long day, this cake brings a carnival vibe right into your kitchen. With its vibrant colors and delightful flavors, it’s an easy way to add a sprinkle of fun to any occasion. Let’s dive into this sweet adventure!
Why You’ll Love This Cotton Candy Cake
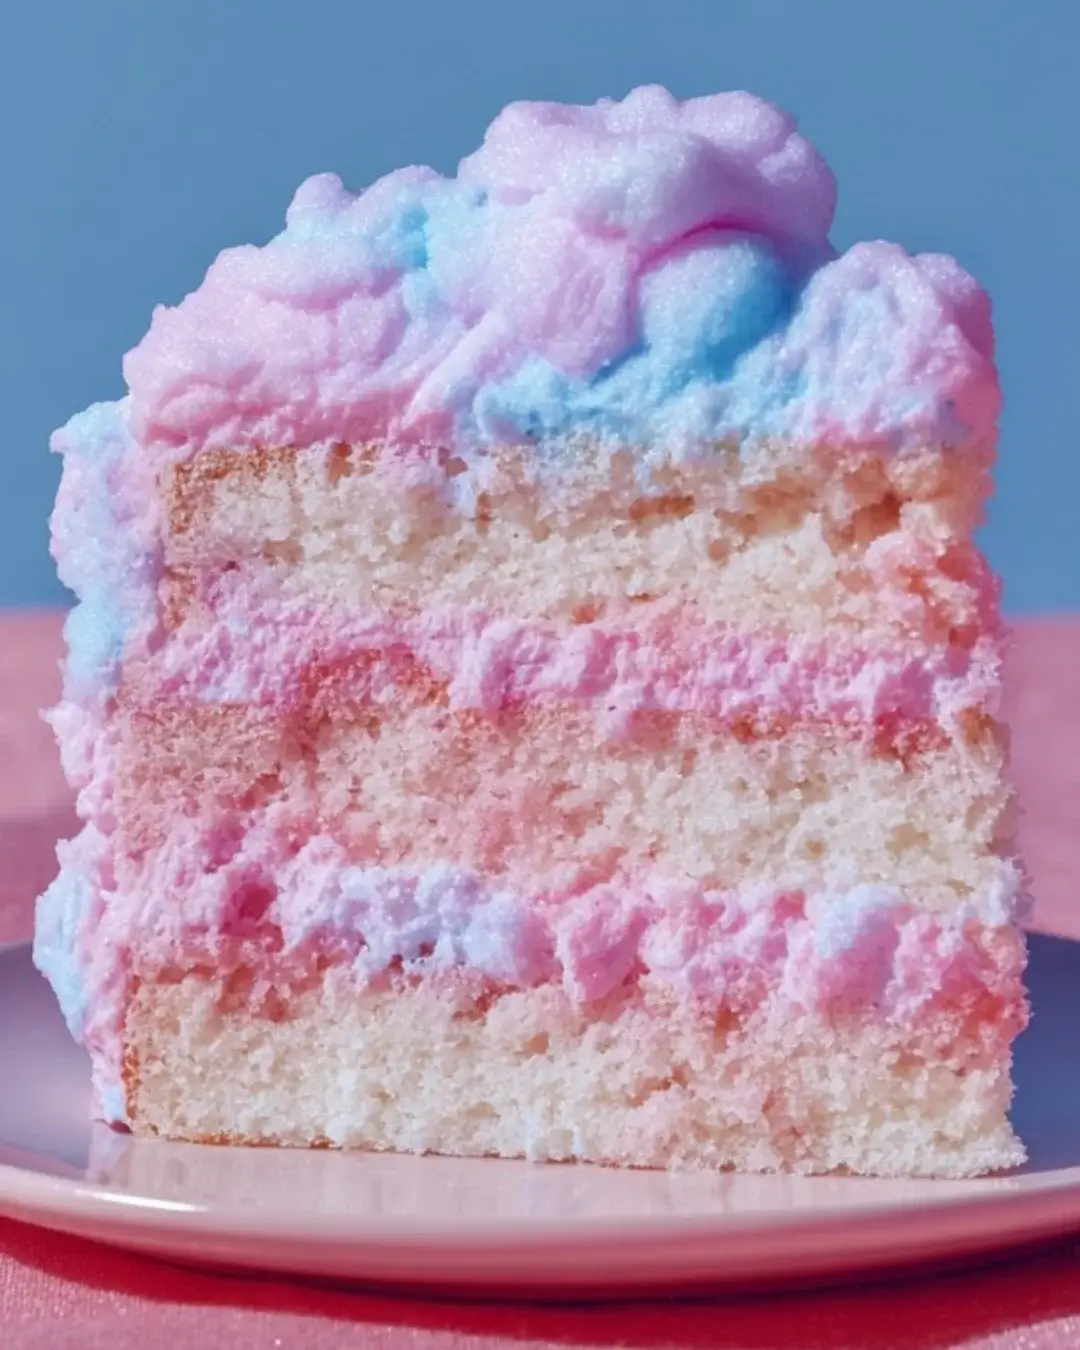
This Cotton Candy Cake is a delightful blend of simplicity and flavor. It’s quick to whip up, making it perfect for busy weeknights or last-minute gatherings. The taste? A sweet, nostalgic explosion that transports you back to carefree days at the fair. Plus, its colorful presentation is sure to impress guests, making it a showstopper at any celebration. Who wouldn’t love a slice of happiness on their plate?
Ingredients for Cotton Candy Cake
Gathering the right ingredients is the first step to creating your Cotton Candy Cake masterpiece. Here’s what you’ll need:
- All-purpose flour: The backbone of your cake, providing structure and a soft crumb.
- Baking powder: This leavening agent helps the cake rise, giving it that fluffy texture.
- Salt: Just a pinch enhances the sweetness and balances flavors.
- Unsalted butter: Adds richness and moisture; make sure it’s softened for easy mixing.
- Granulated sugar: Sweetens the cake and contributes to its lovely golden color.
- Large eggs: They bind the ingredients together and add moisture.
- Vanilla extract: A splash of this classic flavor elevates the cake’s taste.
- Whole milk: Keeps the batter moist and adds a creamy texture.
- Cotton candy: The star of the show! Chopped into pieces, it infuses the cake with that signature sweet flavor.
- Frosting: Pink or blue frosting adds a fun touch; you can use store-bought or homemade.
For those looking to get creative, consider adding a few drops of food coloring to the batter for a vibrant look. Alternatively, flavored extracts like strawberry or bubblegum can be used in place of cotton candy for a different twist. Exact measurements for these ingredients can be found at the bottom of the article, ready for printing!
How to Make Cotton Candy Cake
Step 1: Preheat and Prepare
Start by preheating your oven to 350°F (175°C). This ensures your cake bakes evenly. While the oven warms up, grab two 9-inch round cake pans. Grease them with butter or cooking spray, then dust with flour. This step is crucial; it prevents the cake from sticking. Trust me, there’s nothing worse than a cake that won’t come out of the pan!
Step 2: Mix Dry Ingredients
In a medium bowl, whisk together the all-purpose flour, baking powder, and salt. This simple step is essential for even distribution of the leavening agent. It helps your cake rise beautifully. Make sure there are no lumps; a smooth mixture is key to a fluffy Cotton Candy Cake!
Step 3: Cream Butter and Sugar
In a large mixing bowl, cream the softened unsalted butter and granulated sugar together. Use an electric mixer on medium speed for about 3-4 minutes. You want the mixture to be light and fluffy, almost like a cloud! This process incorporates air, which is vital for a tender cake. Don’t rush it; this step sets the foundation for your cake’s texture.
Step 4: Add Eggs and Vanilla
Next, add the large eggs one at a time, mixing well after each addition. This helps the eggs blend smoothly into the batter. Then, stir in the vanilla extract. The aroma will be heavenly! This step not only adds flavor but also contributes to the cake’s moisture.
Step 5: Combine Dry and Wet Ingredients
Now, it’s time to bring it all together. Gradually add the dry ingredients to the butter mixture, alternating with the whole milk. Start and end with the flour mixture. Mix until just combined; overmixing can lead to a dense cake. You want a smooth batter that’s ready to be transformed into a delightful Cotton Candy Cake!
Step 6: Fold in Cotton Candy
Gently fold in the chopped cotton candy. Use a spatula to ensure it’s evenly distributed throughout the batter. This is where the magic happens! The cotton candy will melt slightly during baking, infusing the cake with its sweet flavor. Just be careful not to overmix; we want those fluffy bits to stay intact!
Step 7: Bake the Cake
Divide the batter evenly between the prepared cake pans. Smooth the tops with a spatula for an even bake. Place them in the preheated oven and bake for 25-30 minutes. Keep an eye on them; a toothpick inserted into the center should come out clean. The aroma will fill your kitchen, making it hard to wait!
Step 8: Cool and Frost
Once baked, allow the cakes to cool in the pans for about 10 minutes. Then, carefully transfer them to a wire rack to cool completely. This step is crucial; frosting a warm cake can lead to a melty mess. Once cooled, frost the top of one layer with your pink or blue frosting, stack the second layer on top, and frost the top and sides. Don’t forget to garnish with extra cotton candy for that whimsical touch!
Tips for Success
- Make sure your butter is at room temperature for easy creaming.
- Use a kitchen scale for precise measurements, especially for flour.
- Don’t skip the cooling step; it prevents frosting from melting.
- Experiment with different cotton candy flavors for a unique twist.
- For a fun presentation, use colorful sprinkles along with the cotton candy garnish.
Equipment Needed
- Two 9-inch round cake pans (or one 9×13-inch pan for a single layer).
- Mixing bowls (a large one for the batter and a medium one for dry ingredients).
- Electric mixer (a whisk works too, but it’ll take longer).
- Spatula for folding and frosting.
- Wire rack for cooling the cakes.
Variations
- For a fruity twist, try adding chopped strawberries or blueberries to the batter along with the cotton candy.
- Swap out the cotton candy for flavored extracts like bubblegum or strawberry for a different taste experience.
- Make it gluten-free by using a gluten-free all-purpose flour blend in place of regular flour.
- For a dairy-free version, substitute the butter with coconut oil and use almond or oat milk instead of whole milk.
- Add a layer of whipped cream between the cake layers for extra creaminess and flavor.
Serving Suggestions
- Pair your Cotton Candy Cake with a scoop of vanilla ice cream for a delightful contrast.
- Serve with fresh berries to add a tart balance to the sweetness.
- For drinks, consider a fizzy lemonade or a fun cotton candy-flavored soda.
- Present the cake on a colorful platter, garnished with extra cotton candy for a festive look.
FAQs about Cotton Candy Cake
Can I use homemade cotton candy for this recipe?
Absolutely! Homemade cotton candy can add a personal touch to your Cotton Candy Cake. Just make sure it’s chopped into small pieces before folding it into the batter. The flavor will be just as delightful!
How should I store leftover Cotton Candy Cake?
To keep your cake fresh, store it in an airtight container at room temperature for up to three days. If you want to keep it longer, consider refrigerating it. Just remember to let it come to room temperature before serving for the best taste!
Can I make this cake ahead of time?
Yes! You can bake the cake layers a day in advance. Just wrap them tightly in plastic wrap once cooled and store them in the fridge. Frost the cake on the day you plan to serve it for the best presentation.
What can I substitute for cotton candy if I can’t find any?
If cotton candy isn’t available, you can use flavored extracts like bubblegum or strawberry to mimic that sweet taste. Just add a few drops to the batter for a fun twist!
Is this Cotton Candy Cake suitable for kids?
Definitely! This cake is a hit with kids and adults alike. Its fun colors and sweet flavor make it perfect for birthday parties or any celebration. Just be prepared for the sugar rush!
Final Thoughts
Creating a Cotton Candy Cake is more than just baking; it’s about crafting memories and sharing joy. Each slice is a delightful reminder of carefree days filled with laughter and fun. The vibrant colors and sweet flavors bring a smile to anyone’s face, making it perfect for celebrations or a simple treat at home. Whether you’re impressing guests or indulging in a sweet moment alone, this cake is sure to brighten your day. So, roll up your sleeves, gather your ingredients, and let the magic of cotton candy transform your kitchen into a carnival of flavors!
PrintCotton Candy Cake: Discover the Sweet Recipe Magic!
- Total Time: 50 minutes
- Yield: 12 servings
- Diet: Vegetarian
Description
A delightful and whimsical Cotton Candy Cake that brings the fun of a carnival to your kitchen with its sweet flavors and colorful presentation.
Ingredients
- 2 1/2 cups all-purpose flour
- 2 1/2 teaspoons baking powder
- 1/2 teaspoon salt
- 1 cup unsalted butter, softened
- 2 cups granulated sugar
- 4 large eggs
- 1 tablespoon vanilla extract
- 1 cup whole milk
- 1/2 cup cotton candy, chopped (plus extra for garnish)
- 1/2 cup pink or blue frosting (store-bought or homemade)
Instructions
- Preheat your oven to 350°F (175°C). Grease and flour two 9-inch round cake pans.
- In a medium bowl, whisk together the flour, baking powder, and salt. Set aside.
- In a large mixing bowl, cream the softened butter and sugar together until light and fluffy, about 3-4 minutes.
- Add the eggs one at a time, mixing well after each addition. Stir in the vanilla extract.
- Gradually add the dry ingredients to the butter mixture, alternating with the milk. Begin and end with the flour mixture. Mix until just combined.
- Gently fold in the chopped cotton candy until evenly distributed throughout the batter.
- Divide the batter evenly between the prepared cake pans.
- Bake in the preheated oven for 25-30 minutes, or until a toothpick inserted into the center comes out clean.
- Allow the cakes to cool in the pans for 10 minutes before transferring them to a wire rack to cool completely.
- Once cooled, frost the top of one cake layer with pink or blue frosting, add the second layer on top, and frost the top and sides of the cake.
- Garnish the top with extra cotton candy for a fun, whimsical touch.
Notes
- For a fun twist, try adding a few drops of food coloring to the batter for a vibrant look.
- You can also substitute the cotton candy with flavored extracts like strawberry or bubblegum for a different taste.
- Prep Time: 20 minutes
- Cook Time: 30 minutes
- Category: Dessert
- Method: Baking
- Cuisine: American
Nutrition
- Serving Size: 1 slice
- Calories: 350
- Sugar: 30g
- Sodium: 200mg
- Fat: 15g
- Saturated Fat: 9g
- Unsaturated Fat: 3g
- Trans Fat: 0g
- Carbohydrates: 45g
- Fiber: 1g
- Protein: 3g
- Cholesterol: 70mg