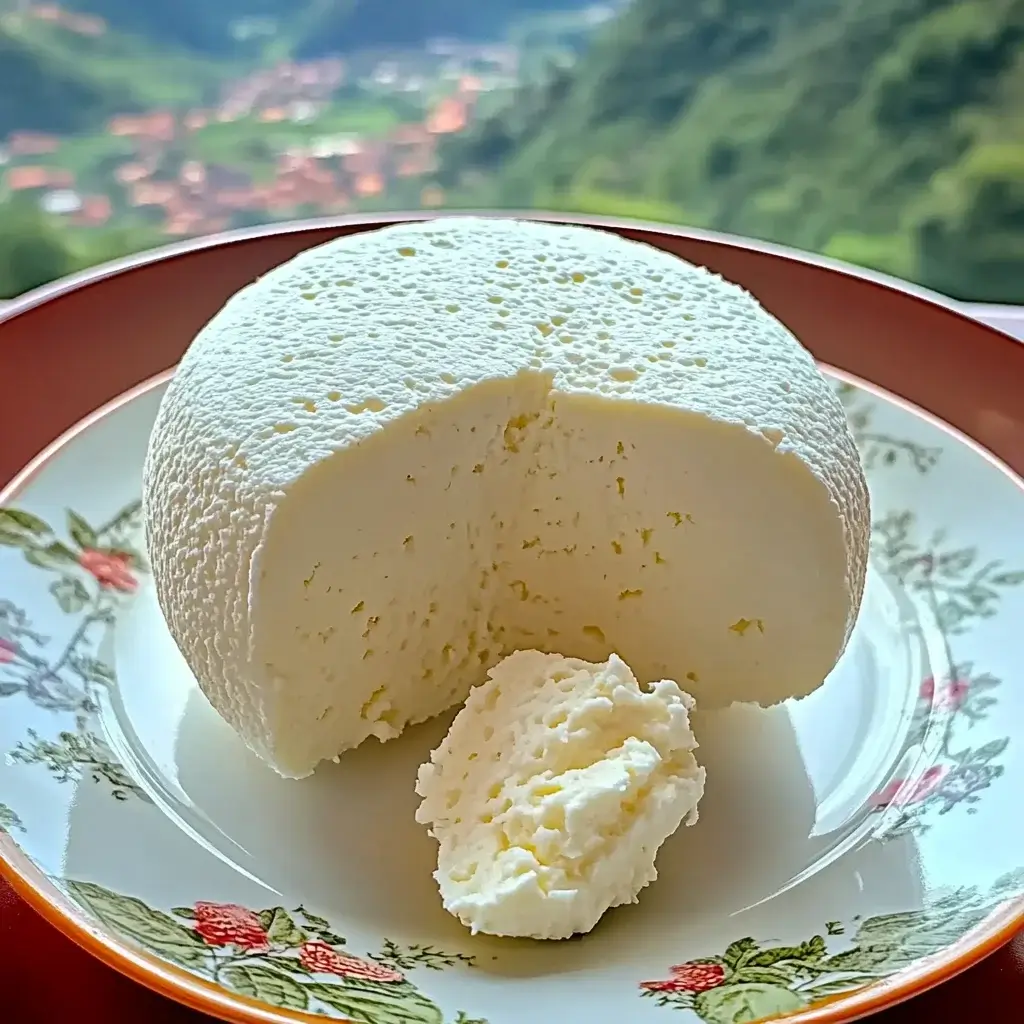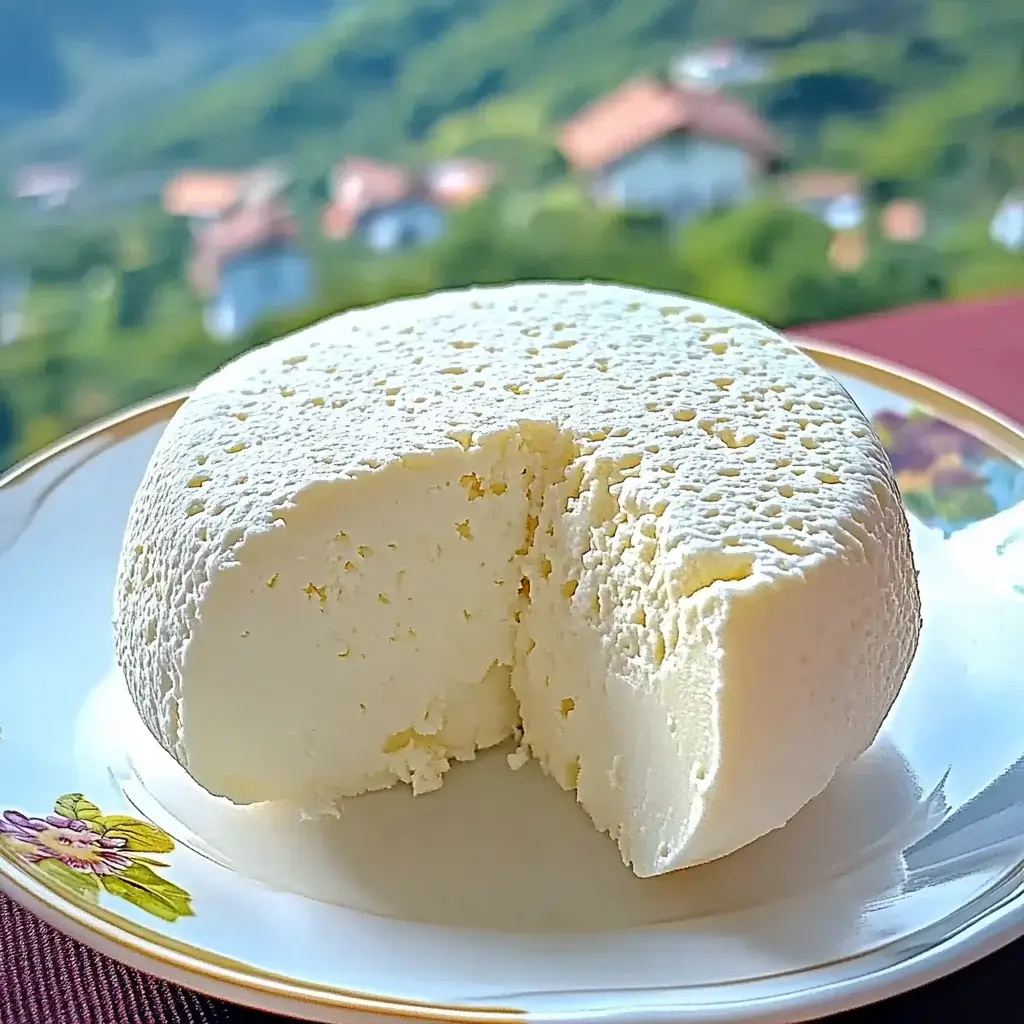
Introduction to Fresh Cheese
Fresh cheese has a way of bringing warmth and comfort to any meal. I remember the first time I made Queso Fresco; it was a rainy afternoon, and the smell of warm milk filled my kitchen. This simple recipe is perfect for those busy days when you want to impress your loved ones without spending hours in the kitchen. With just a few ingredients, you can create a creamy, delicious cheese that elevates everything from tacos to salads. Trust me, once you try making fresh cheese at home, you’ll wonder why you didn’t start sooner!
Why You’ll Love This Fresh Cheese
This fresh cheese is a game-changer in the kitchen. It’s incredibly easy to make, requiring minimal ingredients and just a bit of patience. In about 30 minutes, you can whip up a batch of Queso Fresco that’s bursting with flavor. Plus, it’s versatile! Use it in your favorite dishes or enjoy it on its own. The satisfaction of creating something so delicious from scratch is truly unmatched.
Ingredients for Fresh Cheese
Making fresh cheese is all about simplicity and quality ingredients. Here’s what you’ll need:
- Whole Milk: The star of the show! It provides the creamy base for your cheese. For a richer texture, consider using half-and-half.
- Buttermilk: This adds a tangy flavor and helps with the curdling process. If you don’t have buttermilk, you can make a quick substitute by mixing milk with a splash of vinegar or lemon juice.
- Salt: Just a pinch enhances the flavor of your cheese. Feel free to experiment with different salts, like sea salt or Himalayan pink salt, for a unique twist.
- White Vinegar: This is crucial for curdling the milk. If you prefer, lemon juice can be used as an alternative for a fresher taste.
For those looking to add a personal touch, consider incorporating herbs or spices like cilantro or chili powder into the curds. This can elevate your Queso Fresco to a whole new level!
Exact measurements for these ingredients can be found at the bottom of the article, ready for printing.
How to Make Fresh Cheese
Making fresh cheese at home is a rewarding experience. Follow these simple steps to create your own Queso Fresco. Each step is designed to be straightforward, ensuring you can enjoy this delicious cheese in no time!
Step 1: Heat the Milk
Start by pouring the whole milk into a large pot. Heat it over medium heat, stirring occasionally. You want to bring it to 190°F. This temperature is crucial for curd formation. Keep an eye on it; you don’t want it to scorch!
Step 2: Add Buttermilk and Vinegar
Once the milk reaches the right temperature, remove the pot from the heat. Stir in the buttermilk and white vinegar. This combination will kickstart the curdling process. Let it sit undisturbed for about 10 minutes. You’ll see curds forming, and that’s a beautiful sight!
Step 3: Drain the Curds
Next, line a colander with cheesecloth and place it over a large bowl. Carefully pour the curds and whey into the colander. This step separates the solid curds from the liquid whey. Let it drain for a few minutes, allowing the curds to firm up.
Step 4: Season the Curds
Once drained, sprinkle the salt over the curds. Gently mix it in with your hands. This is where you can get creative! If you want to add herbs or spices, now’s the time. Think cilantro or chili powder for a flavor boost!
Step 5: Shape the Cheese
Gather the cheesecloth around the curds and squeeze out any excess whey. Shape the curds into a round disc. Wrap them tightly in the cheesecloth and place a weight on top. This helps the cheese firm up nicely. Let it sit for about an hour.
Step 6: Refrigerate Before Serving
After an hour, unwrap your cheese and transfer it to an airtight container. Refrigerate it for at least 2 hours before serving. This chilling time allows the flavors to meld beautifully. When you’re ready, slice it up and enjoy your homemade fresh cheese!

Tips for Success
- Use a thermometer to ensure your milk reaches the right temperature for curdling.
- Don’t rush the curdling process; let it sit undisturbed for the best results.
- Experiment with different herbs and spices to customize your Queso Fresco.
- For a creamier texture, consider using half-and-half instead of whole milk.
- Always taste your cheese before serving; adjust salt as needed!
Equipment Needed
- Large Pot: A heavy-bottomed pot works best to prevent scorching. If you don’t have one, any sturdy pot will do.
- Colander: Essential for draining the curds. A fine mesh strainer can be a good substitute.
- Cheesecloth: This helps separate the curds from the whey. A clean kitchen towel can also work in a pinch.
- Thermometer: Useful for checking milk temperature. If you don’t have one, just keep an eye on the milk as it heats.
Variations
- Herbed Queso Fresco: Mix in fresh herbs like basil, dill, or chives for a fragrant twist.
- Spicy Queso Fresco: Add diced jalapeños or a sprinkle of cayenne pepper for a kick.
- Smoky Queso Fresco: Incorporate smoked paprika or chipotle powder for a rich, smoky flavor.
- Sweet Queso Fresco: Blend in a touch of honey or maple syrup and serve with fruit for a unique dessert.
- Vegan Alternative: Use coconut milk and lemon juice instead of dairy for a plant-based version.
Serving Suggestions
- Pair your Queso Fresco with crispy tortilla chips for a delightful snack.
- Top tacos or enchiladas with crumbled cheese for added creaminess.
- Serve alongside fresh salsa or guacamole for a vibrant appetizer.
- Enjoy it with a chilled glass of Mexican beer or a refreshing margarita.
- Garnish with fresh herbs for an appealing presentation.
FAQs about Fresh Cheese
Curious about fresh cheese? You’re not alone! Here are some common questions I often hear, along with answers to help you on your culinary journey.
What is Queso Fresco?
Queso Fresco is a fresh cheese popular in Mexican cuisine. It’s soft, crumbly, and has a mild flavor, making it perfect for topping dishes like tacos and salads.
Can I use low-fat milk to make fresh cheese?
While you can use low-fat milk, it may result in a less creamy texture. Whole milk or half-and-half is recommended for the best results.
How long does homemade Queso Fresco last?
When stored in an airtight container in the refrigerator, your fresh cheese can last up to a week. Just make sure to check for any off smells before using!
Can I freeze fresh cheese?
Yes, you can freeze Queso Fresco! Just wrap it tightly in plastic wrap and place it in a freezer bag. Thaw it in the fridge before using, but note that the texture may change slightly.
What dishes can I use fresh cheese in?
Fresh cheese is incredibly versatile! Use it in tacos, enchiladas, salads, or even as a topping for soups. The possibilities are endless!
Final Thoughts
Making fresh cheese at home is more than just a cooking task; it’s a delightful experience that connects you to the heart of culinary traditions. Each step, from heating the milk to shaping the curds, brings a sense of accomplishment. The joy of slicing into your homemade Queso Fresco and tasting that creamy goodness is simply unmatched. Whether you’re adding it to a family meal or enjoying it solo, this fresh cheese elevates every dish. So roll up your sleeves, embrace the process, and let the magic of fresh cheese transform your kitchen adventures!
PrintFresh Cheese: Discover the Easy Queso Fresco Recipe!
- Total Time: 2 hours 30 minutes
- Yield: 8 servings
- Diet: Vegetarian
Description
A simple and delicious recipe for making Queso Fresco, a fresh cheese that is perfect for various dishes.
Ingredients
- 4 cups whole milk
- 1 cup buttermilk
- 1/4 teaspoon salt
- 1 tablespoon white vinegar
Instructions
- In a large pot, heat the whole milk over medium heat until it reaches 190°F, stirring occasionally to prevent scorching.
- Remove the pot from heat and stir in the buttermilk and white vinegar. Let it sit undisturbed for about 10 minutes until curds form.
- Line a colander with cheesecloth and place it over a large bowl. Carefully pour the curds and whey into the colander to drain.
- Sprinkle the salt over the curds and gently mix it in. Gather the cheesecloth around the curds and squeeze out excess whey.
- Shape the curds into a round disc and wrap them tightly in the cheesecloth. Place a weight on top to help it firm up for about 1 hour.
- Unwrap the cheese and transfer it to an airtight container. Refrigerate for at least 2 hours before serving.
Notes
- For a creamier texture, use half-and-half instead of whole milk.
- Add herbs or spices like cilantro or chili powder to the curds for a flavor twist.
- Prep Time: 10 minutes
- Cook Time: 20 minutes
- Category: Cheese
- Method: Stovetop
- Cuisine: Mexican
Nutrition
- Serving Size: 1 ounce
- Calories: 80
- Sugar: 1g
- Sodium: 50mg
- Fat: 6g
- Saturated Fat: 4g
- Unsaturated Fat: 1g
- Trans Fat: 0g
- Carbohydrates: 1g
- Fiber: 0g
- Protein: 6g
- Cholesterol: 20mg


