Introduction to Fried Ice Cream
Fried Ice Cream is one of those magical desserts that brings a smile to anyone’s face. I remember the first time I tried it at a local fair, the warm, crispy coating giving way to the cool, creamy ice cream inside. It was a delightful surprise! This recipe is perfect for impressing your friends or treating your family after a long day. With just a few simple steps, you can create this unique dessert that combines textures and flavors in a way that’s simply irresistible. Trust me, once you try it, you’ll be hooked!
Why You’ll Love This Fried Ice Cream
This Fried Ice Cream recipe is a game-changer for dessert lovers. It’s quick to prepare, making it perfect for those busy weeknights or spontaneous gatherings. The contrast of the crispy exterior and the creamy interior is a taste sensation that will leave everyone wanting more. Plus, it’s a fun way to get creative in the kitchen, allowing you to customize flavors and toppings to suit your mood. What’s not to love?
Ingredients for Fried Ice Cream
Gathering the right ingredients is the first step to creating this delightful Fried Ice Cream. Here’s what you’ll need:
- Vanilla Ice Cream: The star of the show! Choose a high-quality brand for the creamiest texture.
- Cornflakes: These provide the crispy coating. You can crush them to your desired texture—fine or chunky!
- Ground Cinnamon: A sprinkle of this adds warmth and a hint of spice to the coating.
- All-Purpose Flour: This helps create a batter that clings to the ice cream balls.
- Eggs: They act as a binding agent, giving the coating a nice richness.
- Milk: This adds moisture to the batter, making it smooth and easy to work with.
- Vegetable Oil: Essential for frying! Choose a neutral oil with a high smoke point.
- Chocolate Syrup: Optional, but who can resist a drizzle of chocolate on top?
- Whipped Cream: A fluffy topping that adds a touch of indulgence.
- Cherries: For garnish, these add a pop of color and a burst of flavor.
Feel free to get creative! You can swap vanilla ice cream for chocolate or strawberry for a twist. The exact quantities for each ingredient are listed at the bottom of the article, ready for printing. Happy cooking!
How to Make Fried Ice Cream
Creating Fried Ice Cream is a fun adventure that’s easier than you might think. Follow these simple steps, and you’ll be on your way to impressing everyone with this delightful dessert!
Step 1: Prepare the Ice Cream Balls
Start by scooping out the vanilla ice cream into four equal balls, about half a cup each. Use a sturdy ice cream scoop for best results. Place these balls on a baking sheet lined with parchment paper. This step is crucial—freeze them for at least two hours until they are solid. The firmer the ice cream, the better it will hold up during frying!
Step 2: Create the Coating Mixture
While the ice cream is freezing, it’s time to prepare the coating. In a shallow bowl, mix the crushed cornflakes with ground cinnamon. This combination adds a delightful crunch and flavor. In another bowl, whisk together the all-purpose flour, eggs, and milk until smooth. This batter will help the cornflake coating stick to the ice cream balls.
Step 3: Coat the Ice Cream Balls
Once the ice cream balls are solid, it’s time to coat them. Dip each ball into the flour mixture first, ensuring it’s fully covered. Then, roll it in the cornflake mixture, pressing gently to coat evenly. For a thicker coating, repeat this process. The more layers, the crunchier the final product!
Step 4: Freeze Again
After coating, place the ice cream balls back on the baking sheet and freeze them for an additional 30 minutes. This step is essential to ensure the coating stays intact when frying. Trust me, you don’t want a melty mess!
Step 5: Fry the Ice Cream Balls
Now for the exciting part! In a deep skillet or pot, heat about two inches of vegetable oil over medium-high heat until it reaches 350°F. Carefully fry the ice cream balls in batches for about 10-15 seconds, or until they turn golden brown. Use a slotted spoon to remove them and let them drain on paper towels. Be cautious—hot oil can be tricky!
Step 6: Serve and Enjoy
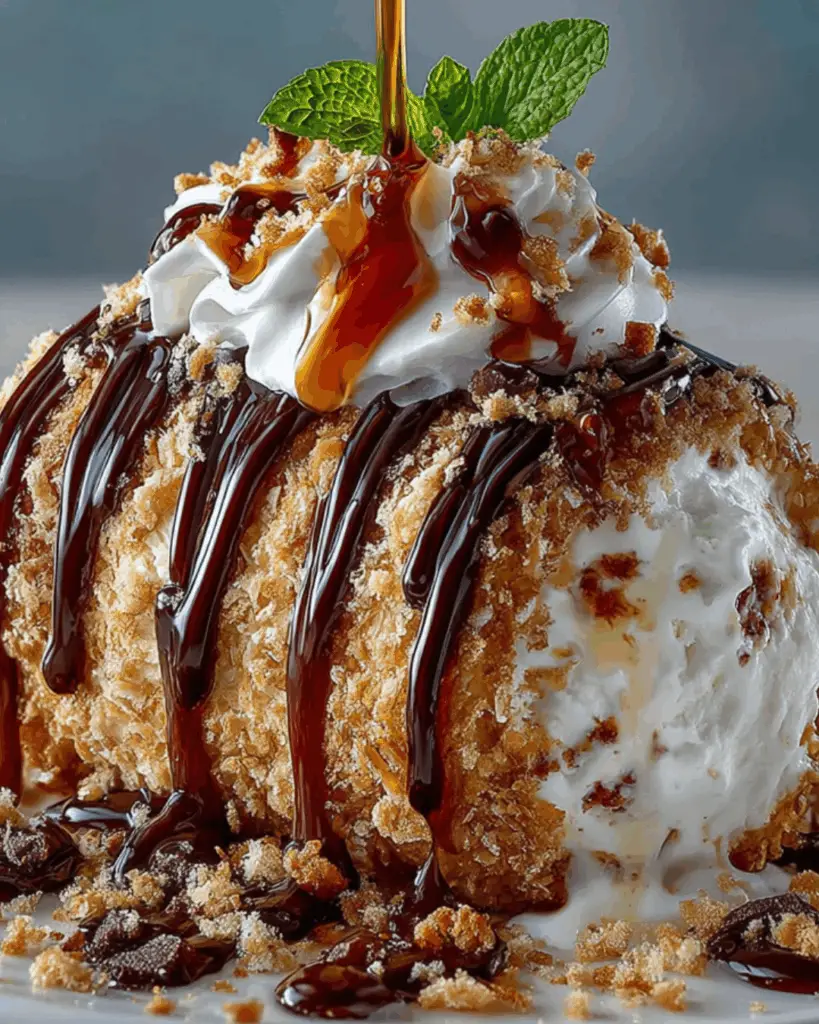
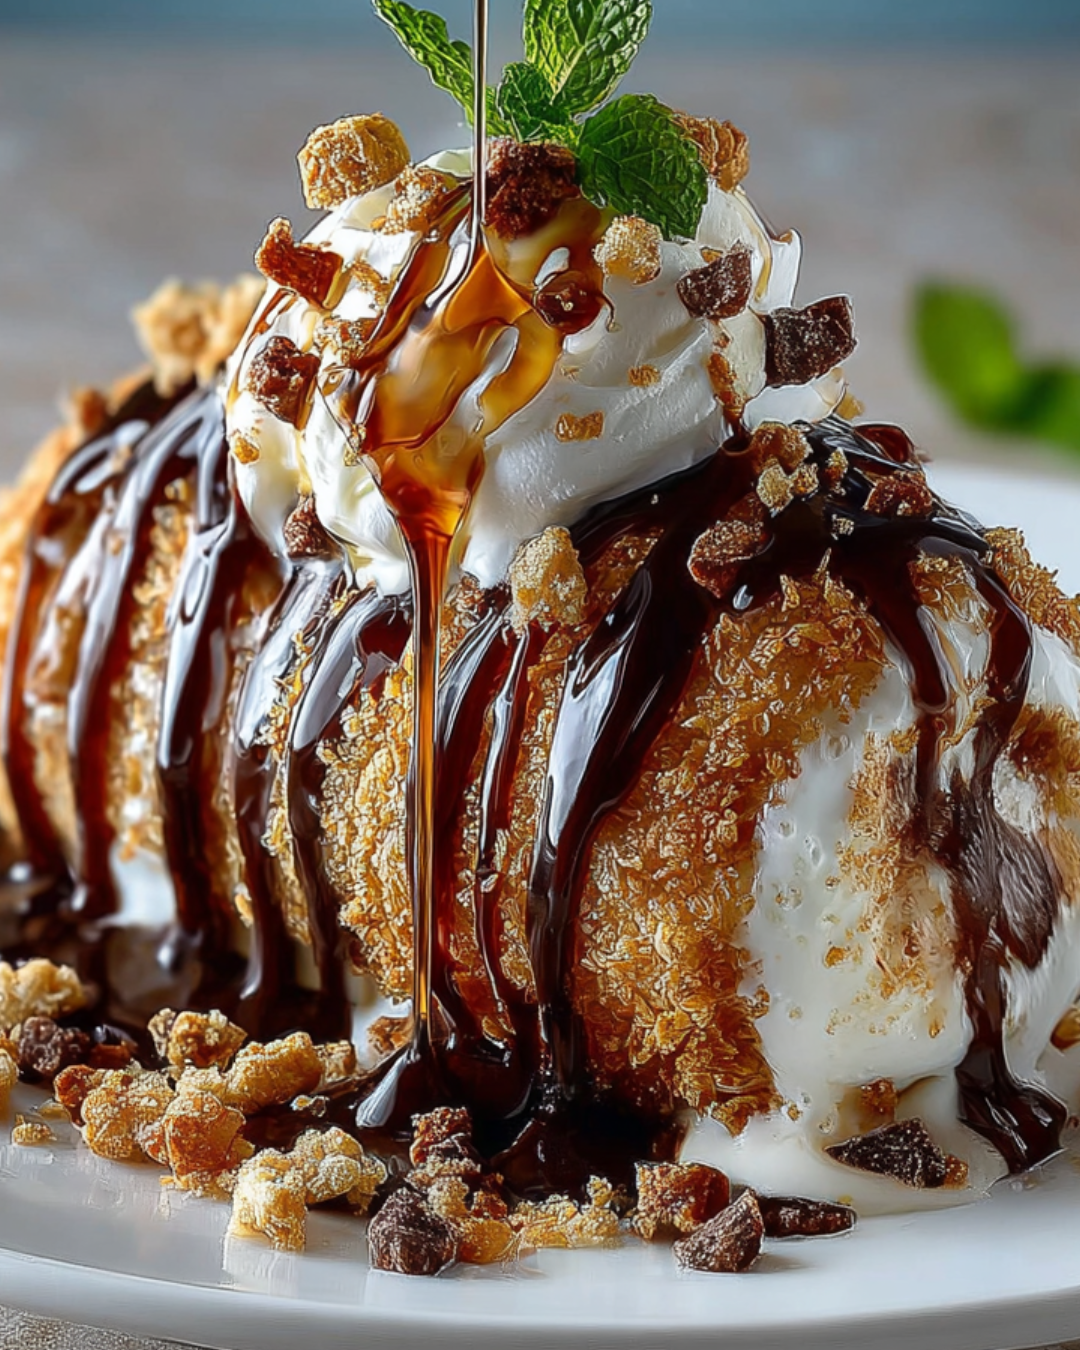
Finally, it’s time to serve your Fried Ice Cream! Drizzle with chocolate syrup, add a dollop of whipped cream, and top with a cherry for that classic touch. Enjoy this crispy, creamy treat immediately for the best experience. Your taste buds will thank you!
Tips for Success
- Make sure your ice cream balls are very firm before frying; this prevents melting.
- Use a thermometer to check the oil temperature for perfect frying.
- Fry in small batches to maintain oil temperature and ensure even cooking.
- Experiment with different ice cream flavors for unique twists.
- Have all your ingredients ready before starting to streamline the process.
Equipment Needed
- Ice Cream Scoop: A sturdy scoop makes forming balls easier. A large spoon works too!
- Baking Sheet: Use one lined with parchment paper for easy cleanup.
- Shallow Bowls: Perfect for mixing your coatings. Any bowl will do!
- Deep Skillet or Pot: Essential for frying. A deep saucepan can work as an alternative.
- Slotted Spoon: Great for removing fried ice cream. A regular spoon can suffice in a pinch.
Variations
- Chocolate Ice Cream: Swap vanilla for chocolate ice cream for a rich, decadent twist.
- Fruit Flavors: Try strawberry or mango ice cream for a refreshing fruity version.
- Nut Coating: Mix crushed nuts with cornflakes for added crunch and flavor.
- Gluten-Free Option: Use gluten-free flour and cornflakes to make this dessert suitable for gluten-sensitive friends.
- Vegan Version: Substitute dairy ice cream with coconut or almond milk ice cream and use a plant-based egg replacer.
Serving Suggestions
- Fresh Berries: Serve with a side of strawberries or raspberries for a fruity contrast.
- Ice Cream Sundae Bar: Set up a DIY sundae station with various toppings.
- Hot Beverages: Pair with coffee or hot chocolate for a cozy treat.
- Elegant Presentation: Use dessert plates and garnish with mint leaves for a touch of class.
FAQs about Fried Ice Cream
Can I make Fried Ice Cream ahead of time?
While it’s best enjoyed fresh, you can prepare the ice cream balls and coating in advance. Just keep them frozen until you’re ready to fry. This way, you can whip up this delightful dessert in no time!
What type of oil is best for frying?
Using a neutral oil with a high smoke point, like vegetable or canola oil, is ideal for frying. This ensures your Fried Ice Cream gets that perfect golden-brown color without any unwanted flavors.
Can I use different ice cream flavors?
Absolutely! Feel free to experiment with flavors like chocolate, strawberry, or even mint. Each variation brings a unique twist to this classic dessert, making it even more fun to enjoy!
Is Fried Ice Cream gluten-free?
To make this dessert gluten-free, simply swap out the all-purpose flour and cornflakes for gluten-free alternatives. Your friends with dietary restrictions will appreciate the effort!
How do I store leftover Fried Ice Cream?
Leftover Fried Ice Cream is a rare find, but if you have any, store it in an airtight container in the freezer. Just keep in mind that the texture may change after freezing, so it’s best to enjoy it fresh!
Final Thoughts
Fried Ice Cream is more than just a dessert; it’s an experience that brings joy and nostalgia. The first bite, with its crispy exterior giving way to creamy ice cream, is pure bliss. Whether you’re sharing it with family after dinner or impressing friends at a gathering, this treat is sure to spark smiles and laughter. Plus, the versatility of flavors and toppings means you can make it your own. So, roll up your sleeves, gather your ingredients, and dive into this delightful culinary adventure. Trust me, once you serve it, you’ll be the star of the kitchen!
PrintFried Ice Cream: Discover This Delightful Recipe!
- Total Time: 2 hours 30 minutes
- Yield: 4 servings
- Diet: Vegetarian
Description
Fried Ice Cream is a delightful dessert that combines the creaminess of ice cream with a crispy coating, creating a unique and delicious treat.
Ingredients
- 2 cups vanilla ice cream
- 1 cup cornflakes, crushed
- 1 teaspoon ground cinnamon
- 1 cup all-purpose flour
- 2 large eggs
- 1 cup milk
- Vegetable oil, for frying
- Chocolate syrup, for drizzling (optional)
- Whipped cream, for serving (optional)
- Cherries, for garnish (optional)
Instructions
- Scoop the vanilla ice cream into 4 balls, about 1/2 cup each. Place them on a baking sheet lined with parchment paper and freeze for at least 2 hours, or until solid.
- In a shallow bowl, mix the crushed cornflakes and ground cinnamon together.
- In another shallow bowl, whisk together the flour, eggs, and milk until smooth.
- Remove the ice cream balls from the freezer. Dip each ball into the flour mixture, then into the cornflake mixture, pressing gently to coat evenly. Repeat the process for a thicker coating.
- Place the coated ice cream balls back on the baking sheet and freeze for an additional 30 minutes.
- In a deep skillet or pot, heat about 2 inches of vegetable oil over medium-high heat until it reaches 350°F.
- Carefully fry the ice cream balls in batches for about 10-15 seconds, or until golden brown. Remove with a slotted spoon and drain on paper towels.
- Serve immediately, drizzled with chocolate syrup, topped with whipped cream, and garnished with a cherry if desired.
Notes
- For a different flavor, try using chocolate or strawberry ice cream instead of vanilla.
- Add toppings like crushed nuts, sprinkles, or fresh fruit to customize your fried ice cream further.
- Prep Time: 30 minutes
- Cook Time: 15 seconds per batch
- Category: Dessert
- Method: Frying
- Cuisine: American
Nutrition
- Serving Size: 1 serving
- Calories: 320
- Sugar: 20g
- Sodium: 150mg
- Fat: 15g
- Saturated Fat: 5g
- Unsaturated Fat: 10g
- Trans Fat: 0g
- Carbohydrates: 40g
- Fiber: 1g
- Protein: 6g
- Cholesterol: 70mg