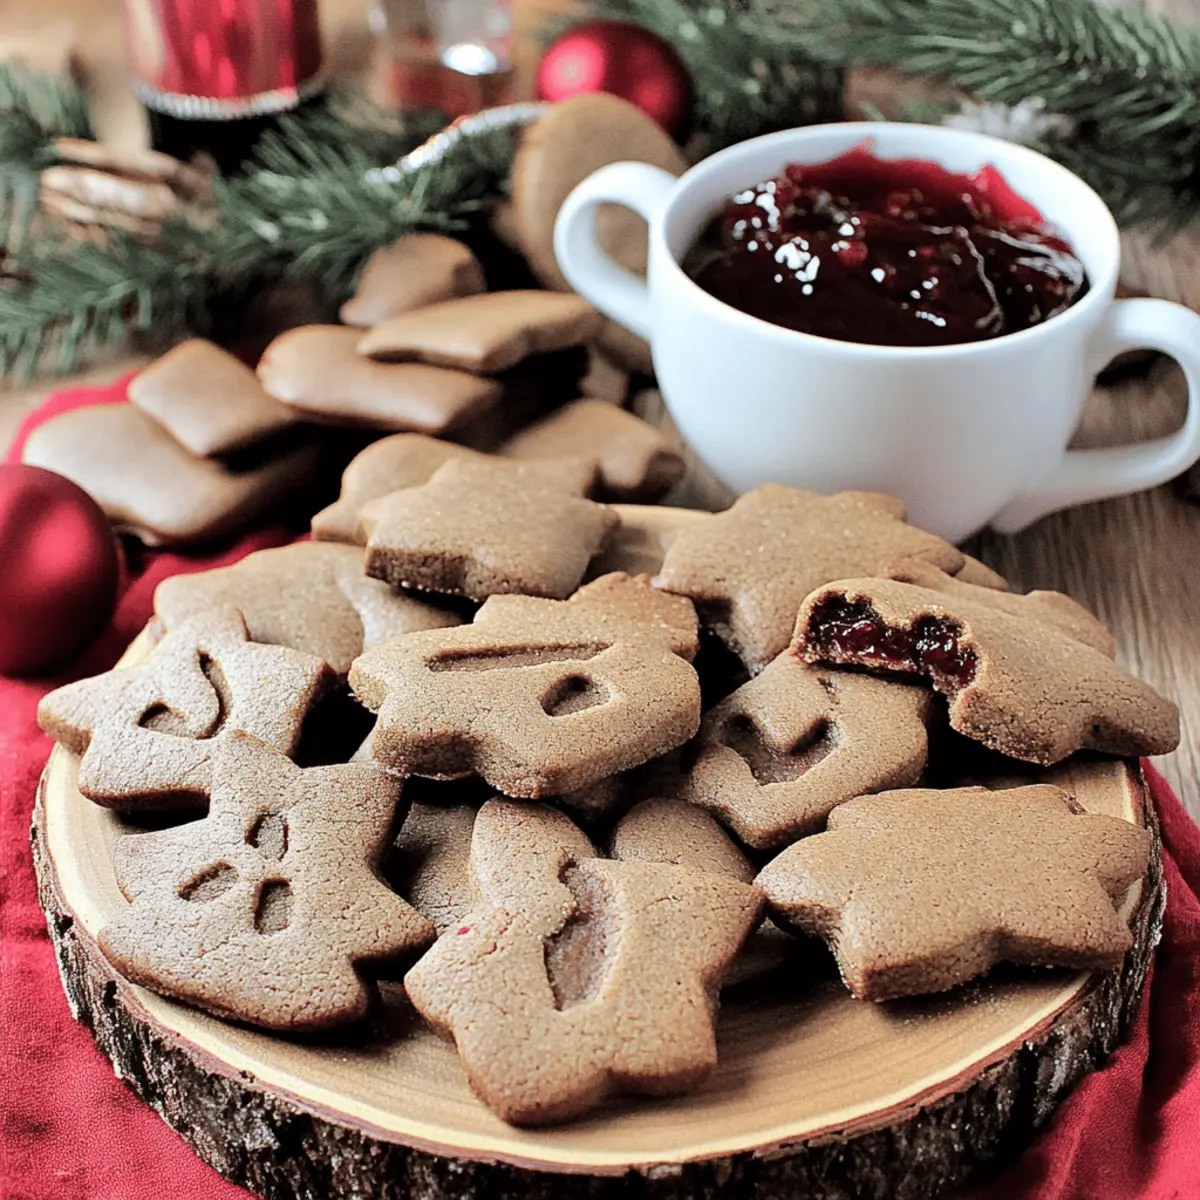
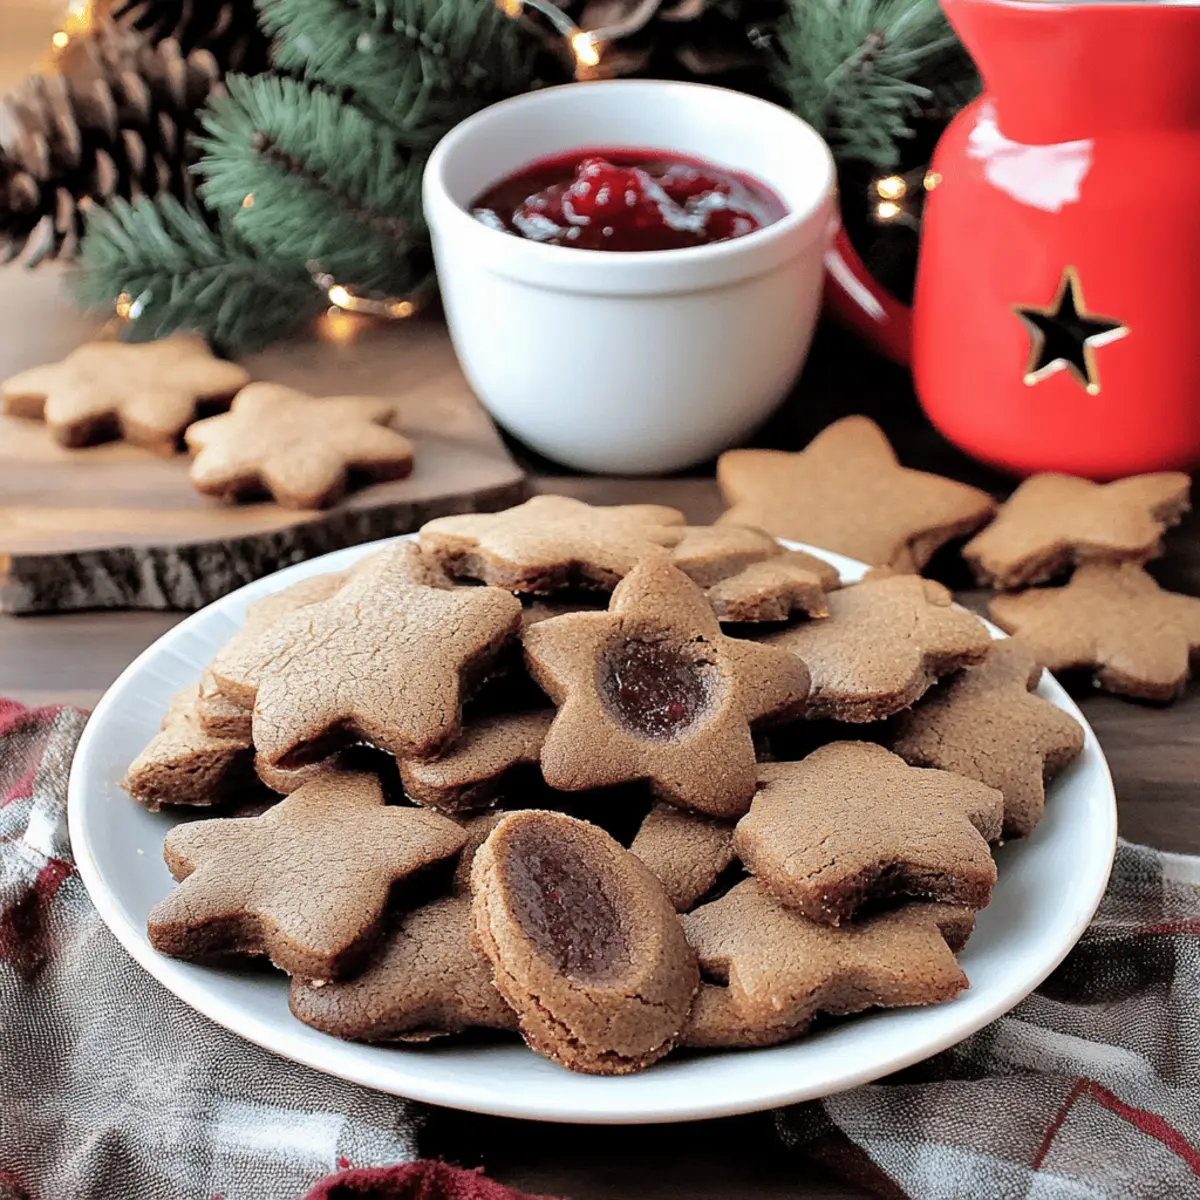
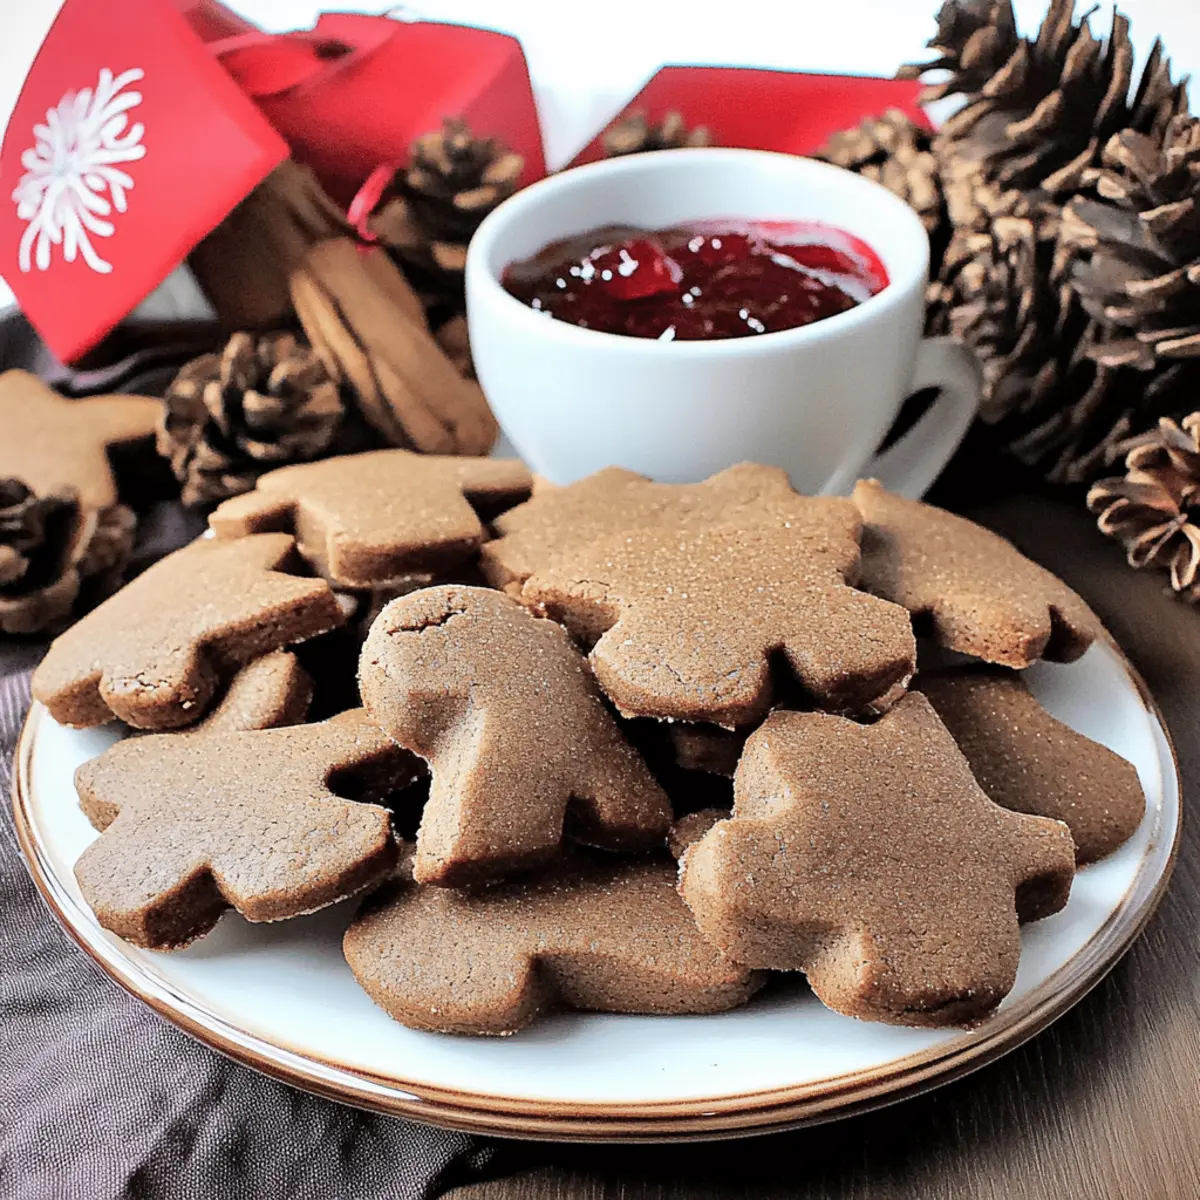
As the scent of warming spices fills my kitchen, I can’t help but feel transported back to my grandmother’s cozy home during the holidays. Today, I’m excited to share a treasure from her recipe box: Granny’s Old Fashioned Gingerbread Cookies. These delights are not only a nostalgic trip down memory lane, but they also offer a versatile twist with both gluten-free and traditional options. Perfect for gatherings or a quiet evening at home, these cookies are a delightful crowd-pleaser and a fun project to tackle together with loved ones. Whether you choose to fill them with luscious raspberry jam or rich chocolate spread, you’re sure to find a satisfying contrast of flavors that wraps you in warmth. So, are you ready to roll up your sleeves and create some edible memories?
Why are Gingerbread Cookies so Irresistible?
Nostalgic flavors from Granny’s recipe will transport you to cozy holiday gatherings, evoking a sense of warmth and comfort. Versatile options allow everyone to enjoy, whether you go gluten-free or stick to the classic version. Mouthwatering fillings like rich chocolate spread or homemade raspberry jam offer delightful surprises. Easy preparation makes these cookies a fun and approachable baking project to share with loved ones. Elevate your holiday table with these timeless treats that are sure to win over any crowd!
Granny’s Old Fashioned Gingerbread Cookies Ingredients
• The perfect blend of flavors awaits!
For the Dough
- Butter – Adds richness and moisture; opt for unsalted for better control of salt levels.
- Brown Sugar – Provides sweetness and a caramel-like flavor; coconut sugar can be used for a lower-glycemic option.
- Syrup (light or fancy molasses) – Sweetens and contributes to the deep flavor; avoid dark molasses for a bitter taste unless mixed with honey or syrup.
- Coffee – Reacts with baking soda for leavening; you can replace it with hot water if desired.
- Flour (all-purpose or gluten-free blend) – Forms the essential structure of the cookies; adjust as needed for gluten-free baking.
- Spices (ginger, cinnamon, and nutmeg) – Adds warmth and depth; feel free to alter the ratios based on your personal taste.
- Cream of Tartar – Stabilizes the dough for a better texture; it can be omitted if not available.
- Salt – Balances the sweetness; essential even in sweet recipes.
- Egg – Binds the ingredients together and contributes to the chewy texture; can be replaced with a flax egg for vegan options.
For the Fillings
- Raspberry Jam – Offers a fruity burst that contrasts beautifully with the spiced cookie; feel free to swap for other fruit preserves!
- Chocolate Spread – Brings a decadently sweet and creamy layer; let these cookies air dry for a few days to avoid softness.
These Granny’s Old Fashioned Gingerbread Cookies are not just about their delightful flavors; they’re about creating memorable moments with each bite. Enjoy baking!
Step‑by‑Step Instructions for Granny’s Old Fashioned Gingerbread Cookies
Step 1: Melt the Base Ingredients
In a medium saucepan, combine 1 cup of unsalted butter, 1 cup of brown sugar, and 1/2 cup of syrup over medium heat. Stir continuously until the mixture is completely melted and smooth, which should take about 5-7 minutes. Keep an eye on it to prevent burning. Once melted, remove from heat and allow it to cool slightly so it won’t cook the eggs later.
Step 2: Prepare the Baking Soda Mixture
While your melted mixture cools, dissolve 1 teaspoon of baking soda in 1/2 cup of hot coffee. Stir well until the baking soda fully dissolves; this helps the cookies rise while baking. This aromatic blend will enhance the flavor of Granny’s Old Fashioned Gingerbread Cookies. Set this aside for a moment as you prepare your dry ingredients.
Step 3: Combine Dry Ingredients
In a large mixing bowl, whisk together 4 cups of all-purpose (or gluten-free) flour, 1 tablespoon of ginger, 1 tablespoon of cinnamon, 1/2 teaspoon of nutmeg, and 1/2 teaspoon of salt. If using cream of tartar, include 1 teaspoon of that as well. Ensure all the spices are evenly distributed to create that signature warmth in your cookies. This step lays the foundation for the delicious flavor you’ll savor.
Step 4: Mix the Wet and Dry Ingredients
Pour the cooled butter-sugar mixture into the bowl with your dry ingredients. Use a sturdy spatula or wooden spoon to mix everything together until it forms a loose dough. Don’t worry about overmixing; it’s more important for everything to combine well. This dough will become the heart of Granny’s Old Fashioned Gingerbread Cookies, imbued with all those wonderful spices.
Step 5: Add the Egg
Once your dough is combined, allow it to cool for an additional 5 minutes. Then, incorporate 1 beaten egg into the mix. Stir until the egg is fully integrated, and the dough becomes soft and slightly sticky. This binding agent provides the chewy texture that you crave in these cookies, ensuring they hold together beautifully when baked.
Step 6: Refrigerate the Dough
Cover the bowl with plastic wrap and place it in the refrigerator for at least 12 hours, or up to 5 days if you’re planning ahead. This cooling period not only boosts the flavors of your dough but also helps it firm up for better rolling later. Patience is key here, as this step truly enhances the taste of your Granny’s Old Fashioned Gingerbread Cookies.
Step 7: Preheat the Oven
When you’re ready to bake, preheat your oven to 375°F (190°C). While the oven heats, prepare your baking sheets by lining them with parchment paper. This ensures your cookies won’t stick and will bake evenly. As the oven warms, bring your dough back out of the fridge and let it sit for a few minutes to soften.
Step 8: Roll and Cut the Dough
On a floured surface, roll out the chilled dough to about 1/4 inch thick. Use cookie cutters to create your desired shapes, from festive men to whimsical stars. Dust with flour as needed to prevent sticking. Arrange the cutouts on your prepared baking sheets, leaving space between them for even baking. This stage is a wonderful time to get creative!
Step 9: Bake the Cookies
Place the baking sheets in the preheated oven and bake the gingerbread cookies for 7-9 minutes. Keep a close eye on them, as you want the edges to be set but the centers soft. They should have a lovely golden brown hue when done. Once baked, remove them from the oven and let them cool on the sheets for a few minutes before transferring them to wire racks.
Step 10: Fill and Store the Cookies
Once cooled completely, it’s time for the fun part! Fill half of the cookies with homemade raspberry jam or a rich chocolate spread, then sandwich them with another cookie. Store your finished Granny’s Old Fashioned Gingerbread Cookies in an airtight container to keep them fresh and soft. These delightful treats are the perfect companion for cozy gatherings and festive celebrations!
Granny’s Old Fashioned Gingerbread Cookies Variations
Feel free to add your personal touch to these delightful cookies, embracing creativity and flavor!
- Gluten-Free: Use a gluten-free flour blend in equal amounts, ensuring everyone can enjoy these treats.
- Fruit-Filled: Substitute raspberry jam with any fruit preserves like apricot or blueberry for delicious twists. Your guests will love the flavor variety and surprise!
- Nut Butter: Swap chocolate spread for almond or peanut butter for a nutty twist that adds depth to each bite. The creamy texture complements the spices beautifully!
- Spice It Up: Enhance the spice profile by adding a pinch of cayenne or black pepper for a subtle kick, perfect for adventurous palates. Just a hint will evoke a new level of warmth!
- Frosted Delight: Top cookies with a light glaze made from powdered sugar and milk for a sweet contrast with adorable decorations. This option transforms your cookies into festive masterpieces!
- Bite-Sized Version: Roll small balls of dough instead of cutting shapes to create merry mini cookies that are perfect for snacking. They also bake up quicker, making them an easy treat!
- Chocolate-Covered: Dip cooled cookies halfway in melted dark chocolate for a decadent chocolate experience that creates a luscious barrier of flavor. This step elevates the cookies to downright gourmet!
- Herb Infusion: Try adding finely chopped rosemary or thyme into the dough for an unexpected herbal twist that pairs beautifully with the spices, adding an aromatic surprise. You might just discover a new favorite flavor combination!
Get creative and let your taste buds guide you. And if you’re looking for even more cookie inspiration, consider trying out Crunchy Sugar Cookies or indulge in some rich Chocolate Pumpkin Cookies. Happy baking!
How to Store and Freeze Granny’s Old Fashioned Gingerbread Cookies
Room Temperature: Store cookies in an airtight container at room temperature for up to 1 week to maintain their soft texture and delicious flavors.
Fridge: If you prefer a chilled treat, keep the cookies in the fridge for up to 2 weeks. Just ensure they are in a well-sealed container to prevent them from drying out.
Freezer: For long-term storage, freeze unfilled cookies for up to 3 months. Place layers of cookies separated by parchment paper in a freezer-safe bag to avoid clumping.
Reheating: To enjoy them warm, simply pop the cookies in a preheated oven at 350°F (175°C) for 5 minutes. This refreshes their soft, chewy texture, making them taste just-baked again!
What to Serve With Granny’s Old Fashioned Gingerbread Cookies
Warm cups of spiced drinks and sweet accompaniments bring these delightful cookies to life.
-
Spiced Tea: Complements the warm spices in the cookies, creating a harmonious pairing perfect for chilly afternoons.
-
Mulled Cider: A sweet and tangy drink that enhances the festive spirit, making every bite of the cookies even more enjoyable.
-
Creamy Hot Chocolate: Rich and indulgent, it balances the spiced flavors and adds a delightful sweetness to your dessert experience.
-
Fresh Fruit Salad: Offers a light and refreshing contrast to the rich cookies, bursting with juicy goodness that cuts through the sweetness.
-
Vanilla Ice Cream: A creamy addition that contrasts with the chewy texture, serving as a perfect cooling counterpoint to the warm cookies.
-
Chocolate Ganache Dip: Elevate your cookie experience by offering a rich chocolate dip – a decadent delight for chocolate lovers.
-
Whipped Cream Topping: Adds an airy lightness; serve it on top of a warm cookie for an indulgent treat.
-
Peppermint Bark Pieces: A festive crunch that complements the gingerbread flavors, bringing in a seasonal twist to every bite.
-
Gingerbread Latte: Emphasizes the cookie’s flavors, making it a cozy drink that rounds off your dessert beautifully.
-
Red Wine Pairing: A slightly sweet red wine can enhance the spices in the cookies, creating a sophisticated and indulgent finish.
Expert Tips for Granny’s Old Fashioned Gingerbread Cookies
-
Dough Chilling: Allow the dough to rest in the fridge for at least 12 hours to enhance flavors; up to 5 days is even better for deep, rich taste.
-
Avoid Over-Flouring: Do not add extra flour while mixing; the dough will thicken as it chills, leading to perfectly soft Granny’s Old Fashioned Gingerbread Cookies.
-
Thin Rolling: Roll the dough to about 1/4 inch thick. This prevents soft cookies from burning; thick cookies can easily overbake.
-
Fill After Cooling: Make sure the cookies are completely cool before filling with jam or chocolate. This keeps the filling from melting and maintains texture.
-
Experiment with Fillings: Don’t hesitate to try different jam flavors or chocolate spreads for varied tastes! Each filling will create a new favorite.
Make Ahead Options
These Granny’s Old Fashioned Gingerbread Cookies are perfect for meal prep enthusiasts! You can prepare the cookie dough up to 5 days in advance, chilling it in the refrigerator to enhance the flavors. Simply mix your ingredients, wrap the dough in plastic wrap, and let it rest in the fridge. When you’re ready to bake, roll out the chilled dough and cut it into your desired shapes before baking. Additionally, the filled cookies can be stored in an airtight container for up to 1 week. Just remember to allow them to cool completely before sealing to maintain their delightful softness. With these make-ahead tips, you’ll save precious time during busy holiday preparations and enjoy the same delicious flavors!

Granny’s Old Fashioned Gingerbread Cookies Recipe FAQs
What ingredients should I use for the best flavor in Granny’s Old Fashioned Gingerbread Cookies?
Absolutely! For the richest flavors, use unsalted butter and light to fancy molasses. This combination gives the cookies that deep warmth and sweetness they’re known for. If you want a lower-glycemic option, coconut sugar can be a fantastic substitute for brown sugar. Also, make sure to select fresh spices like ginger, cinnamon, and nutmeg as they add so much aromatic depth to each bite!
How do I store Granny’s Old Fashioned Gingerbread Cookies?
You can store the cookies in an airtight container at room temperature for up to 1 week for optimal freshness and soft texture. If you prefer them chilled, they’ll keep well in the fridge for up to 2 weeks. Just be sure they’re well-sealed to avoid any drying out.
Can I freeze Granny’s Old Fashioned Gingerbread Cookies?
Yes, indeed! You can freeze unfilled cookies for up to 3 months. To do this, place layers of cookies separated by parchment paper in a freezer-safe bag. This helps them avoid clumping together in the freezer. When you’re ready to enjoy them, simply thaw them at room temperature or reheat them in a preheated oven to revitalize their fresh-baked softness.
What should I do if my dough is too sticky?
If your dough turns out too sticky, don’t panic! First, ensure you chilled it long enough, as the dough should firm up. If it’s still sticky after chilling, try dusting your working surface and rolling pin with a bit of flour while rolling out the dough. Avoid adding too much flour, as that could make your cookies tough. You can also handle the dough with floured hands to shape it better.
Are the cookies safe for pets or certain allergies?
These cookies contain common allergens such as eggs, gluten, and dairy, so they’re not suitable for pets or those with allergies to these ingredients. If you’re making them for someone with dietary restrictions, consider trying a gluten-free flour blend and a flax egg replacement for a vegan option. Always be cautious and check the specific ingredients based on individual dietary needs.
Can I prepare the dough in advance?
Definitely! For the best flavor, you can chill the dough for at least 12 hours, but you can also store it in the fridge for up to 5 days. This not only enhances the taste but also makes it easier to roll out when you’re ready to bake. If you prepare the dough ahead of time, you can have a fun baking session when it suits you!
Granny's Old Fashioned Gingerbread Cookies for Cozy Festivities
Ingredients
Equipment
Method
- In a medium saucepan, combine 1 cup of unsalted butter, 1 cup of brown sugar, and 1/2 cup of syrup over medium heat. Stir continuously until melted and smooth, about 5-7 minutes.
- Dissolve 1 teaspoon of baking soda in 1/2 cup of hot coffee and stir until fully dissolved.
- In a large mixing bowl, whisk together 4 cups of flour, 1 tablespoon of ginger, 1 tablespoon of cinnamon, 1/2 teaspoon of nutmeg, 1/2 teaspoon of salt, and 1 teaspoon of cream of tartar.
- Pour the cooled butter-sugar mixture into the dry ingredients and mix until a loose dough forms.
- Allow the dough to cool for 5 minutes, then incorporate 1 beaten egg.
- Cover with plastic wrap and refrigerate for at least 12 hours, up to 5 days.
- Preheat oven to 375°F (190°C) and prepare baking sheets with parchment paper.
- On a floured surface, roll out the dough to about 1/4 inch thick, cut into desired shapes, and arrange on baking sheets.
- Bake cookies for 7-9 minutes until edges are set and centers are soft.
- Once cooled, fill half of the cookies with jam or chocolate spread and sandwich them.