Introduction to Heavenly Better Than Anything Cake
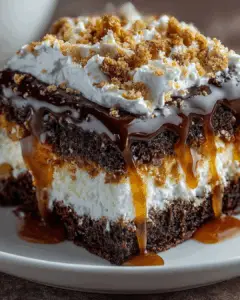
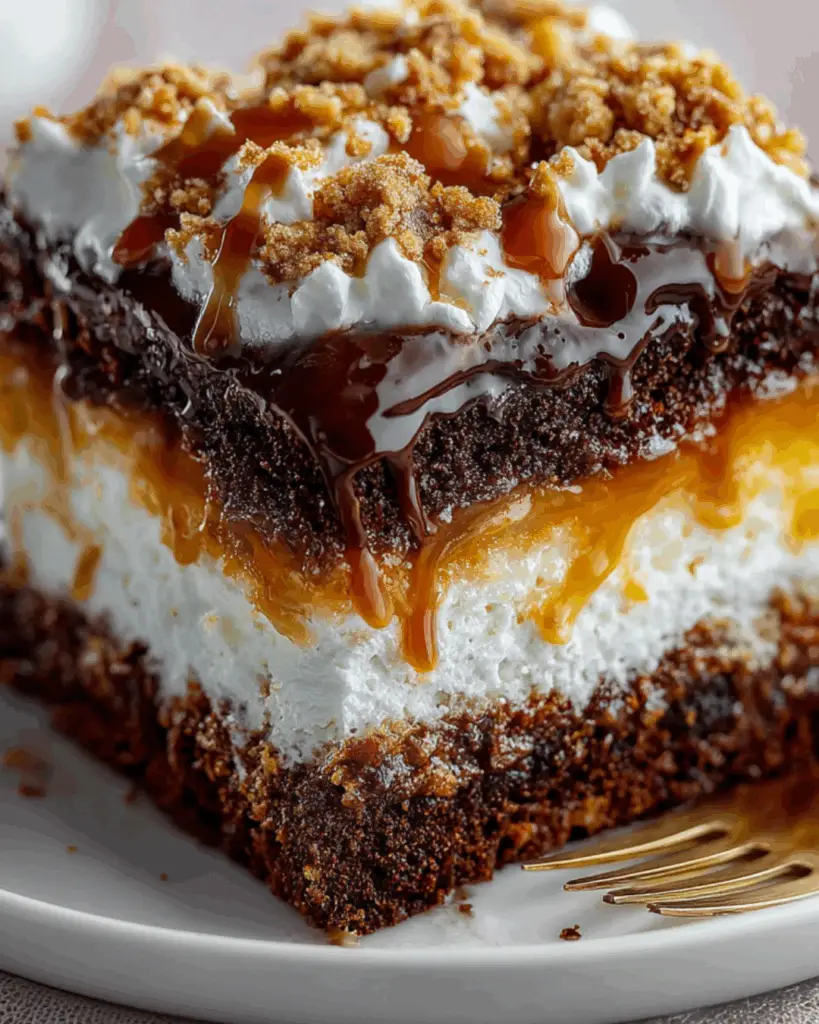
There’s something magical about a cake that can turn an ordinary day into a celebration. The Heavenly Better Than Anything Cake is just that—a dessert that brings joy with every bite. Whether you’re looking to impress guests or simply treat yourself after a long week, this cake is your go-to solution. It’s rich, indulgent, and surprisingly easy to make. With layers of chocolate, caramel, and whipped topping, it’s a sweet escape that feels like a warm hug. Trust me, once you try it, you’ll understand why it’s called “better than anything.”
Why You’ll Love This Heavenly Better Than Anything Cake
This cake is a game-changer for anyone who loves dessert but doesn’t have hours to spend in the kitchen. It’s quick to whip up, with simple ingredients that you probably already have on hand. The combination of chocolate and caramel creates a flavor explosion that’s hard to resist. Plus, it’s perfect for any occasion, whether it’s a birthday, holiday, or just a Tuesday. You’ll find yourself making it again and again!
Ingredients for Heavenly Better Than Anything Cake
Gathering the right ingredients is the first step to creating this indulgent masterpiece. Here’s what you’ll need:
- All-purpose flour: The backbone of your cake, providing structure and texture.
- Granulated sugar: Sweetens the cake and helps it rise, giving that perfect fluffy feel.
- Unsweetened cocoa powder: Adds rich chocolate flavor without extra sweetness.
- Baking powder and baking soda: These leavening agents ensure your cake rises beautifully.
- Salt: A pinch enhances all the flavors, balancing the sweetness.
- Large eggs: They bind the ingredients together and add moisture.
- Whole milk: Contributes to a moist texture and rich flavor.
- Vegetable oil: Keeps the cake tender and adds moisture.
- Vanilla extract: A must-have for that warm, comforting flavor.
- Boiling water: This secret ingredient helps to create a super moist batter.
- Sweetened condensed milk: The star of the show, soaking into the cake for a creamy sweetness.
- Caramel sauce: Drizzled on top, it adds a luscious layer of flavor.
- Whipped topping: Light and fluffy, it crowns the cake perfectly.
- Chocolate chips (optional): For those who can’t get enough chocolate, sprinkle some on!
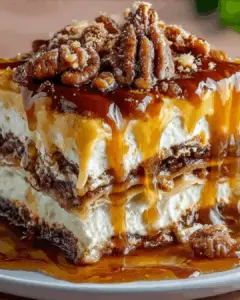
- Chopped pecans or walnuts (optional): A crunchy texture that complements the softness of the cake.
For exact measurements, check the bottom of the article where you can find everything listed for easy printing. Happy baking!
How to Make Heavenly Better Than Anything Cake
Now that you have your ingredients ready, let’s dive into the fun part—making this Heavenly Better Than Anything Cake! Follow these simple steps, and you’ll be on your way to dessert bliss.
Step 1: Preheat and Prepare
First things first, preheat your oven to 350°F (175°C). This ensures your cake bakes evenly. While the oven warms up, grease and flour two 9-inch round cake pans. This will help your cakes slide out easily once they’re baked.
Step 2: Mix Dry Ingredients
In a large mixing bowl, combine the all-purpose flour, granulated sugar, cocoa powder, baking powder, baking soda, and salt. Whisk them together until they’re well blended. This step is crucial for a uniform texture, so take your time!
Step 3: Add Wet Ingredients
Now, it’s time to bring the cake to life! Add the eggs, whole milk, vegetable oil, and vanilla extract to your dry mix. Beat everything on medium speed for about 2 minutes until the batter is smooth. The mixture should be thick and creamy, making your mouth water already!
Step 4: Combine with Boiling Water
Carefully stir in the boiling water. Yes, it’s hot, but this is the secret to a super moist cake! The batter will be thin, but that’s exactly what you want. Pour it evenly into your prepared cake pans.
Step 5: Bake the Cakes
Pop those pans into the oven and bake for 30 to 35 minutes. You’ll know they’re done when a toothpick inserted in the center comes out clean. Once baked, let them cool in the pans for about 10 minutes before transferring them to wire racks to cool completely.
Step 6: Soak the Cakes
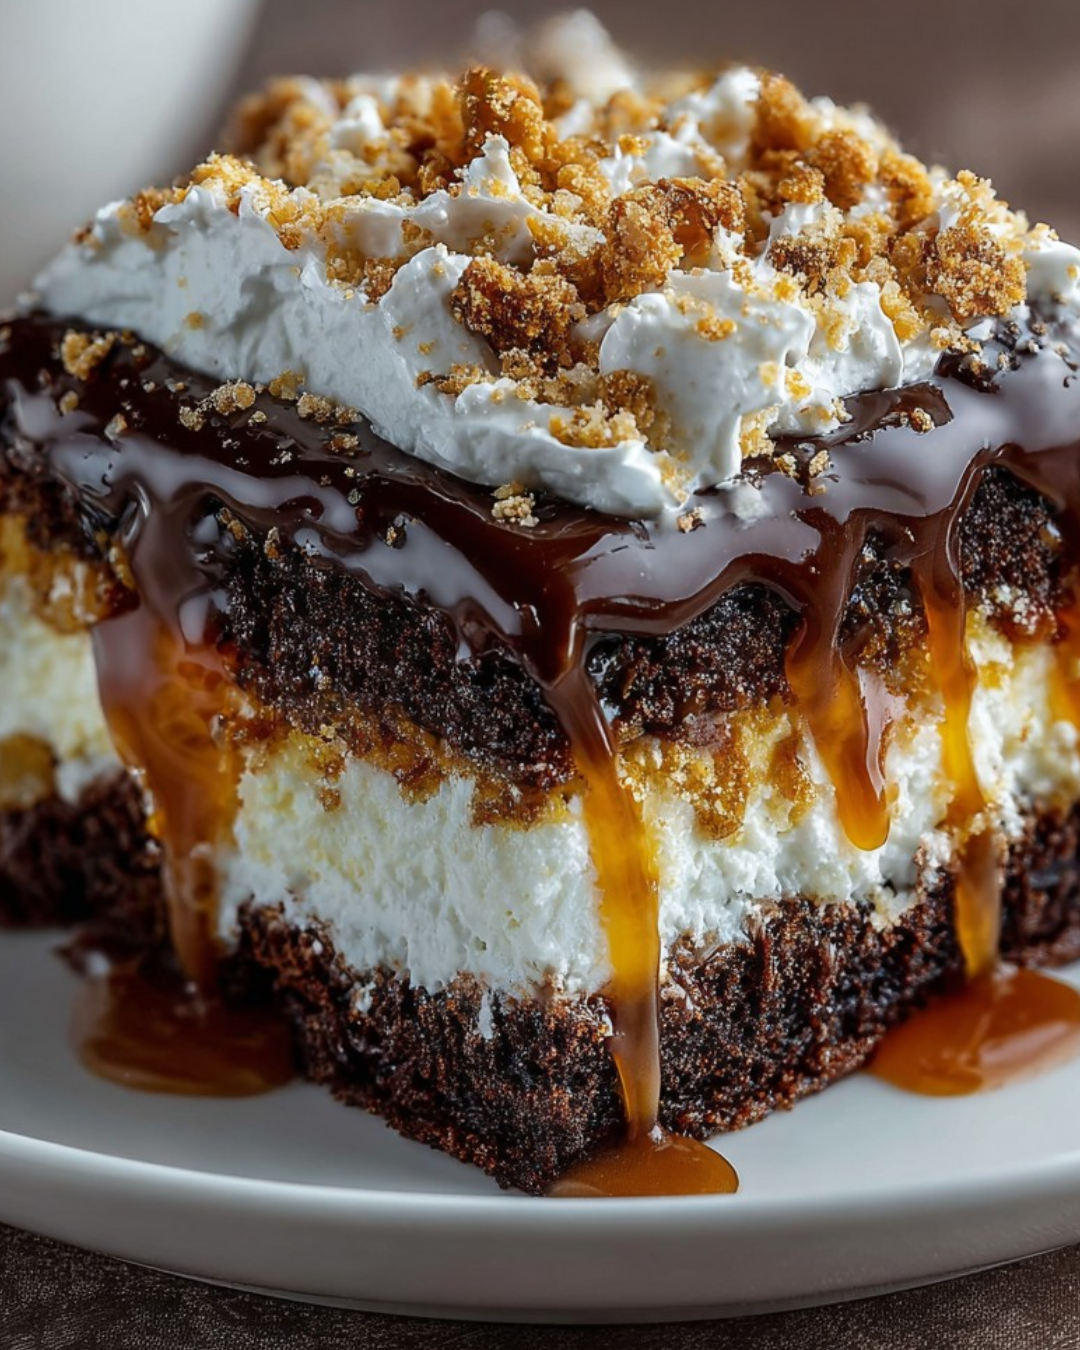
Once your cakes are cool, it’s time for the fun part! Poke holes in the top of each layer using a fork. This allows the sweetened condensed milk to soak in. Pour half of the sweetened condensed milk over each layer, letting it seep into those holes. Then, drizzle half of the caramel sauce over each layer, spreading it evenly.
Step 7: Assemble the Cake
Now, let’s build this beauty! Place one layer on a serving plate and spread half of the whipped topping over it. If you’re feeling extra, sprinkle half of the chocolate chips and nuts on top. Then, place the second layer on top and repeat the process with the remaining whipped topping, chocolate chips, and nuts.
Step 8: Chill Before Serving
Finally, chill the cake in the refrigerator for at least 1 hour before serving. This allows all those delicious flavors to meld together, making each bite even more heavenly. Trust me, the wait will be worth it!
Tips for Success
- Measure your ingredients accurately for the best results.
- Use room temperature eggs and milk for a smoother batter.
- Don’t skip the soaking step; it’s key to that moist texture.
- Let the cake cool completely before assembling to prevent melting the whipped topping.
- For a richer flavor, consider adding a splash of coffee to the batter.
Equipment Needed
- Two 9-inch round cake pans (or use one 9×13-inch pan for a single layer).
- Mixing bowls (a large one for the batter and a smaller one for mixing toppings).
- Whisk or electric mixer (a whisk works fine if you’re feeling adventurous).
- Measuring cups and spoons for accuracy.
- Cooling racks to let your cakes breathe.
Variations
- Chocolate Ganache: For an extra layer of decadence, top your cake with a rich chocolate ganache instead of whipped topping.
- Fruit Topping: Swap the caramel sauce for a fresh fruit topping like strawberries or raspberries for a lighter, refreshing twist.
- Gluten-Free Option: Use a gluten-free all-purpose flour blend to make this cake suitable for those with gluten sensitivities.
- Nut-Free Version: Omit the nuts or substitute with sunflower seeds for a nut-free alternative.
- Vegan Adaptation: Replace eggs with flaxseed meal and use plant-based milk and whipped topping for a vegan-friendly cake.
Serving Suggestions
- Pair with a scoop of vanilla ice cream for a delightful contrast.
- Serve alongside fresh berries to add a pop of color and freshness.
- Drizzle extra caramel sauce on top for an eye-catching presentation.
- Enjoy with a cup of coffee or a glass of milk to balance the sweetness.
FAQs about Heavenly Better Than Anything Cake
Can I make this cake ahead of time?
Absolutely! This Heavenly Better Than Anything Cake actually tastes better the next day as the flavors meld together. Just store it in the refrigerator, and it’ll be ready to impress when you are!
What can I substitute for sweetened condensed milk?
If you’re looking for a substitute, you can use a mixture of evaporated milk and sugar. Combine one cup of evaporated milk with 1 1/4 cups of sugar, and you’ll have a similar sweetness and texture.
How do I store leftovers?
Store any leftover cake in an airtight container in the refrigerator. It should stay fresh for about 3 to 4 days, but I doubt it will last that long!
Can I freeze this cake?
Yes, you can freeze the cake! Just wrap it tightly in plastic wrap and then in aluminum foil. It can be frozen for up to 3 months. Thaw it in the fridge overnight before serving.
What’s the best way to serve this cake?
For the ultimate experience, serve it chilled with a drizzle of caramel sauce and a dollop of whipped topping. It’s a dessert that’s sure to wow your guests!
Final Thoughts
Creating the Heavenly Better Than Anything Cake is more than just baking; it’s about crafting moments of joy. Each layer tells a story, from the rich chocolate to the luscious caramel. This cake is perfect for celebrations or simply to brighten a mundane day. The smiles it brings are worth every minute spent in the kitchen. So, whether you’re sharing it with loved ones or savoring a slice alone, this cake promises to deliver happiness in every bite. Trust me, once you experience its heavenly taste, you’ll want to make it a regular in your dessert rotation!
PrintHeavenly Better Than Anything Cake: Discover the Joy!
- Total Time: 1 hour 55 minutes
- Yield: 12 servings
- Diet: Vegetarian
Description
A rich and indulgent cake that combines chocolate, caramel, and whipped topping for a heavenly dessert experience.
Ingredients
- 2 cups all-purpose flour
- 2 cups granulated sugar
- 1/2 cup unsweetened cocoa powder
- 1 1/2 teaspoons baking powder
- 1 1/2 teaspoons baking soda
- 1 teaspoon salt
- 2 large eggs
- 1 cup whole milk
- 1/2 cup vegetable oil
- 2 teaspoons vanilla extract
- 1 cup boiling water
- 1 can (14 ounces) sweetened condensed milk
- 1 cup caramel sauce
- 1 cup whipped topping
- 1/2 cup chocolate chips (optional)
- 1/2 cup chopped pecans or walnuts (optional)
Instructions
- Preheat your oven to 350°F (175°C). Grease and flour two 9-inch round cake pans.
- In a large mixing bowl, combine the flour, sugar, cocoa powder, baking powder, baking soda, and salt. Whisk together until well blended.
- Add the eggs, milk, vegetable oil, and vanilla extract to the dry ingredients. Beat on medium speed for 2 minutes until smooth.
- Carefully stir in the boiling water (the batter will be thin). Pour the batter evenly into the prepared cake pans.
- Bake for 30 to 35 minutes, or until a toothpick inserted in the center comes out clean. Allow the cakes to cool in the pans for 10 minutes, then remove from pans and cool completely on wire racks.
- Once cooled, poke holes in the top of each cake layer using a fork. Pour half of the sweetened condensed milk over each layer, allowing it to soak in.
- Drizzle half of the caramel sauce over each layer, spreading it evenly.
- Place one layer on a serving plate and spread half of the whipped topping over it. If using, sprinkle with half of the chocolate chips and nuts.
- Place the second layer on top and repeat the process with the remaining whipped topping, chocolate chips, and nuts.
- Chill the cake in the refrigerator for at least 1 hour before serving to allow the flavors to meld.
Notes
- For a chocolate lover’s twist, add a layer of chocolate ganache on top of the whipped topping.
- Substitute the caramel sauce with a fruit topping like strawberry or raspberry for a refreshing variation.
- Prep Time: 20 minutes
- Cook Time: 35 minutes
- Category: Dessert
- Method: Baking
- Cuisine: American
Nutrition
- Serving Size: 1 slice
- Calories: 350
- Sugar: 30g
- Sodium: 300mg
- Fat: 15g
- Saturated Fat: 5g
- Unsaturated Fat: 10g
- Trans Fat: 0g
- Carbohydrates: 45g
- Fiber: 1g
- Protein: 5g
- Cholesterol: 50mg