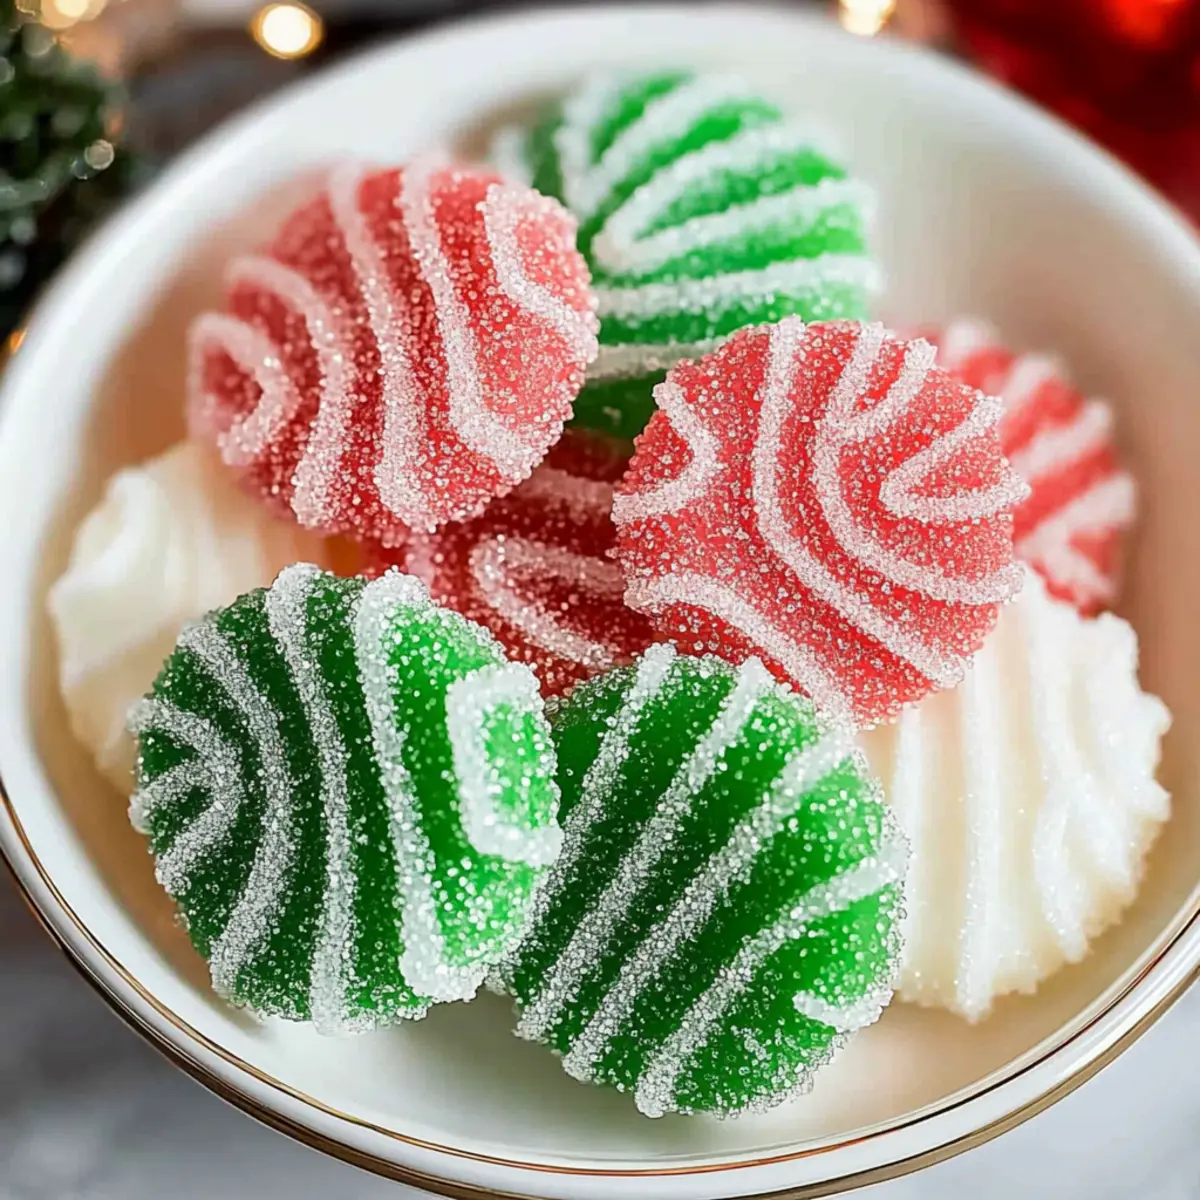
As I rummaged through my pantry, the festive spirit sparked an idea—it was time to whip up some delightful homemade Christmas mints! These no-bake treats offer a sweet escape back to childhood memories, melding creamy textures with a refreshing peppermint twist. Using just a handful of simple ingredients, these mints are not only incredibly easy to make but also a charming addition to any holiday gathering. Plus, the best part? They’re completely customizable! Whether you want to color them red and green for the season or experiment with fun flavors like grape or almond, the possibilities are endless. So, are you ready to create a festive candy that’s sure to make everyone’s spirits bright?
Why Make Your Own Homemade Christmas Mints?
Simplicity: These mints are a breeze to whip up, requiring only basic ingredients and minimal prep time.
Customizable Colors & Flavors: Change it up for the holidays with vibrant reds and greens, or explore unique options like grape and almond for added fun!
Perfect for Gifting: Delight friends and family by packaging these delicious mints in decorative tins or cellophane bags, making them a thoughtful homemade gift.
Diet-Friendly: These mints are gluten-free and vegetarian, ensuring they can be enjoyed by everyone at your festive gatherings.
Nostalgic Treat: Revive childhood memories with the melt-in-your-mouth texture that pays homage to classic candy shop favorites, perfect for any holiday celebration.
Homemade Christmas Mints Ingredients
For the Mint Mixture
- Cream Cheese – Provides creaminess and structure; ensure it’s softened for a smooth blend.
- Unsalted Butter – Adds richness and contributes to the buttery flavor; remember to soften it for easy mixing.
- Corn Syrup – Helps maintain moisture, keeping mints soft and preventing hardness.
- Peppermint Extract – Infuses the mints with refreshing flavor; clear extract is best to keep the colors vibrant.
- Powdered Sugar – Acts as the main sweetener while contributing to the dough’s texture; adjust based on dough consistency.
For Coating and Coloring
- Granulated Sugar – Used for coating the mints to add a sparkly finish; enhances their visual appeal.
- Food Coloring – Optional for creating vibrant holiday colors; gel food coloring offers intensity and a richer hue.
Prepare these delightful ingredients to start creating your homemade Christmas mints that will charm everyone at your festive gatherings!
Step‑by‑Step Instructions for Homemade Christmas Mints
Step 1: Prepare Your Workspace
Begin by lining a baking sheet with parchment paper and placing a bowl of granulated sugar nearby for coating your mints later. Make sure you have a clean countertop or workspace, and gather all your ingredients so they’re ready to use. This will create a smooth flow as you whip up your delightful homemade Christmas mints.
Step 2: Mix the Creamy Base
In a large mixing bowl, combine softened cream cheese, unsalted butter, corn syrup, and peppermint extract. Using an electric mixer, blend these ingredients on medium speed until the mixture is creamy and smooth, which should take about 2-3 minutes. Look for a luscious texture that will give your mints a rich flavor foundation.
Step 3: Add the Sweetness
Gradually add in powdered sugar, about one cup at a time, mixing well after each addition. You may end up using around 4¼ cups of powdered sugar, but adjust as necessary to reach a dough-like consistency. If your mixture becomes too thick, switch to a spatula for easier blending, ensuring your homemade Christmas mints have a perfectly balanced sweet taste.
Step 4: Portion the Dough
Turn out the mint mixture onto a clean, sugared surface. Divide the dough into three equal portions, ensuring each piece is similar in size. This allows for even coloring and flavoring in your festive mints. Enjoy the tactile sensation of working with the dough as you prepare it for the next festive touches.
Step 5: Color Your Mints
Take two of the portions and create indents in the center. Add a few drops of red food coloring to one portion and green to the other. Knead each colored portion thoroughly until the colors are fully incorporated, ensuring the vibrant hues distribute evenly. This step brings your homemade Christmas mints to life with festive colors!
Step 6: Shape the Dough
Roll each colored portion into long, 18-inch ropes on your sugared surface. Once rolled, cut the ropes into half-inch pieces. The visual transformation will be delightful, as you see your vibrant mints taking shape. This step sets the stage for the finishing touches that will make these treats perfect for the holiday season.
Step 7: Create Mint Balls
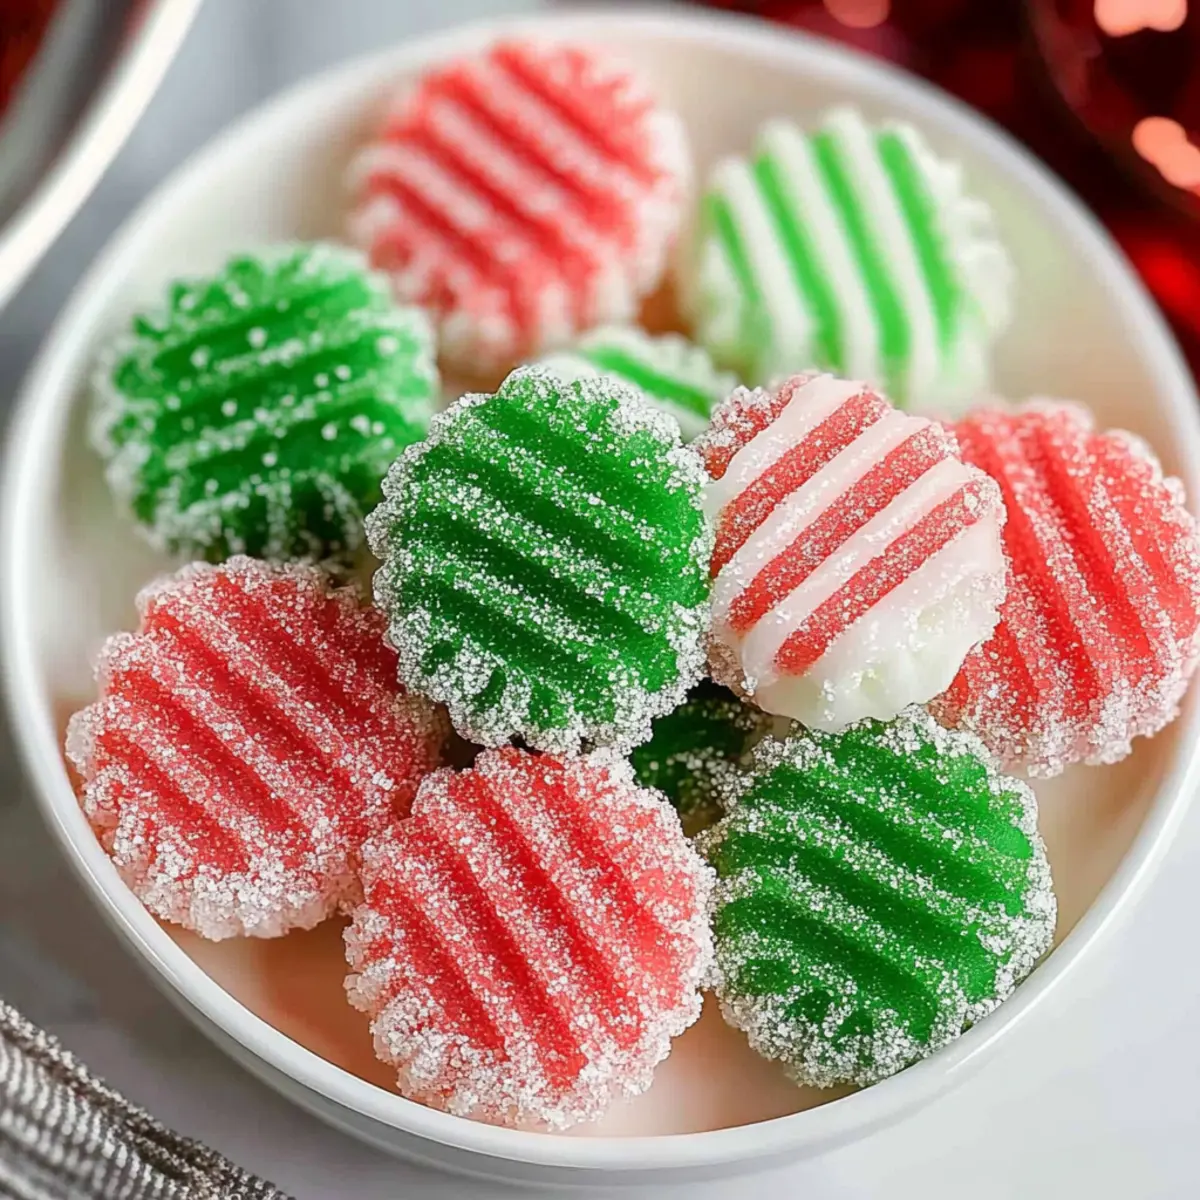
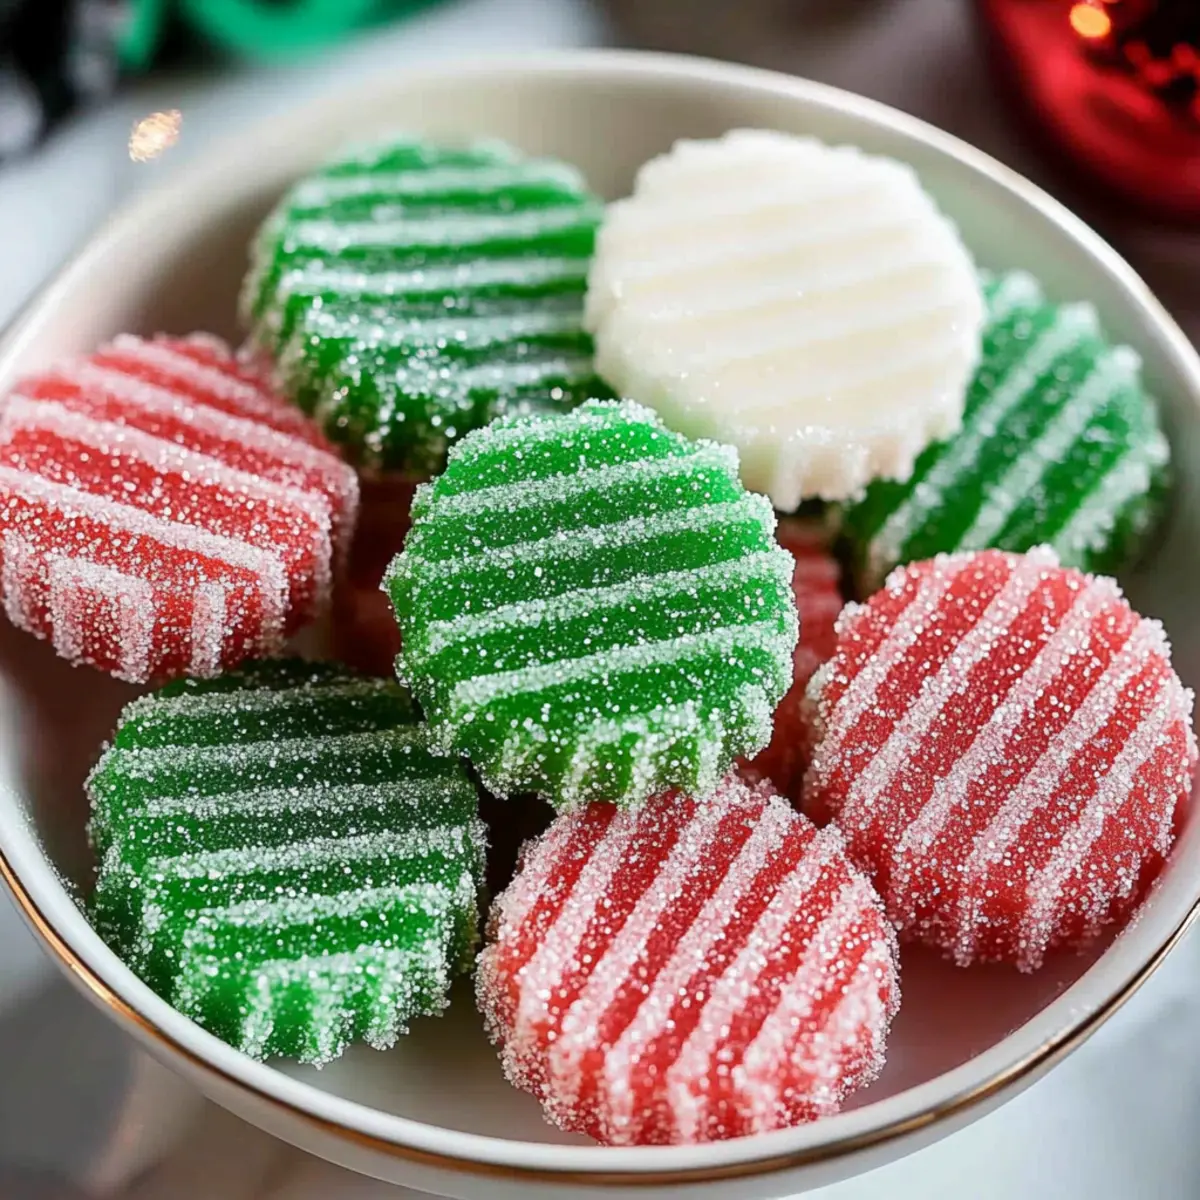
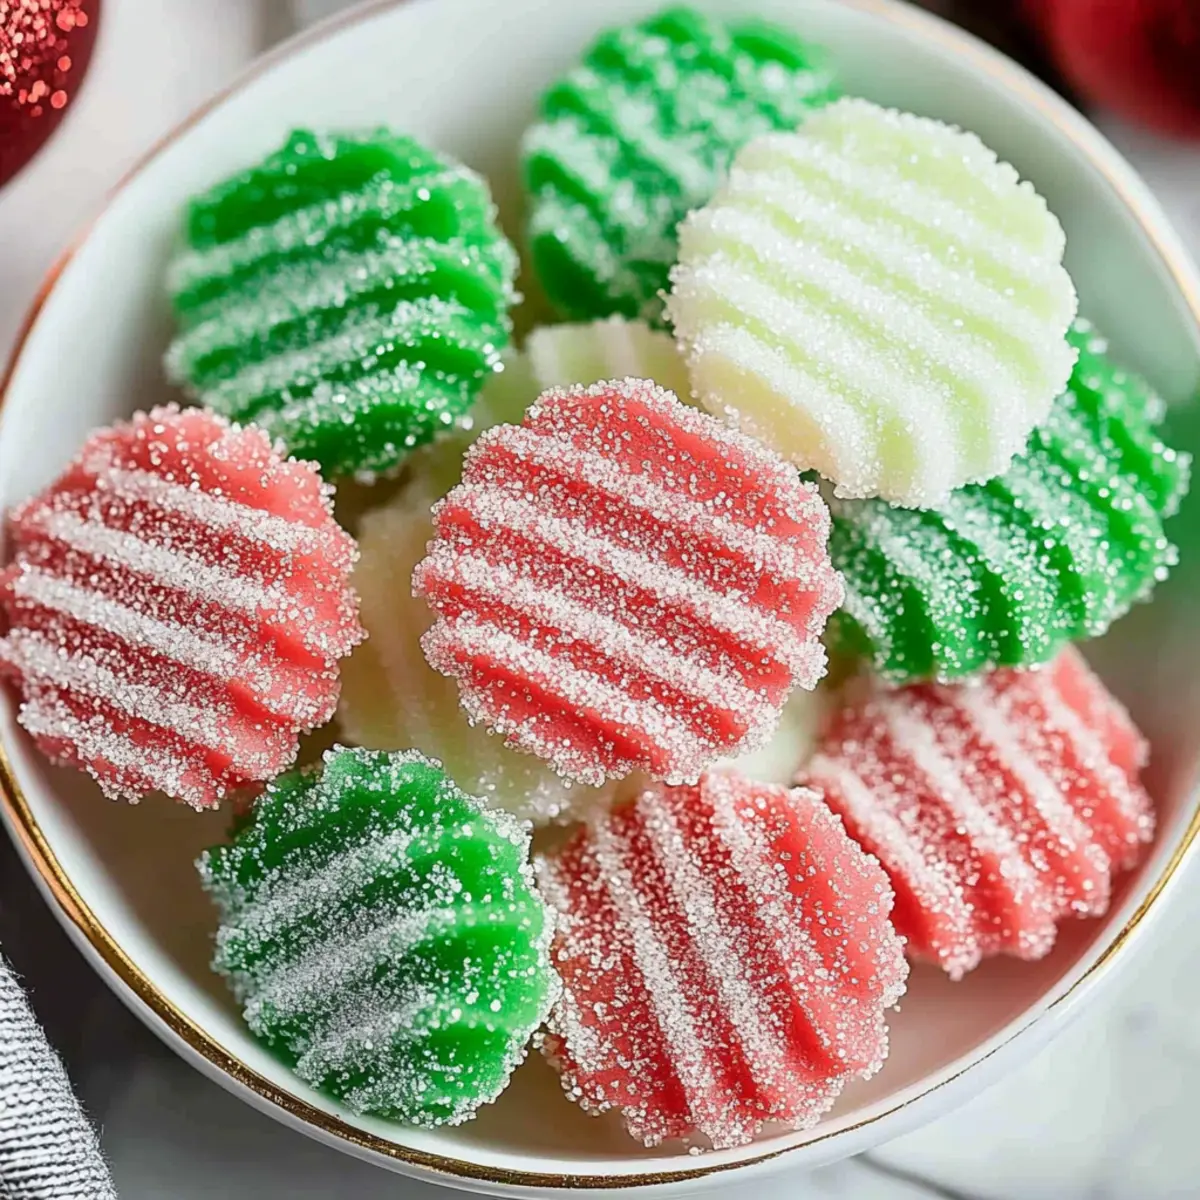
With each piece cut, roll them into smooth balls using your hands. Once rounded, gently roll each ball in the granulated sugar to give them a sweet, sparkly finish. The sugary coating enhances the overall appearance and sweetness of your adorable homemade Christmas mints, making them irresistibly charming.
Step 8: Flatten for Decoration
Using a fork, flatten each sugared ball slightly to create decorative stripes on the surface. This adds a touch of elegance and character to your mints. Remember to apply gentle pressure to avoid squishing them too much, ensuring they hold their form while showcasing a fun pattern.
Step 9: Allow to Dry
Place your decorative mints on the lined baking sheet and allow them to dry at room temperature for 24 hours. This crucial step helps them develop the right texture, making them slightly firm on the outside while remaining delightfully soft inside. Patience pays off as you anticipate enjoying your homemade Christmas mints!
Expert Tips for Homemade Christmas Mints
-
Precise Measurements: Ensure accurate measurements for powdered sugar, adjusting based on temperature and humidity to achieve the perfect dough consistency in your homemade Christmas mints.
-
Use Softened Ingredients: Always start with softened cream cheese and butter for easier mixing, preventing lumps and ensuring a smoother mint mixture.
-
Experiment with Colors: Feel free to explore different gel food coloring options for fun holiday variations. Remember, add a little at a time for the perfect shade without altering texture.
-
Coating Technique: Roll your mints in granulated sugar immediately after shaping to create that lovely sparkle. Avoid letting them sit too long before coating.
-
Drying Time Matters: Be patient and allow your mints to dry for a full 24 hours. Rushing this step can lead to a soft texture that may not hold up as well.
What to Serve with No-Bake Christmas Mints?
Sweet and colorful, these festive treats create a joyful atmosphere for any holiday gathering.
- Creamy Hot Chocolate: A warm, rich drink that complements the refreshing mint flavor, making for a cozy pairing.
- Christmas Sugar Cookies: Soft and buttery, these cookies add a delightful texture contrast to the smooth mints, perfect for dessert trays.
- Gingerbread Men: Spicy and sweet, gingerbread brings a classic holiday flavor that harmonizes wonderfully with the cool peppermint essence.
- Cheese Platter: Soft cheeses and savory crackers provide a delightful balance to the sweetness of the mints, making your spread more dynamic.
- Sparkling Apple Cider: Bright and fizzy, this drink adds a celebratory touch, enhancing the light, minty flavors of your homemade Christmas mints.
- Chocolate Fondue: Indulging in rich chocolate with fresh strawberries or marshmallows creates a fancy yet fun way to enjoy these mints as a dip.
- Peppermint Bark: Layered with decadent chocolate and more peppermint, it’s a cohesive homage to your no-bake mints that guests will adore.
- Festive Fruit Salad: A colorful mix of seasonal fruits injects freshness into your dessert table, perfectly contrasting the richness of the mints.
- Eggnog: Creamy and spiced, this classic holiday beverage pairs beautifully, mimicking the smooth texture and adding warmth to your festivities.
Homemade Christmas Mints Variations
Feel free to get creative and make these homemade Christmas mints uniquely yours with delightful twists and colors!
-
Flavor Infusions:
Grape or Almond – Substitute peppermint extract with grape or almond for a personalized flavor adventure. -
Vibrant Hues:
Colorful Options – Try using different gel food colorings like blue or purple, giving your mints a fun, playful flair. -
Coconut Delight:
Coconut-Infused – Mix shredded coconut into the mint mixture for a tropical twist, adding a chewy texture and rich flavor. -
Chocolate Mints:
Cocoa Addition – Blend in cocoa powder to create a rich chocolatey version, perfect for chocolate lovers during the holidays. -
Spiced Variations:
Cinnamon Twist – Add a pinch of cinnamon to the mixture for a warm twist, enhancing the holiday spirit with comfort and nostalgia. -
Nutty Crunch:
Chopped Nuts – Incorporate finely chopped walnuts or pecans for added texture and flavor, giving the mints a delightful crunch. -
Scotchmallow Style:
Chocolate Coated – Dip your completed mints in melted chocolate for an indulgent treat that’s sure to impress! -
Zesty Lemon:
Citrus Burst – Incorporate lemon zest or lemon extract instead of peppermint for a bright, refreshing alternative that’s perfect for spring celebrations.
When you’re ready to explore more festive recipes, don’t forget to check out Making Christmas Crack or for something sweet, try Fun Christmas Candy that will delight family and friends alike!
Storage Tips for Homemade Christmas Mints
Room Temperature: Store your mints in an airtight container at room temperature for up to 3 days. This will keep them fresh and ready to enjoy at a moment’s notice.
Fridge: For longer storage, place the mints in an airtight container in the refrigerator, where they can last for up to 2 weeks without losing their delightful flavor.
Freezer: If you’re preparing your homemade Christmas mints ahead of time, freeze them in an airtight container or freezer bag for up to 3 months. Let them thaw in the fridge before serving.
Reheating: There’s no need to reheat mints; simply enjoy them straight from the container! If you want to enhance the texture, let them sit at room temperature for a few minutes before enjoying.
Make Ahead Options
These delightful homemade Christmas mints are perfect for busy home cooks looking to simplify their holiday prep! You can prepare the mint mixture and shape the balls up to 24 hours in advance—just roll them in granulated sugar and cover them tightly to prevent them from drying out. If you prefer, you can refrigerate the formed mints in an airtight container for up to 3 days before allowing them to dry at room temperature for optimal texture. Simply finish by flattening them before serving, and you’ll have scrumptious, festive treats that taste just as fresh as when you made them! Enjoy the time-saving benefits while providing a homemade touch to your holiday celebrations.
Homemade Christmas Mints Recipe FAQs
How do I choose the right cream cheese for this recipe?
Absolutely! For the best results, use full-fat, softened cream cheese, as it provides the perfect creaminess and structure for your mints. Avoid low-fat or whipped versions, as they won’t yield the same texture and flavor.
How long can I store my homemade Christmas mints?
You can store your mints in an airtight container at room temperature for up to 3 days. If you want them to last longer, refrigerate them where they’ll remain fresh for up to 2 weeks. Just make sure they’re sealed tightly to keep their delightful flavor intact.
Can I freeze homemade Christmas mints?
Very! Freezing is a great option if you’d like to prepare your mints ahead of time. Place them in an airtight container or a freezer bag, and they will stay fresh for up to 3 months. When you’re ready to enjoy, simply thaw them in the fridge overnight before serving.
What if my mint mixture is too sticky or too dry?
No worries! If your mixture is too sticky, add a little extra powdered sugar, a tablespoon at a time, until you reach a smoother consistency. If it’s too dry, try adding a tiny splash of corn syrup or cream to moisten it. Aim for a dough-like texture that holds its shape but isn’t crumbly.
Are these mints safe for people with dietary restrictions?
Yes! These homemade Christmas mints are gluten-free and vegetarian-friendly, making them a perfect treat for various dietary preferences. However, always check labels on ingredients to ensure they meet specific dietary needs, especially for food coloring and sweeteners. Consider using allergy-friendly substitutes if necessary.
Delicious Homemade Christmas Mints You’ll Love to Make
Ingredients
Equipment
Method
- Prepare Your Workspace: Line a baking sheet with parchment paper and place a bowl of granulated sugar nearby. Gather all your ingredients for easy access.
- Mix the Creamy Base: In a large mixing bowl, combine cream cheese, butter, corn syrup, and peppermint extract. Blend until creamy and smooth, about 2-3 minutes.
- Add the Sweetness: Gradually incorporate powdered sugar, one cup at a time, until a dough-like consistency is reached.
- Portion the Dough: Turn the mixture onto a sugared surface and divide it into three equal portions.
- Color Your Mints: Add red food coloring to one portion and green to another, kneading thoroughly until colors are evenly distributed.
- Shape the Dough: Roll each colored portion into long, 18-inch ropes and cut into half-inch pieces.
- Create Mint Balls: Roll each piece into smooth balls, then coat in granulated sugar.
- Flatten for Decoration: Use a fork to slightly flatten each sugared ball, creating decorative stripes on top.
- Allow to Dry: Place your mints on the lined baking sheet and allow them to dry at room temperature for 24 hours.