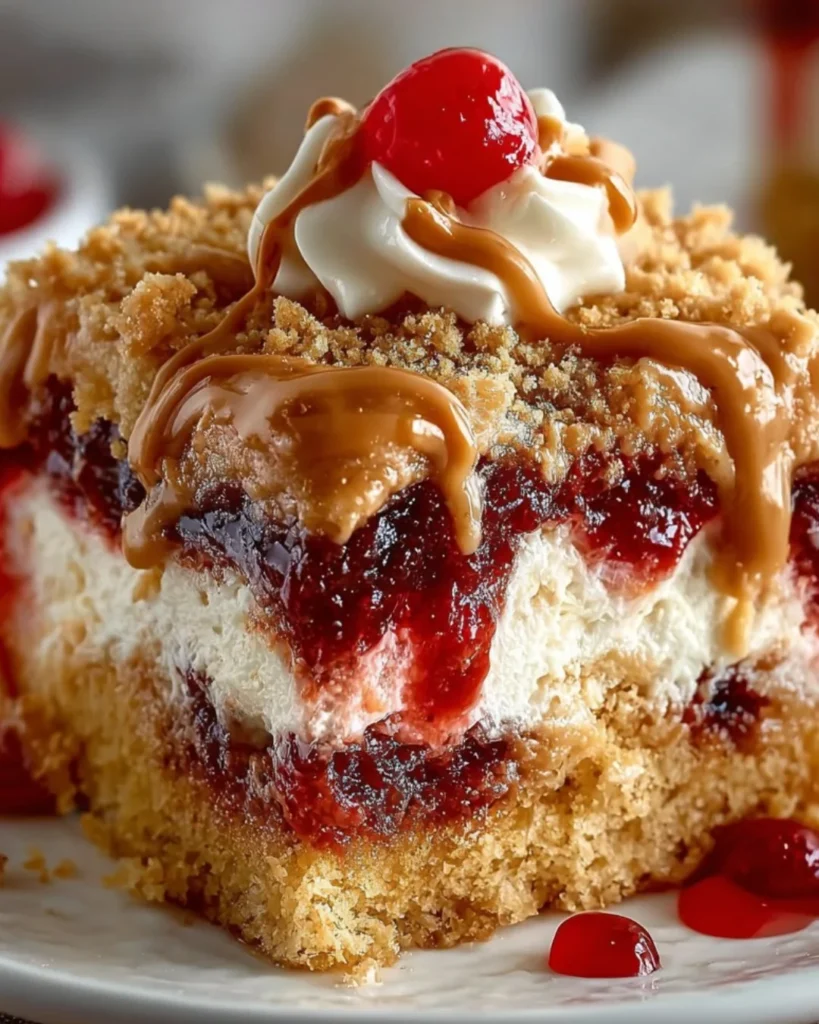
Introduction to Peanut Butter & Jelly Poke Cake
There’s something magical about the combination of peanut butter and jelly that takes me back to my childhood. The aroma of a freshly baked Peanut Butter & Jelly Poke Cake fills the kitchen, instantly lifting spirits. This delightful treat is not just a nostalgic nod to simpler times; it’s also a quick solution for busy days when you want to impress loved ones without spending hours in the kitchen. With its moist texture and creamy filling, this cake is sure to become a favorite in your home, bringing smiles and sweet memories to every bite.
Why You’ll Love This Peanut Butter & Jelly Poke Cake
This Peanut Butter & Jelly Poke Cake is a game-changer for dessert lovers. It’s incredibly easy to whip up, making it perfect for those hectic weeknights or last-minute gatherings. The rich, creamy peanut butter combined with the sweet jelly creates a flavor explosion that’s hard to resist. Plus, it’s a crowd-pleaser, ensuring everyone leaves the table with a smile. Trust me, this cake will quickly become your go-to dessert!
Ingredients for Peanut Butter & Jelly Poke Cake
Gathering the right ingredients is the first step to creating this delightful Peanut Butter & Jelly Poke Cake. Here’s what you’ll need:
- All-purpose flour: The backbone of your cake, providing structure and a soft crumb.
- Granulated sugar: Sweetens the cake and helps create that lovely golden crust.
- Baking powder: This leavening agent ensures your cake rises beautifully.
- Salt: A pinch enhances the flavors and balances the sweetness.
- Milk: Adds moisture and richness to the batter.
- Unsalted butter: Melted for a rich flavor and tender texture.
- Large eggs: They bind the ingredients together and add moisture.
- Vanilla extract: A splash of this adds warmth and depth to the flavor.
- Creamy peanut butter: The star of the show, bringing that classic nutty flavor.
- Grape or strawberry jelly: Adds sweetness and a fruity twist; feel free to choose your favorite!
- Whipped topping: For a light, fluffy finish that complements the cake perfectly.
- Chopped peanuts (optional): For a crunchy garnish that adds texture and flavor.
For those looking to mix things up, consider using chocolate cake mix instead of plain flour for a chocolatey twist. You can also experiment with different jelly flavors, like raspberry or blueberry, to customize your cake. Exact measurements for these ingredients can be found at the bottom of the article, ready for printing!
How to Make Peanut Butter & Jelly Poke Cake
Creating this Peanut Butter & Jelly Poke Cake is a breeze! Follow these simple steps, and you’ll have a delicious dessert that will impress everyone. Let’s dive in!
Step 1: Preheat and Prepare
Start by preheating your oven to 350°F (175°C). While it warms up, grab a 9×13-inch baking pan and grease it with butter or cooking spray. Dust it lightly with flour to ensure your cake comes out easily. This little step makes a big difference!
Step 2: Mix Dry Ingredients
In a large mixing bowl, combine the all-purpose flour, granulated sugar, baking powder, and salt. Whisk them together until they’re well blended. This dry mix is the foundation of your cake, so make sure it’s evenly combined for a perfect rise.
Step 3: Combine Wet Ingredients
Now, it’s time to add the wet ingredients! Pour in the milk, melted butter, eggs, and vanilla extract. Using an electric mixer, beat the mixture on medium speed for about 2 minutes. You want it to be smooth and creamy, with no lumps. This is where the magic begins!
Step 4: Bake the Cake
Pour the batter into your prepared baking pan, spreading it evenly. Pop it into the preheated oven and bake for 30-35 minutes. To check if it’s done, insert a toothpick into the center. If it comes out clean, your cake is ready to shine!
Step 5: Poke Holes
Once the cake is out of the oven, let it cool in the pan for about 10 minutes. Then, take the handle of a wooden spoon and poke holes all over the top of the cake, about 1 inch apart. This is where the peanut butter and jelly will seep in, creating that delightful flavor!
Step 6: Add Peanut Butter & Jelly Mixture
In a small bowl, mix together the creamy peanut butter and jelly until smooth. Spoon this mixture over the cake, making sure it fills the holes you just poked. The combination of flavors will be heavenly, and your cake will be bursting with that classic peanut butter and jelly goodness!
Step 7: Cool and Top
Allow the cake to cool completely. Once it’s cool, spread the whipped topping over the top for a light, fluffy finish. If you’re feeling adventurous, sprinkle some chopped peanuts on top for an extra crunch. Now, it’s time to refrigerate the cake for at least 2 hours. This helps the flavors meld beautifully!
Tips for Success
- Make sure your ingredients are at room temperature for better mixing.
- Don’t skip the cooling time; it helps the flavors meld perfectly.
- Use a toothpick to check for doneness; it should come out clean.
- Feel free to customize with different jelly flavors or add chocolate chips.
- For a richer taste, try using crunchy peanut butter instead of creamy.
Equipment Needed
- 9×13-inch baking pan: A standard size for this cake; a glass or metal pan works well.
- Mixing bowls: Use a large bowl for dry ingredients and a medium one for wet.
- Electric mixer: A hand mixer is perfect, but a whisk will do in a pinch.
- Wooden spoon: Essential for poking holes and mixing ingredients.
- Toothpick: For checking the cake’s doneness.
Variations
- Chocolate Peanut Butter & Jelly Poke Cake: Swap out the all-purpose flour for chocolate cake mix for a rich, chocolatey twist.
- Nutty Crunch: Use crunchy peanut butter instead of creamy for added texture and flavor.
- Fruit Fusion: Experiment with different jelly flavors like raspberry, blueberry, or even orange marmalade for a unique taste.
- Gluten-Free Option: Substitute all-purpose flour with a gluten-free flour blend to make this cake suitable for gluten-sensitive friends.
- Vegan Version: Replace eggs with flaxseed meal and use plant-based milk and butter for a vegan-friendly treat.
Serving Suggestions
- Pair with a scoop of vanilla ice cream for a delightful contrast in temperature and texture.
- Serve alongside fresh fruit, like strawberries or bananas, to enhance the flavors.
- Drizzle with chocolate syrup for an indulgent touch.
- Garnish with extra chopped peanuts for added crunch and visual appeal.
FAQs about Peanut Butter & Jelly Poke Cake
Can I use natural peanut butter for this recipe?
Absolutely! Natural peanut butter works well, but keep in mind it may be a bit less creamy. Stir it well before mixing to ensure a smooth consistency.
How long can I store the Peanut Butter & Jelly Poke Cake?
This cake can be stored in the refrigerator for up to 5 days. Just make sure to cover it tightly to keep it fresh and moist!
Can I make this cake ahead of time?
Yes! This Peanut Butter & Jelly Poke Cake is perfect for making ahead. Just prepare it a day in advance and let it chill in the fridge. The flavors will meld beautifully overnight!
What can I substitute for jelly?
If you’re not a fan of jelly, you can use fruit preserves or even a fruit compote. Just ensure it’s thick enough to fill the holes without making the cake soggy.
Is this cake suitable for kids?
<pDefinitely! Kids love the classic flavors of peanut butter and jelly. Just be cautious if there are any nut allergies in the group!
Final Thoughts
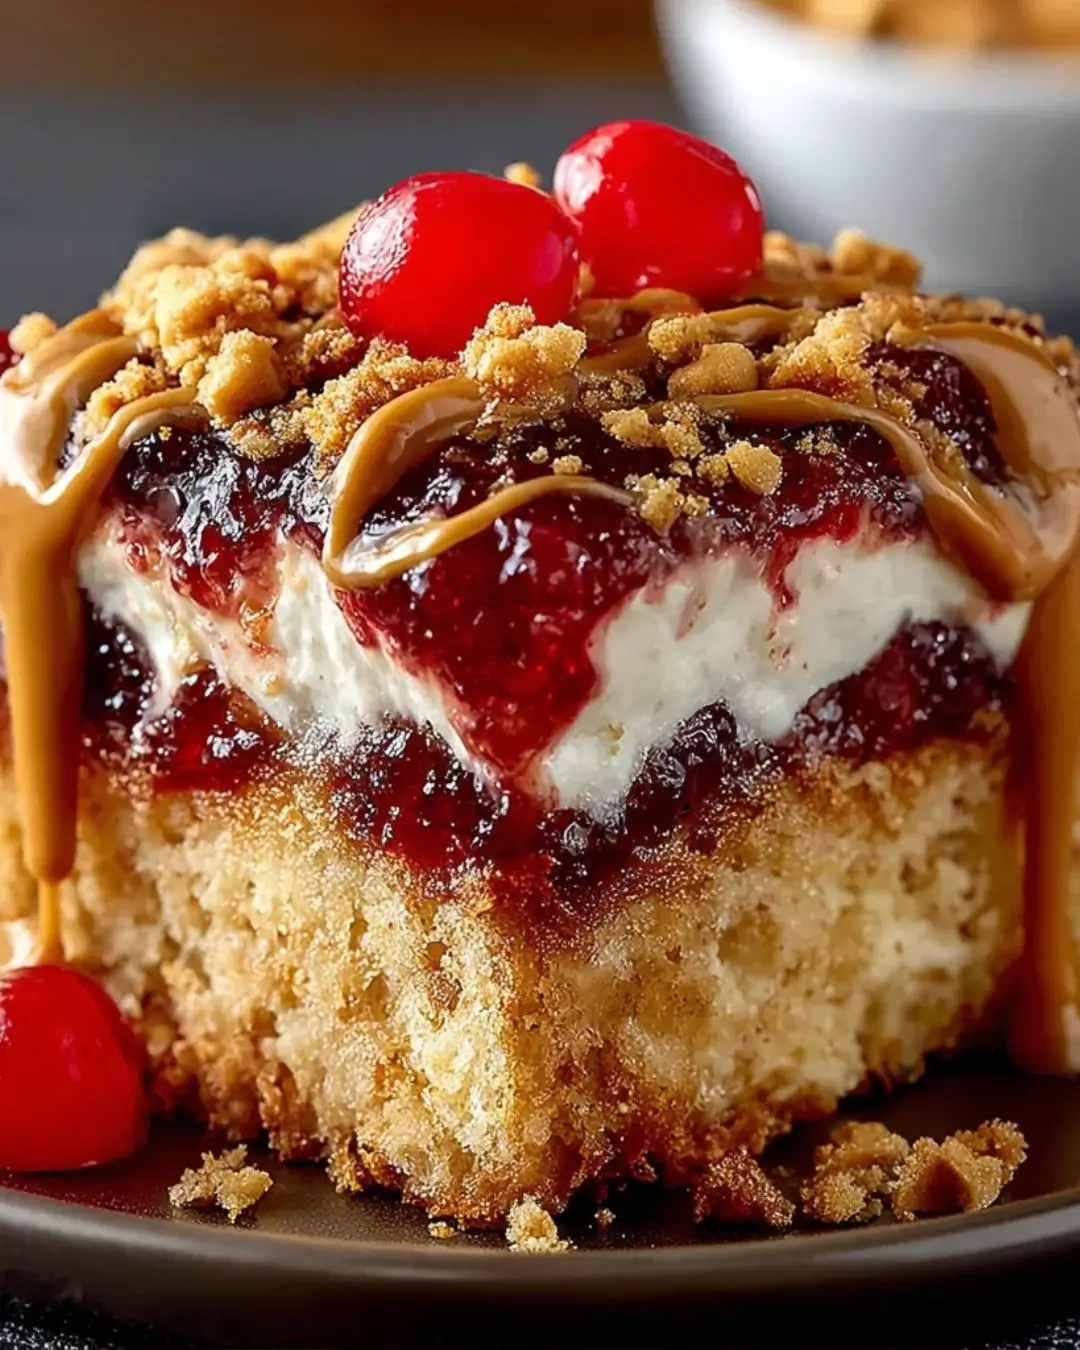
Creating a Peanut Butter & Jelly Poke Cake is more than just baking; it’s about crafting memories. Each slice brings a wave of nostalgia, reminding us of carefree childhood days. The combination of creamy peanut butter and sweet jelly creates a delightful harmony that dances on your taste buds. Whether you’re sharing it at a family gathering or enjoying a quiet evening at home, this cake is sure to bring smiles all around. So, roll up your sleeves, embrace the joy of baking, and let this cake become a cherished part of your dessert repertoire!
PrintPeanut Butter & Jelly Poke Cake: A Delightful Treat!
- Total Time: 2 hours 55 minutes
- Yield: 12 servings
- Diet: Vegetarian
Description
A delightful and easy-to-make Peanut Butter & Jelly Poke Cake that combines the classic flavors of peanut butter and jelly in a moist cake.
Ingredients
- 2 cups all-purpose flour
- 2 cups granulated sugar
- 1 tablespoon baking powder
- 1/2 teaspoon salt
- 1 cup milk
- 1/2 cup unsalted butter, melted
- 2 large eggs
- 1 teaspoon vanilla extract
- 1 cup creamy peanut butter
- 1 cup grape or strawberry jelly
- 1 cup whipped topping (like Cool Whip)
- 1/4 cup chopped peanuts (optional, for garnish)
Instructions
- Preheat your oven to 350°F (175°C). Grease and flour a 9×13-inch baking pan.
- In a large mixing bowl, combine the flour, sugar, baking powder, and salt. Mix well.
- Add the milk, melted butter, eggs, and vanilla extract to the dry ingredients. Beat with an electric mixer on medium speed for about 2 minutes until smooth.
- Pour the batter into the prepared baking pan and spread it evenly. Bake for 30-35 minutes or until a toothpick inserted in the center comes out clean.
- Once the cake is done, remove it from the oven and let it cool in the pan for about 10 minutes.
- Using the handle of a wooden spoon, poke holes all over the top of the cake, about 1 inch apart.
- In a small bowl, mix the peanut butter and jelly together until smooth. Spoon the mixture over the cake, making sure it fills the holes.
- Allow the cake to cool completely, then spread the whipped topping over the top.
- If desired, sprinkle chopped peanuts on top for added crunch.
- Refrigerate the cake for at least 2 hours before serving to let the flavors meld.
Notes
- For a chocolate twist, use chocolate cake mix instead of plain flour and add chocolate syrup to the peanut butter mixture.
- Try using different flavors of jelly, such as raspberry or blueberry, to customize the taste to your liking.
- Prep Time: 20 minutes
- Cook Time: 35 minutes
- Category: Dessert
- Method: Baking
- Cuisine: American
Nutrition
- Serving Size: 1 slice
- Calories: 290
- Sugar: 20g
- Sodium: 200mg
- Fat: 12g
- Saturated Fat: 3g
- Unsaturated Fat: 9g
- Trans Fat: 0g
- Carbohydrates: 38g
- Fiber: 1g
- Protein: 6g
- Cholesterol: 40mg