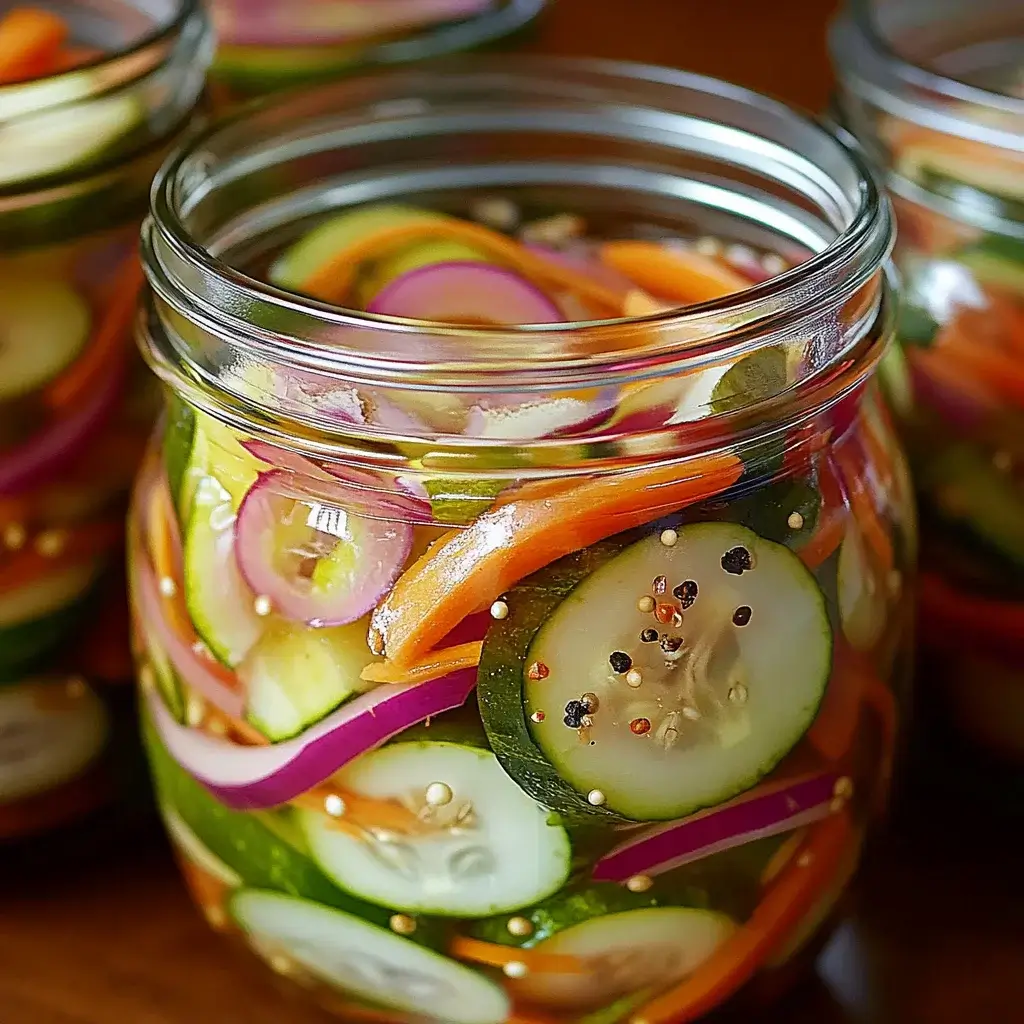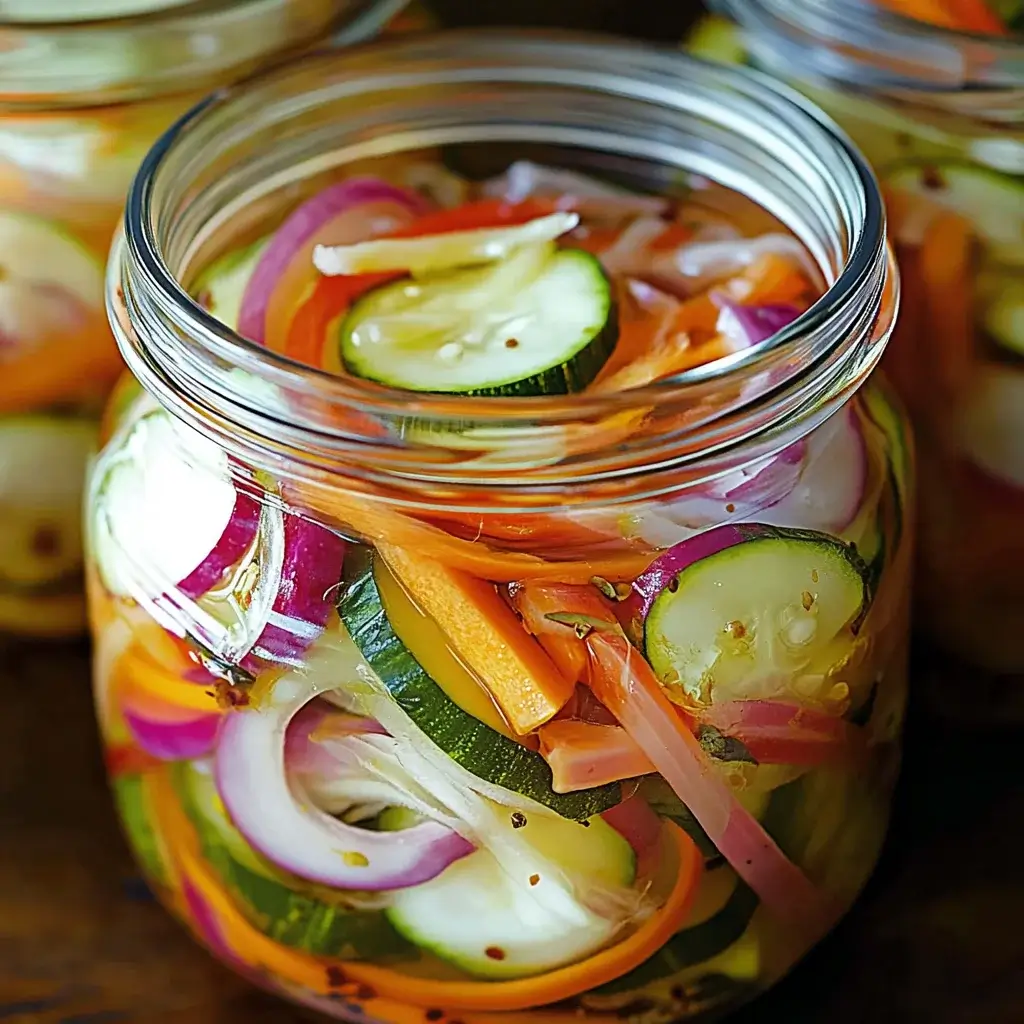
Introduction to Quick and Tangy Refrigerator Pickled Vegetables
There’s something magical about the crunch of a fresh pickle. It takes me back to summer picnics, where my grandma would whip up her famous pickled veggies. Today, I want to share my version of that nostalgia with you: Quick and Tangy Refrigerator Pickled Vegetables. This recipe is a lifesaver for busy days when you crave a zesty crunch to elevate your meals. Whether you’re looking to impress friends at a barbecue or simply want a quick snack, these pickles are your go-to solution. Let’s dive into this easy, flavorful adventure!
Why You’ll Love This Quick and Tangy Refrigerator Pickled Vegetables
These Quick and Tangy Refrigerator Pickled Vegetables are a game changer in the kitchen. They’re incredibly easy to make, taking just a few minutes of your time. The vibrant flavors will brighten up any dish, making your meals more exciting. Plus, they last for weeks in the fridge, so you can always have a zesty crunch on hand. Trust me, once you try them, you’ll wonder how you ever lived without them!
Ingredients for Quick and Tangy Refrigerator Pickled Vegetables
Gathering the right ingredients is the first step to creating your own batch of Quick and Tangy Refrigerator Pickled Vegetables. Here’s what you’ll need:
- Mixed Vegetables: Think cucumbers, carrots, bell peppers, and radishes. Slice or julienne them for the best texture.
- White Vinegar: This is the backbone of your brine, providing that signature tangy flavor.
- Water: Balances the acidity of the vinegar, making the pickles more palatable.
- Granulated Sugar: Just a touch to balance the tartness and enhance the overall flavor.
- Salt: Essential for flavor and helps preserve the vegetables.
- Mustard Seeds: These tiny seeds add a delightful crunch and a hint of spice.
- Black Peppercorns: For a subtle heat that complements the other flavors.
- Garlic Powder: A must for that savory depth; fresh garlic works too if you prefer.
- Red Pepper Flakes: Optional, but they bring a nice kick if you like a bit of heat.
- Fresh Dill Sprigs: Use these for garnish; they add a fresh, aromatic touch.
Feel free to experiment with different vegetables like cauliflower or green beans for a unique twist. You can also swap in your favorite hot sauce for an extra kick. For exact measurements, check the bottom of the article where you can find everything available for printing!
How to Make Quick and Tangy Refrigerator Pickled Vegetables
Now that you have your ingredients ready, let’s get to the fun part: making your Quick and Tangy Refrigerator Pickled Vegetables! This process is straightforward and rewarding. Follow these simple steps, and you’ll have a jar of zesty goodness in no time.
Step 1: Prepare the Brine
Start by grabbing a medium saucepan. Combine the white vinegar, water, granulated sugar, and salt. Heat it over medium heat, stirring occasionally. You want to dissolve the sugar and salt completely. Once everything is mixed well, remove it from the heat and let it cool slightly. This brine is the heart of your pickles, so make sure it’s just right!
Step 2: Pack the Vegetables
While your brine cools, it’s time to prep those veggies. Take your mixed vegetables and pack them tightly into a clean, quart-sized jar. The tighter they are, the better they’ll soak up that tangy flavor. Don’t be shy—layer them in there! This is where you can get creative with your vegetable choices.
Step 3: Add Spices
Next, sprinkle in the mustard seeds, black peppercorns, garlic powder, and red pepper flakes if you’re feeling adventurous. These spices will elevate your pickles, adding depth and a little kick. Give the jar a gentle shake to distribute the spices evenly among the vegetables.
Step 4: Pour the Brine
Now, it’s time to pour that cooled brine over the packed vegetables. Make sure they’re fully submerged. If you notice any veggies peeking out, add a splash more water to cover them completely. This ensures every bite is bursting with flavor. Seal the jar tightly with a lid.
Step 5: Cool and Refrigerate
Let the jar cool to room temperature before placing it in the fridge. Once it’s cooled down, pop it in the refrigerator for at least 24 hours. This waiting period is crucial; it allows the flavors to meld beautifully. Trust me, the wait is worth it!
Step 6: Serve and Enjoy
After a day of anticipation, your Quick and Tangy Refrigerator Pickled Vegetables are ready to shine! Serve them chilled or at room temperature. They make a fantastic side dish, a crunchy topping for sandwiches, or a zesty addition to salads. Enjoy the burst of flavor with every bite!

Tips for Success
- Use fresh, crisp vegetables for the best texture and flavor.
- Let the brine cool completely before pouring it over the veggies to avoid wilting.
- Experiment with different spices to find your perfect flavor combination.
- For extra crunch, try adding a few slices of fresh ginger or a bay leaf.
- Always store your pickles in a clean, airtight jar to maintain freshness.
Equipment Needed
- Medium Saucepan: Essential for heating the brine. A small pot works too.
- Quart-Sized Jar: Perfect for storing your pickles. Any clean glass jar will do.
- Measuring Cups: For accurate ingredient measurements. Use a regular cup if you don’t have one.
- Mixing Spoon: To stir the brine. A wooden spoon or spatula is great.
Variations
- Spicy Kick: Add sliced jalapeños or a splash of your favorite hot sauce for a fiery twist.
- Herb Infusion: Experiment with fresh herbs like thyme or oregano for a unique flavor profile.
- Sweet and Sour: Swap out some sugar for honey or maple syrup for a different sweetness.
- Asian Flair: Incorporate soy sauce and sesame seeds for an Asian-inspired pickle.
- Low-Sodium Option: Reduce the salt or use a salt substitute for a healthier version.
Serving Suggestions
- Pair your pickled vegetables with grilled meats for a refreshing contrast.
- Serve them alongside a charcuterie board for a zesty crunch.
- Add them to tacos or sandwiches for an extra layer of flavor.
- Enjoy with a cold beer or a tangy cocktail for a perfect match.
FAQs about Quick and Tangy Refrigerator Pickled Vegetables
How long do Quick and Tangy Refrigerator Pickled Vegetables last?
These pickles can last up to two weeks in the fridge. Just make sure they’re stored in an airtight jar to keep them fresh and crunchy!
Can I use other vegetables for pickling?
Absolutely! Feel free to experiment with vegetables like cauliflower, green beans, or even asparagus. Each will bring its own unique flavor and texture to your pickles.
What if I don’t have mustard seeds?
No worries! You can skip them or substitute with other spices like coriander seeds or even a pinch of ground mustard. The key is to find what you enjoy!
Can I make these pickles spicy?
Definitely! Just add some sliced jalapeños or a few extra red pepper flakes to the brine. Adjust the heat to your liking for that perfect kick!
Are Quick and Tangy Refrigerator Pickled Vegetables healthy?
Yes! They’re low in calories and packed with flavor. Plus, they’re a great way to incorporate more veggies into your diet. Enjoy guilt-free snacking!
Final Thoughts
Creating Quick and Tangy Refrigerator Pickled Vegetables is more than just a cooking task; it’s a delightful journey into flavor and creativity. Each jar is a burst of color and crunch, ready to elevate your meals and snacks. The joy of opening your fridge to find a zesty treat waiting for you is unmatched. Plus, the satisfaction of knowing you made it yourself adds a special touch. So, whether you’re enjoying them solo or sharing with friends, these pickles are sure to bring smiles and compliments. Dive in, and let the tangy goodness brighten your day!
Quick and Tangy Refrigerator Pickled Vegetables for a Zesty Crunch!
Ingredients
Method
- In a medium saucepan, combine the white vinegar, water, granulated sugar, and salt. Heat over medium heat, stirring until the sugar and salt dissolve completely. Remove from heat and let cool slightly.
- While the brine is cooling, prepare your mixed vegetables and pack them tightly into a clean, quart-sized jar.
- Add the mustard seeds, black peppercorns, garlic powder, and red pepper flakes (if using) to the jar with the vegetables.
- Pour the cooled brine over the vegetables, ensuring they are fully submerged. If necessary, add more water to cover the vegetables completely.
- Seal the jar with a lid and let it cool to room temperature. Once cooled, refrigerate for at least 24 hours before enjoying for the best flavor.
- Serve chilled or at room temperature, garnished with fresh dill if desired.
Nutrition
Notes
- Experiment with different vegetables such as cauliflower, green beans, or asparagus for a variety of flavors and textures.
- Add a splash of your favorite hot sauce or a few slices of fresh chili for an extra kick in your pickles.


