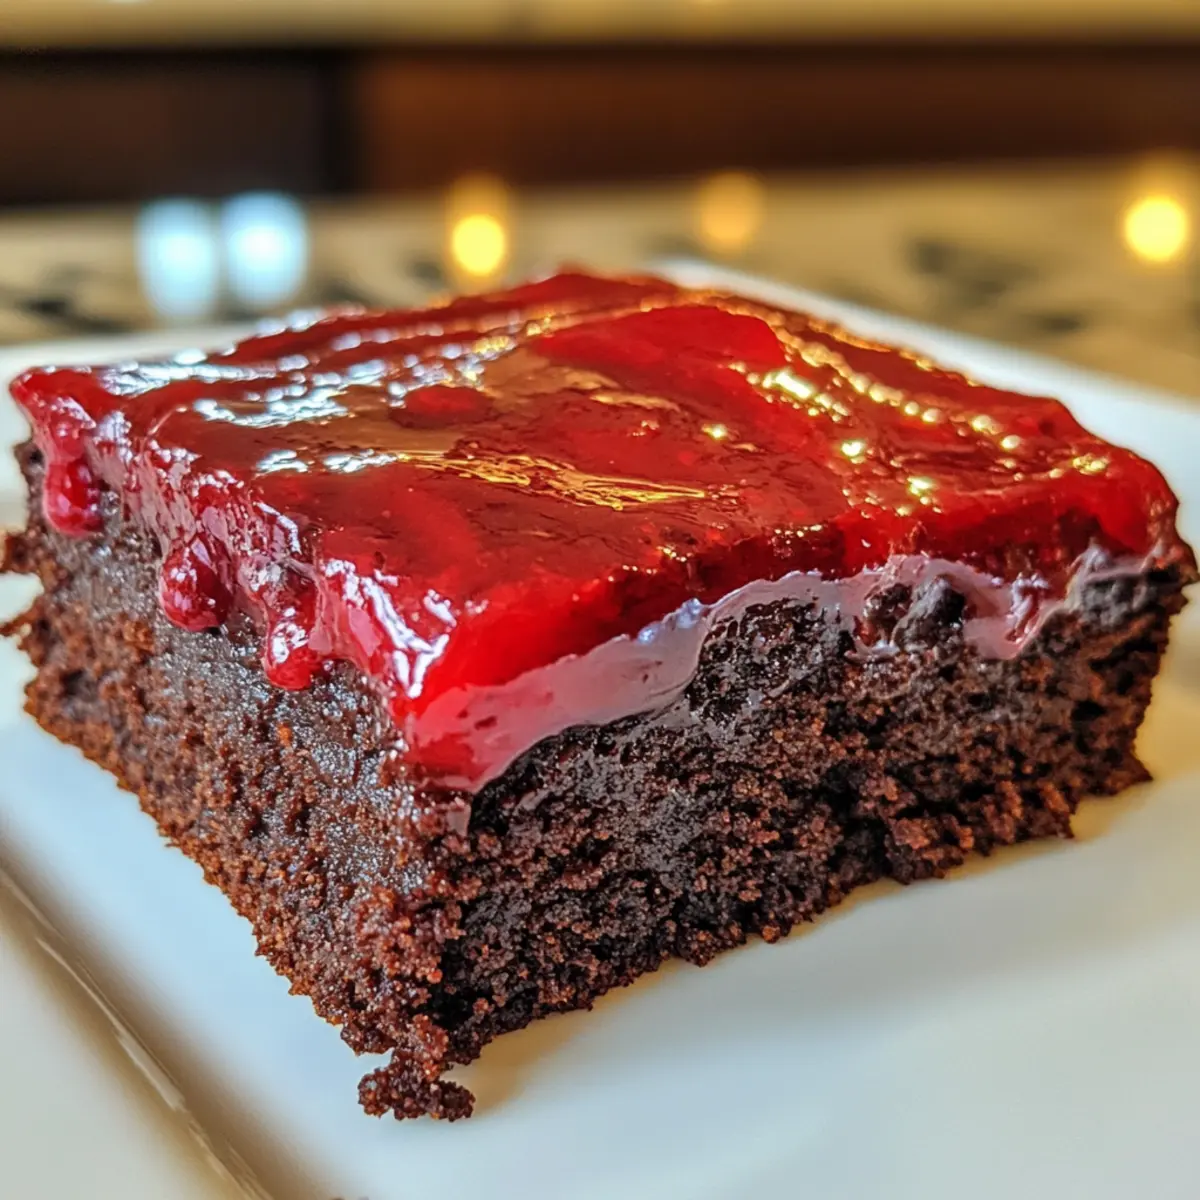
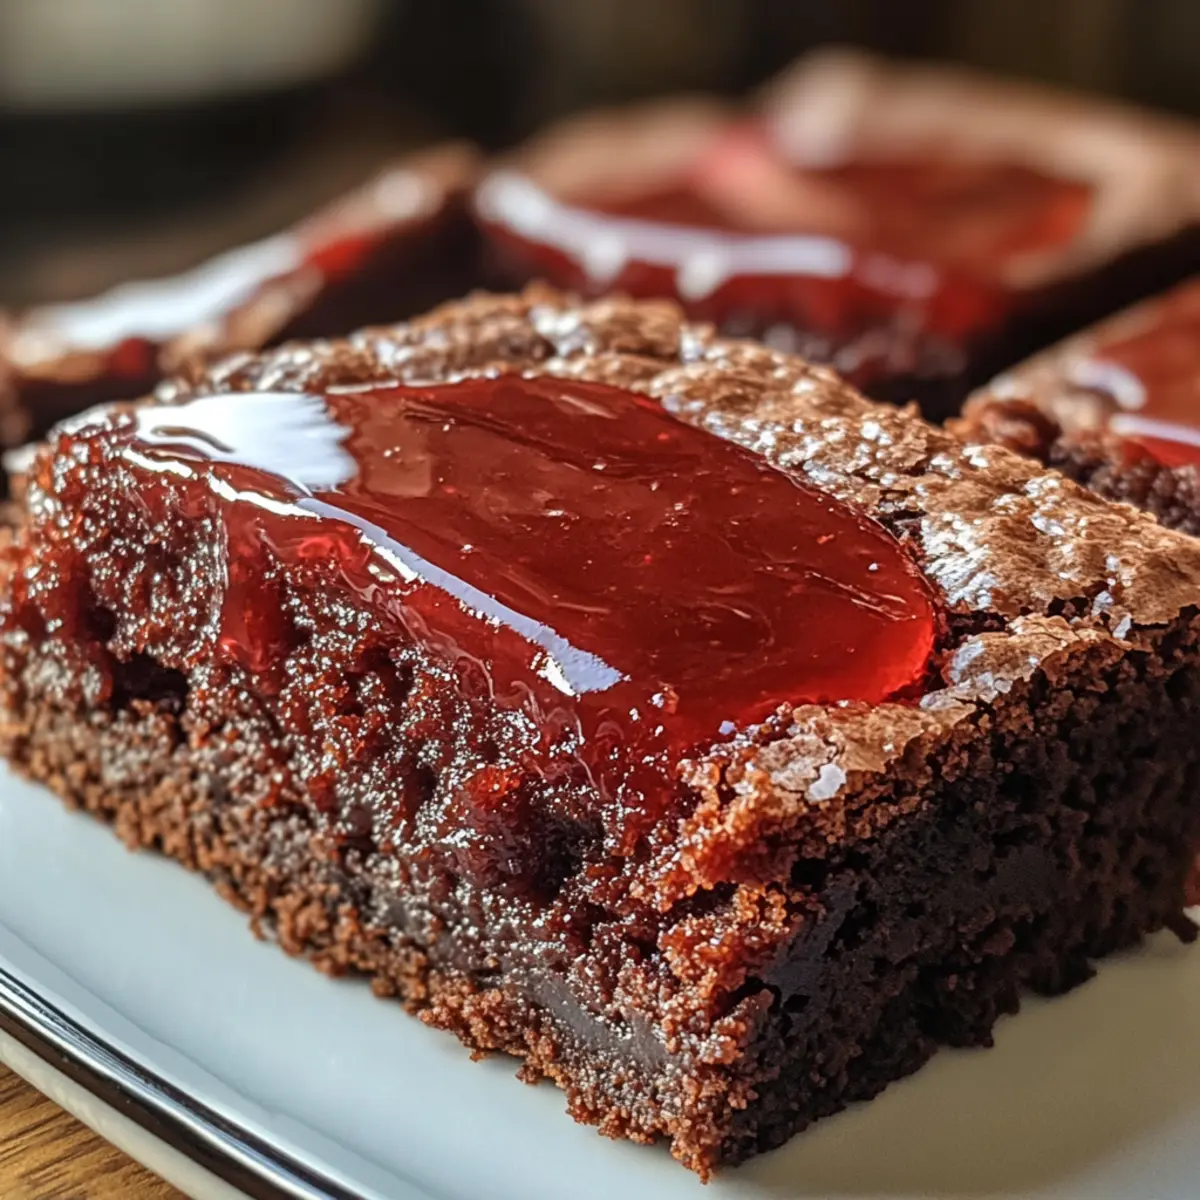
As the holiday season approaches, it’s time to transform the kitchen into a festive haven, and what better way to do that than with these Santa Belly Brownies? With rich and fudgy chocolate that practically melts in your mouth, these delightful treats bring not only a delicious flavor but also a vibrant visual appeal to your table. They are quick to prepare, making them a perfect go-to for cookie exchanges and festive gatherings alike. Plus, you can easily swap in a boxed brownie mix if you’re short on time. So, are you ready to spread some holiday cheer and impress your loved ones with this whimsical twist on a classic dessert? Let’s get to baking!
Why are Santa Belly Brownies a must-try?
Festive Presentation: These brownies are not just a treat; they’re a holiday statement, delighting both kids and adults alike with their playful design resembling Santa’s suit.
Decadent Flavor: Rich, fudgy chocolate creates a mouthwatering experience, while the creamy white chocolate ganache adds a luscious sweetness.
Quick to Make: The simple instructions let you whip up a batch of these festive delights in no time, perfect for those last-minute holiday gatherings.
Versatile Treat: You can easily adapt the decorations or even use a boxed brownie mix, making it suitable for all skill levels and time constraints.
Crowd-Pleasing Appeal: These beauties are sure to impress at your next cookie exchange, paired perfectly with a warm mug of hot cocoa.
Santa Belly Brownies Ingredients
For the Brownie Base
- Dark Chocolate – The primary source of rich chocolate flavor; semi-sweet chocolate can be used for a sweeter profile.
- Unsalted Butter – Provides richness and moisture, but if you’re in a pinch, margarine or coconut oil can be an alternative.
- Granulated Sugar – Adds sweetness and moisture; coconut sugar can be a less refined substitute.
- Brown Sugar – Enhances chewiness and depth; white sugar is an option, though it’ll lessen flavor complexity.
- Eggs – Acts as a binder for structure; substitute with flax eggs for a vegan option (1 tbsp flaxseed meal + 2.5 tbsp water = 1 egg).
- Vanilla Extract – Infuses subtle flavor; opt for real vanilla extract for the most authentic taste.
- Dutch-process Cocoa Powder – Contributes a smooth, deep chocolate flavor; natural cocoa powder can be a substitute but yields a sharper taste.
For the Ganache Topping
- White Chocolate – This sweet layer perfectly complements the brownie; chocolate melts can substitute but might alter the flavor.
- Cream – Adds creaminess to the ganache; half-and-half or a non-dairy cream option can be used if needed.
- Gel Food Coloring – Used for tinting the ganache red; gel is preferred to maintain texture over liquid coloring.
For the Decorations
- Fondant (Black and Yellow) – Essential for crafting Santa’s belts and buckles; while no major substitutes exist, chocolate can be an alternative for a different flavor profile.
With the Santa Belly Brownies ingredients ready, you’re one step closer to creating these festive treats that will surely delight everyone at your holiday gathering!
Step‑by‑Step Instructions for Santa Belly Brownies
Step 1: Prepare Brownie Batter
Start by preheating your oven to 350°F (175°C) and greasing a 9×13-inch baking pan. In a medium saucepan, melt 8 ounces of dark chocolate with 1/2 cup of unsalted butter over low heat, stirring until smooth. Once melted, transfer the mixture to a large bowl and whisk in 1 cup of granulated sugar and 1/2 cup of brown sugar until fully combined. Add 3 large eggs and 1 teaspoon of vanilla extract, mixing until the batter is glossy. Finally, sift in 1/2 cup of Dutch-process cocoa powder and stir until just combined.
Step 2: Bake the Brownies
Pour the brownie batter into the prepared pan and spread it evenly using a spatula. Place the pan in the preheated oven and bake for 25 to 30 minutes, or until the brownies are set around the edges but still slightly soft in the center. You can check doneness by inserting a toothpick; it should come out with a few moist crumbs attached. Once done, remove from the oven and place on a wire rack to cool completely in the pan.
Step 3: Make the Ganache
While the brownies are cooling, prepare the ganache by chopping 8 ounces of white chocolate and placing it in a heatproof bowl. In a small saucepan, heat 1/2 cup of cream over medium heat until it begins to simmer, then pour it over the white chocolate. Let it sit for a minute, then stir until the chocolate is fully melted and the mixture is smooth. If you’d like to create a festive red color for your ganache, add a few drops of gel food coloring and mix well until the desired shade is achieved.
Step 4: Decorate the Brownies
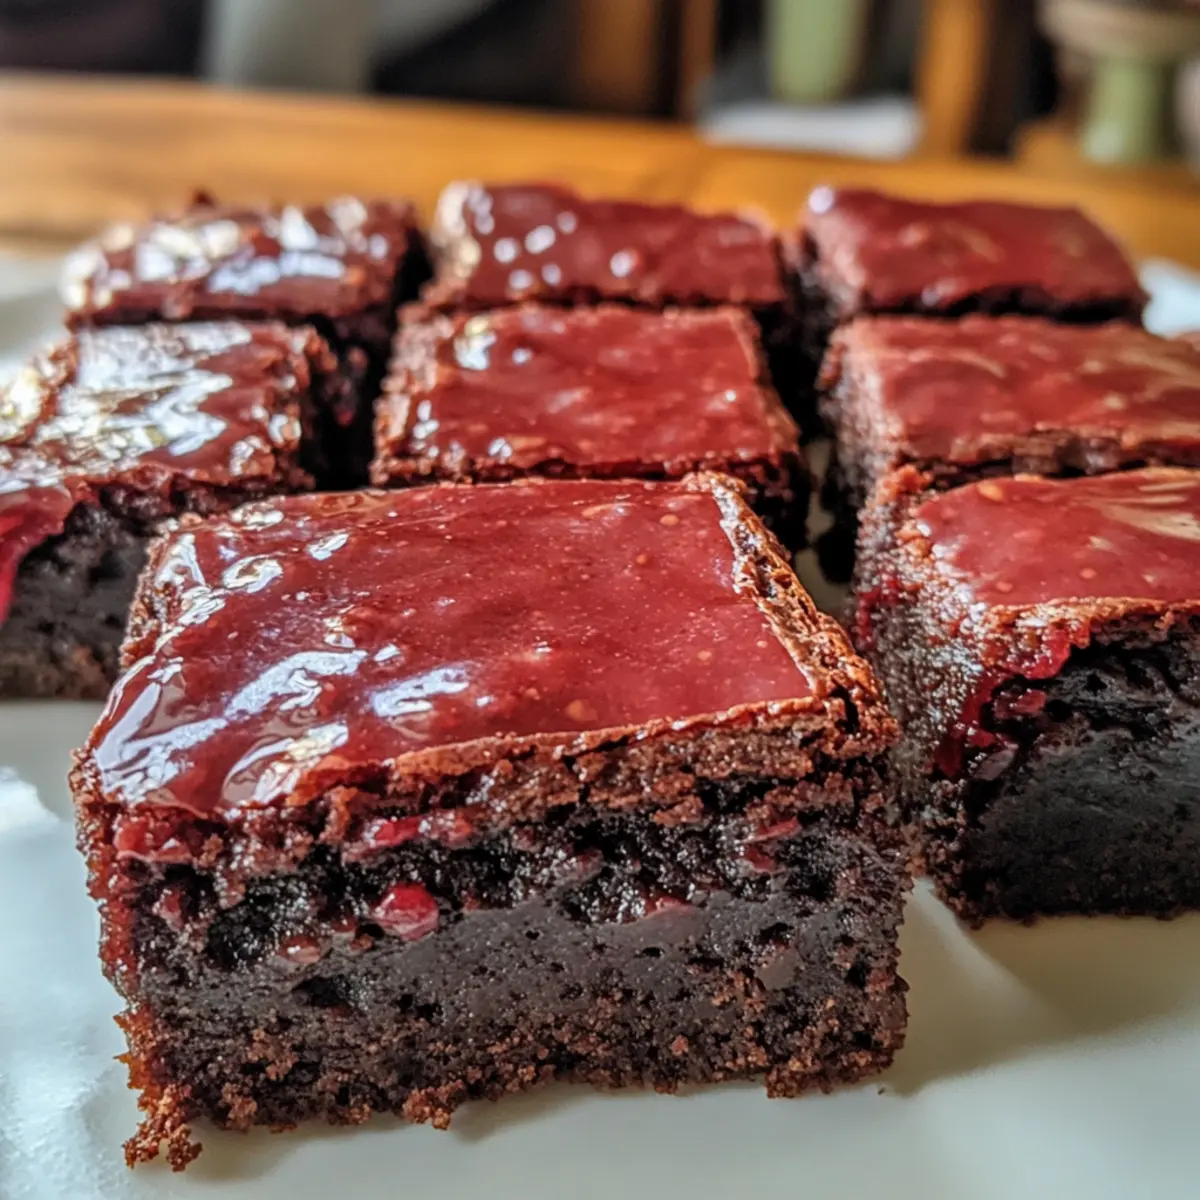
Once the brownies are completely cooled, use a spatula to spread the red ganache evenly over the top, creating a luscious layer. Allow the ganache to set for about 15 minutes at room temperature to ensure it firms up slightly before decorating. While the ganache sets, roll out black and yellow fondant on a clean surface dusted with cornstarch to prevent stickiness. Cut the fondant into belt and buckle shapes to mimic Santa’s suit for your Santa Belly Brownies.
Step 5: Final Touches and Serve
Once the ganache has firmed up enough, carefully place the fondant decorations on top of the ganache to create festive Santa belts and buckles. For best presentation, let the decorated brownies sit for an additional 30 minutes to set fully. When ready to serve, cut the brownies into squares, showcasing their delicious layers and festive design. These Santa Belly Brownies are now ready to impress at your holiday gatherings!
What to Serve with Santa Belly Brownies?
As the delightful aroma of Santa Belly Brownies fills your kitchen, it’s time to think about what to serve alongside these sweet, festive treats to create an unforgettable holiday spread.
-
Whipped Cream: A dollop of lightly sweetened whipped cream complements the rich chocolate, adding a fluffy texture that balances the fudginess.
-
Peppermint Hot Cocoa: This warm, chocolatey drink enhances the brownie experience, while the peppermint offers a refreshing holiday twist that is simply irresistible.
-
Vanilla Ice Cream: A scoop of creamy vanilla ice cream next to your brownies brings a luscious cold contrast, creating a delightful melt-in-your-mouth moment.
-
Chocolate Dipped Strawberries: These fruity delights add freshness and a hint of tartness, cutting through the brownie’s richness while also offering an elegant touch to your dessert table.
-
Festive Fruit Platter: A colorful assortment of seasonal fruits, like pomegranate seeds and citrus slices, provides a refreshing crunch and a burst of color that brightens the table.
-
Eggnog: This classic holiday drink, with its spiced creaminess, pairs perfectly with the brownies, adding a nostalgic, festive flavor that enhances every bite.
-
Caramel Sauce: Drizzling warm caramel over the brownies creates a sweet, gooey layer, introducing a delightful flavor contrast that will leave your guests wanting more.
-
Gingerbread Cookies: Pairing these spicy, festive cookies adds a traditional touch, and their crispy texture complements the soft, fudgy brownies immensely.
Santa Belly Brownies Variations & Substitutions
Feel free to personalize these Santa Belly Brownies to suit your taste buds and dietary needs while still keeping that festive spirit alive!
-
Boxed Mix: Swap homemade brownie base for a boxed brownie mix to save time; just follow package directions.
-
Minty Twist: Peppermint Bark: Add chunks of peppermint bark to the brownie batter for a refreshing seasonal crunch. This adds a lovely minty flavor that pairs perfectly with chocolate.
-
Vegan Option: Flax Eggs: Substitute regular eggs with flax eggs (1 tbsp flaxseed meal + 2.5 tbsp water for each egg) for a delightful vegan adaptation. It retains that fudgy texture we all love!
-
Coconut Sugar: Less Refined Sweetness: Use coconut sugar in place of granulated sugar for a unique flavor. It’ll give your brownies a subtle caramel note, enhancing the overall taste.
-
Flavor Boost: Nutella Swirl: For a luscious and creamy flavor, add dollops of Nutella to the brownie batter before baking. Swirling it in gives a delightful surprise with every bite.
-
Decadent Ganache: Dark Chocolate Ganache: Swap white chocolate for dark chocolate in your ganache for a richer flavor. This twist adds an intense chocolate experience that’s simply irresistible.
-
Festive Colors: Custom Food Colors: Play with different gel food colorings to create fun shades for your ganache and decorations, perfect for various holiday themes. Mix purple for a regal touch!
-
Chocolate Alternative: Almond Bark: If you’re looking for a simpler option, almond bark can be used in place of white chocolate. However, note that the flavor shifts slightly, making it sweeter.
Once you’ve made these adaptations, you’ll be serving a personalized version of these fun Santa Belly Brownies that everyone will adore! They’re sure to shine on any dessert table alongside festive classics like fudge brownies or themed macaroons. Happy baking!
Make Ahead Options
These Santa Belly Brownies are a fantastic choice for meal prep, helping you save time during the hectic holiday season! You can prepare the brownie base up to 24 hours in advance; simply bake and cool them completely before wrapping them in plastic wrap and storing them at room temperature. The ganache can also be made ahead and refrigerated for up to 3 days; just allow it to sit at room temperature for about 20 minutes before spreading it onto the brownies. To finish, decorate with fondant just before serving to maintain its freshness and vibrant appeal. With these make-ahead tips, you’ll have scrumptious, festive treats ready with minimal stress!
Expert Tips for Santa Belly Brownies
-
Ganache Consistency Matters: Allow the ganache to cool until it’s spreadable. If it’s too runny, it can slide off the brownies, ruining the festive look.
-
Cool Before Decorating: Make sure your brownies are completely cool before applying the ganache. Otherwise, the heat may cause the ganache to melt and lose its shape.
-
Sharp Knife Usage: For neat slices, always use a sharp knife. This will help you achieve those clean edges and showcase the beautiful layers of your Santa Belly Brownies.
-
Fondant Tips: Dust surfaces with cornstarch when working with fondant to prevent sticking. If you’re new to fondant, practicing with small pieces first will boost your confidence.
-
Experiment with Colors: Don’t hesitate to play around with the gel food coloring to customize the ganache for different themes or occasions, adding even more fun to your Santa Belly Brownies!
How to Store and Freeze Santa Belly Brownies
Room Temperature: Store brownies in an airtight container at room temperature for up to 3 days for optimal freshness. This way, they maintain their fudgy texture.
Fridge: If you want to extend their shelf life, refrigerate the brownies for up to 5 days. Bring them back to room temperature for the best flavor and texture before serving.
Freezer: For longer storage, wrap each brownie individually in plastic wrap and place them in an airtight container or freezer bag. They can be frozen for up to 3 months.
Reheating: To enjoy your Santa Belly Brownies warm, pop them in the microwave for about 10-15 seconds. This will revive their gooey, fudgy goodness, perfect alongside a cup of hot cocoa!
Santa Belly Brownies Recipe FAQs
How do I select the right chocolate for Santa Belly Brownies?
Absolutely! For the best flavor, I recommend using high-quality dark chocolate, which gives these brownies their rich base. Look for chocolate that’s at least 60% cocoa content. If you prefer a sweeter profile, semi-sweet chocolate can work well too!
How should I store Santa Belly Brownies?
To keep your Santa Belly Brownies fresh, store them in an airtight container at room temperature for up to 3 days. If you want to extend their life, refrigerate them for up to 5 days. Just remember to bring them back to room temperature before serving for that perfect, fudgy texture!
Can I freeze Santa Belly Brownies?
Yes! To freeze your Santa Belly Brownies, wrap each one individually in plastic wrap and place them in an airtight freezer bag. They can be stored for up to 3 months. When you’re ready to enjoy them, simply thaw overnight in the fridge or microwave them for 10-15 seconds to enjoy that warm, gooey goodness.
What do I do if my brownies turn out too dry?
If your brownies turn out a bit dry, don’t worry! This can happen if they’ve been overbaked. Next time, check for doneness a few minutes early. You want them set around the edges but still soft in the center. If they’re already baked, you can try serving them with a scoop of ice cream or whipped cream to add moisture and complement the flavors!
Are there any allergens I should be aware of in Santa Belly Brownies?
Good question! Santa Belly Brownies contain common allergens such as eggs, dairy (in the butter and cream), and gluten (if using regular flour). If you’re making these for someone with allergies, consider using a flax egg for a vegan option and substitute with dairy-free products, like margarine and coconut cream. Always check the labels of your ingredients to ensure they’re allergen-free!
Can I use a boxed brownie mix instead of making them from scratch?
Very! Using a boxed brownie mix is a great shortcut if you’re pressed for time. Just prepare the mix according to the package instructions and add your festive decorations afterward. This way, you still get to enjoy the whimsical Santa-themed design while saving time in the kitchen!

Santa Belly Brownies: Indulge in Festive Fudgy Joy
Ingredients
Equipment
Method
- Preheat your oven to 350°F (175°C) and grease a 9x13-inch baking pan. Melt dark chocolate and unsalted butter in a saucepan over low heat, stirring until smooth. Transfer mixture to a bowl and whisk in granulated sugar and brown sugar until combined. Add eggs and vanilla extract, mixing until glossy. Sift in cocoa powder and stir until just combined.
- Pour the brownie batter into the prepared pan, spreading evenly. Bake for 25-30 minutes until set around edges but soft in center. Cool completely in the pan on wire rack.
- Chop white chocolate and place in heatproof bowl. Heat cream in a saucepan until simmering, then pour over white chocolate. Let sit for a minute, then stir until smooth. Add gel food coloring to achieve desired shade.
- Spread red ganache evenly over cooled brownies and allow to set for 15 minutes. Roll out fondant on a surface dusted with cornstarch, cutting into belt and buckle shapes.
- Once ganache has set, place fondant decorations on top for festive belts and buckles. Let decorated brownies sit for another 30 minutes to set fully before cutting into squares and serving.