Introduction to White Russian Cream Dream Bars
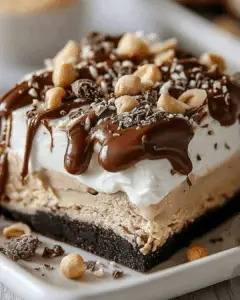
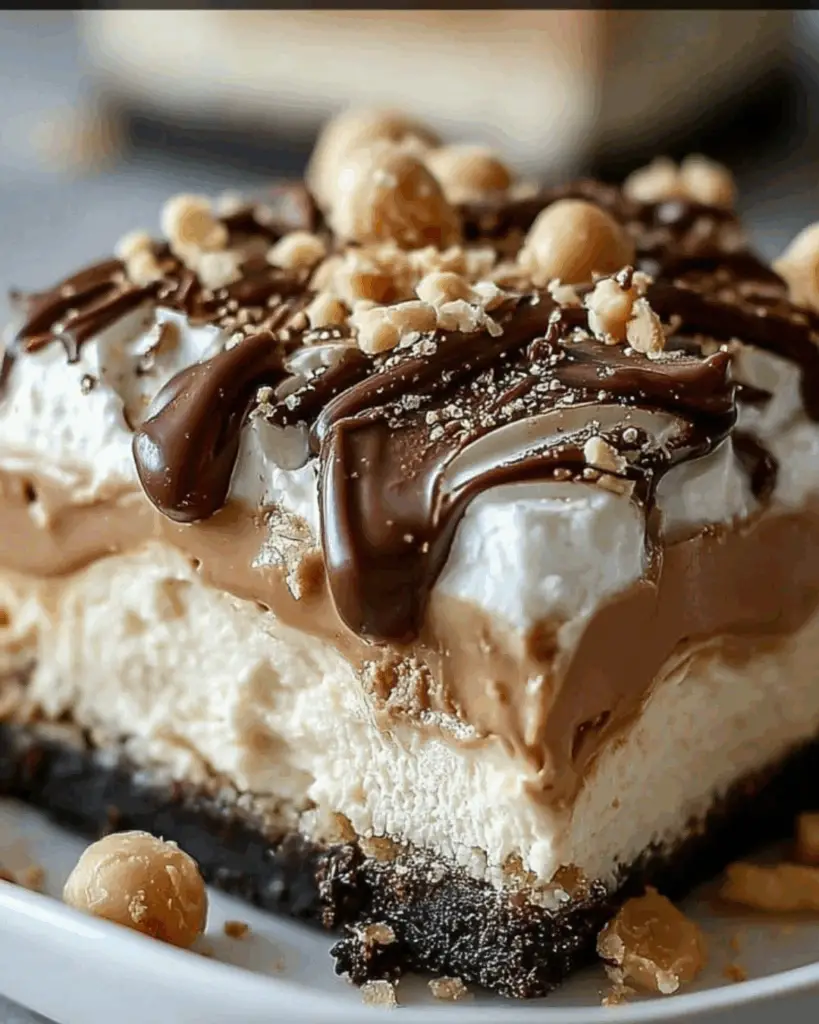
There’s something magical about dessert that brings people together, and these White Russian Cream Dream Bars are no exception. Picture a rich chocolate base topped with a creamy coffee-flavored layer that dances on your taste buds. Whether you’re looking to impress guests or simply treat yourself after a long day, this recipe is a quick solution that delivers big on flavor. With just a few simple ingredients, you can whip up a delightful dessert that feels indulgent yet approachable. Trust me, once you try these bars, they’ll become a staple in your kitchen!
Why You’ll Love This White Russian Cream Dream Bars
These White Russian Cream Dream Bars are a dessert lover’s dream come true! They’re incredibly easy to make, requiring minimal effort for maximum flavor. The rich chocolate base pairs perfectly with the creamy coffee topping, creating a delightful balance that’s hard to resist. Plus, they’re perfect for any occasion—whether it’s a casual weeknight treat or a show-stopping dessert for a gathering. You’ll find yourself reaching for seconds, and maybe even thirds!
Ingredients for White Russian Cream Dream Bars
Gathering the right ingredients is the first step to creating these delightful White Russian Cream Dream Bars. Here’s what you’ll need:
- All-purpose flour: This forms the base of your bars, giving them structure and a soft texture.
- Unsweetened cocoa powder: Adds a rich chocolate flavor that pairs beautifully with the creamy topping.
- Baking powder: A leavening agent that helps the bars rise, making them light and fluffy.
- Salt: Just a pinch enhances the flavors and balances the sweetness.
- Unsalted butter: Provides richness and moisture; make sure it’s softened for easy mixing.
- Granulated sugar: Sweetens the bars and contributes to their delightful texture.
- Large eggs: These bind the ingredients together and add moisture.
- Vanilla extract: A splash of this adds warmth and depth to the flavor profile.
- Heavy cream: The star of the topping, it creates a luscious, creamy layer.
- Coffee liqueur (like Kahlúa): Infuses the topping with a delightful coffee flavor; feel free to adjust based on your taste.
- Vodka: Adds a subtle kick to the cream topping; you can skip it if you prefer.
- Powdered sugar: Sweetens the whipped cream and helps stabilize it for a perfect finish.
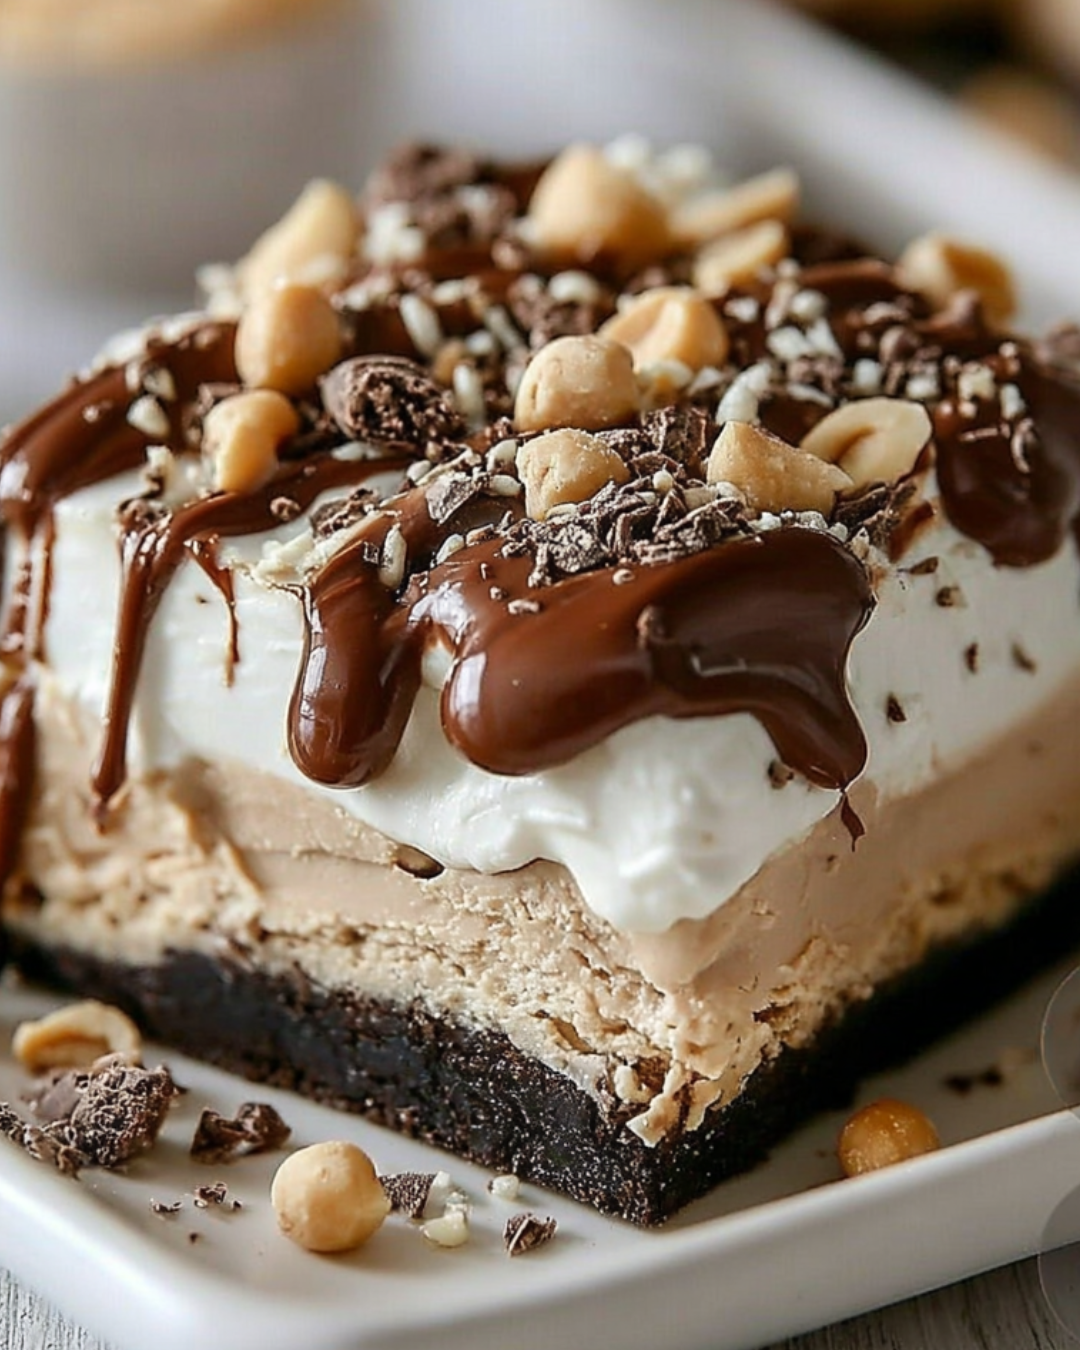
For those looking to switch things up, consider adding chocolate shavings or crushed nuts on top for extra texture. If you want a kid-friendly version, you can substitute the coffee liqueur with a non-alcoholic coffee syrup. The exact measurements for these ingredients are available at the bottom of the article for easy printing!
How to Make White Russian Cream Dream Bars
Creating these White Russian Cream Dream Bars is a delightful journey that’s as enjoyable as the final product. Follow these simple steps, and you’ll be on your way to a dessert that’s sure to impress!
Step 1: Preheat and Prepare
Start by preheating your oven to 350°F (175°C). This ensures your bars bake evenly. While the oven warms up, grease a 9×9-inch baking pan or line it with parchment paper. This little trick makes removing the bars a breeze later on!
Step 2: Mix Dry Ingredients
In a medium bowl, whisk together the all-purpose flour, unsweetened cocoa powder, baking powder, and salt. This step is crucial as it combines the dry ingredients evenly, ensuring a consistent texture throughout your bars. Set this mixture aside for now.
Step 3: Cream Butter and Sugar
In a large mixing bowl, cream the softened unsalted butter and granulated sugar together until the mixture is light and fluffy—about 2-3 minutes. This is where the magic begins! Next, add the eggs one at a time, mixing well after each addition. Stir in the vanilla extract for that warm, inviting flavor.
Step 4: Combine Mixtures
Gradually add the dry ingredients to the wet mixture, mixing until just combined. Be careful not to overmix; we want those bars to stay tender! Once combined, spread the batter evenly into your prepared baking pan. It should look rich and inviting!
Step 5: Bake the Base
Pop the pan into your preheated oven and bake for 20-25 minutes. Keep an eye on it! You’ll know it’s done when a toothpick inserted in the center comes out clean. Once baked, allow the bars to cool completely in the pan. Patience is key here!
Step 6: Prepare the Cream Topping
While the bars cool, it’s time to whip up the creamy topping. In a separate bowl, whip the heavy cream until soft peaks form. Gently fold in the coffee liqueur, vodka, and powdered sugar until everything is well combined. This topping is what makes these bars a true White Russian Cream Dream!
Step 7: Assemble and Chill
Once the bars are completely cooled, spread the whipped cream mixture evenly over the top. This is where you can get creative! Chill the assembled bars in the refrigerator for at least 1 hour before cutting them into squares. This chilling time allows the flavors to meld beautifully.
Tips for Success
- Make sure your butter is softened for easy creaming; it should be at room temperature.
- Don’t overmix the batter; mix until just combined for tender bars.
- Use a toothpick to check for doneness; it should come out clean.
- Chill the bars for at least an hour to set the topping properly.
- Experiment with toppings like chocolate shavings or nuts for added flair!
Equipment Needed
- 9×9-inch baking pan: A square pan is ideal, but an 8×8-inch pan works too.
- Mixing bowls: Use medium and large bowls for mixing ingredients.
- Whisk: A hand whisk or electric mixer will do the job.
- Spatula: Perfect for spreading the batter and topping evenly.
- Toothpick: Essential for checking if the bars are baked through.
Variations
- Nutty Delight: Add chopped walnuts or pecans to the chocolate base for a crunchy texture.
- Minty Fresh: Incorporate a few drops of peppermint extract into the cream topping for a refreshing twist.
- Gluten-Free Option: Substitute all-purpose flour with a gluten-free flour blend to accommodate dietary needs.
- Vegan Version: Use coconut cream instead of heavy cream and flax eggs as a substitute for regular eggs.
- Fruit Fusion: Top the bars with fresh raspberries or strawberries for a fruity contrast to the rich chocolate.
Serving Suggestions
- Pair these White Russian Cream Dream Bars with a hot cup of coffee or a chilled glass of milk for a delightful contrast.
- For a festive touch, serve with a dollop of whipped cream and a sprinkle of cocoa powder on top.
- Consider adding a side of fresh berries to brighten the plate and enhance the flavors.
FAQs about White Russian Cream Dream Bars
Curious about these White Russian Cream Dream Bars? Here are some common questions I’ve encountered, along with answers to help you navigate this delicious dessert!
Can I make these bars ahead of time?
Absolutely! These bars can be made a day in advance. Just store them in the refrigerator after chilling, and they’ll be ready to impress your guests when you are!
What if I don’t have coffee liqueur?
No worries! You can substitute the coffee liqueur with a non-alcoholic coffee syrup or even strong brewed coffee for a similar flavor without the alcohol.
How should I store leftovers?
Store any leftover White Russian Cream Dream Bars in an airtight container in the refrigerator. They’ll stay fresh for up to 3 days, but trust me, they won’t last that long!
Can I freeze these bars?
Yes, you can freeze them! Just wrap the bars tightly in plastic wrap and then in aluminum foil. They’ll keep well for up to 2 months. Thaw in the fridge before serving.
What’s the best way to cut these bars?
For clean cuts, use a sharp knife and wipe it clean between cuts. This will help you achieve those perfect squares without any messy edges!
Final Thoughts
Creating these White Russian Cream Dream Bars is more than just baking; it’s about crafting a moment of joy. Each bite offers a delightful blend of rich chocolate and creamy coffee that transports you to dessert heaven. Whether you’re sharing them with friends or savoring them solo, these bars bring a sense of indulgence that feels special. Plus, the ease of preparation means you can whip them up anytime the craving strikes. So, roll up your sleeves, embrace the process, and enjoy the sweet satisfaction that comes with every delicious square!
PrintWhite Russian Cream Dream Bars: A Delicious Recipe Delight!
- Total Time: 1 hour 45 minutes
- Yield: 9 servings
- Diet: Vegetarian
Description
Delicious White Russian Cream Dream Bars with a rich chocolate base and a creamy coffee-flavored topping.
Ingredients
- 1 ½ cups all-purpose flour
- ½ cup unsweetened cocoa powder
- ½ teaspoon baking powder
- ¼ teaspoon salt
- ½ cup unsalted butter, softened
- 1 cup granulated sugar
- 2 large eggs
- 1 teaspoon vanilla extract
- 1 cup heavy cream
- 1 tablespoon coffee liqueur (like Kahlúa)
- 1 tablespoon vodka
- ½ cup powdered sugar
Instructions
- Preheat your oven to 350°F (175°C). Grease a 9×9-inch baking pan or line it with parchment paper for easy removal.
- In a medium bowl, whisk together the flour, cocoa powder, baking powder, and salt. Set aside.
- In a large mixing bowl, cream the softened butter and granulated sugar together until light and fluffy, about 2-3 minutes. Add the eggs one at a time, mixing well after each addition. Stir in the vanilla extract.
- Gradually add the dry ingredients to the wet mixture, mixing until just combined. Spread the batter evenly into the prepared baking pan.
- Bake for 20-25 minutes or until a toothpick inserted in the center comes out clean. Allow the bars to cool completely in the pan.
- In a separate bowl, whip the heavy cream until soft peaks form. Gently fold in the coffee liqueur, vodka, and powdered sugar until well combined.
- Once the bars are completely cooled, spread the whipped cream mixture evenly over the top. Chill in the refrigerator for at least 1 hour before cutting into squares.
- Serve chilled or at room temperature. Store any leftovers in an airtight container in the refrigerator.
Notes
- For an extra touch, try adding chocolate shavings or crushed nuts on top of the whipped cream layer.
- You can substitute the coffee liqueur with a non-alcoholic coffee syrup for a kid-friendly version.
- Prep Time: 20 minutes
- Cook Time: 25 minutes
- Category: Dessert
- Method: Baking
- Cuisine: American
Nutrition
- Serving Size: 1 bar
- Calories: 250
- Sugar: 15g
- Sodium: 100mg
- Fat: 18g
- Saturated Fat: 10g
- Unsaturated Fat: 8g
- Trans Fat: 0g
- Carbohydrates: 22g
- Fiber: 1g
- Protein: 3g
- Cholesterol: 50mg