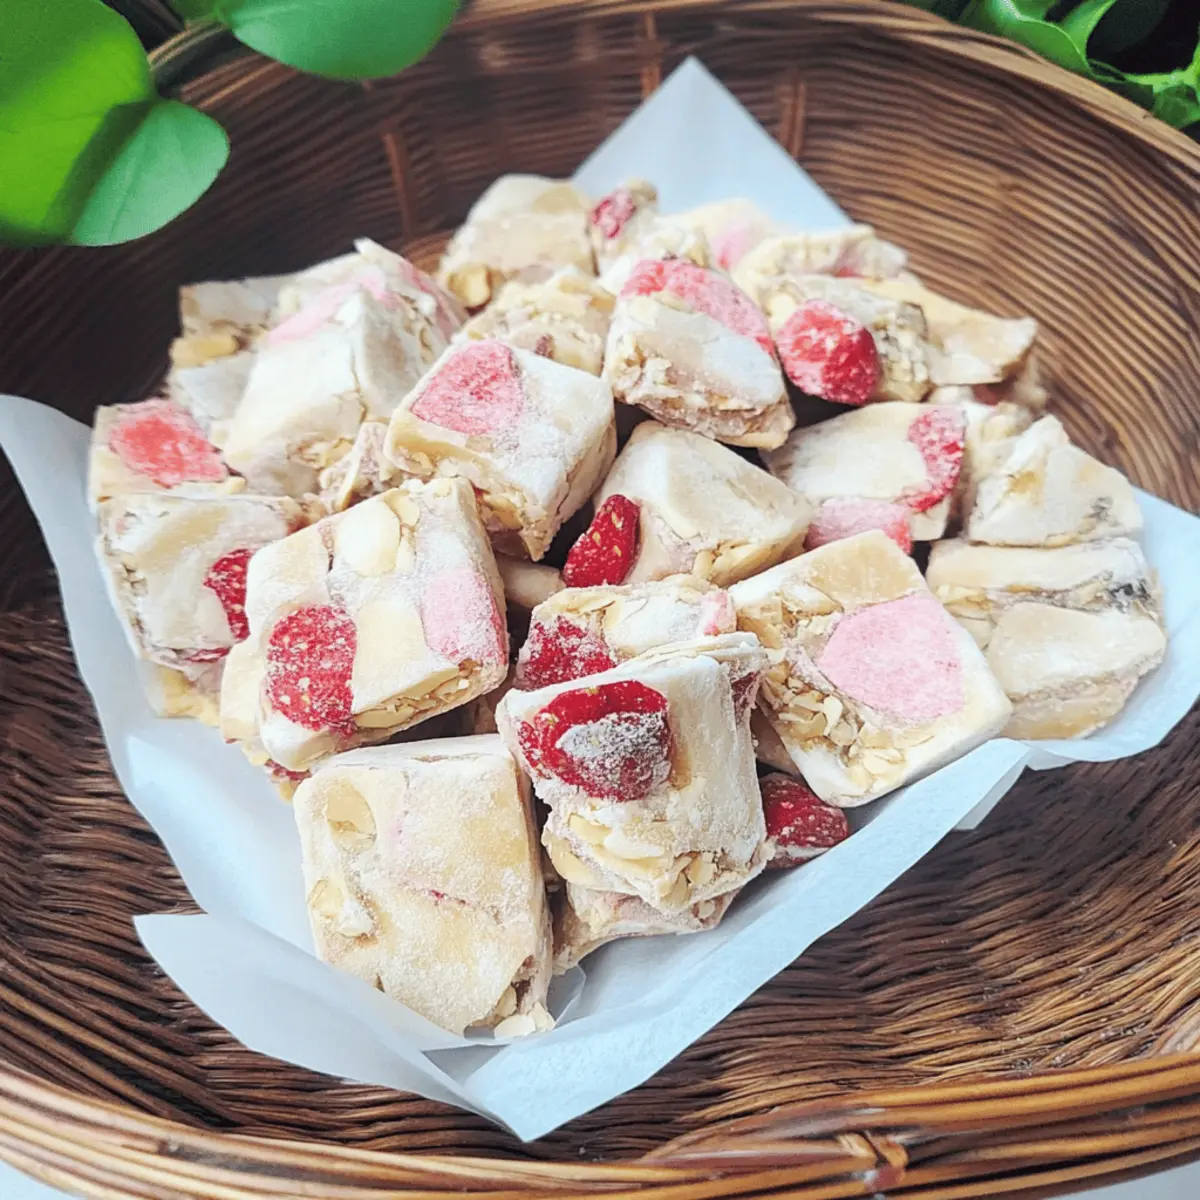
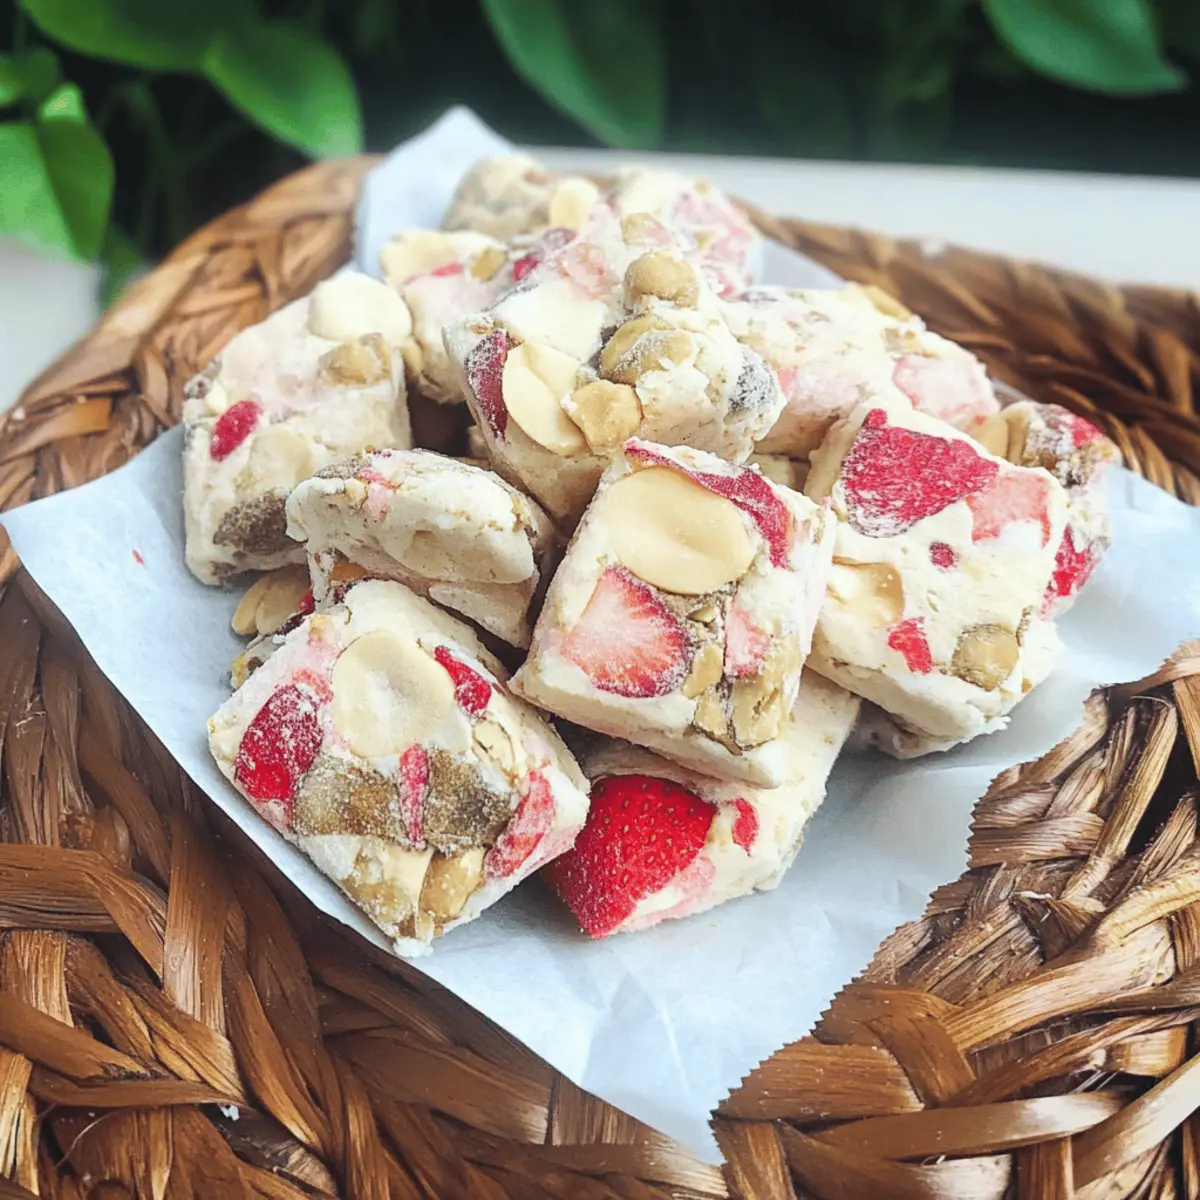
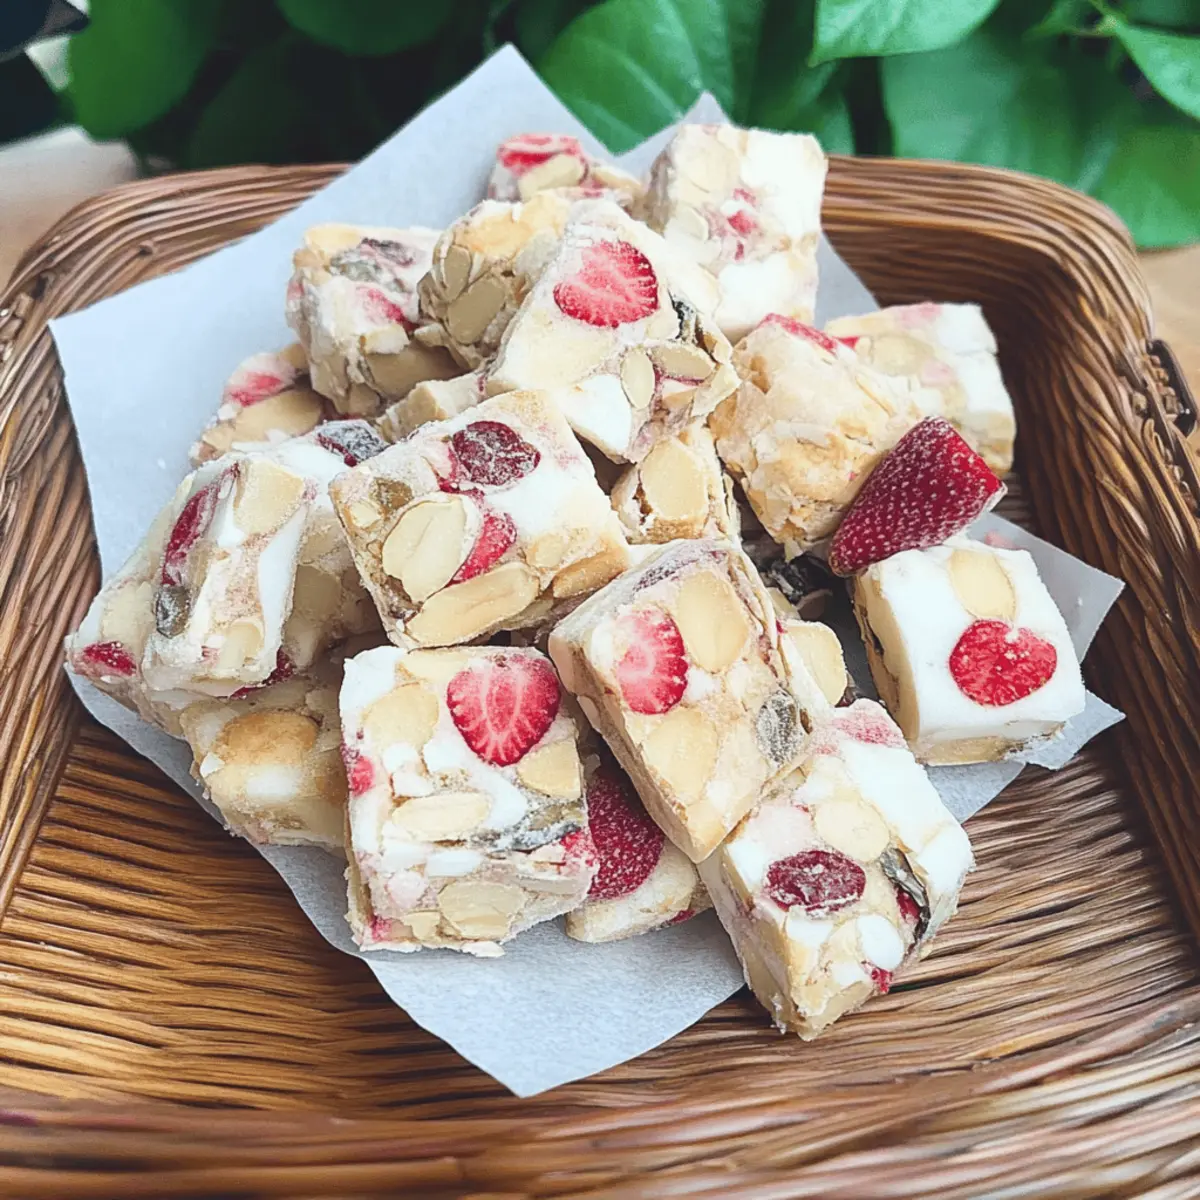
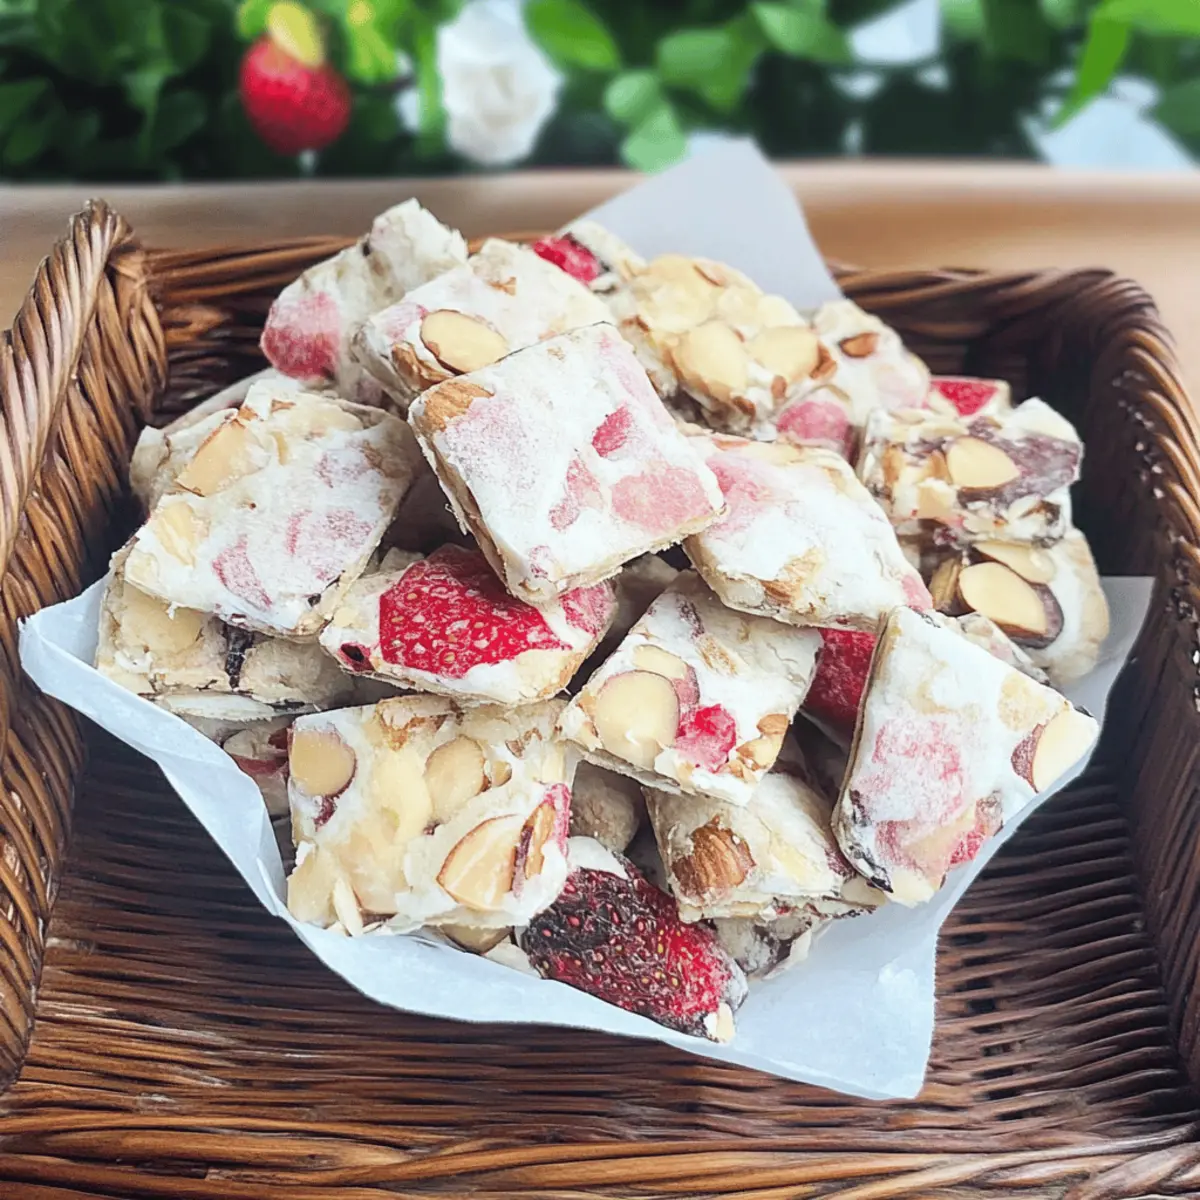
The first time I tasted a Snowflake Crisp, I was wrapped in the joyous buzz of a bustling Chinese New Year celebration, surrounded by laughter and the promise of good fortune. This delightful treat embodies the perfect harmony of creamy nougat and crunchy crackers, making it an irresistible quick recipe that everyone adores. In just ten minutes, you can whip up this crowd-pleaser that not only satisfies your sweet tooth but is also customizable to suit your taste. Whether you choose to include freeze-dried strawberries or switch things up with your preferred nuts, each bite delivers a light, airy crunch that leaves you wanting more. Ready to create your own Snowflake Crisp and add a touch of cheer to your kitchen? Let’s dive into this quick and delightful recipe!
Why is Snowflake Crisp So Irresistible?
Simplicity: This recipe comes together in just ten minutes, making it a perfect choice for those spontaneous snack cravings.
Customizable: Swap out ingredients like freeze-dried strawberries for cranberries or mix in your favorite nuts to tailor this treat to your taste.
Crowd-Pleasing: Great for gatherings, this delicious treat is sure to impress family and friends alike—just like my Chicken Spring Pleasing will!
Unique Texture: Enjoy the delightful contrast between the creamy nougat and crunchy crackers, crafting a unique eating experience that’s light yet satisfying.
Festive Spirit: This beloved Chinese dessert brings a touch of joy and good fortune to any occasion, especially during the New Year celebrations!
Snowflake Crisp Ingredients
For the Base
• Marshmallows – Provides the base sweetness and chewy texture for the crisp; try different flavored marshmallows for additional variety.
• Butter – Adds richness and helps bind the ingredients together; margarine can be substituted for a dairy-free option.
• Milk Powder – Contributes a creamy, milky flavor that enhances the snow-like texture; use plant-based milk powder for lactose-free needs.
For the Crunch
• Small Crackers – Forms the crunchy component of the snack; alternatives include graham crackers, Digestive biscuits, or gluten-free options.
• Nuts – (e.g., pumpkin seeds, dried cranberries, almonds) Provide extra crunch and flavor; swap with seeds for a nut-free version.
For the Touch of Fruity Flavor
• Freeze-Dried Strawberries – Adds a fruity note and visual appeal; can be replaced with freeze-dried cranberries or omitted for simplicity.
Get ready to gather these delightful ingredients and enjoy crafting your very own Snowflake Crisp!
Step‑by‑Step Instructions for Snowflake Crisp
Step 1: Melt Butter
In a medium saucepan, melt 4 tablespoons of butter over low heat, stirring gently to prevent burning. It should take about 2 to 3 minutes for the butter to completely melt and become bubbly. Keep an eye on it to ensure it doesn’t brown, as you want a simple, light base for your Snowflake Crisp.
Step 2: Add Marshmallows
Once the butter has melted, add 2 cups of mini marshmallows into the pan. Stir continuously for about 2 to 3 minutes until the marshmallows are fully melted and combined with the butter, creating a smooth, glossy mixture. The marshmallow-butter blend should resemble a thick sauce, with no lumps remaining.
Step 3: Incorporate Milk Powder
Promptly add 1 cup of milk powder to the melted mixture, mixing well with a spatula. Stir for another 1 to 2 minutes, ensuring there are no dry spots left, and the milk powder is well combined. Remove the saucepan from heat once thoroughly mixed, as it should be thick and creamy, perfect for your Snowflake Crisp.
Step 4: Combine Other Ingredients
Gradually fold in 2 cups of small crackers and 1 cup of your choice of nuts, like almonds or pumpkin seeds, into the mixture. Toss in ½ cup of freeze-dried strawberries if desired. Use a spatula to mix evenly; ensure every piece is coated with the marshmallow blend, providing a delightful crunch in your final Snowflake Crisp.
Step 5: Transfer & Press
Pour the combined mixture into a greased 9×9 inch mold or a lined baking sheet. With wet hands or a spatula, firmly press the mixture down to create an even layer. This step is crucial for a compact texture, ensuring that your Snowflake Crisp holds together beautifully once cooled.
Step 6: Finish
Sprinkle a light dusting of milk powder on top for an extra snow-like appearance, and allow it to cool to room temperature for about 30 minutes. Once set, use a sharp knife to cut your Snowflake Crisp into squares or rectangles. Enjoy the light, crunchy treat that embodies the festive spirit!
How to Store and Freeze Snowflake Crisp
Airtight Container: Store your Snowflake Crisp in an airtight container at room temperature for up to 1 week to maintain its delightful crunch and freshness.
Refrigeration: In humid environments, consider refrigerating the treat to prevent moisture from affecting its texture. It can last up to 2 weeks in the fridge if kept airtight.
Freezing: For longer storage, place pieces in a single layer on a baking sheet to freeze individually, then transfer to a zip-top bag to freeze for up to 2 months.
Reheating: When ready to enjoy, simply let it thaw at room temperature for about 30 minutes before serving to restore its crispy goodness.
Snowflake Crisp Customizations
Why not let your imagination run wild and create the Snowflake Crisp that’s just right for you? Embrace the joy of experimenting with flavors, textures, and dietary needs!
-
Nut-Free: Swap nuts for seeds like sunflower or pumpkin seeds to create a crunchy texture without the worry of allergens. This variation is perfect for school lunches or gatherings!
-
Fruit Fusion: Use freeze-dried blueberries or banana slices instead of strawberries for a completely different fruity flavor. These options add a vibrant color and can bring a delicious tang to your crisp.
-
Dairy-Free Delight: Try using margarine or coconut oil instead of butter to make a tasty dairy-free version. This change keeps your treat rich and satisfying, just without the dairy.
-
Flavored Marshmallows: Experiment with different flavored marshmallows, like strawberry or chocolate, to switch up the sweetness profile. Imagine the blend of chocolate and crunchy textures—yummy!
-
Savory Twist: Add a pinch of sea salt or a sprinkle of chili powder for a savory twist on this sweet snack. It enhances the overall flavor profile while satisfying those adventurous taste buds.
-
Gluten-Free Option: Substitute the small crackers with gluten-free alternatives, such as rice cakes or gluten-free graham crackers to suit your dietary needs. You’ll enjoy a light and crunchy treat without the gluten!
-
Choco-licious: Drizzle melted chocolate on top to elevate your treat into a decadent dessert. This gives it a luxe feel and a rich chocolatey flavor that is simply irresistible!
Created your own delicious twist and looking for more inspiration? Why not check out my Chicken Spring Pleasing or explore this delightful Tofu Oven Alternative as well! Enjoy the endless possibilities!
Expert Tips for Snowflake Crisp
-
Melt Slowly: Be patient when melting the butter and marshmallows. A low heat ensures a smooth, lump-free mixture crucial for your Snowflake Crisp.
-
Mix Thoroughly: Use a spatula to combine ingredients well. This helps avoid dry spots, creating even texture and ensuring each bite is delightful.
-
Press Firmly: When transferring the mixture into a mold, press down firmly. This prevents the pieces from crumbling apart when cut, maintaining the crispness.
-
Cool Completely: Allow the Snowflake Crisp to cool to room temperature before cutting. This step is key for clean edges and well-formed pieces.
-
Storage Matters: Keep any leftovers in an airtight container to maintain freshness and crispness. Avoid humidity for the best results.
What to Serve with Snowflake Crisp?
Indulging in a Snowflake Crisp transforms any snack moment into a joyous celebration, but the right pairings can elevate the experience even further.
- Creamy Coconut Milk: The smoothness of coconut milk adds a tropical twist, perfectly balancing the crunchiness of the Snowflake Crisp.
- Fresh Fruit Salad: A vibrant mix of seasonal fruits offers a refreshing contrast to the sweet and crunchy treat, enhancing the overall flavor profile.
- Ginger Tea: The warmth and spice of ginger tea provide a cozy touch, making it a comforting pairing that echoes the festive spirit.
- Matcha Latte: With its earthy notes and creamy texture, matcha latte complements the sweetness and adds a unique twist to your tea time.
- Chocolate Dipping Sauce: A drizzle of warm chocolate sauce can turn the Snowflake Crisp into a decadent dessert, satisfying those chocolate cravings.
- Mini Cheesecakes: Light, airy cheesecakes make for an excellent dessert pairing that balances sweetness with creaminess, creating a delightful end to your meal.
Don’t forget to explore these pairings the next time you whip up a delightful batch of Snowflake Crisp!
Make Ahead Options
These Snowflake Crisps are a fantastic option for meal prep, making them ideal for busy weeknights or festive gatherings. You can prepare the marshmallow mixture up to 24 hours in advance—just melt the butter and marshmallows, mix in the milk powder, and refrigerate in an airtight container. When you’re ready to enjoy your Snowflake Crisp, simply fold in the crackers, nuts, and freeze-dried strawberries, then transfer to your mold to set. To maintain that delightful crunch, store leftovers in an airtight container for up to a week. By preparing certain components ahead of time, you can whip up this delicious treat with ease and enjoy a creamy, crunchy snack in no time!
Snowflake Crisp Recipe FAQs
What type of marshmallows should I use for Snowflake Crisp?
I recommend using mini marshmallows for their ease of melting and blending with butter. If you’re feeling adventurous, you can try flavored marshmallows like strawberry or vanilla for a twist!
How should I store leftover Snowflake Crisp?
Store your Snowflake Crisp in an airtight container at room temperature for up to 1 week. If you’re in a humid environment, it can be kept in the refrigerator for up to 2 weeks to help maintain its crunch and prevent moisture damage.
Can I freeze Snowflake Crisp? If so, how?
Absolutely! To freeze your Snowflake Crisp, first place the pieces in a single layer on a baking sheet and freeze them until solid. Then, transfer the frozen pieces to a zip-top bag or an airtight container, sealing it well. They can be frozen for up to 2 months. When you’re ready to enjoy, let them thaw at room temperature for about 30 minutes.
What if my Snowflake Crisp mixture isn’t sticking together?
If your mixture is crumbly, it might be due to not enough moisture. Ensure your butter and marshmallows are completely melted and mixed together before adding the milk powder and other ingredients. If it still isn’t sticking, try pressing the mixture down more firmly into the mold or baking sheet to compact it.
Are there any dietary considerations I should keep in mind with Snowflake Crisp?
Yes, be mindful of allergies! This recipe contains marshmallows, butter, and various nuts. For nut-free options, simply substitute with seeds. If you have lactose intolerance, using margarine and plant-based milk powder can help to make the recipe lactose-free.
Snowflake Crisp: Quick, Crunchy Bliss for Your Home Treats
Ingredients
Equipment
Method
- Melt butter in a medium saucepan over low heat for 2 to 3 minutes until bubbly.
- Add mini marshmallows to melted butter and stir continuously for 2 to 3 minutes until fully melted.
- Incorporate milk powder into the mixture and stir for 1 to 2 minutes until well combined.
- Gradually fold in small crackers and nuts, and add freeze-dried strawberries if desired.
- Transfer the mixture into a greased 9x9 inch mold or lined baking sheet and press down firmly.
- Sprinkle milk powder on top and let cool for about 30 minutes before cutting into squares.