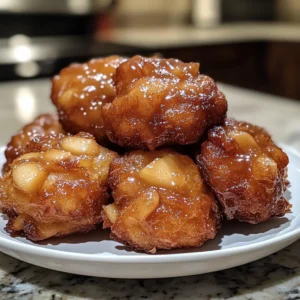
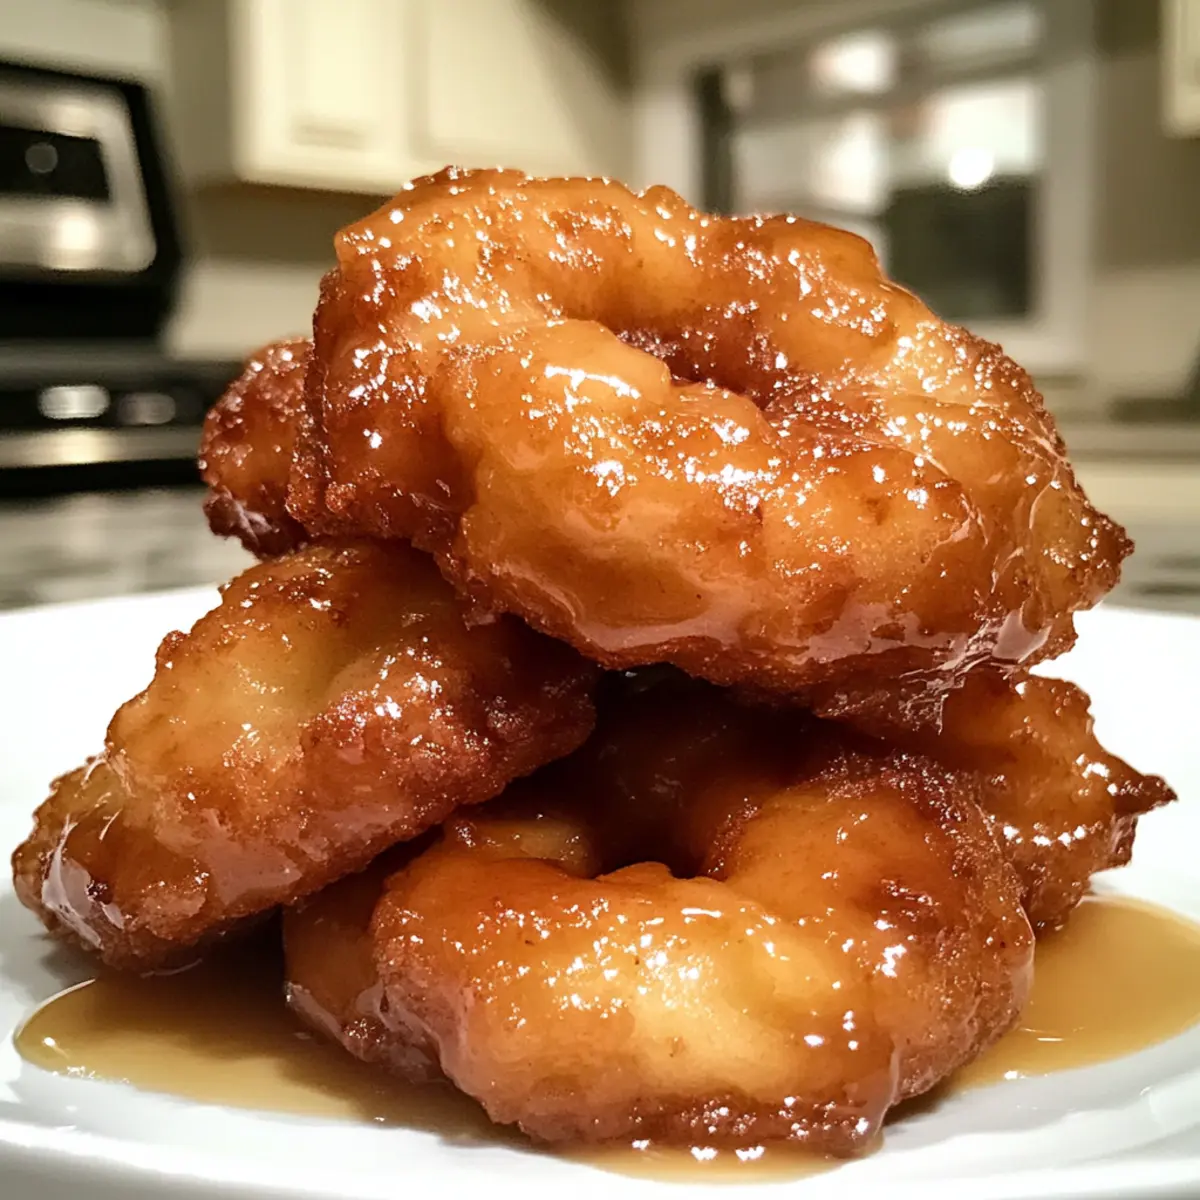
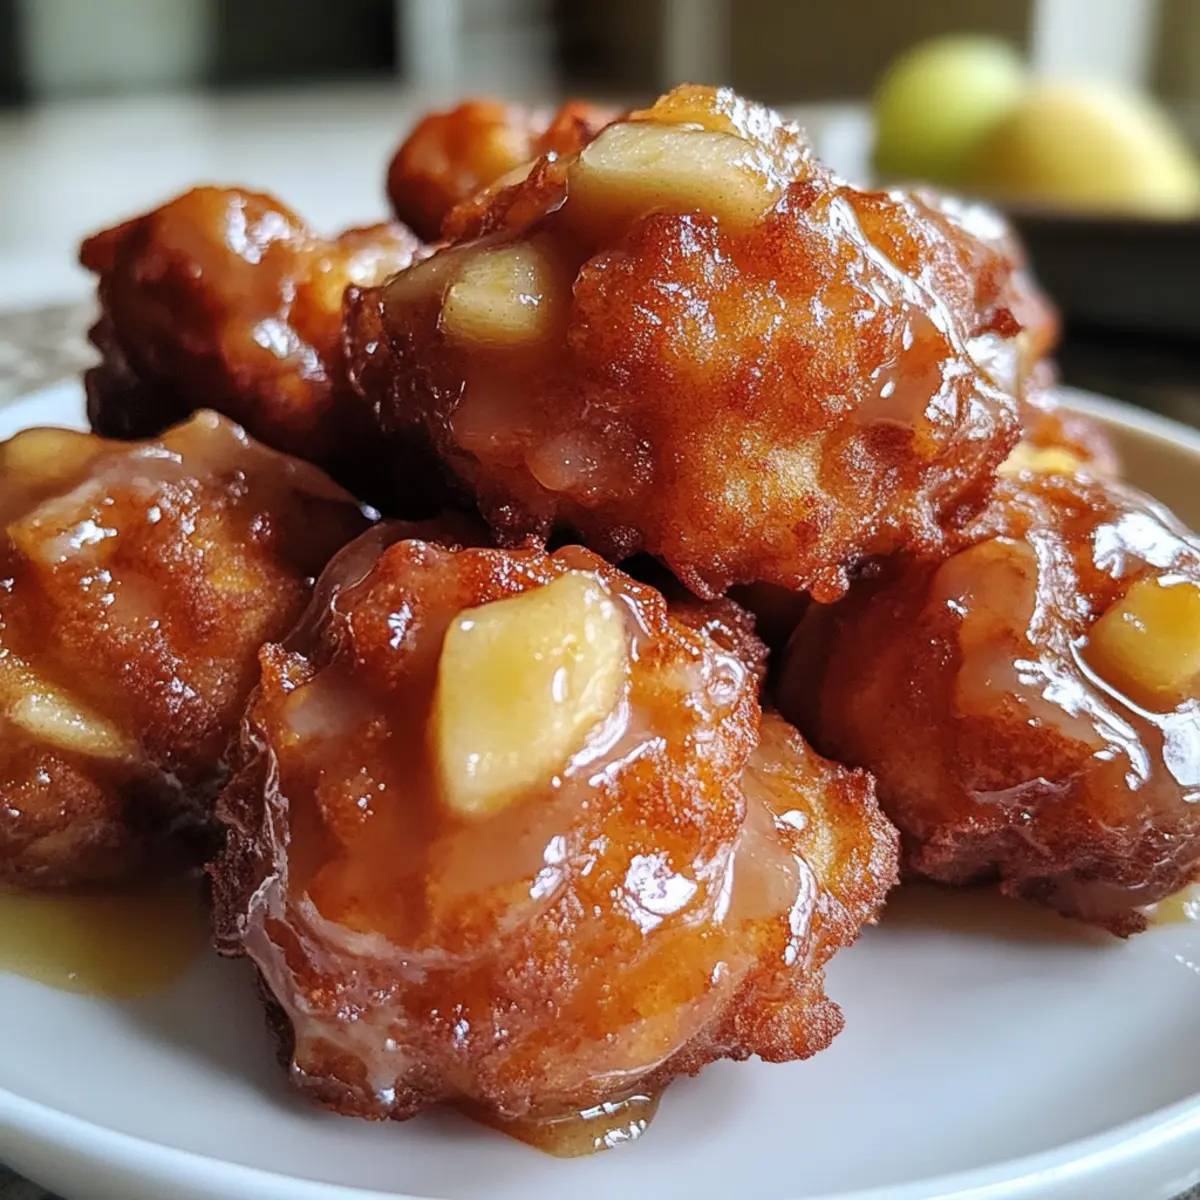
As the leaves turn golden and the air grows crisp, there’s something special about the scent of warm spices wafting through the kitchen. My latest culinary creation, Baked Apple Fritters, captures the essence of fall with every bite. These delightful treats are a healthier alternative to their fried counterparts, meaning you can enjoy that nostalgic flavor without the guilt. Made with whole wheat flour and a hint of cinnamon, they’re packed with nourishment and perfect for those cozy morning moments. The soft texture, completed with a sweet glaze, makes them inviting and utterly irresistible. Have you ever thought about how a simple recipe can bring back warm memories of family and laughter? Let’s dive into this delicious tradition and create some sweet moments together.

Why Are Baked Apple Fritters So Irresistible?
Healthier Choice: These delectable fritters are baked instead of fried, making them a guilt-free indulgence.
Whole Wheat Goodness: Made with whole wheat flour, they provide fiber and nutrients, perfect for a wholesome breakfast.
Versatile Flavor: You can easily customize the recipe by adding other fruits or spices like nutmeg and allspice, adapting to your taste preferences.
Quick and Easy: Ready in about 20 minutes, they’re a time-saving treat for busy mornings, ideal for family gatherings or cozy weekends.
Nostalgic Aroma: The warm scent of cinnamon and fresh apples fills your kitchen, creating delightful memories of autumn nostalgia.
Pair these fritters with a hot cup of tea, or enjoy them with a drizzle of Salted Caramel Apple for an extra touch of sweetness!
Baked Apple Fritter Ingredients
Gather Your Essentials
• Let’s make sure you have everything you need to whip up these delightful Baked Apple Fritters!
For the Fritters
- All-purpose flour – Provides structure; feel free to substitute with gluten-free flour if necessary.
- White whole wheat flour – Adds nutrition and fiber; you can replace it with regular whole wheat flour for a heartier flavor.
- Brown sugar – Sweetens and adds moisture; light brown sugar is a perfect substitute.
- Baking powder – Acts as a leavening agent for fluffiness; ensure it’s fresh for best results.
- Cinnamon – Infuses warmth and fall flavor; adjust to taste or use pumpkin pie spice for a fun twist.
- Nutmeg – Offers an earthy depth; can be omitted or increased with cinnamon if not readily available.
- Allspice – Adds a delightful complexity; omit if unavailable or increase the amount of nutmeg or cinnamon.
- Salt – Enhances flavor; it’s essential for balance in sweetness.
- Butter (cold and cubed) – Adds richness and flakiness; unsalted butter is ideal for controlling salt content, but vegetable oil can work too.
- Milk – Supplies moisture; whole milk is preferred, but non-dairy milk works wonderfully as well.
- Egg – Binds the mixture; for an egg-free option, use a flax egg or applesauce.
- Vanilla extract – Enhances the sweetness and aroma; leave it out if unavailable, but vanilla bean can add richness.
- Finely chopped apples – Infuses moisture and natural sweetness; any sweet variety works, like Honeycrisp or tart Granny Smith.
For the Glaze
- Confectioners’ sugar – Sweetens the glaze; powdered erythritol can be used for a lower-sugar option.
- More milk for glaze – Adjusts the consistency; higher fat milk enhances the richness of the glaze.
Get ready to fill your kitchen with the scent of fall as you create these charming Baked Apple Fritters!
Step‑by‑Step Instructions for Baked Apple Fritters
Step 1: Preheat and Prepare
Begin by preheating your oven to 400°F (200°C) and lining a baking sheet with a silicone mat to prevent sticking. This will ensure even baking for your delicious Baked Apple Fritters. A properly prepared baking sheet will help achieve that perfect golden exterior.
Step 2: Mix the Dry Ingredients
In a large mixing bowl, sift together the all-purpose flour, white whole wheat flour, brown sugar, baking powder, cinnamon, nutmeg, allspice, and salt. This step is crucial as it ensures even distribution of the dry ingredients. You want a fragrant mixture that captures the essence of fall baking.
Step 3: Cut in the Butter
Add the cold, cubed butter to your dry mixture. Using a pastry blender, cut the butter into the flour mixture until it resembles coarse crumbs. This process creates a flaky texture in your fritters. Make sure the butter remains cold for the best results, and enjoy the delightful aroma as you work.
Step 4: Combine the Wet Ingredients
In a separate bowl, whisk together the milk, egg, and vanilla extract until thoroughly combined. The mixture should be smooth and creamy. This will serve as the binding agent for your Baked Apple Fritters, adding moisture and richness that will infuse every bite.
Step 5: Merge Wet and Dry Mixtures
Gently pour the wet mixture into the bowl of dry ingredients, stirring until just combined. Avoid overmixing to keep your fritters tender. Next, fold in the finely chopped apples, ensuring they are evenly distributed throughout the dough. Your batter should be thick but still somewhat sticky.
Step 6: Portion the Fritters
Using a tablespoon, drop generous spoonfuls of dough onto your prepared baking sheet, spacing them a couple of inches apart for even baking. They will spread slightly, so don’t crowd them. Each fritter should have a fun, rustic shape, inviting and warm, ready to fill your home with delightful aromas.
Step 7: Bake to Perfection
Place the baking sheet in the preheated oven and bake for 11-13 minutes, or until the fritters are golden brown and set. Keep an eye on the smaller fritters, checking them at around 8 minutes. The perfect baking result will show a light crust that is golden and inviting.
Step 8: Prepare the Glaze
While the fritters are baking, whisk together the confectioners’ sugar, milk, and a splash of vanilla extract in a small bowl until smooth and glossy. This glaze will give a beautiful finish to your Baked Apple Fritters, adding sweetness and enhancing their delightful appearance.
Step 9: Glaze and Broil
Once the fritters are out of the oven, brush the warm fritters with the prepared glaze, ensuring an even coat. Switch your oven to broil and return the fritters for 2-4 minutes, watching closely until the glaze becomes bubbly and lightly golden. This step adds an irresistible sheen to your treats.
Step 10: Cool and Serve
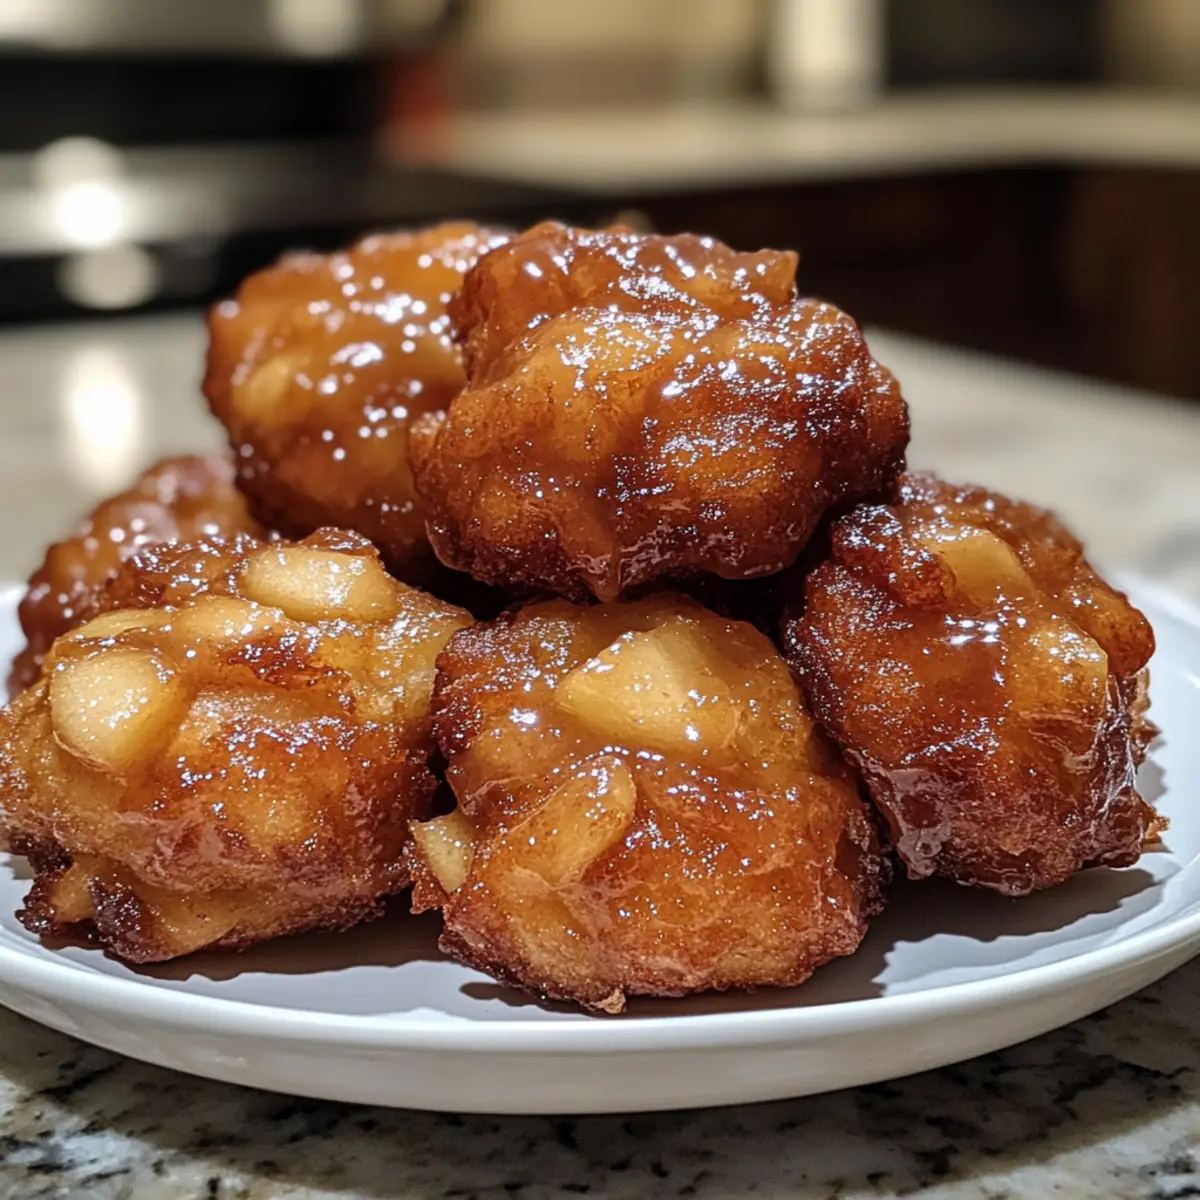
After broiling, transfer the glazed fritters to a wire rack to cool slightly. If you desire extra sweetness, drizzle on more glaze while they’re still warm. These Baked Apple Fritters are best enjoyed warm, perhaps dusted with extra powdered sugar, perfect for a cozy breakfast or snack!
Make Ahead Options
These Baked Apple Fritters are perfect for meal prep enthusiasts, allowing you to savor their delightful flavors even on your busiest mornings! You can prepare the dough up to 24 hours in advance by mixing all the dry ingredients and cutting in the butter. Store the mixture in an airtight container in the refrigerator to maintain its freshness. You can also chop the apples and keep them in a separate container for up to 3 days, just remember to toss them with a little lemon juice to prevent browning. When you’re ready to enjoy, combine the wet ingredients, fold in the apples, and bake as directed. This way, you’ll have warm, comforting fritters ready in no time!
Variations & Substitutions for Baked Apple Fritters
Feel free to let your creativity shine and customize these delightful Baked Apple Fritters to fit your taste preferences!
-
Gluten-Free: Use a gluten-free flour blend to accommodate dietary needs without sacrificing flavor or texture.
-
Applesauce Substitute: Replace the egg with an equal amount of applesauce for a moisture booster and added apple flavor.
-
Non-Dairy Delight: Swap whole milk for almond, oat, or coconut milk, making these fritters suitable for dairy-free diets.
-
Flavor Boost: Add a teaspoon of ginger or cardamom for a flavor punch; these spices work beautifully with cinnamon.
-
Nutty Twist: Incorporate chopped walnuts or pecans in the batter for a delightful crunch that complements the soft texture.
-
Fruit Fusion: Try using diced pears or fresh peaches instead of apples for a fruity twist that adds variety to your fritters.
-
Sweetness Adjustment: Modify the sugar content by using honey or maple syrup instead of brown sugar for a natural sweetener.
-
Creamy Glaze: Experiment with cream cheese in your glaze for a richer, more decadent topping that pairs perfectly with the fritters.
Let these variations inspire your next culinary adventure! And if you’re in the mood for something else, don’t forget to check out my delicious Homemade Apple Pie or try some Tofu Oven Baked for a lovely savory twist!
How to Store and Freeze Baked Apple Fritters
Room Temperature: Keep leftover fritters in an airtight container at room temperature for up to 24 hours to maintain their delightful texture and flavor.
Fridge: For longer storage, refrigerate fritters in an airtight container for up to 3 days. This helps preserve their soft, tender interior.
Freezer: Freeze baked fritters in a single layer on a baking sheet for 1-2 hours, then transfer them to a freezer-safe bag. They can be stored for up to 3 months.
Reheating: To enjoy frozen Baked Apple Fritters, thaw them overnight in the fridge, then reheat in a toaster oven for a few minutes for added crispiness.
Expert Tips for Baked Apple Fritters
-
Check Freshness: Ensure your baking powder is fresh; expired powder will not provide the fluffiness you want in your fritters.
-
Gentle Mixing: Avoid overmixing the dough to keep your Baked Apple Fritters tender and soft; mix until just combined.
-
Oven Calibration: Use an oven thermometer to verify that your oven temperature is accurate—this helps with even baking results.
-
Spacing Matters: Space fritters at least a couple of inches apart on the baking sheet; they will spread as they bake, ensuring they don’t stick together.
-
Glaze Wisely: Apply the glaze while the fritters are still warm for maximum absorption, creating a mouthwatering finish that enhances flavor.
-
Experiment with Fruit: Don’t hesitate to try adding different fruits for variation; chopped pears or peaches can bring a delightful twist to your Baked Apple Fritters.
What to Serve with Baked Apple Fritters?
The cozy flavors of these delightful fritters pair beautifully with a variety of accompaniments, turning breakfast into a truly memorable experience.
-
Cinnamon Coffee: This warm beverage enhances the spices in the fritters and offers a comforting morning boost. A perfect pairing that resonates with those autumn vibes.
-
Vanilla Yogurt: Creamy and refreshing, it adds a delightful contrast to the sweetness of the fritters, enriching each bite with a silky texture.
-
Fresh Fruit Salad: A vibrant mix of seasonal fruits offers a refreshing and bright counterbalance to the rich flavors of the fritters. Think crisp apples, juicy pears, and grapefruit for zing!
-
Maple Syrup Drizzle: Adding a touch of sweetness, a drizzle of warm maple syrup elevates the fritters while bringing out the apple flavor. A classic combination that never fails to delight.
-
Chai Tea: With its fragrant spices, chai tea harmonizes perfectly with the warm flavors of the fritters, creating a soothing and aromatic experience.
-
Homemade Apple Compote: A spoonful of warm apple compote can deepen the apple essence, reminding you of grandma’s kitchen. It adds warmth and nostalgia in every bite!
-
Almond Milkshake: A nutty and creamy shake offers a refreshing, cold contrast, making your breakfast feel more indulgent without being over the top.
Indulge in these pairings for a delightful morning that’s both wholesome and full of flavor!
Baked Apple Fritters Recipe FAQs
What type of apples are best for Baked Apple Fritters?
Absolutely! The best apples for your fritters are those that hold their shape when baked, such as Granny Smith for a tart contrast or Honeycrisp for a sweet bite. Feel free to mix varieties for a more complex flavor profile!
How should I store leftover Baked Apple Fritters?
To keep your fritters fresh, store them in an airtight container at room temperature for up to 24 hours. If you’d like them to last longer, refrigerate them for up to 3 days. Just remember to reheat in a toaster oven for that crispiness we all love!
Can I freeze Baked Apple Fritters?
Absolutely! For freezing, place the fritters in a single layer on a baking sheet and freeze them for about 1-2 hours. Once solid, transfer them to a freezer-safe bag, and they’ll last for up to 3 months. When you’re ready to enjoy, thaw them overnight in the fridge and reheat in a toaster oven!
Why did my fritters come out dense?
Oh no! If your fritters turned out dense, it might be due to overmixing. Make sure to mix the wet and dry ingredients just until combined. Also, check that your baking powder is fresh; stale baking powder won’t give your fritters the rise they need.
Can I make these Baked Apple Fritters gluten-free?
Yes, you can! Substitute all-purpose flour with a good gluten-free flour blend. Look for one that contains xanthan gum to help mimic the structure that gluten provides. Your fritters will still be delicious and enjoyably tender!
Is there a vegan option for Baked Apple Fritters?
Very much so! For a vegan version, replace the egg with a flax egg (1 tablespoon ground flaxseed mixed with 2.5 tablespoons of water) and use a non-dairy milk. This way, you can indulge in these delightful fritters while keeping your dietary preferences in mind!
Baked Apple Fritters: Your New Fall Favorite Treat!
Ingredients
Equipment
Method
- Preheat your oven to 400°F (200°C) and line a baking sheet with a silicone mat to prevent sticking.
- In a large mixing bowl, sift together the all-purpose flour, white whole wheat flour, brown sugar, baking powder, cinnamon, nutmeg, allspice, and salt.
- Add the cold, cubed butter to your dry mixture and cut into the flour mixture until it resembles coarse crumbs.
- In a separate bowl, whisk together the milk, egg, and vanilla extract until thoroughly combined.
- Gently pour the wet mixture into the bowl of dry ingredients, stirring until just combined. Fold in the finely chopped apples.
- Using a tablespoon, drop generous spoonfuls of dough onto your prepared baking sheet, spacing them a couple of inches apart.
- Place the baking sheet in the preheated oven and bake for 11-13 minutes, or until the fritters are golden brown and set.
- While the fritters are baking, whisk together the confectioners’ sugar, milk, and a splash of vanilla extract until smooth.
- After baking, brush the warm fritters with the prepared glaze and return to the oven on broil for 2-4 minutes.
- Transfer the glazed fritters to a wire rack to cool slightly, drizzling on more glaze if desired.