A Sweet Tradition: How Easter Treats Became a Family Favorite
Easter has always been a magical time in my household. The pastel colors, the blooming flowers, and the smell of chocolate in the air make it one of the most anticipated holidays of the year. But what truly sets it apart is the time spent in the kitchen, creating festive treats that bring joy to both kids and adults.
I still remember the first time I attempted making themed Easter treats with my little ones. We had grand plans for elaborate bunny cakes and intricately decorated cookies, but as every parent knows, kids have their own agenda. Within minutes, the kitchen was covered in sprinkles, melted chocolate dripped from every counter, and somehow, my youngest had more frosting on her face than on the cookies. That’s when I realized that Easter baking isn’t about perfection—it’s about laughter, creativity, and the joy of making something together.
That’s exactly why Bunny Bliss Oreo Pops have become a family staple. They are the perfect balance of adorable and effortless. No need for complicated baking techniques or hours of decorating—just a few simple steps, and you have the cutest little bunny pops that kids (and adults) will love. Whether you’re making them for an Easter party, a classroom treat, or a fun afternoon activity, these Oreo pops will bring smiles and sweet memories.
Why You’ll Love These Oreo Pops
If you’ve never made Oreo pops before, you’re in for a treat—literally! Here’s why these Bunny Bliss Oreo Pops will become your new go-to Easter dessert:
- Easy to Make: No baking required, just a few ingredients and some melting magic.
- Perfect for Kids: Let the little ones help with dipping, decorating, and assembling their own bunny pops.
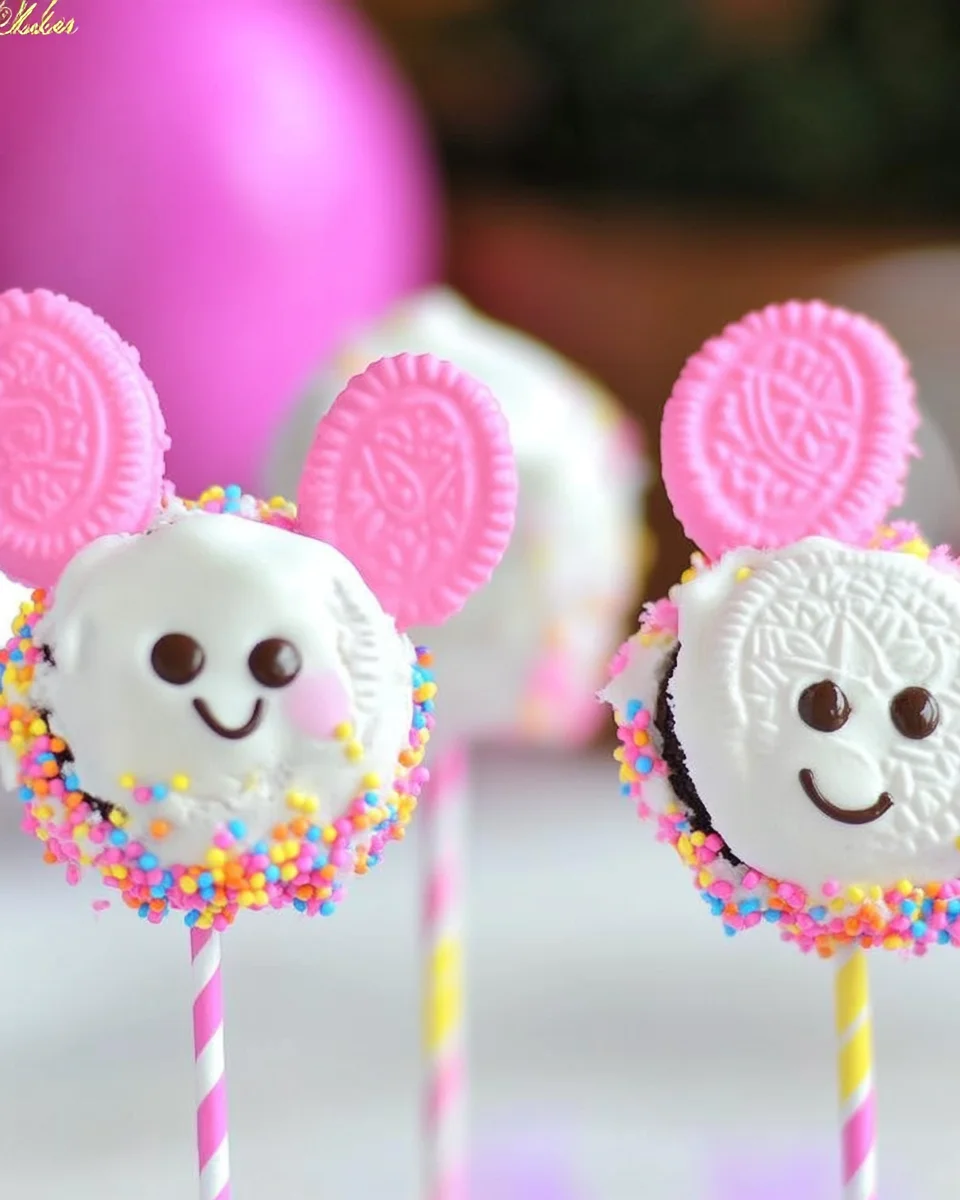
- Festive and Fun: The cute bunny ears, pink noses, and candy eyes make them an instant Easter hit.
- Great for Gifting: Wrap them individually in clear treat bags for adorable homemade gifts.
- Customizable: Switch up the colors, decorations, or flavors to make them uniquely yours.
Tips for the Best Bunny Oreo Pops
While these treats are super easy to make, a few simple tips can help ensure they come out looking as adorable as possible:
1. Choose the Right Oreos
Double Stuf Oreos work best because they give more room for the lollipop stick to stay in place without cracking the cookie. However, if you only have regular Oreos, you can still make it work—just be gentle when inserting the stick.
2. Chill Before Dipping
One of the biggest mistakes people make is skipping the refrigeration step. Letting the cookies firm up in the fridge before dipping prevents them from falling apart in the melted chocolate.
3. Use High-Quality Candy Melts
Not all candy melts are created equal. Some brands melt more smoothly than others. If your candy melts seem too thick, add a teaspoon of vegetable shortening or coconut oil to help thin them out.
4. Get Creative with the Decorations
While pink Sixlets or M&Ms make the perfect bunny noses, feel free to get creative! Try jelly beans, mini marshmallows, or even small fondant pieces for different looks.
5. Work Quickly
Once you dip the Oreo in the melted chocolate, move fast to attach the marshmallow ears, candy eyes, and nose before the coating hardens. If the chocolate starts to set too soon, use a tiny dab of melted chocolate as “glue” to attach the pieces.
Ingredients: The Sweet Essentials
- 1 bag White Candy Melts
- 1 package Oreos (Double Stuffed recommended)
- 1 package Lollipop/Treat Sticks
- 1 package Candy Eyeballs
- 1 package Sixlets (or pink M&Ms, jelly beans, or other pink candy)
- 15 Marshmallows
- Pink Sprinkles
Directions: Bringing the Bunnies to Life
- Melt & Prep
- Melt the white candy melts according to the package instructions.
- While melting, carefully twist apart the Oreo cookies.
- Stick It Together
- Dip one end of a lollipop stick into the melted chocolate.
- Press the dipped end into the creamy center of an Oreo.
- Place the cookie top back on and refrigerate for 5-10 minutes to set.
- Dipping Time
- Remove cookies from the fridge and dip the entire Oreo (on a stick) into the melted chocolate.
- Ensure the cookie is fully coated. If needed, reheat the candy melts for a smooth dip.
- Bunny Makeover
- Cut marshmallows lengthwise to create bunny ears. Optionally, dip the cut edges in sugar.
- Place the marshmallow ears on top of the cookie before the chocolate hardens.
- Add candy eyeballs and a pink candy nose in the center.
- Final Touch & Set
- Allow the decorated Oreo pops to set in the fridge until hardened.
- Serve and enjoy your adorable Easter treat!
Nutritional Details: A Little Sweet Insight
- Calories: 154 kcal
- Carbohydrates: 24g
- Protein: 1g
- Fat: 6g
- Saturated Fat: 3g
- Sodium: 115mg
- Potassium: 49mg
- Fiber: 1g
- Sugar: 16g
- Calcium: 5mg
- Iron: 2mg
These Bunny Bliss Oreo Pops are a festive and fun treat perfect for Easter celebrations. Happy baking!
Frequently Asked Questions
1. How long do these Oreo pops last?
These treats can last up to one week when stored in an airtight container at room temperature. If you want them to last longer, refrigerate them, but keep in mind that condensation might make the candy coating look less smooth.
2. Can I make these ahead of time?
Yes! You can make Bunny Bliss Oreo Pops up to 3-4 days in advance. Just store them in a cool, dry place to keep the chocolate from melting.
3. What can I use instead of candy melts?
If you don’t have candy melts, you can use white chocolate chips mixed with a little coconut oil or shortening. This will create a smooth, easy-to-dip consistency.
4. How do I prevent the lollipop sticks from falling out?
The trick is dipping the stick in melted chocolate before inserting it into the Oreo. This helps “glue” it in place when it hardens. Also, refrigerate the cookies before dipping them into the full coating.
5. Can I make these without a lollipop stick?
Absolutely! If you prefer, you can simply coat the Oreos in chocolate and decorate them as bunny faces without the sticks. They’ll be just as cute and delicious.
6. Can I use different flavors of Oreos?
Yes! Try using Golden Oreos, chocolate-covered Oreos, or even flavored Oreos like mint or birthday cake for a fun twist.
7. What if my candy melts are too thick?
Add a teaspoon of vegetable shortening or coconut oil to thin out the melted candy for easier dipping. Avoid using water, as it will cause the chocolate to seize up.
Creative Variations to Try
Want to add your own spin to these Oreo pops? Here are some fun variations to experiment with:
- Chocolate Bunny Pops: Instead of white candy melts, use milk or dark chocolate melts for a rich, chocolatey flavor.
- Pastel Bunny Pops: Use colored candy melts (light pink, baby blue, lavender) to match the Easter theme.
- Speckled Egg Design: After dipping, use a clean toothbrush to flick tiny specks of food coloring onto the chocolate for a speckled egg look.
- Flavored Oreos: Try using birthday cake, lemon, or peanut butter Oreos for a fun twist.
- Glittery Bunnies: Sprinkle edible glitter on the coating before it hardens for a magical touch.
How to Serve and Display Your Oreo Pops
Presentation is everything when it comes to holiday treats! Here are a few creative ways to serve and display your Bunny Bliss Oreo Pops:
- Easter Basket Treats: Arrange the pops in a basket filled with Easter grass for a festive centerpiece.
- Gift Bags: Wrap each pop in a clear treat bag and tie it with a pastel ribbon for a thoughtful homemade gift.
- Kid’s Table Fun: Place the pops in a jar filled with colorful jelly beans for an interactive, edible display.
- Cupcake Toppers: Stick the pops into cupcakes for an extra special Easter dessert.
Final Thoughts: A Treat That Brings People Together
At the end of the day, making Bunny Bliss Oreo Pops isn’t just about creating a delicious dessert—it’s about making memories. Whether you’re decorating these with your kids, gifting them to friends, or serving them at an Easter brunch, they bring a sense of joy and togetherness that makes the holiday even more special.
So gather your ingredients, roll up your sleeves, and embrace the fun (and maybe a little mess) of making these delightful bunny pops. Because Easter isn’t about perfection—it’s about love, laughter, and sweet moments shared with the people who matter most.
Happy Easter, and happy baking!

Bunny Bliss Oreo Pops: The Perfect Easter Treat
- Total Time: 30 minutes
- Yield: 15 Oreo Pops
Description
These Bunny Bliss Oreo Pops are irresistibly adorable treats perfect for Easter festivities! Made with Oreos, creamy candy melts, marshmallow ears, and playful candy faces, these charming pops are as delightful to create as they are to eat. Gather the family for a sweet and fun baking session!
Ingredients
- 1 bag White Candy Melts
- 1 package Oreos (Double Stuffed recommended)
- 1 package Lollipop/Treat Sticks
- 1 package Candy Eyeballs
- 1 package Sixlets (or pink M&Ms, jelly beans, or other pink candy)
- 15 Marshmallows
- Pink Sprinkles
Instructions
- Melt & Prep:
- Melt white candy melts according to package instructions.
- Carefully twist apart Oreo cookies.
- Stick It Together:
- Dip one end of each lollipop stick into melted chocolate.
- Press dipped end into the creamy center of an Oreo.
- Reassemble Oreo cookies and refrigerate 5-10 minutes until set.
- Dipping Time:
- Dip refrigerated Oreo pops completely into melted candy, coating thoroughly.
- Reheat melts as necessary to maintain smooth consistency.
- Bunny Makeover:
- Cut marshmallows lengthwise to form bunny ears, dipping cut edges into sugar if desired.
- Attach marshmallow ears to the top of the dipped Oreo before chocolate hardens.
- Quickly add candy eyeballs and a pink candy nose.
- Final Touch & Set:
- Refrigerate Oreo pops until chocolate is fully set.
- Serve chilled and enjoy!
Notes
- Double Stuffed Oreos offer better support for the sticks.
- Decorate quickly after dipping, as the candy melts set rapidly.
- Prep Time: 20 minutes
- Cook Time: 10 minutes
- Category: Dessert
- Method: No-Bake
- Cuisine: American