Introduction to Butterfinger Bomb Cake
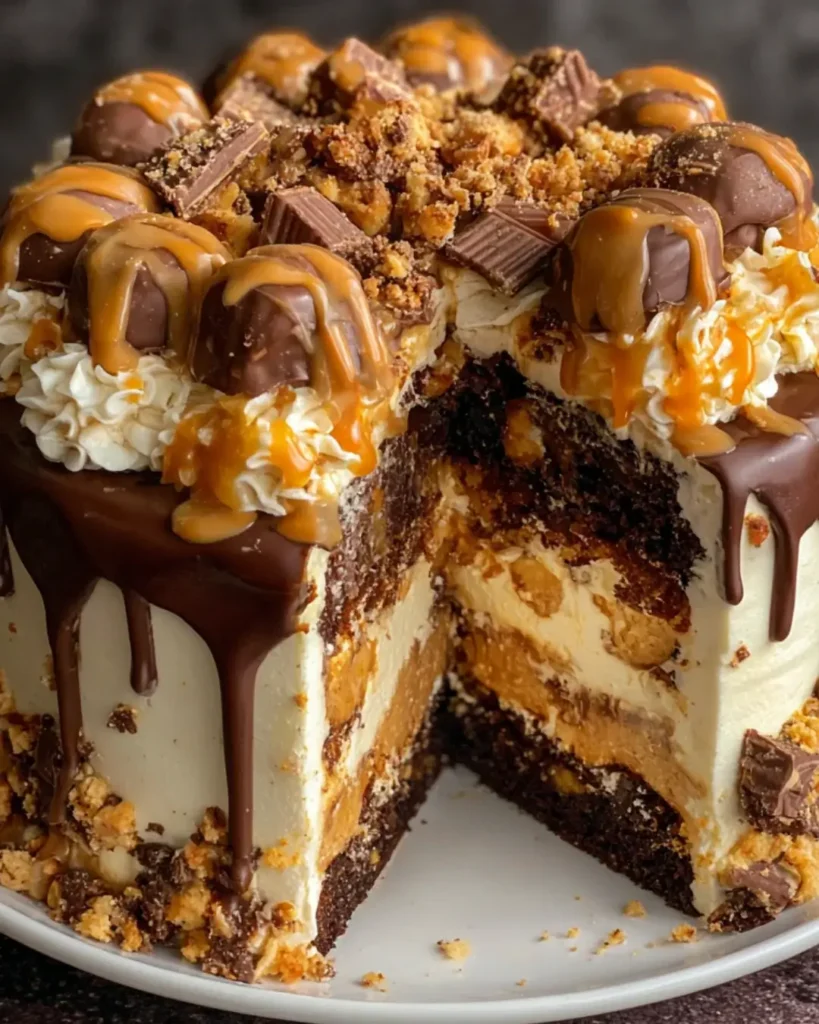
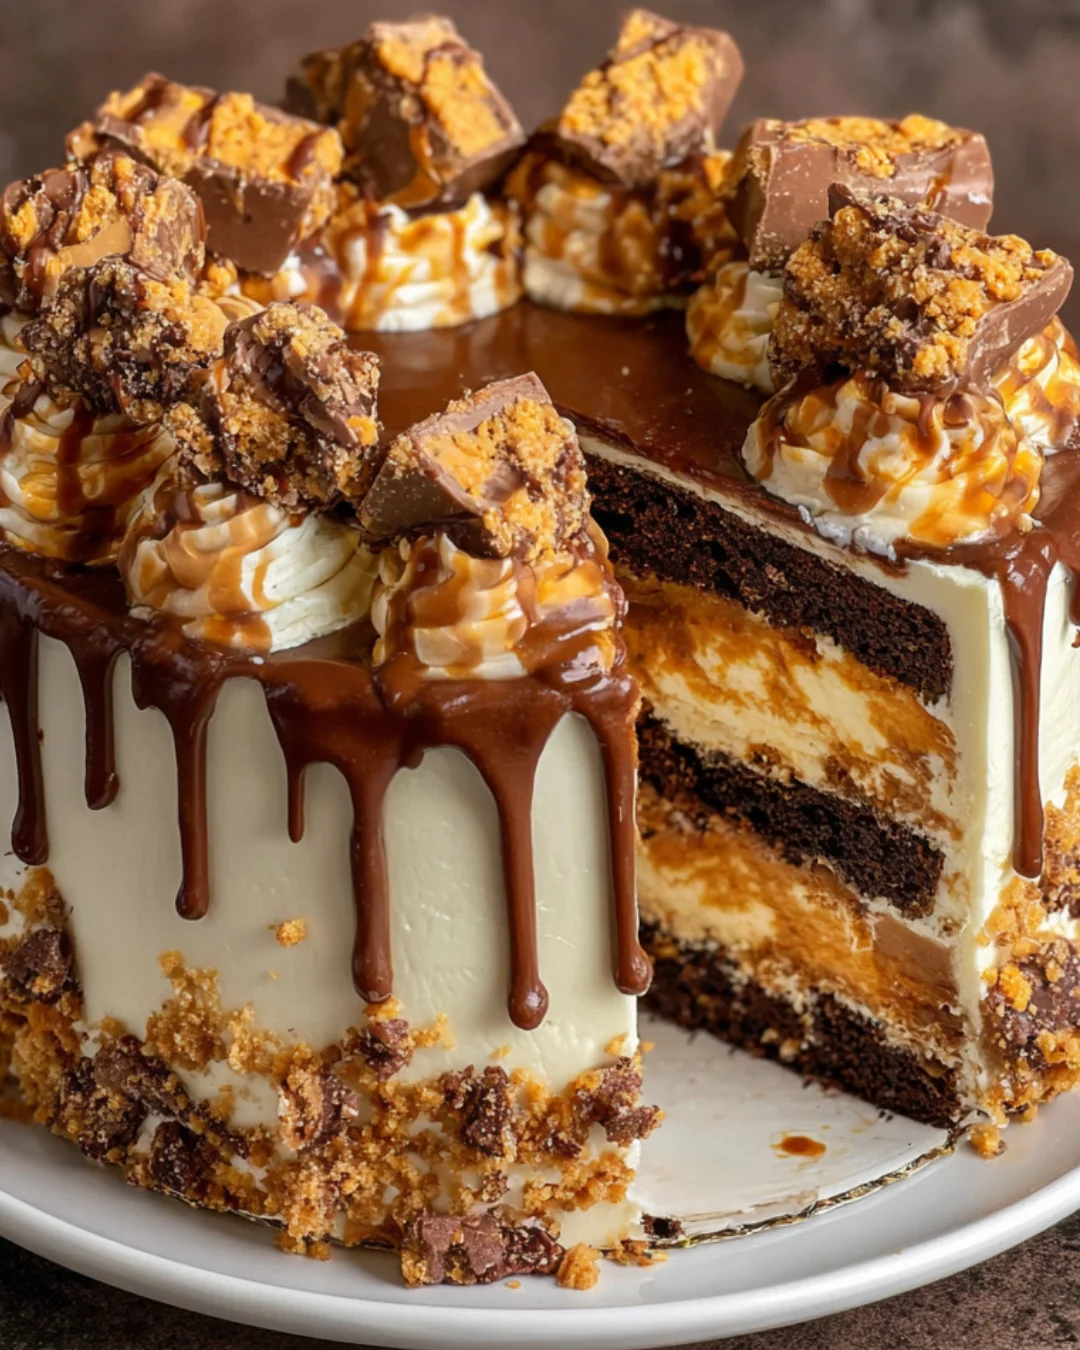
There’s something magical about dessert that brings us back to simpler times. The Butterfinger Bomb Cake is a delightful treat that combines nostalgia with indulgence. Imagine biting into a rich chocolate cake, only to discover a creamy peanut butter filling and crunchy Butterfinger bits. It’s a dessert that not only satisfies your sweet tooth but also impresses your friends and family. Whether you’re celebrating a special occasion or just need a quick solution for a busy day, this cake is sure to be a hit. Let’s dive into this delicious adventure together!
Why You’ll Love This Butterfinger Bomb Cake
This Butterfinger Bomb Cake is a game-changer for dessert lovers. It’s incredibly easy to whip up, making it perfect for those busy weeknights or last-minute gatherings. The combination of rich chocolate and creamy peanut butter is simply irresistible. Plus, who can resist the crunch of Butterfinger bars? This cake is not just a treat; it’s a crowd-pleaser that will have everyone asking for seconds!
Ingredients for Butterfinger Bomb Cake
Gathering the right ingredients is the first step to creating your Butterfinger Bomb Cake masterpiece. Here’s what you’ll need:
- All-purpose flour: The backbone of your cake, providing structure and texture.
- Granulated sugar: Sweetens the cake and helps it rise, creating that perfect fluffy texture.
- Unsweetened cocoa powder: Adds rich chocolate flavor without extra sweetness.
- Baking powder and baking soda: These leavening agents help the cake rise beautifully.
- Salt: Enhances the flavors and balances the sweetness.
- Large eggs: Bind the ingredients together and add moisture.
- Whole milk: Keeps the cake moist and adds richness.
- Vegetable oil: Contributes to a tender crumb and keeps the cake moist.
- Vanilla extract: A must-have for that warm, inviting flavor.
- Boiling water: This secret ingredient helps create a super moist cake.
- Creamy peanut butter: The star of the filling, adding that irresistible nutty flavor.
- Powdered sugar: Sweetens the peanut butter filling and gives it a smooth texture.
- Heavy cream: Whipped to perfection, it lightens the peanut butter filling.
- Butterfinger candy bars: Crushed for both the filling and decoration, adding crunch and sweetness.
- Chocolate frosting: Use store-bought or homemade to frost the cake and add a rich finish.
- Optional: For a twist, consider adding espresso powder to the batter for a deeper chocolate flavor or swap Butterfinger bars with your favorite candy for a unique spin.
Exact measurements for these ingredients can be found at the bottom of the article, ready for you to print and take to the kitchen!
How to Make Butterfinger Bomb Cake
Now that you have all your ingredients ready, let’s get to the fun part—making the Butterfinger Bomb Cake! Follow these simple steps, and you’ll be on your way to creating a dessert that will wow everyone.
Step 1: Preheat and Prepare
Start by preheating your oven to 350°F (175°C). This ensures your cake bakes evenly. While the oven heats up, grease and flour two 9-inch round cake pans. This step is crucial to prevent sticking, so don’t skip it!
Step 2: Mix Dry Ingredients
In a large mixing bowl, combine the all-purpose flour, granulated sugar, cocoa powder, baking powder, baking soda, and salt. Whisk them together until well blended. This mix is the foundation of your chocolate cake, so make sure it’s uniform.
Step 3: Combine Wet Ingredients
Next, add the eggs, whole milk, vegetable oil, and vanilla extract to the dry ingredients. Beat the mixture on medium speed for about 2 minutes. You want it to be smooth and well combined. The batter will be thick, but that’s just right!
Step 4: Add Boiling Water
Carefully stir in the boiling water. This is where the magic happens! The hot water helps create a thin batter, which results in a super moist cake. Don’t worry if it looks a bit runny; that’s exactly what you want.
Step 5: Bake the Cakes
Pour the batter evenly into your prepared cake pans. Bake them in the preheated oven for 30-35 minutes. To check if they’re done, insert a toothpick into the center. If it comes out clean, your cakes are ready!
Step 6: Cool the Cakes
Once baked, allow the cakes to cool in the pans for about 10 minutes. Then, carefully transfer them to wire racks to cool completely. This step is essential; if you frost them too soon, the frosting will melt!
Step 7: Prepare the Peanut Butter Filling
While the cakes cool, it’s time to whip up the peanut butter filling. In a medium bowl, mix together the creamy peanut butter, powdered sugar, and vanilla extract until smooth. This filling is the heart of your Butterfinger Bomb Cake!
Step 8: Whip the Cream
In another bowl, whip the heavy cream until stiff peaks form. This will give your filling a light and airy texture. Gently fold the whipped cream into the peanut butter mixture until fully combined. Be careful not to deflate the cream!
Step 9: Assemble the Cake
Now comes the fun part—assembly! Place one layer of cake on a serving plate. Spread the peanut butter filling over the top and sprinkle with crushed Butterfinger bars. Then, place the second cake layer on top and frost the top and sides with chocolate frosting.
Step 10: Decorate and Serve
Finally, sprinkle the remaining crushed Butterfinger bars on top for that extra crunch and sweetness. Slice your Butterfinger Bomb Cake and serve it up! Get ready for the compliments to roll in!
Tips for Success
- Measure your ingredients accurately for the best results.
- Let the cakes cool completely before frosting to avoid melting.
- Use room temperature eggs and milk for a smoother batter.
- Don’t skip the boiling water; it’s key for moisture.
- For a fun twist, try adding a layer of your favorite candy between the cake layers.
- Store leftovers in an airtight container to keep them fresh.
Equipment Needed
- Mixing bowls: A set of various sizes will help you mix ingredients easily.
- Electric mixer: A hand mixer works well, but a stand mixer can save time.
- Measuring cups and spoons: Essential for accurate ingredient measurements.
- 9-inch round cake pans: If you don’t have these, use square pans instead.
- Wire racks: Great for cooling cakes; a plate can work in a pinch.
Variations
- Nut-Free Option: Substitute the peanut butter with sunbutter or almond butter for a nut-free version.
- Gluten-Free: Use a gluten-free all-purpose flour blend to make this cake gluten-free.
- Vegan Twist: Replace eggs with flax eggs and use plant-based milk and oil for a vegan-friendly cake.
- Different Candy Bars: Experiment with other candy bars like Reese’s or Snickers for a unique flavor profile.
- Layered Delight: Add a layer of chocolate ganache between the cake layers for an extra chocolatey experience.
Serving Suggestions
- Pair with Ice Cream: A scoop of vanilla or chocolate ice cream complements the rich flavors perfectly.
- Fresh Berries: Serve with strawberries or raspberries for a refreshing contrast.
- Presentation: Dust with powdered sugar or drizzle chocolate sauce for an elegant touch.
- Drink Pairing: Enjoy with a glass of cold milk or a rich coffee.
FAQs about Butterfinger Bomb Cake
As you embark on your Butterfinger Bomb Cake journey, you might have a few questions. Here are some common queries that can help you along the way:
Can I make Butterfinger Bomb Cake ahead of time?
Absolutely! You can bake the cakes a day in advance. Just store them in an airtight container at room temperature. Frosting the cake the day you plan to serve it will keep it fresh and delicious.
What can I use instead of Butterfinger bars?
If you’re not a fan of Butterfinger, feel free to swap them out for your favorite candy bars. Reese’s, Snickers, or even crushed Oreos can add a fun twist to your cake!
How should I store leftovers?
Store any leftover Butterfinger Bomb Cake in an airtight container in the fridge. It should stay fresh for about 3-4 days. Just be prepared for the cake to disappear quickly!
Can I freeze Butterfinger Bomb Cake?
Yes, you can freeze the cake! Wrap it tightly in plastic wrap and then in aluminum foil. It can last up to three months in the freezer. Just thaw it in the fridge before serving.
Is this cake suitable for special diets?
This Butterfinger Bomb Cake can be adapted for various diets. Use gluten-free flour for a gluten-free version or substitute the peanut butter for a nut-free option. Check the variations section for more ideas!
Final Thoughts
Creating the Butterfinger Bomb Cake is more than just baking; it’s about crafting memories. Each slice is a celebration of flavors that brings joy to any gathering. The rich chocolate, creamy peanut butter, and crunchy Butterfinger bits create a symphony of taste that delights the senses. Whether you’re sharing it with family or enjoying a quiet moment with a cup of coffee, this cake is sure to bring smiles. So, roll up your sleeves, embrace the process, and let this indulgent dessert become a cherished part of your culinary repertoire. Happy baking!
PrintButterfinger Bomb Cake: Indulge in Decadent Flavor!
- Total Time: 1 hour 5 minutes
- Yield: 12 servings
- Diet: Vegetarian
Description
Indulge in the rich and decadent flavors of Butterfinger Bomb Cake, a delightful dessert that combines chocolate cake with creamy peanut butter filling and topped with crushed Butterfinger bars.
Ingredients
- 2 cups all-purpose flour
- 1 ½ cups granulated sugar
- ½ cup unsweetened cocoa powder
- 1 ½ teaspoons baking powder
- 1 ½ teaspoons baking soda
- 1 teaspoon salt
- 2 large eggs
- 1 cup whole milk
- ½ cup vegetable oil
- 2 teaspoons vanilla extract
- 1 cup boiling water
- 1 cup creamy peanut butter
- 1 cup powdered sugar
- 1 teaspoon vanilla extract
- 1 cup heavy cream
- 1 cup Butterfinger candy bars, crushed (about 4–5 bars)
- 1 cup chocolate frosting (store-bought or homemade)
- ½ cup Butterfinger candy bars, crushed (for topping)
Instructions
- Preheat the oven to 350°F (175°C). Grease and flour two 9-inch round cake pans.
- In a large mixing bowl, combine the flour, granulated sugar, cocoa powder, baking powder, baking soda, and salt. Mix well.
- Add the eggs, milk, vegetable oil, and vanilla extract to the dry ingredients. Beat on medium speed for 2 minutes until well combined.
- Carefully stir in the boiling water until the batter is smooth (the batter will be thin).
- Pour the batter evenly into the prepared cake pans. Bake for 30-35 minutes or until a toothpick inserted in the center comes out clean.
- Allow the cakes to cool in the pans for 10 minutes before transferring them to wire racks to cool completely.
- While the cakes are cooling, prepare the filling. In a medium bowl, mix together the peanut butter, powdered sugar, and vanilla extract until smooth.
- In another bowl, whip the heavy cream until stiff peaks form. Gently fold the whipped cream into the peanut butter mixture until combined.
- Once the cakes are completely cooled, place one layer on a serving plate. Spread the peanut butter filling over the top and sprinkle with crushed Butterfinger bars.
- Place the second cake layer on top and frost the top and sides with chocolate frosting.
- Sprinkle the remaining crushed Butterfinger bars on top for decoration.
- Slice and serve. Enjoy your Butterfinger Bomb Cake!
Notes
- For a richer flavor, add a teaspoon of espresso powder to the cake batter.
- You can substitute the Butterfinger bars with any other favorite candy bar for a different twist.
- Prep Time: 30 minutes
- Cook Time: 35 minutes
- Category: Dessert
- Method: Baking
- Cuisine: American
Nutrition
- Serving Size: 1 slice
- Calories: 350
- Sugar: 30g
- Sodium: 300mg
- Fat: 18g
- Saturated Fat: 7g
- Unsaturated Fat: 8g
- Trans Fat: 0g
- Carbohydrates: 40g
- Fiber: 2g
- Protein: 6g
- Cholesterol: 40mg