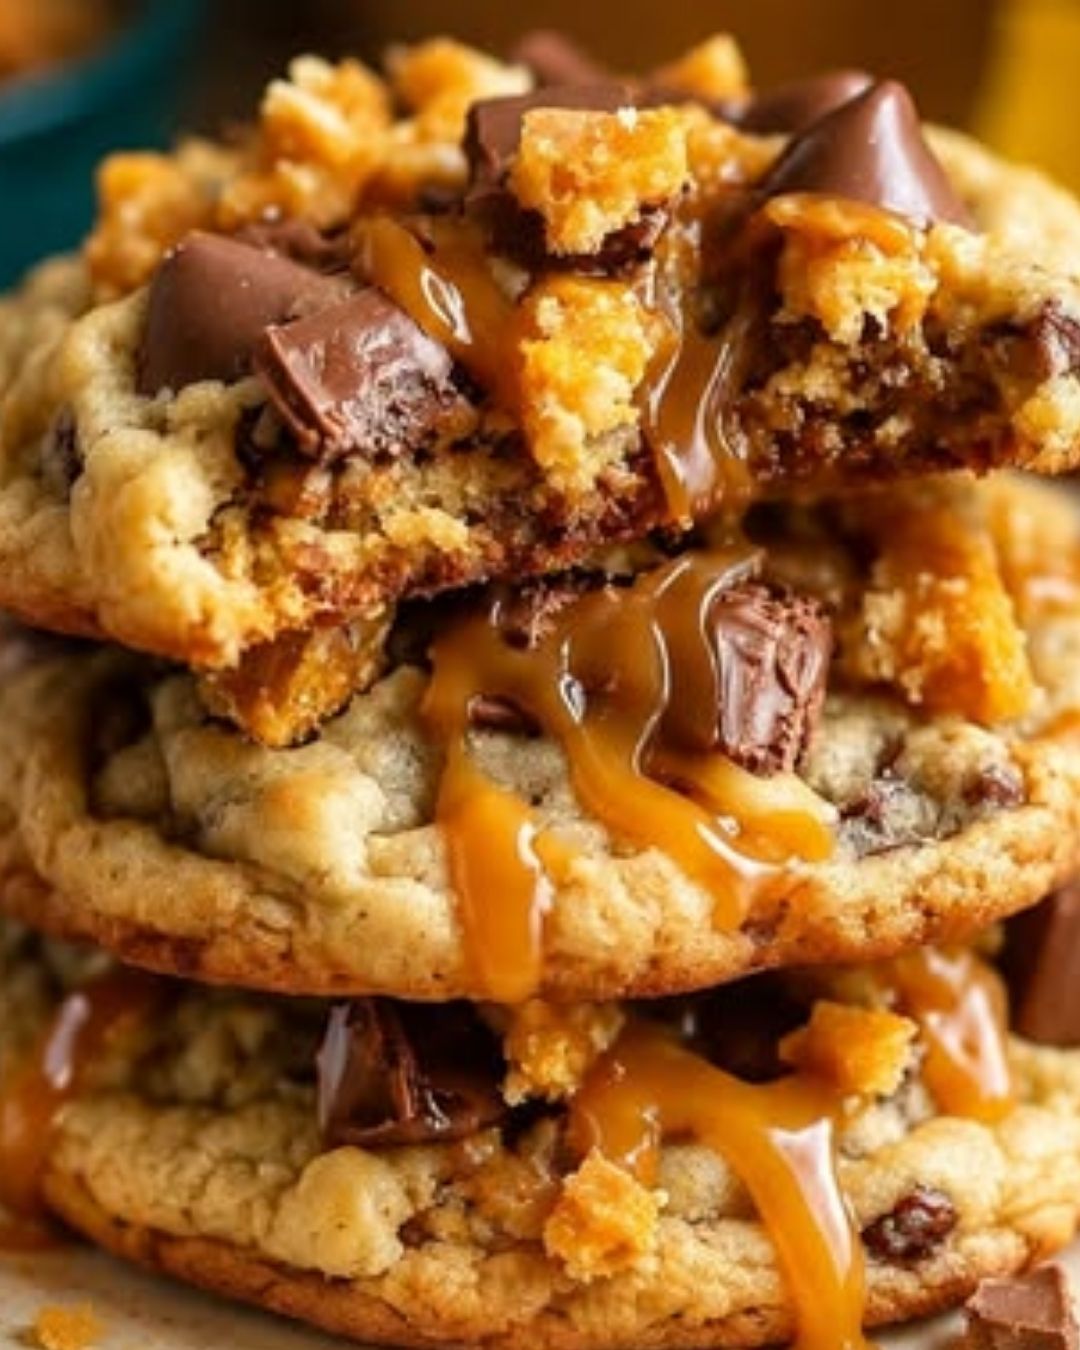
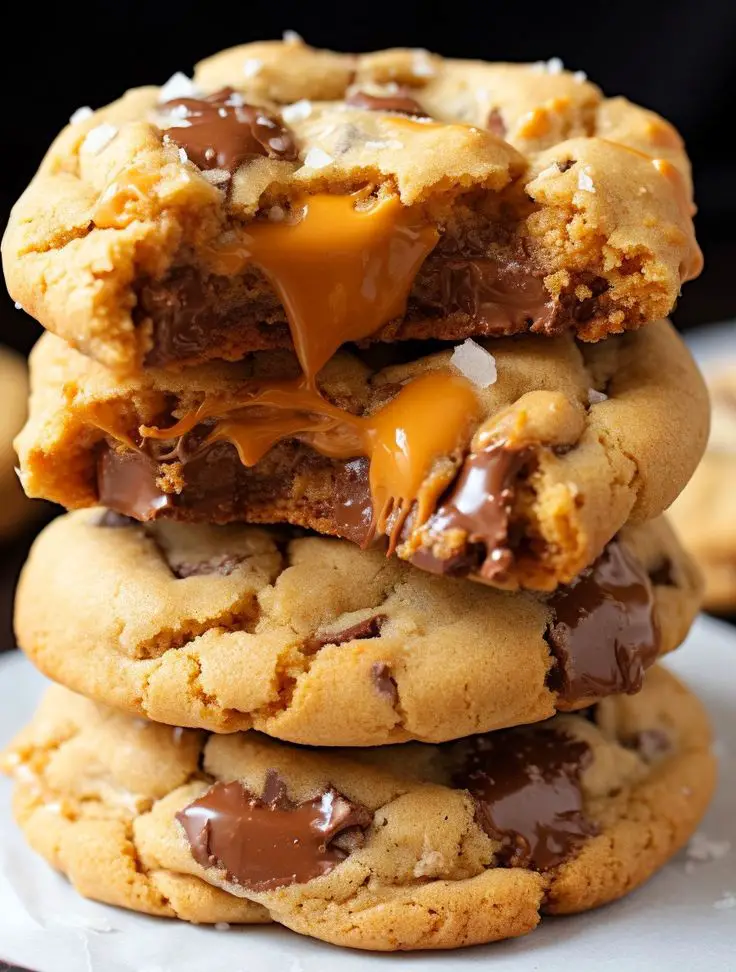
Introduction to Butterfinger Caramel Crunch Cookies
There’s something magical about the aroma of freshly baked cookies wafting through the house. It takes me back to my childhood, where every Sunday was a sweet adventure in the kitchen. Today, I’m excited to share my recipe for Butterfinger Caramel Crunch Cookies. These delightful treats are not just a quick solution for a busy day; they’re a way to impress your loved ones with minimal effort. With a perfect blend of buttery goodness, crunchy candy, and rich caramel, these cookies will satisfy your sweet tooth and bring smiles all around. Let’s dive into this delicious journey!
Why You’ll Love This Butterfinger Caramel Crunch Cookies
These Butterfinger Caramel Crunch Cookies are a game-changer in the dessert world. They come together quickly, making them perfect for those busy weeknights or last-minute gatherings. The combination of buttery dough, crunchy Butterfinger pieces, and gooey caramel creates a flavor explosion that’s hard to resist. Plus, they’re a hit with both kids and adults, ensuring everyone leaves with a smile and a satisfied sweet tooth!
Ingredients for Butterfinger Caramel Crunch Cookies
Gathering the right ingredients is the first step to cookie perfection. Here’s what you’ll need for these Butterfinger Caramel Crunch Cookies:
- Unsalted butter: Softened for easy mixing, it adds richness and flavor.
- Brown sugar: This gives the cookies a deep, caramel-like sweetness and moisture.
- Granulated sugar: Balances the brown sugar and helps achieve that perfect cookie texture.
- Large eggs: They bind the ingredients together and contribute to the cookies’ structure.
- Vanilla extract: A must for enhancing the overall flavor profile.
- Plain flour: The base of the cookie dough, providing structure and chewiness.
- Baking soda: This leavening agent helps the cookies rise and become fluffy.
- Salt: Just a pinch enhances the sweetness and balances flavors.
- Butterfinger candy bars: Chopped into pieces, they add a delightful crunch and peanut butter flavor.
- Caramel bits or soft caramel pieces: These create gooey pockets of sweetness in every bite.
- Chocolate chips: Milk or semi-sweet, they melt beautifully and complement the other flavors.
- Optional toppings: Extra Butterfinger pieces, caramel sauce, and melted chocolate for that finishing touch.
For exact measurements, check the bottom of the article where you can find everything listed for easy printing. Happy baking!
How to Make Butterfinger Caramel Crunch Cookies
Preheat the Oven and Prepare Baking Trays
Start by preheating your oven to 175°C. This step is crucial for even baking. While the oven heats, line two baking trays with baking paper. This prevents sticking and makes cleanup a breeze. Trust me, your future self will thank you for this simple prep!
Cream the Butter and Sugars
In a large bowl, beat the softened butter with brown and granulated sugars for about 2–3 minutes. This creaming process is vital; it incorporates air into the mixture, giving your cookies that light, fluffy texture. You want it to look pale and creamy—like a sweet cloud!
Add Eggs and Vanilla
Next, add the eggs one at a time, mixing well after each addition. Then, stir in the vanilla extract. Eggs provide moisture and structure, while vanilla enhances the overall flavor. This combination is what makes your Butterfinger Caramel Crunch Cookies truly irresistible!
Combine Dry Ingredients
In a separate bowl, whisk together the flour, baking soda, and salt. Mixing dry ingredients separately ensures even distribution of the leavening agent. This step is key to achieving that perfect rise and texture in your cookies. No one wants flat cookies, right?
Make the Dough
Gradually add the dry mixture to the butter mixture. Mix just until no dry flour remains. Overmixing can lead to tough cookies, and we want them soft and chewy. The dough should come together beautifully, ready for the fun part!
Add the Crunchy Fillings
Now comes the exciting part! Fold in the chopped Butterfinger, caramel bits, and chocolate chips. This is where the magic happens. Each bite will be a delightful surprise of crunch and gooeyness. Save a little of each for topping later—trust me, it’s worth it!
Shape the Cookies
Scoop about 40 g of dough for each cookie and place them on the prepared trays, leaving about 5 cm between each. This spacing allows them to spread without merging into one giant cookie. A little room goes a long way in cookie baking!
Bake the Cookies
Pop the trays into the oven and bake for 10–12 minutes. Keep an eye on them! The edges should be golden, while the centers look slightly soft. Remember, they’ll continue to cook a bit after you take them out, so don’t overbake!
Cool and Finish
Let the cookies sit on the baking tray for 5 minutes before transferring them to a wire rack to cool completely. This cooling time helps them set perfectly. If you’re feeling extra indulgent, drizzle with caramel sauce and melted chocolate, then sprinkle with extra Butterfinger crumbs!
Tips for Success
- Make sure your butter is softened to room temperature for easy mixing.
- Don’t skip the chilling step; it helps the cookies maintain their shape.
- Use a cookie scoop for uniform sizes, ensuring even baking.
- Experiment with different chocolate types for varied flavors.
- Store cookies in an airtight container to keep them fresh longer.
Equipment Needed
- Mixing bowls: A large bowl for mixing and a smaller one for dry ingredients.
- Electric mixer: A hand mixer works well, but a stand mixer is even better.
- Baking trays: Use any flat baking sheet; just ensure it’s lined with parchment paper.
- Cookie scoop: A tablespoon works too, but a scoop ensures uniform cookies.
- Wire rack: Essential for cooling; a plate can work in a pinch.
Variations
- Nutty Twist: Add chopped nuts like pecans or walnuts for an extra crunch and flavor.
- Gluten-Free Option: Substitute plain flour with a gluten-free flour blend for a delicious gluten-free treat.
- Dark Chocolate Delight: Use dark chocolate chips instead of milk or semi-sweet for a richer taste.
- Peanut Butter Lovers: Mix in a tablespoon of peanut butter into the dough for a nutty flavor boost.
- Seasonal Spice: Add a pinch of cinnamon or nutmeg for a warm, cozy flavor, perfect for fall.
Serving Suggestions
- Pair these cookies with a tall glass of cold milk for the ultimate treat.
- Serve warm with a scoop of vanilla ice cream on top for a decadent dessert.
- For a fun twist, create cookie sandwiches with your favorite frosting.
- Present them on a colorful platter, drizzled with extra caramel for a stunning display.
FAQs about Butterfinger Caramel Crunch Cookies
Can I use other types of candy in these cookies?
Absolutely! While Butterfinger adds a unique crunch, feel free to experiment with other candies like Snickers or Milky Way. Just chop them up and fold them into the dough for a fun twist!
How do I store Butterfinger Caramel Crunch Cookies?
To keep your cookies fresh, store them in an airtight container at room temperature. They’ll stay delicious for up to a week. If you want to keep them longer, consider freezing them!
Can I make the dough ahead of time?
Yes! You can prepare the dough and refrigerate it for up to 3 days. Just scoop and bake when you’re ready for fresh cookies. This is a great time-saver for busy days!
What if I don’t have caramel bits?
No worries! You can use soft caramel candies instead. Just chop them into small pieces and fold them into the dough. They’ll melt beautifully while baking!
Are these cookies suitable for a gluten-free diet?
Yes! Simply substitute the plain flour with a gluten-free flour blend. The cookies will still be delicious and satisfying, perfect for everyone to enjoy!
Final Thoughts
Creating these Butterfinger Caramel Crunch Cookies is more than just baking; it’s about crafting sweet memories. The joy of pulling a tray of warm cookies from the oven, the delightful crunch of Butterfinger, and the gooey caramel melting in your mouth—these are the moments that make life a little sweeter. Whether you’re sharing them with family or enjoying them solo with a cup of coffee, each bite is a reminder of the simple pleasures in life. So, roll up your sleeves, embrace the mess, and let these cookies bring a smile to your face today!
PrintButterfinger Caramel Crunch Cookies you’ll crave today!
- Total Time: 32 minutes
- Yield: 24 cookies
- Diet: Vegetarian
Description
Delicious Butterfinger Caramel Crunch Cookies that are sure to satisfy your sweet tooth!
Ingredients
- 170 g unsalted butter, softened
- 150 g brown sugar
- 100 g granulated sugar
- 2 large eggs
- 2 tsp vanilla extract
- 280 g plain flour
- 1 tsp baking soda
- ½ tsp salt
- 150 g Butterfinger candy bars, chopped
- 100 g caramel bits or soft caramel pieces
- 100 g milk or semi-sweet chocolate chips
- Optional Topping: 50 g Butterfinger pieces, chopped
- 50 g caramel sauce
- 50 g melted chocolate
Instructions
- Preheat the oven to 175°C. Line two baking trays with baking paper.
- Cream the butter and sugars.
- Beat the softened butter, brown sugar, and granulated sugar for 2–3 minutes, until light and fluffy.
- Add the eggs and vanilla.
- Beat in the eggs one at a time, then mix in the vanilla.
- Combine the dry ingredients.
- In a separate bowl, whisk together the flour, baking soda, and salt.
- Make the dough.
- Gradually add the dry ingredients to the butter mixture. Mix just until no dry flour remains.
- Add the crunchy fillings.
- Fold in the chopped Butterfinger, caramel pieces, and chocolate chips. Reserve a little of each for topping.
- Shape the cookies.
- Scoop approximately 40 g of dough per cookie and place on the prepared trays, leaving about 5 cm between each cookie.
- Add toppings.
- Press a few extra Butterfinger and chocolate pieces onto the tops.
- Bake for 10–12 minutes, until the edges are golden but the centres still look slightly soft.
- Cool.
- Leave the cookies on the baking tray for 5 minutes, then transfer them to a wire rack to cool completely.
- Finish.
- Drizzle with caramel sauce and melted chocolate if desired, then sprinkle with a few extra Butterfinger crumbs.
Notes
- Ensure the butter is softened for easier mixing.
- Do not overbake; the cookies will continue to cook on the tray after being removed from the oven.
- Store cookies in an airtight container to maintain freshness.
- Prep Time: 20 minutes
- Cook Time: 12 minutes
- Category: Dessert
- Method: Baking
- Cuisine: American
Nutrition
- Serving Size: 1 cookie
- Calories: 180
- Sugar: 12 g
- Sodium: 100 mg
- Fat: 8 g
- Saturated Fat: 5 g
- Unsaturated Fat: 2 g
- Trans Fat: 0 g
- Carbohydrates: 24 g
- Fiber: 1 g
- Protein: 2 g
- Cholesterol: 30 mg