Introduction to Butterfinger Lush
There’s something magical about desserts that bring back childhood memories, and Butterfinger Lush is no exception. This delightful layered treat combines creamy peanut butter, rich chocolate, and crunchy Butterfinger bars, creating a symphony of flavors that will make your taste buds dance. Whether you’re looking for a quick solution for a busy day or a show-stopping dessert to impress your loved ones, this no-bake recipe is the answer. With just a few simple ingredients, you can whip up a dessert that feels indulgent yet is surprisingly easy to make. Let’s dive into this delicious adventure!
Why You’ll Love This Butterfinger Lush
Butterfinger Lush is the ultimate dessert for anyone who craves something sweet without spending hours in the kitchen. It’s a no-bake wonder that comes together in just 20 minutes, making it perfect for busy weeknights or last-minute gatherings. The combination of creamy peanut butter and crunchy Butterfinger bars creates a flavor explosion that will have everyone asking for seconds. Trust me, this dessert is a crowd-pleaser!
Ingredients for Butterfinger Lush
Gathering the right ingredients is the first step to creating your Butterfinger Lush masterpiece. Here’s what you’ll need:
- Cream Cheese: Softened for a smooth, creamy filling that blends beautifully with the other ingredients.
- Powdered Sugar: Adds sweetness and helps achieve that perfect creamy texture.
- Whipped Topping: Lightens the mixture and gives it a fluffy consistency. You can use Cool Whip or any similar brand.
- Peanut Butter: The star of the show! Choose creamy or crunchy based on your preference for texture.
- Chocolate Sandwich Cookies: Crushed to form a deliciously rich crust. Feel free to swap with graham crackers for a different flavor.
- Unsalted Butter: Melted to bind the cookie crust together, enhancing the overall richness.
- Butterfinger Candy Bars: Crushed for that signature crunch and sweet, nutty flavor that elevates the dessert.
- Chocolate Pudding Mix: Provides a luscious layer of chocolate goodness. Instant pudding works best for this recipe.
- Milk: Used to prepare the pudding mix, adding creaminess to the dessert.
For exact measurements, check the bottom of the article where you can find everything listed for easy printing. Now that you have your ingredients ready, let’s get cooking!
How to Make Butterfinger Lush
Creating your Butterfinger Lush is a delightful journey that’s as easy as pie—well, easier actually! Follow these simple steps, and you’ll have a dessert that’s sure to impress.
Step 1: Prepare the Cream Cheese Mixture
Start by grabbing a medium bowl. Beat the softened cream cheese and powdered sugar together until the mixture is smooth and creamy. This is where the magic begins! Once it’s well combined, gently fold in the whipped topping. This adds a light, airy texture that makes the filling irresistible. Set this creamy concoction aside for now.
Step 2: Make the Cookie Crust
Next up, it’s time to create that delicious cookie crust. In another bowl, mix the crushed chocolate sandwich cookies with the melted butter. Make sure every crumb is coated! Once mixed, press this buttery cookie mixture firmly into the bottom of a 9×13 inch baking dish. This crust is the foundation of your Butterfinger Lush, so make it nice and even.
Step 3: Layer the Peanut Butter Filling
Now, let’s layer on the peanut butter goodness! Spread the creamy peanut butter mixture over the cookie crust, smoothing it out evenly. Don’t be shy—make sure it covers every inch! Then, sprinkle the crushed Butterfinger candy bars generously on top of the peanut butter layer. This adds that signature crunch and sweetness that everyone loves.
Step 4: Add the Chocolate Pudding Layer
In a separate bowl, whisk together the chocolate pudding mix and milk until it thickens up nicely. This layer is where the chocolate dreams come true! Pour the pudding over the Butterfinger layer, spreading it evenly to cover everything below. It’s like a chocolate blanket for your dessert!
Step 5: Chill and Serve
Now comes the hardest part—waiting! Cover the dish with plastic wrap and refrigerate for at least 4 hours, or overnight if you can resist. Chilling allows all those flavors to meld together beautifully. Before serving, feel free to top with additional whipped topping and a sprinkle of crushed Butterfinger for that extra flair. Your Butterfinger Lush is now ready to wow your friends and family!
Tips for Success
- Make sure your cream cheese is softened for easy mixing.
- Use a sturdy spatula to spread the peanut butter layer evenly.
- Chill the dessert overnight for the best flavor and texture.
- For a fun twist, try adding a layer of crushed Oreos or nuts.
- Keep extra Butterfinger pieces on hand for topping just before serving.
Equipment Needed
- Medium mixing bowls: You can use any size, but a larger bowl makes mixing easier.
- 9×13 inch baking dish: A glass or metal dish works well for this dessert.
- Electric mixer: A hand mixer is perfect, but a whisk will do in a pinch.
- Spatula: A sturdy spatula helps with spreading and layering.
- Plastic wrap: Essential for covering the dish while it chills in the fridge.
Variations
- For a chocolate lover’s dream, use chocolate peanut butter instead of regular peanut butter.
- Swap out the chocolate sandwich cookies for vanilla wafers for a lighter crust flavor.
- Add a layer of sliced bananas or strawberries for a fruity twist.
- Make it gluten-free by using gluten-free chocolate cookies or graham crackers.
- For a nutty flavor, mix in chopped peanuts or almond pieces with the Butterfinger layer.
Serving Suggestions
- Pair your Butterfinger Lush with a scoop of vanilla ice cream for an extra creamy treat.
- Serve alongside fresh fruit, like strawberries or raspberries, to balance the sweetness.
- For drinks, consider a rich coffee or a cold glass of milk to complement the flavors.
- Garnish with additional crushed Butterfinger and a sprig of mint for a pop of color.
FAQs about Butterfinger Lush
As you embark on your Butterfinger Lush journey, you might have a few questions. Here are some common queries that can help you along the way:
Can I make Butterfinger Lush ahead of time?
Absolutely! In fact, making it a day in advance allows the flavors to meld beautifully. Just cover it tightly with plastic wrap and store it in the fridge until you’re ready to serve.
What can I substitute for the chocolate sandwich cookies?
If you’re not a fan of chocolate cookies, graham crackers are a fantastic alternative. They provide a different flavor profile while still creating a delicious crust for your Butterfinger Lush.
How long does Butterfinger Lush last in the fridge?
This dessert can last up to 3-4 days in the fridge, but trust me, it’s so good that it probably won’t last that long! Just make sure to keep it covered to maintain freshness.
Can I use natural peanut butter in this recipe?
Yes, you can! Just keep in mind that natural peanut butter may be a bit runnier than regular peanut butter, so it might affect the texture slightly. But the flavor will still be delicious!
Is Butterfinger Lush suitable for vegetarians?
Yes, this dessert is vegetarian-friendly! It contains no meat or meat by-products, making it a great option for those following a vegetarian diet.
Final Thoughts
Creating Butterfinger Lush is more than just whipping up a dessert; it’s about crafting a moment of joy. Each layer tells a story, from the rich chocolate crust to the creamy peanut butter filling, topped with that irresistible crunch of Butterfinger. This dessert brings people together, sparking laughter and sweet memories around the table. Whether it’s a family gathering or a casual weeknight treat, Butterfinger Lush is sure to impress. So, roll up your sleeves, gather your loved ones, and dive into this delightful creation. Trust me, every bite will be worth it!
PrintButterfinger Lush: Discover This Irresistible Dessert Recipe!
- Total Time: 4 hours 20 minutes
- Yield: 12 servings
- Diet: Vegetarian
Description
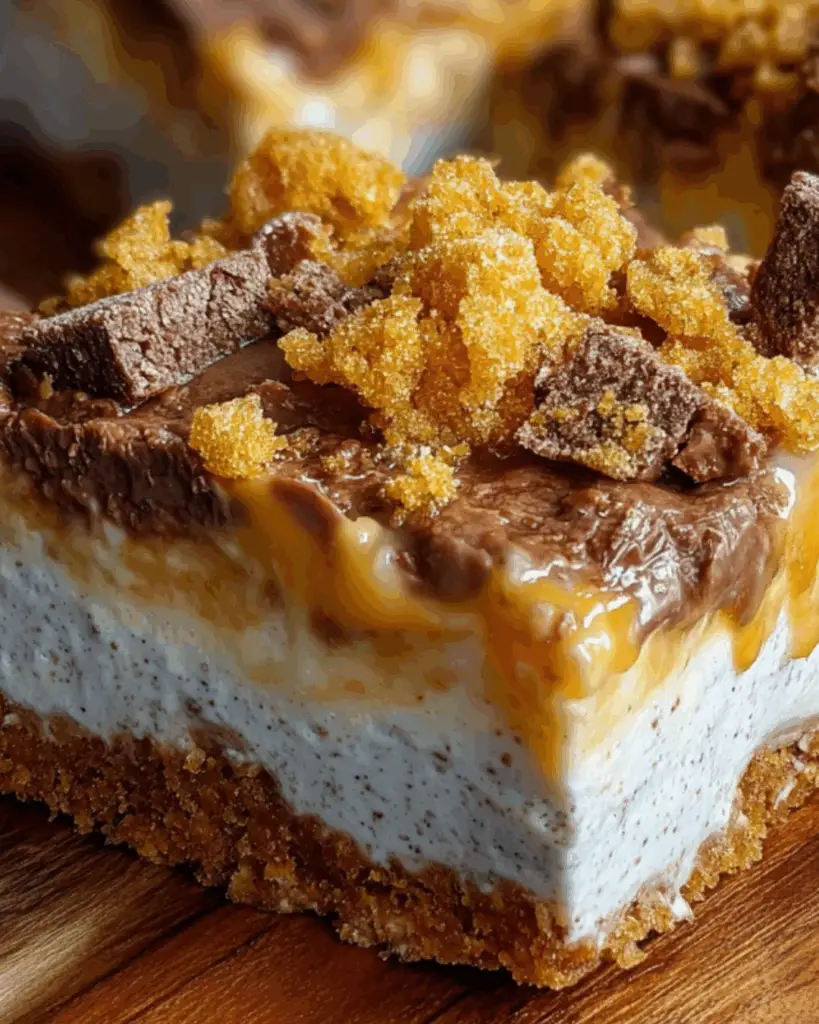
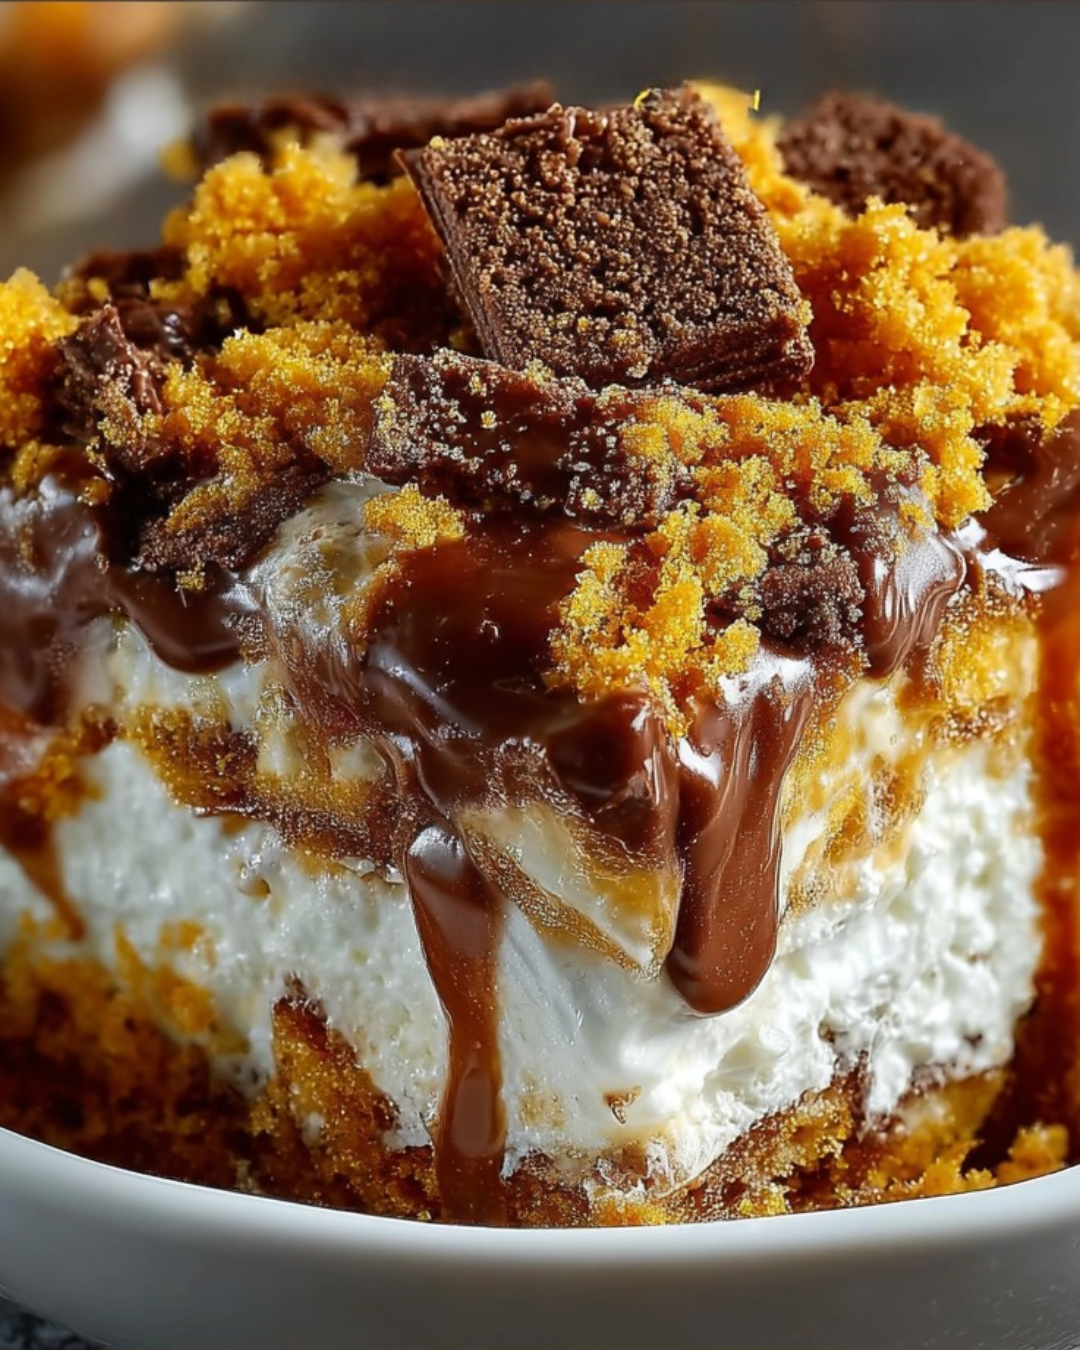
Butterfinger Lush is a delicious layered dessert featuring a creamy peanut butter filling, a chocolate cookie crust, and a rich chocolate pudding layer, topped with crushed Butterfinger candy bars.
Ingredients
- 1 package (8 oz) cream cheese, softened
- 1 cup powdered sugar
- 1 cup whipped topping (like Cool Whip)
- 1 cup peanut butter
- 1 package (16 oz) chocolate sandwich cookies, crushed
- 1/2 cup unsalted butter, melted
- 1 cup Butterfinger candy bars, crushed (about 4–5 bars)
- 1 cup chocolate pudding mix
- 2 cups milk
Instructions
- In a medium bowl, beat the softened cream cheese and powdered sugar together until smooth. Fold in the whipped topping until well combined. Set aside.
- In another bowl, mix the crushed chocolate sandwich cookies with the melted butter until evenly coated. Press this mixture into the bottom of a 9×13 inch baking dish to form a crust.
- Spread the peanut butter mixture over the cookie crust, smoothing it out evenly. Sprinkle the crushed Butterfinger candy bars on top of the peanut butter layer.
- In a separate bowl, whisk together the chocolate pudding mix and milk until thickened. Pour the pudding over the Butterfinger layer, spreading it evenly.
- Cover the dish with plastic wrap and refrigerate for at least 4 hours, or overnight for best results. Before serving, top with additional whipped topping and crushed Butterfinger if desired.
Notes
- For a richer flavor, try using chocolate peanut butter instead of regular peanut butter.
- You can also substitute the chocolate sandwich cookies with graham crackers for a different crust flavor.
- Prep Time: 20 minutes
- Cook Time: 0 minutes
- Category: Dessert
- Method: No-Bake
- Cuisine: American
Nutrition
- Serving Size: 1 slice
- Calories: 320
- Sugar: 15g
- Sodium: 200mg
- Fat: 20g
- Saturated Fat: 10g
- Unsaturated Fat: 8g
- Trans Fat: 0g
- Carbohydrates: 25g
- Fiber: 1g
- Protein: 5g
- Cholesterol: 30mg