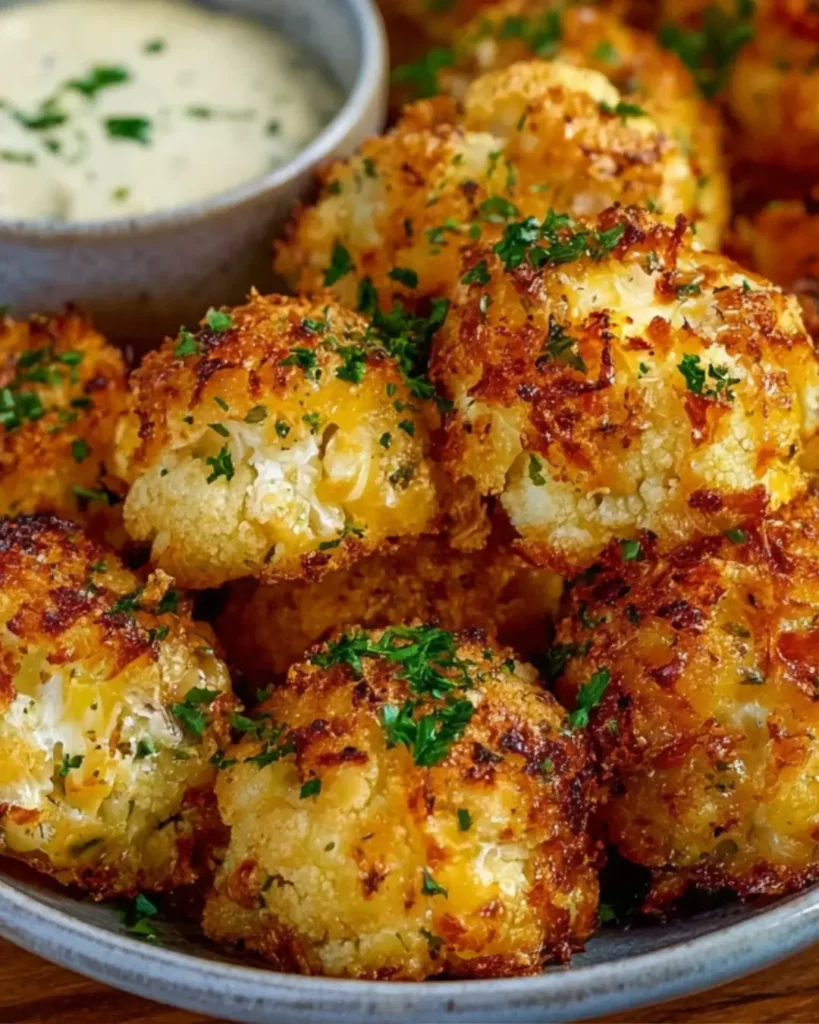
Introduction to Cauliflower Cheese Balls
There’s something magical about the combination of cheese and cauliflower, isn’t there? Cauliflower Cheese Balls are not just a snack; they’re a crunchy delight that can turn any gathering into a celebration. Whether you’re looking for a quick solution for a busy day or a dish to impress your loved ones, these little bites pack a punch of flavor. They’re easy to whip up and perfect for sharing, making them an ideal choice for game nights or casual get-togethers. Trust me, once you try them, you’ll be hooked!
Why You’ll Love This Cauliflower Cheese Balls
These Cauliflower Cheese Balls are a game-changer in the kitchen. They come together in just 25 minutes, making them a perfect last-minute snack or appetizer. The crispy exterior gives way to a cheesy, flavorful center that’s simply irresistible. Plus, they’re vegetarian-friendly, so everyone can enjoy them. Whether you’re hosting a party or just craving a tasty treat, these bites will satisfy your hunger and impress your guests!
Ingredients for Cauliflower Cheese Balls
Gathering the right ingredients is the first step to creating these delightful Cauliflower Cheese Balls. Here’s what you’ll need:
- Cauliflower florets: The star of the show! Steamed and chopped, they provide a tender base for our cheesy bites.
- Shredded cheddar cheese: This adds a rich, melty flavor that pairs perfectly with cauliflower.
- Grated Parmesan cheese: A sprinkle of this brings a nutty depth and enhances the overall cheesiness.
- Breadcrumbs: These are essential for that crispy exterior. You can use regular or panko for extra crunch.
- Eggs: They act as a binder, helping everything stick together while adding a bit of richness.
- Garlic powder: A must for flavor! It infuses the mixture with a savory kick.
- Onion powder: This complements the garlic and adds another layer of taste.
- Salt: Essential for enhancing all the flavors in the dish.
- Black pepper: A dash of this adds a subtle heat that balances the richness of the cheese.
- Paprika: This gives a hint of smokiness and a lovely color to the balls.
- Oil for frying: Choose a neutral oil with a high smoke point, like canola or vegetable oil, for frying.
For those looking to mix things up, consider adding chopped herbs like parsley or chives for a fresh twist. You can also swap out the cheeses based on your preference or what you have on hand. The exact quantities for each ingredient are listed at the bottom of the article for easy reference and printing.
How to Make Cauliflower Cheese Balls
Creating these Cauliflower Cheese Balls is a straightforward process that anyone can master. Follow these simple steps, and you’ll have a delicious snack ready in no time!
Step 1: Prepare the Mixture
Start by grabbing a large mixing bowl. Toss in the steamed and chopped cauliflower, shredded cheddar, grated Parmesan, breadcrumbs, and eggs. Sprinkle in the garlic powder, onion powder, salt, black pepper, and paprika. Now, mix everything together until it’s well combined. You want a uniform mixture that holds together nicely. Don’t be afraid to get your hands in there; it’s the best way to ensure everything is evenly incorporated!
Step 2: Heat the Oil
Next, it’s time to heat the oil. Pour about two inches of oil into a deep frying pan and set it over medium heat. You want the oil hot enough to fry the balls but not so hot that it smokes. A good test is to drop a small piece of the mixture into the oil; if it sizzles, you’re ready to go!
Step 3: Form the Balls
With the oil heating, it’s time to shape your mixture into balls. Use your hands to scoop out about a tablespoon of the mixture and roll it into a ball, roughly one inch in diameter. Don’t worry if they aren’t perfect; a little variation adds character! Place them on a plate as you go, ready for frying.
Step 4: Fry the Balls
Now comes the fun part! Carefully drop the cauliflower balls into the hot oil, making sure not to overcrowd the pan. Fry them in batches for about 3-4 minutes, or until they turn golden brown and crispy. Keep an eye on them; you want that perfect crunch without burning!
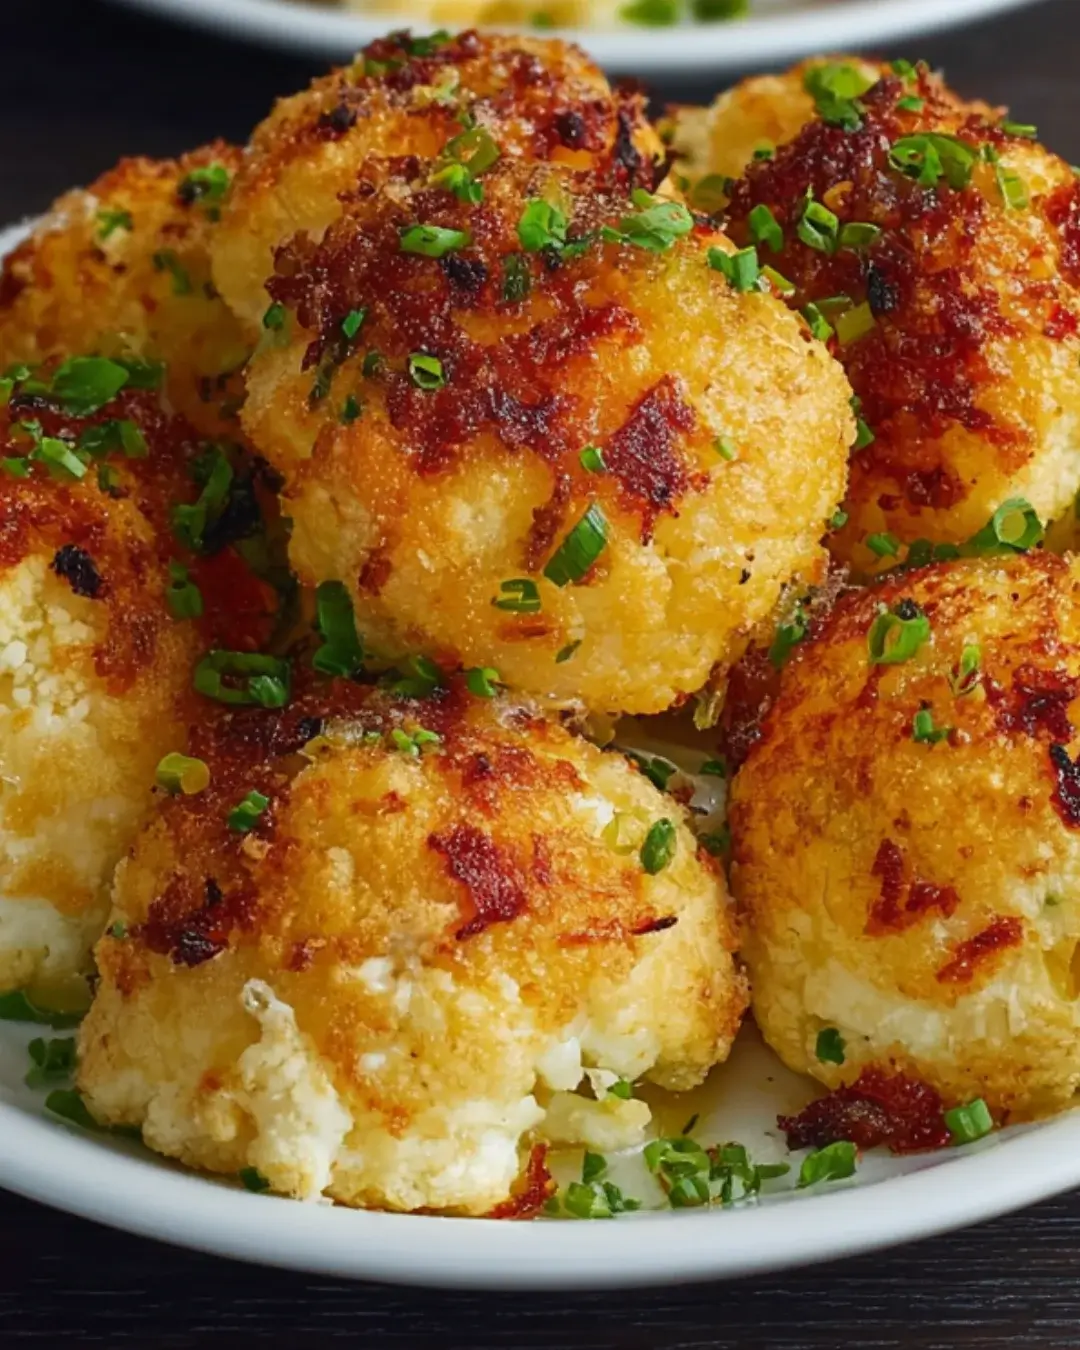
Step 5: Drain and Serve
Once they’re golden, use a slotted spoon to remove the balls from the oil. Place them on a paper towel-lined plate to drain any excess oil. Serve them warm with your favorite dipping sauce, like marinara or ranch dressing. Trust me, these bites will disappear fast!
Tips for Success
- Make sure your cauliflower is well-drained after steaming to avoid soggy balls.
- For extra flavor, let the mixture sit for 10 minutes before forming the balls.
- Use a thermometer to check oil temperature; it should be around 350°F for perfect frying.
- Experiment with different cheeses for unique flavors.
- Don’t skip the paper towel step; it helps keep them crispy!
Equipment Needed
- Deep frying pan: A heavy-bottomed skillet works too if you don’t have a deep fryer.
- Slotted spoon: Essential for removing the balls from the oil; a regular spoon can work in a pinch.
- Mixing bowl: Any large bowl will do for combining ingredients.
- Measuring cups: Handy for precise ingredient amounts, but you can eyeball it if you’re confident!
Variations
- Spicy Kick: Add a teaspoon of cayenne pepper or chopped jalapeños for a fiery twist.
- Herb-Infused: Mix in fresh herbs like basil, cilantro, or dill for a burst of freshness.
- Cheesy Delight: Swap out cheddar for pepper jack or gouda for a different flavor profile.
- Gluten-Free Option: Use gluten-free breadcrumbs or crushed rice crackers to keep it celiac-friendly.
- Vegan Version: Replace eggs with flaxseed meal mixed with water and use vegan cheese alternatives.
Serving Suggestions
- Pair with a zesty marinara sauce for dipping; it complements the cheesy flavor beautifully.
- Serve alongside a fresh garden salad for a light, balanced meal.
- For drinks, try a crisp lager or a refreshing iced tea to wash it down.
- Garnish with fresh herbs for a pop of color and added flavor.
FAQs about Cauliflower Cheese Balls
Curious about these delightful bites? Here are some common questions I often hear about Cauliflower Cheese Balls:
Can I bake Cauliflower Cheese Balls instead of frying them?
Absolutely! For a healthier option, you can bake them at 400°F for 20-25 minutes. Just flip them halfway through for even crispiness.
What dipping sauces pair well with Cauliflower Cheese Balls?
These cheesy bites are fantastic with marinara, ranch dressing, or even a spicy aioli. The options are endless!
Can I make these Cauliflower Cheese Balls ahead of time?
Yes! You can prepare the mixture and form the balls in advance. Just store them in the fridge until you’re ready to fry or bake them.
What can I substitute for breadcrumbs?
If you’re out of breadcrumbs, crushed crackers or even ground oats work well. For a gluten-free option, try crushed rice crackers.
How do I store leftover Cauliflower Cheese Balls?
Store any leftovers in an airtight container in the fridge for up to three days. Reheat in the oven for that crispy texture!
Final Thoughts
Making Cauliflower Cheese Balls is more than just cooking; it’s about creating moments. The joy of watching friends and family gather around a plate of these crispy delights is unmatched. Each bite is a blend of nostalgia and comfort, reminding me of simpler times spent in the kitchen. Whether you’re enjoying them as a snack or serving them at a party, these little balls of goodness are sure to bring smiles. So, roll up your sleeves, get cooking, and let the deliciousness unfold. Trust me, you’ll be savoring every crunchy, cheesy moment!
PrintCauliflower Cheese Balls: A Crunchy Delight Awaits You!
- Total Time: 25 minutes
- Yield: Serves 4
- Diet: Vegetarian
Description
Cauliflower Cheese Balls are a crunchy and delicious snack made with steamed cauliflower, cheese, and spices, perfect for any occasion.
Ingredients
- 2 cups cauliflower florets, steamed and chopped
- 1 cup shredded cheddar cheese
- 1/2 cup grated Parmesan cheese
- 1/2 cup breadcrumbs
- 2 large eggs
- 1 teaspoon garlic powder
- 1 teaspoon onion powder
- 1/2 teaspoon salt
- 1/4 teaspoon black pepper
- 1/4 teaspoon paprika
- Oil for frying
Instructions
- In a large mixing bowl, combine the steamed and chopped cauliflower, cheddar cheese, Parmesan cheese, breadcrumbs, eggs, garlic powder, onion powder, salt, black pepper, and paprika. Mix well until all ingredients are evenly incorporated.
- Preheat oil in a deep frying pan over medium heat. You’ll need about 2 inches of oil for frying.
- Once the oil is hot, use your hands to form the cauliflower mixture into small balls, about 1 inch in diameter.
- Carefully drop the cauliflower balls into the hot oil, frying in batches to avoid overcrowding. Fry for about 3-4 minutes, or until golden brown and crispy.
- Use a slotted spoon to remove the balls from the oil and place them on a paper towel-lined plate to drain excess oil.
- Serve warm with your favorite dipping sauce, such as marinara or ranch dressing.
Notes
- For a healthier option, bake the cauliflower balls at 400°F for 20-25 minutes, flipping halfway through, until golden and crispy.
- Add chopped herbs like parsley or chives to the mixture for extra flavor and freshness.
- Prep Time: 15 minutes
- Cook Time: 10 minutes
- Category: Appetizer
- Method: Frying
- Cuisine: American
Nutrition
- Serving Size: 1 serving
- Calories: 220
- Sugar: 2g
- Sodium: 400mg
- Fat: 14g
- Saturated Fat: 7g
- Unsaturated Fat: 5g
- Trans Fat: 0g
- Carbohydrates: 10g
- Fiber: 3g
- Protein: 12g
- Cholesterol: 150mg