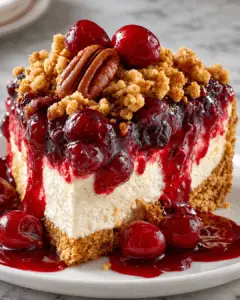
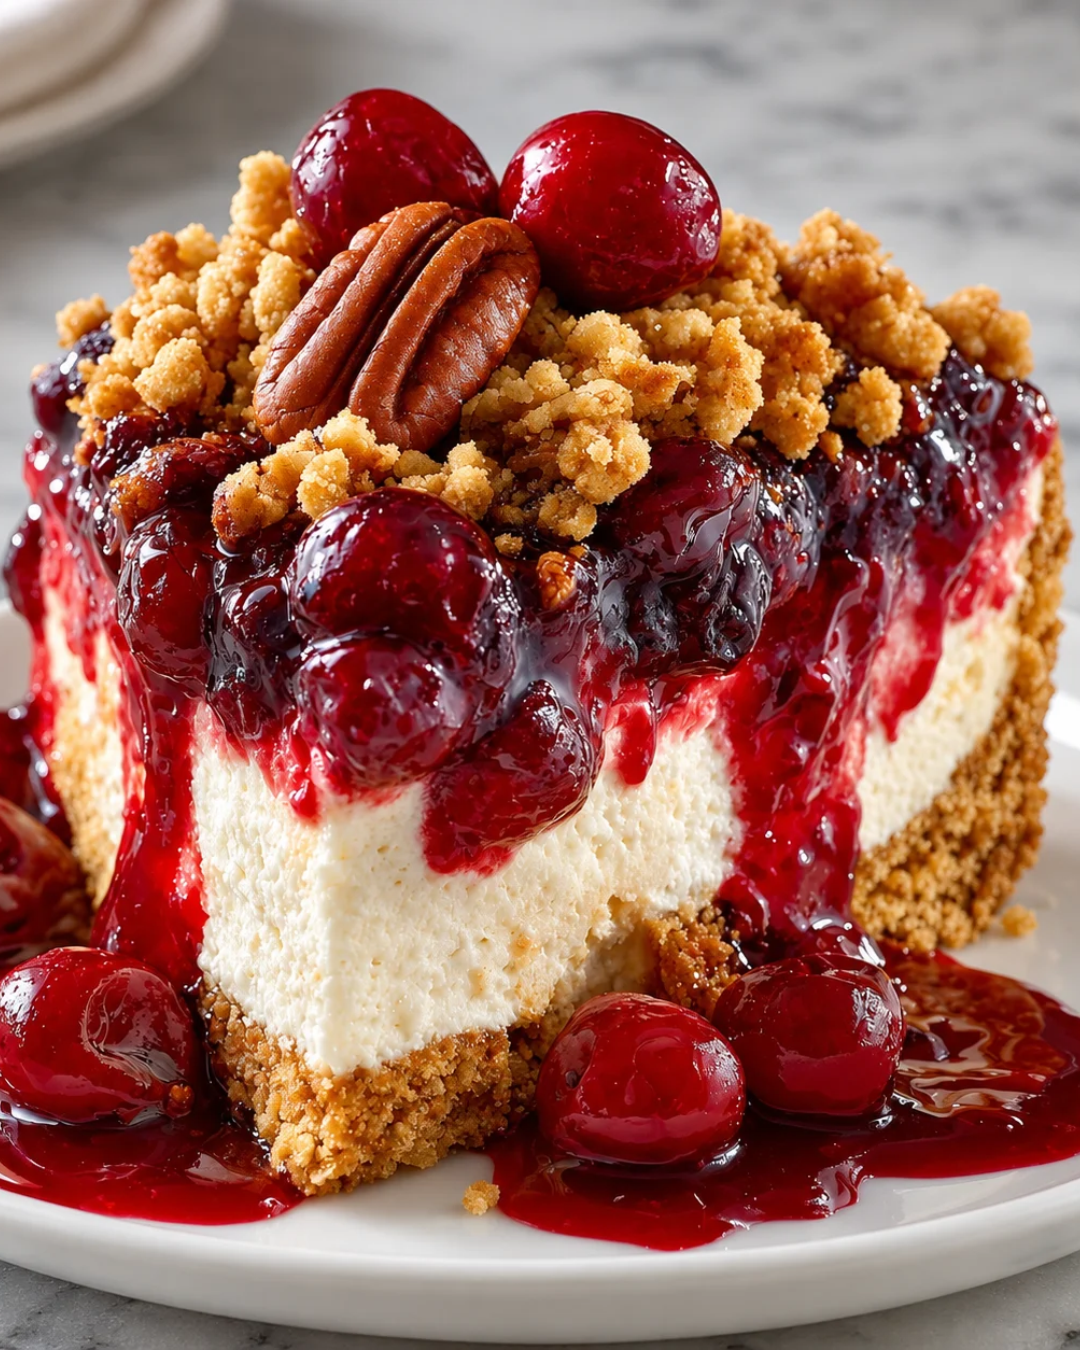
Introduction to Cherry Cheesecake Dump Cake
There’s something magical about desserts that come together with minimal fuss, and the Cherry Cheesecake Dump Cake is a prime example.
This delightful treat combines the tartness of cherries with the creamy richness of cheesecake, all topped with a buttery cake layer.
Whether you’re looking for a quick solution for a busy day or a dish to impress your loved ones, this recipe has you covered.
It’s perfect for gatherings, potlucks, or simply satisfying that sweet tooth after a long day.
Trust me, once you try it, you’ll be hooked!
Why You’ll Love This Cherry Cheesecake Dump Cake
This Cherry Cheesecake Dump Cake is a game-changer for anyone who loves dessert but hates complicated recipes.
It’s incredibly easy to whip up, taking just about an hour from start to finish.
The combination of juicy cherries and creamy cheesecake is a flavor explosion that will have your taste buds dancing.
Plus, it’s a crowd-pleaser, making it perfect for any occasion.
Who wouldn’t love a dessert that’s both simple and delicious?
Ingredients for Cherry Cheesecake Dump Cake
Creating this Cherry Cheesecake Dump Cake is a breeze, thanks to its simple ingredients.
Here’s what you’ll need:
- Cream Cheese: This is the star of the show, providing that rich, creamy texture.
- Granulated Sugar: Sweetens the cream cheese mixture, balancing the tartness of the cherries.
- Vanilla Extract: Adds a warm, aromatic flavor that enhances the overall taste.
- Egg: Helps bind the cream cheese mixture, giving it a smooth consistency.
- Cherry Pie Filling: The juicy, fruity layer that brings sweetness and moisture to the cake.
- Yellow Cake Mix: This forms the buttery topping that gives the dump cake its signature texture.
- Unsalted Butter: Drizzled over the cake mix, it creates a golden, crispy crust.
- Powdered Sugar: Optional for dusting, it adds a touch of elegance when serving.
- Whipped Cream: A delightful topping that complements the flavors beautifully.
For exact measurements, check the bottom of the article where you can find everything listed for easy printing.
Feel free to get creative! You can swap in different fruit fillings or even add a splash of almond extract for a unique twist.
How to Make Cherry Cheesecake Dump Cake
Making this Cherry Cheesecake Dump Cake is as easy as pie—well, easier!
Follow these simple steps, and you’ll have a delicious dessert ready in no time.
Step 1: Preheat and Prepare
First things first, preheat your oven to 350°F.
While that’s heating up, lightly grease a 9 × 13-inch baking dish.
This sets the stage for a perfect bake, ensuring nothing sticks.
Step 2: Make the Cream Cheese Mixture
In a medium bowl, beat the softened cream cheese, granulated sugar, vanilla extract, and egg until smooth and creamy.
This rich layer is what makes your dump cake feel indulgent and luxurious.
Step 3: Layer the Cherry Filling
Spread both cans of cherry pie filling evenly across the bottom of the prepared baking dish.
This fruity layer adds sweetness and moisture, creating a delightful contrast to the creamy layer above.
Step 4: Add the Cream Cheese Layer
Spoon dollops of the cream cheese mixture over the cherry filling.
Gently spread it out, leaving some cherries visible for a beautiful presentation.
Trust me, those pops of red will make your dessert look irresistible!
Step 5: Sprinkle the Cake Mix
Now, sprinkle the dry yellow cake mix evenly over the entire surface.
Do not stir the layers together; this is key to maintaining that signature dump cake texture.
Step 6: Drizzle with Butter
Drizzle the melted butter evenly over the dry cake mix, covering as much of the surface as possible.
This will create a golden crust that’s both crispy and delicious.
Step 7: Bake to Perfection
Bake for 40–50 minutes, or until the top is golden brown and the cherry filling is bubbling around the edges.
Keep an eye on it, and adjust baking time as needed.
You want that perfect golden hue!
Step 8: Cool and Serve
Let the dump cake cool for at least 15–20 minutes before serving.
This allows the cheesecake layer to set slightly.
Serve warm or chilled with whipped cream, if desired.
You’re in for a treat!
Tips for Success
- Distribute the melted butter evenly to avoid dry patches on your cake.
- Keep the layers separate for that classic dump cake texture.
- For cleaner slices, refrigerate the cooled cake for 2–3 hours before cutting.
- Add a splash of almond extract to the cream cheese mixture for an extra flavor boost.
- Use fresh cherries for a more vibrant taste if you prefer!
Equipment Needed
- 9 × 13-inch Baking Dish: Essential for baking your dump cake. A glass or metal dish works well.
- Mixing Bowl: Use a medium-sized bowl for combining your cream cheese mixture.
- Electric Mixer: A hand mixer makes beating the cream cheese easy, but a whisk will do in a pinch.
- Spatula: Perfect for spreading the cream cheese layer evenly.
Variations
- Fruit Fillings: Swap out cherry pie filling for other fruits like blueberry, peach, or apple for a different flavor profile.
- Gluten-Free Option: Use a gluten-free cake mix to make this dessert suitable for those with gluten sensitivities.
- Cheesecake Swirl: Instead of dolloping the cream cheese mixture, swirl it into the cherry filling for a marbled effect.
- Chocolate Lovers: Add chocolate chips to the cream cheese mixture for a decadent twist.
- Nutty Crunch: Sprinkle chopped nuts, like pecans or walnuts, over the cake mix before baking for added texture.
Serving Suggestions
- Whipped Cream: A dollop of whipped cream on top adds a light, airy touch.
- Ice Cream: Serve warm with a scoop of vanilla ice cream for a delightful contrast.
- Fresh Berries: Garnish with fresh berries for a pop of color and flavor.
- Mint Leaves: A sprig of mint adds a refreshing touch to your presentation.
FAQs about Cherry Cheesecake Dump Cake
Can I use fresh cherries instead of cherry pie filling?
Absolutely! Fresh cherries can add a vibrant flavor. Just pit and slice them, then toss with a bit of sugar to enhance their sweetness before layering them in the dish.
How do I store leftovers?
Store any leftovers in an airtight container in the refrigerator. It should stay fresh for about 3–4 days. Just reheat in the microwave for a few seconds before serving!
Can I make this Cherry Cheesecake Dump Cake ahead of time?
Yes! You can prepare it a day in advance. Just bake, cool, and refrigerate. Allow it to sit at room temperature for a bit before serving for the best texture.
What can I substitute for cream cheese?
If you’re looking for a lighter option, you can use Greek yogurt or mascarpone cheese. Both will give you a creamy texture, though the flavor will vary slightly.
Is this dessert suitable for a gluten-free diet?
Yes! Simply swap the yellow cake mix for a gluten-free version, and you’ll have a delicious dessert that everyone can enjoy.
Final Thoughts
Creating this Cherry Cheesecake Dump Cake is more than just baking; it’s about bringing joy to your kitchen and your loved ones.
The delightful combination of creamy cheesecake and tart cherries wrapped in a buttery cake layer is sure to evoke smiles and happy memories.
Whether you’re serving it at a family gathering or enjoying a quiet evening at home, this dessert is a reminder that simple pleasures can be the most satisfying.
So, roll up your sleeves, gather your ingredients, and let the sweet aroma fill your home.
You’re in for a treat that’s as heartwarming as it is delicious!
PrintCherry Cheesecake Dump Cake: A Sweet Delight Awaits!
- Total Time: 1 hour 5 minutes
- Yield: 12 servings
- Diet: Vegetarian
Description
A delicious and easy-to-make Cherry Cheesecake Dump Cake that combines juicy cherries, creamy cheesecake, and a buttery cake topping.
Ingredients
- 8 oz cream cheese, softened
- 1/3 cup granulated sugar
- 1 teaspoon vanilla extract
- 1 large egg
- 2 cans (21 oz each) cherry pie filling
- 1 box (15.25 oz) yellow cake mix
- 3/4 cup unsalted butter, melted
- Powdered sugar, for dusting (optional)
- Whipped cream, for serving (optional)
Instructions
- Preheat your oven to 350°F. Lightly grease a 9 × 13-inch baking dish.
- In a medium bowl, beat the softened cream cheese, granulated sugar, vanilla extract, and egg until smooth and creamy.
- Spread both cans of cherry pie filling evenly across the bottom of the prepared baking dish.
- Spoon dollops of the cream cheese mixture over the cherry filling. Gently spread it out, leaving some cherries visible.
- Sprinkle the dry yellow cake mix evenly over the entire surface. Do not stir the layers together.
- Drizzle the melted butter evenly over the dry cake mix, covering as much of the surface as possible.
- Bake for 40–50 minutes, or until the top is golden brown and the cherry filling is bubbling around the edges. If dry cake mix remains in a few spots, bake for another 5–10 minutes as needed.
- Let the dump cake cool for at least 15–20 minutes before serving so the cheesecake layer can set slightly. Serve warm or chilled with whipped cream, if desired.
Notes
- Distribute the melted butter as evenly as possible to avoid powdery patches.
- Keeping the layers separate creates the signature dump cake texture.
- Refrigerate the cooled cake for 2–3 hours before cutting for cleaner slices.
- Add 1/2 teaspoon almond extract to the cheesecake mixture for extra flavor.
- Prep Time: 15 minutes
- Cook Time: 50 minutes
- Category: Dessert
- Method: Baking
- Cuisine: American
Nutrition
- Serving Size: 1 slice
- Calories: 350
- Sugar: 25g
- Sodium: 300mg
- Fat: 18g
- Saturated Fat: 10g
- Unsaturated Fat: 8g
- Trans Fat: 0g
- Carbohydrates: 45g
- Fiber: 1g
- Protein: 4g
- Cholesterol: 60mg