Introduction to Coconut Icebox Cake
There’s something magical about a dessert that requires no baking, especially when it’s as delightful as Coconut Icebox Cake. I remember the first time I tasted this creamy, coconut-infused treat at a summer barbecue. It was a hit! This no-bake dessert is perfect for those busy days when you want to impress your loved ones without spending hours in the kitchen. With layers of graham crackers and a luscious coconut filling, it’s a sweet escape that brings joy to any gathering. Trust me, once you try it, you’ll be hooked!
Why You’ll Love This Coconut Icebox Cake
This Coconut Icebox Cake is a game-changer for dessert lovers. It’s incredibly easy to whip up, making it perfect for those last-minute gatherings or lazy weekends. The creamy coconut filling paired with the crunch of graham crackers creates a delightful texture that’s hard to resist. Plus, it’s a no-bake recipe, so you can enjoy a delicious treat without heating up the kitchen. What’s not to love?
Ingredients for Coconut Icebox Cake
Gathering the right ingredients is the first step to creating this Coconut Icebox Cake. Here’s what you’ll need:
- Heavy whipping cream: This is the base for your creamy filling, providing that rich texture we all love.
- Powdered sugar: A touch of sweetness that blends perfectly into the whipped cream.
- Vanilla extract: Adds a warm, aromatic flavor that enhances the overall taste.
- Sweetened condensed milk: This ingredient brings a luscious creaminess and a hint of sweetness to the cake.
- Shredded coconut: Choose between sweetened or unsweetened, depending on your preference for sweetness.
- Graham crackers: These provide a crunchy layer that contrasts beautifully with the creamy filling.
- Toasted coconut flakes: For topping, these add a delightful crunch and a burst of coconut flavor.
Feel free to get creative! You can swap regular graham crackers for chocolate ones for a fun twist. If you want to add a fruity touch, consider layering in some fresh strawberries or bananas. For exact measurements, check the bottom of the article where you can find everything available for printing.
How to Make Coconut Icebox Cake
Creating this Coconut Icebox Cake is a breeze! Follow these simple steps, and you’ll have a delicious dessert ready to impress. Let’s dive in!
Step 1: Whip the Cream
Start by pouring the heavy whipping cream into a large mixing bowl. Using an electric mixer, whip the cream until soft peaks form. This is where the magic begins! Gradually add in the powdered sugar and vanilla extract. Keep whipping until you achieve stiff peaks. This fluffy base is what makes the cake so creamy and delightful.
Step 2: Prepare the Coconut Mixture
In a separate bowl, combine the sweetened condensed milk and shredded coconut. Mix them well until they’re fully blended. This mixture adds a rich, sweet flavor that complements the whipped cream perfectly. If you’re using unsweetened coconut, don’t worry; the condensed milk will balance it out.
Step 3: Combine the Mixtures
Now, gently fold the coconut mixture into the whipped cream. Use a spatula to combine them without deflating the whipped cream. This step is crucial for keeping that light, airy texture. You want everything to be well incorporated, but be careful not to overmix!
Step 4: Layer the Ingredients
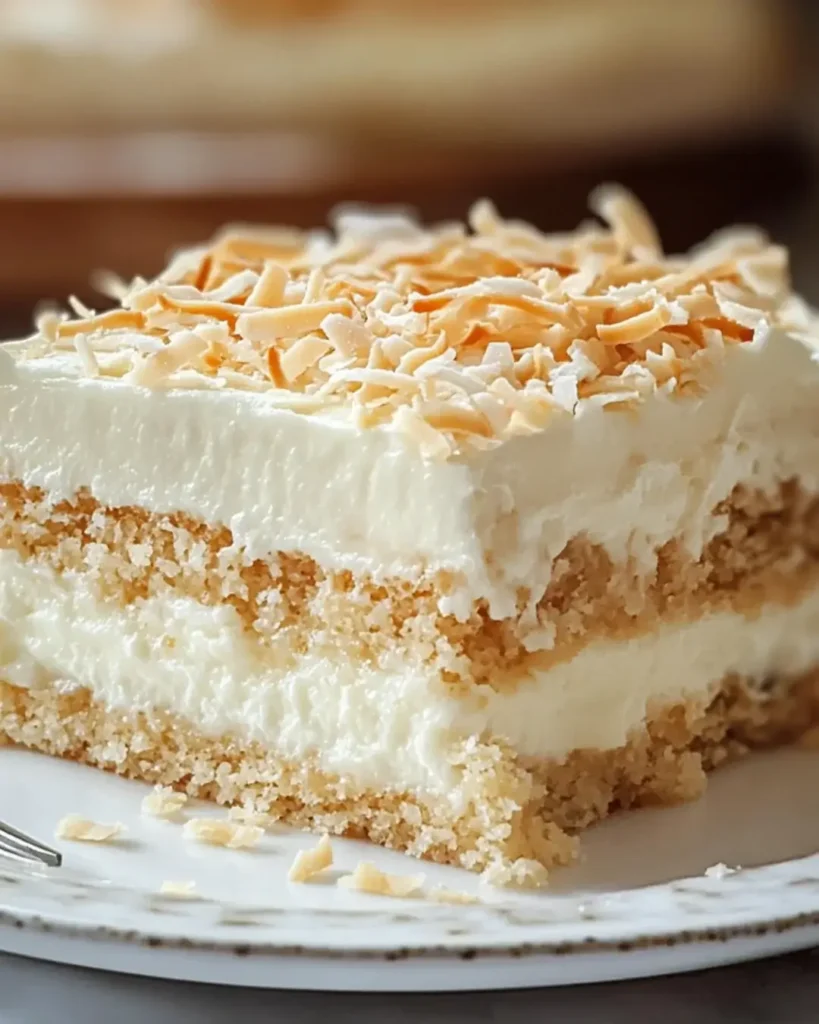
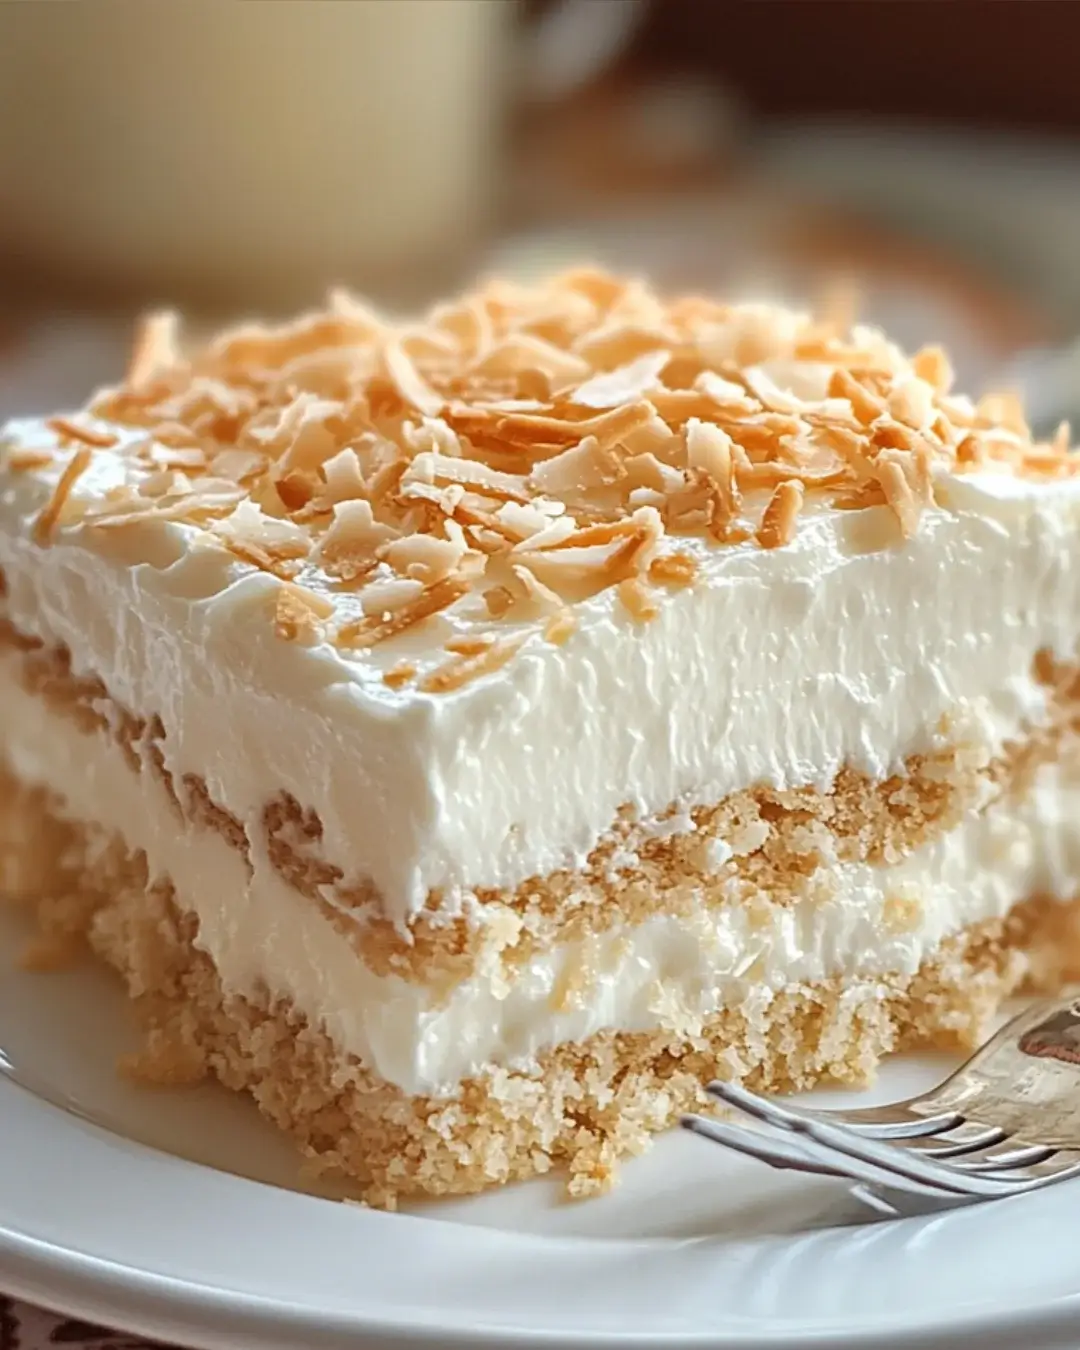
Grab your 9×13 inch baking dish and start layering. Place a layer of graham crackers at the bottom. Spread half of the coconut cream mixture over the crackers. Repeat with another layer of graham crackers, followed by the remaining coconut cream mixture. Finish with a final layer of graham crackers on top. This creates a beautiful, multi-layered dessert that’s as pleasing to the eye as it is to the palate.
Step 5: Refrigerate
Cover the dish with plastic wrap and pop it in the refrigerator. Let it chill for at least 4 hours, or overnight if you can wait. This step allows the flavors to meld and the graham crackers to soften, creating that signature icebox cake texture. Trust me, the wait is worth it!
Step 6: Garnish and Serve
Before serving, sprinkle the toasted coconut flakes on top for a crunchy finish. This adds a lovely texture and enhances the coconut flavor. Slice into squares and serve chilled. Your Coconut Icebox Cake is now ready to be enjoyed!

Tips for Success
- Make sure your heavy cream is cold for better whipping results.
- Use a rubber spatula to gently fold the mixtures; this keeps the cream light and fluffy.
- For a richer flavor, let the cake chill overnight.
- Experiment with different toppings like chocolate shavings or fresh fruit.
- Keep leftovers covered in the fridge for up to three days.
Equipment Needed
- Mixing bowls: Use any size, but a large bowl is best for whipping cream.
- Electric mixer: A hand mixer works great, but a stand mixer can save time.
- Spatula: A rubber spatula is ideal for folding ingredients gently.
- Baking dish: A 9×13 inch dish is perfect, but any similar-sized dish will do.
Variations
- Chocolate Coconut Icebox Cake: Swap regular graham crackers for chocolate ones to add a rich twist.
- Fruit Layering: Add layers of fresh fruit like strawberries, bananas, or mangoes for a refreshing burst of flavor.
- Nutty Delight: Incorporate chopped nuts, such as almonds or pecans, into the coconut mixture for added crunch.
- Vegan Option: Use coconut cream instead of heavy whipping cream and a plant-based sweetener for a dairy-free version.
- Spiced Coconut: Add a pinch of cinnamon or nutmeg to the coconut mixture for a warm, spiced flavor.
Serving Suggestions
- Pair your Coconut Icebox Cake with a scoop of vanilla ice cream for an extra creamy treat.
- Serve alongside fresh fruit, like berries or pineapple, to balance the sweetness.
- For drinks, consider a refreshing iced tea or a tropical coconut cocktail.
- Garnish with mint leaves for a pop of color and freshness.
FAQs about Coconut Icebox Cake
Can I make Coconut Icebox Cake ahead of time?
Absolutely! In fact, making it a day in advance enhances the flavors. Just keep it covered in the fridge until you’re ready to serve.
What can I substitute for heavy whipping cream?
If you’re looking for a lighter option, you can use coconut cream. It will still give you that rich texture while keeping it dairy-free.
How long does Coconut Icebox Cake last in the fridge?
This dessert can last up to three days in the fridge. Just make sure it’s well covered to maintain its freshness.
Can I use different types of coconut?
<pDefinitely! You can use sweetened or unsweetened shredded coconut based on your taste preference. Toasted coconut flakes on top add a delightful crunch!
Is Coconut Icebox Cake suitable for special diets?
<pYes! With a few tweaks, like using coconut cream and a plant-based sweetener, you can easily make a vegan version of this delicious no-bake dessert.
Final Thoughts
Creating a Coconut Icebox Cake is more than just whipping up a dessert; it’s about crafting a moment of joy. Each layer tells a story, from the creamy filling to the crunchy graham crackers. This no-bake delight is perfect for gatherings, family dinners, or simply treating yourself after a long day. The best part? It’s incredibly easy to make, allowing you to focus on what truly matters—sharing delicious moments with loved ones. So, roll up your sleeves, dive into this recipe, and let the sweet, tropical flavors transport you to a sunny paradise with every bite!
Coconut Icebox Cake: Discover the Ultimate No-Bake Delight!
Ingredients
Method
- In a large mixing bowl, whip the heavy cream until soft peaks form. Gradually add the powdered sugar and vanilla extract, continuing to whip until stiff peaks form.
- In another bowl, combine the sweetened condensed milk and shredded coconut, mixing well.
- Gently fold the coconut mixture into the whipped cream until fully combined.
- In a 9x13 inch baking dish, layer graham crackers on the bottom. Spread half of the coconut cream mixture over the crackers.
- Add another layer of graham crackers, followed by the remaining coconut cream mixture. Top with a final layer of graham crackers.
- Cover the dish with plastic wrap and refrigerate for at least 4 hours, or overnight for best results.
- Before serving, sprinkle the toasted coconut flakes on top for garnish.
Nutrition
Notes
- For a chocolate twist, use chocolate graham crackers instead of regular ones.
- Add a layer of fresh fruit, such as sliced strawberries or bananas, between the layers for added flavor and texture.


