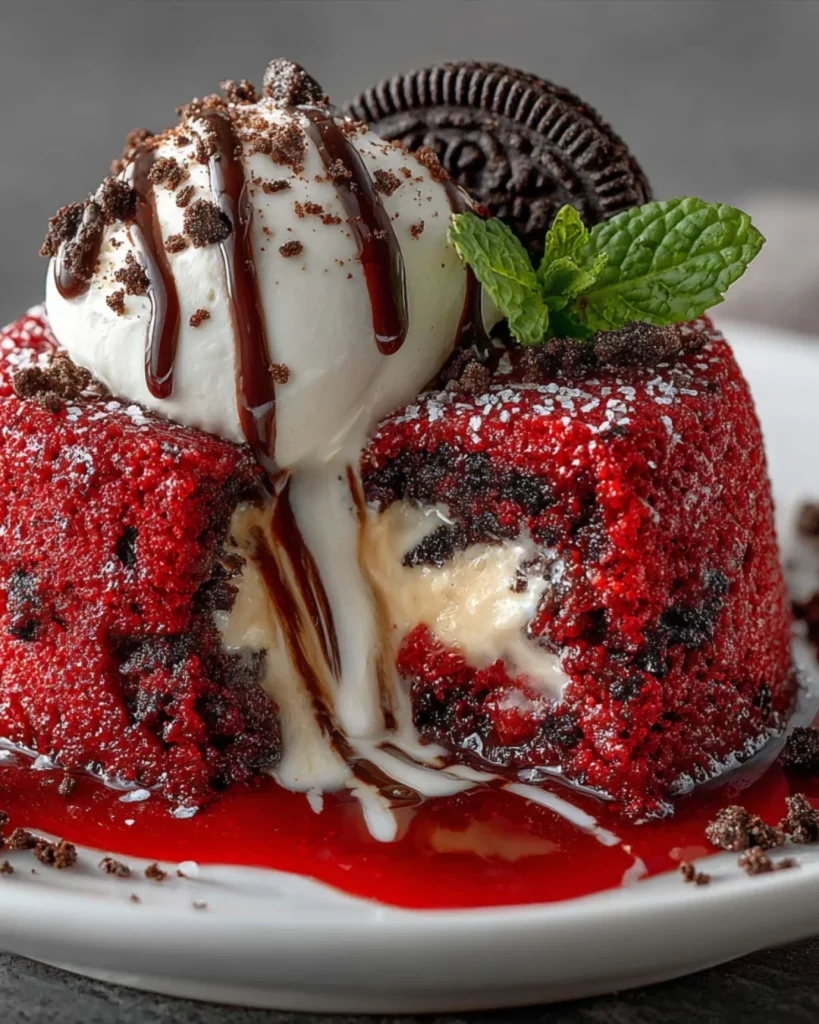
Introduction to Cookies & Cream Red Velvet Molten Lava Cake
There’s something magical about dessert that brings us back to our happiest moments. The Cookies & Cream Red Velvet Molten Lava Cake is a delightful blend of nostalgia and indulgence.
This recipe is perfect for those busy evenings when you want to impress your loved ones without spending hours in the kitchen.
With its rich red velvet flavor and gooey molten center, it’s a treat that will have everyone asking for seconds.
So, let’s dive into this easy yet impressive dessert that’s sure to become a favorite in your home!
Why You’ll Love This Cookies & Cream Red Velvet Molten Lava Cake
This Cookies & Cream Red Velvet Molten Lava Cake is a game-changer for dessert lovers.
It’s quick to whip up, taking just 30 minutes from start to finish.
The combination of rich red velvet and creamy cookie goodness creates a flavor explosion that’s hard to resist.
Plus, the molten center adds an element of surprise that will wow your guests.
Trust me, this dessert is a guaranteed crowd-pleaser!
Ingredients for Cookies & Cream Red Velvet Molten Lava Cake
To create this indulgent Cookies & Cream Red Velvet Molten Lava Cake, you’ll need a handful of simple ingredients that pack a punch of flavor.
Here’s what you’ll gather:
- All-purpose flour: The backbone of your cake, providing structure and texture.
- Granulated sugar: Sweetens the batter and helps create that delightful crust.
- Unsweetened cocoa powder: Adds a rich chocolate flavor, balancing the sweetness.
- Baking powder: This leavening agent helps the cake rise, giving it a light texture.
- Baking soda: Works with the acidity of the buttermilk to create a fluffy cake.
- Salt: Enhances all the flavors, making each bite more delicious.
- Unsalted butter: Adds moisture and richness to the batter.
- Large eggs: They bind the ingredients together and contribute to the cake’s structure.
- Vanilla extract: A classic flavor enhancer that rounds out the sweetness.
- Buttermilk: This adds tanginess and moisture, making the cake tender.
- Red food coloring: Gives that iconic red velvet hue, making it visually stunning.
- Cream cheese: The star of the molten center, providing a creamy, tangy surprise.
- Crushed chocolate sandwich cookies: These add a delightful crunch and flavor contrast.
- Chocolate chips: For an extra burst of chocolatey goodness in every bite.
Feel free to get creative! You can swap the cream cheese for a scoop of your favorite ice cream for a different molten experience.
For exact measurements, check the bottom of the article where you can find everything you need for printing.
How to Make Cookies & Cream Red Velvet Molten Lava Cake
Creating this Cookies & Cream Red Velvet Molten Lava Cake is a delightful journey.
Follow these simple steps, and you’ll have a show-stopping dessert in no time!
Step 1: Preheat and Prepare
Start by preheating your oven to 350°F.
While it warms up, grab four ramekins and grease them with butter.
Dust the insides with cocoa powder to prevent sticking.
This little step ensures your cakes come out perfectly!
Step 2: Mix Dry Ingredients
In a large mixing bowl, whisk together the all-purpose flour, granulated sugar, cocoa powder, baking powder, baking soda, and salt.
Make sure everything is well combined.
This dry mix is the foundation of your cake, so give it a good stir!
Step 3: Combine Wet Ingredients
In another bowl, mix the melted butter, eggs, vanilla extract, buttermilk, and red food coloring.
Stir until the mixture is smooth and vibrant.
This is where the magic begins, as the red food coloring transforms your batter!
Step 4: Combine Wet and Dry Mixtures
Now, gradually add the wet ingredients to the dry mix.
Stir gently until just combined.
Be careful not to overmix; a few lumps are perfectly fine.
This keeps your cake light and fluffy!
Step 5: Assemble the Cakes
Divide half of the batter evenly among the prepared ramekins.
In the center of each, add a tablespoon of cream cheese.
Sprinkle crushed chocolate sandwich cookies and chocolate chips on top.
Finally, cover with the remaining batter, sealing in all that deliciousness!
Step 6: Bake and Cool
Place the ramekins on a baking sheet and pop them in the oven.
Bake for 12-15 minutes, until the edges are set but the centers are still soft.
Once done, let them cool for about 5 minutes.
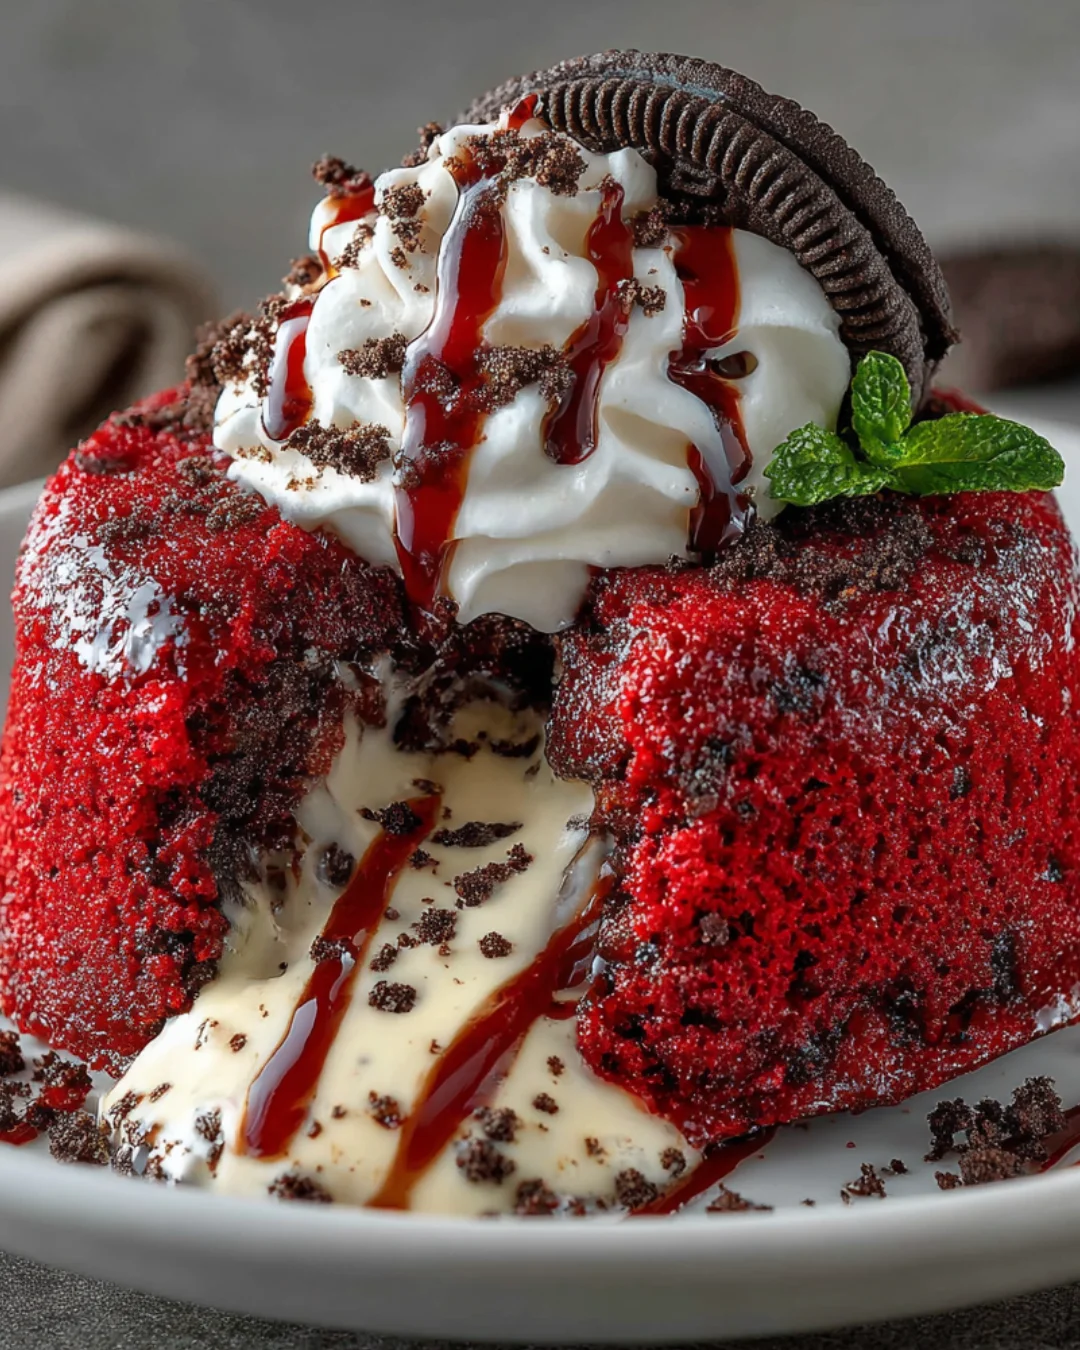
Carefully invert each ramekin onto a plate, and watch the molten center ooze out.
Serve warm, and enjoy the delightful surprise inside!
Tips for Success
- Use room temperature ingredients for a smoother batter.
- Don’t overbake; the centers should be soft for that molten effect.
- Experiment with different cookie flavors for a unique twist.
- Let the cakes cool slightly before inverting to avoid spills.
- Serve immediately for the best molten experience.
Equipment Needed
- Ramekins: Essential for baking individual cakes. If you don’t have them, use muffin tins as an alternative.
- Mixing bowls: A couple of medium-sized bowls will do the trick.
- Whisk: Perfect for blending ingredients. A fork can work in a pinch.
- Baking sheet: To hold the ramekins while baking.
- Measuring cups and spoons: For accurate ingredient measurements.
Variations
- Gluten-Free Option: Substitute all-purpose flour with a gluten-free flour blend for a delicious gluten-free treat.
- Vegan Twist: Replace eggs with flaxseed meal and use plant-based butter and milk for a vegan version.
- Nutty Delight: Add chopped walnuts or pecans to the batter for a crunchy texture and nutty flavor.
- Minty Fresh: Incorporate a few drops of peppermint extract for a refreshing minty twist.
- Fruit Infusion: Mix in some raspberries or strawberries for a fruity surprise in the molten center.
Serving Suggestions
- Whipped Cream: A dollop of freshly whipped cream on top adds a light, airy touch.
- Ice Cream: Serve with a scoop of vanilla or cookies & cream ice cream for extra indulgence.
- Fresh Berries: Garnish with strawberries or raspberries for a pop of color and freshness.
- Chocolate Sauce: Drizzle warm chocolate sauce over the top for an extra chocolatey experience.
- Presentation: Serve on a decorative plate with a sprinkle of powdered sugar for a fancy touch.
FAQs about Cookies & Cream Red Velvet Molten Lava Cake
Can I make this Cookies & Cream Red Velvet Molten Lava Cake ahead of time?
While it’s best enjoyed fresh, you can prepare the batter in advance and store it in the fridge for up to 24 hours. Just remember to bring it back to room temperature before baking!
What if I don’t have ramekins?
No worries! You can use muffin tins or even small oven-safe dishes. Just adjust the baking time, as smaller portions may cook faster.
Can I use a different type of cookie?
Absolutely! Feel free to experiment with different crushed cookies, like chocolate chip or peanut butter cookies, to create your own unique flavor profile.
How do I know when the cakes are done baking?
The edges should be set, while the centers remain soft. A toothpick inserted into the edge should come out clean, but if it goes into the center, it should be slightly gooey for that molten effect.
Can I freeze the molten lava cakes?
Yes, you can freeze the unbaked batter in the ramekins. Just cover them tightly and bake from frozen, adding a few extra minutes to the baking time.
Final Thoughts
Creating the Cookies & Cream Red Velvet Molten Lava Cake is more than just baking; it’s about crafting a moment of joy.
The rich flavors and gooey center evoke a sense of nostalgia, reminding me of cozy family gatherings and laughter-filled evenings.
Each bite is a delightful surprise, making it perfect for celebrations or a simple weeknight treat.
Whether you’re impressing guests or indulging yourself, this dessert is sure to bring smiles all around.
So, roll up your sleeves, embrace the mess, and enjoy the sweet satisfaction of sharing this delicious creation with those you love!
PrintCookies & Cream Red Velvet Molten Lava Cake Recipe Revealed!
- Total Time: 30 minutes
- Yield: 4 servings
- Diet: Vegetarian
Description
A delicious and indulgent dessert that combines the flavors of red velvet cake and cookies & cream in a molten lava cake form.
Ingredients
- 1 cup all-purpose flour
- 1 cup granulated sugar
- 1/2 cup unsweetened cocoa powder
- 1 teaspoon baking powder
- 1/2 teaspoon baking soda
- 1/4 teaspoon salt
- 1/2 cup unsalted butter, melted
- 2 large eggs
- 1 teaspoon vanilla extract
- 1/2 cup buttermilk
- 2 tablespoons red food coloring
- 1/2 cup cream cheese, softened
- 1/2 cup crushed chocolate sandwich cookies (like Oreos)
- 1/4 cup chocolate chips
Instructions
- Preheat your oven to 350°F. Grease four ramekins with butter and dust them with cocoa powder.
- In a large mixing bowl, whisk together the flour, sugar, cocoa powder, baking powder, baking soda, and salt until well combined.
- In another bowl, mix the melted butter, eggs, vanilla extract, buttermilk, and red food coloring until smooth. Gradually add the wet ingredients to the dry ingredients, stirring until just combined.
- Divide half of the batter evenly among the prepared ramekins. Add a tablespoon of cream cheese in the center of each ramekin, then sprinkle crushed cookies and chocolate chips on top. Cover with the remaining batter.
- Place the ramekins on a baking sheet and bake for 12-15 minutes, or until the edges are set but the centers are still slightly soft. Remove from the oven and let cool for 5 minutes.
- Carefully invert each ramekin onto a plate and gently lift it off. Serve warm, optionally topped with whipped cream or additional crushed cookies.
Notes
- For a richer flavor, add a teaspoon of espresso powder to the dry ingredients.
- Try substituting the cream cheese with a scoop of your favorite ice cream for a different molten center.
- Prep Time: 15 minutes
- Cook Time: 15 minutes
- Category: Dessert
- Method: Baking
- Cuisine: American
Nutrition
- Serving Size: 1 cake
- Calories: 400
- Sugar: 30g
- Sodium: 200mg
- Fat: 20g
- Saturated Fat: 10g
- Unsaturated Fat: 5g
- Trans Fat: 0g
- Carbohydrates: 45g
- Fiber: 2g
- Protein: 6g
- Cholesterol: 100mg