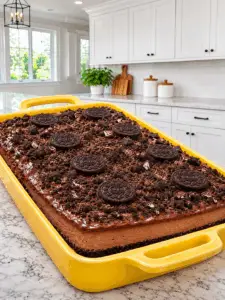
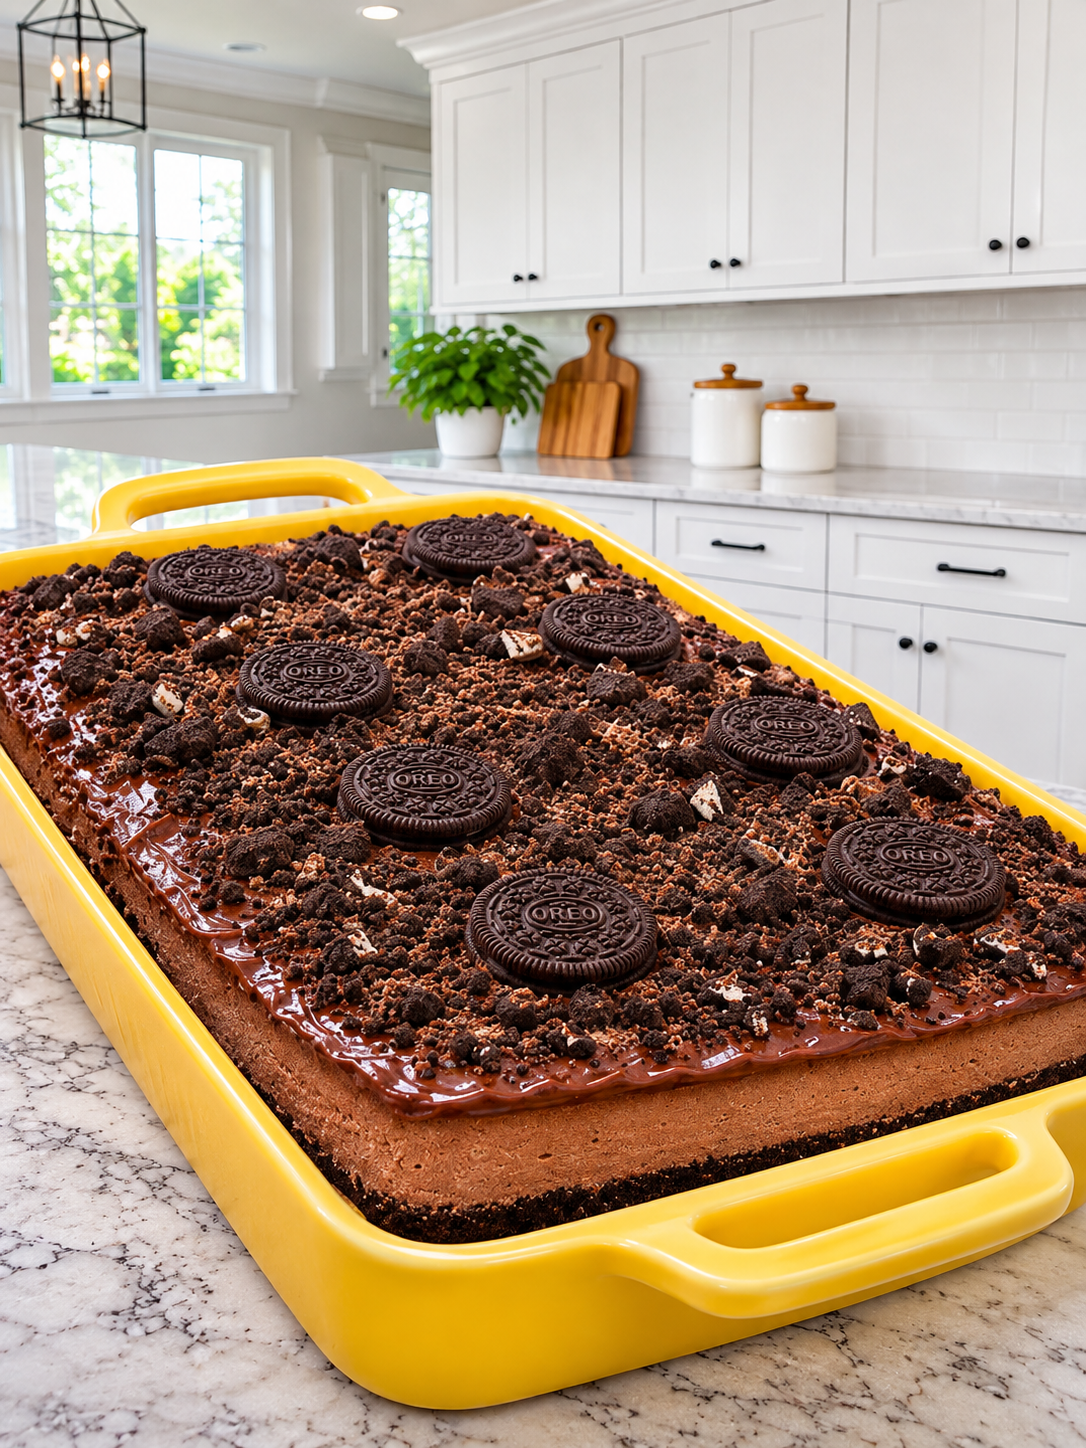
Introduction to Creamy Chocolate Oreo Cheesecake
There’s something magical about dessert that brings people together, and this Creamy Chocolate Oreo Cheesecake is no exception. I remember the first time I made it; the kitchen filled with the rich aroma of chocolate, and my family couldn’t resist sneaking bites before it even chilled. This no-bake cheesecake is perfect for busy days when you want to impress loved ones without spending hours in the kitchen. With its luscious layers and crunchy Oreo crust, it’s a delightful treat that satisfies any chocolate craving. Trust me, this dessert will become a favorite in your home!
Why You’ll Love This Creamy Chocolate Oreo Cheesecake
This Creamy Chocolate Oreo Cheesecake is a game-changer for dessert lovers. It’s incredibly easy to whip up, requiring no baking at all. In just a few simple steps, you can create a rich, velvety cheesecake that will impress anyone who takes a bite. Plus, the combination of chocolate and Oreo cookies is simply irresistible. Whether it’s a family gathering or a cozy night in, this dessert is sure to steal the show!
Ingredients for Creamy Chocolate Oreo Cheesecake
Gathering the right ingredients is the first step to creating this decadent dessert. Here’s what you’ll need:
- Oreo cookies: These are the star of the show! They provide a crunchy, chocolatey crust and a delightful flavor throughout.
- Unsalted butter: This helps bind the crushed Oreos together, creating a firm base for your cheesecake.
- Full-fat cream cheese: The creamy foundation of your cheesecake. Make sure it’s softened for easy mixing.
- Powdered sugar: This adds sweetness and helps achieve that smooth texture we all love in cheesecakes.
- Vanilla extract: A splash of vanilla enhances the overall flavor, making it even more delicious.
- Semisweet chocolate: Melted and cooled, this chocolate adds richness and depth to the filling.
- Cold heavy whipping cream: Whipped to stiff peaks, it lightens the cheesecake and gives it that airy texture.
- Finely chopped semisweet chocolate: This will be used for the ganache topping, adding a luxurious finish.
- Crushed Oreos: For a delightful crunch on top, these add a fun texture contrast.
- Whole Oreos: These are perfect for garnishing your cheesecake, making it look extra special.
For exact measurements, check the bottom of the article where you can find everything listed for easy printing. Feel free to get creative with your ingredients; for instance, you can swap out the semisweet chocolate for dark chocolate if you prefer a richer flavor. Enjoy the process of making this delightful dessert!
How to Make Creamy Chocolate Oreo Cheesecake
Creating this Creamy Chocolate Oreo Cheesecake is a delightful journey that’s as enjoyable as the final product. Follow these simple steps, and you’ll have a show-stopping dessert that’s sure to impress!
Step 1: Prepare the Crust
Start by finely crushing the 36 Oreo cookies. You can use a food processor for a quick job or place them in a zip-top bag and crush them with a rolling pin. Once crushed, mix the cookies with the melted butter until well combined. Press this mixture firmly into the bottom of your casserole dish to form a solid crust. Refrigerate for about 20 minutes to let it set.
Step 2: Make the Filling
In a large mixing bowl, beat the softened cream cheese, powdered sugar, and vanilla extract together until smooth and creamy. This step is crucial for achieving that luscious texture. Once combined, gently fold in the cooled melted chocolate until fully incorporated. The mixture should be rich and velvety, making your mouth water just thinking about it!
Step 3: Whip the Cream
In another bowl, pour in the cold heavy whipping cream. Using an electric mixer, whip it until stiff peaks form. This means when you lift the beaters, the cream holds its shape. Gently fold the whipped cream into the chocolate cream cheese mixture. Be careful not to deflate the whipped cream; you want to keep that airy texture!
Step 4: Assemble the Cheesecake
Now it’s time to bring it all together! Spread the chocolate filling evenly over the chilled Oreo crust. Make sure it’s smooth and even for a beautiful presentation. Cover the dish with plastic wrap and refrigerate for at least 2 hours. This chilling time allows the flavors to meld beautifully.
Step 5: Prepare the Ganache
For the ganache, heat ¾ cup of heavy cream in a small saucepan until it’s steaming but not boiling. Pour this hot cream over the finely chopped semisweet chocolate in a bowl. Let it sit for about 3 minutes, then stir until smooth and glossy. This ganache will add a luxurious finish to your cheesecake.
Step 6: Final Touches
Once the ganache has cooled to a lukewarm and pourable consistency, pour it over the cheesecake, spreading it evenly. Return the cheesecake to the refrigerator for at least 4 more hours, or preferably overnight. Just before serving, sprinkle the crushed Oreos on top and garnish with whole Oreos for that extra touch of indulgence!
Tips for Success
- Always use room temperature cream cheese for easy mixing.
- Chill the cheesecake overnight for the best flavor and texture.
- Use high-quality chocolate for a richer taste.
- Don’t rush the ganache cooling; it should be pourable but not hot.
- For a fun twist, try adding a splash of coffee to the filling!
Equipment Needed
- Mixing bowls: Use large bowls for mixing; a glass or stainless steel bowl works well.
- Electric mixer: A hand mixer is perfect, but a stand mixer can save time.
- Food processor: Great for crushing Oreos quickly; a rolling pin and bag work too.
- Spatula: Essential for folding and spreading the filling evenly.
- Casserole dish: A 9-inch springform pan is ideal for easy removal.
Variations
- Mint Chocolate Oreo Cheesecake: Add a few drops of peppermint extract to the filling for a refreshing twist.
- Peanut Butter Swirl: Fold in some creamy peanut butter into the filling for a delightful flavor combination.
- Gluten-Free Option: Use gluten-free Oreo cookies to make this dessert suitable for those with gluten sensitivities.
- Vegan Version: Substitute cream cheese with vegan cream cheese and use coconut cream instead of heavy whipping cream.
- Fruit Topping: Top with fresh berries or sliced bananas for a fruity contrast to the rich chocolate.
Serving Suggestions
- Pair with coffee: A rich cup of coffee complements the chocolate flavors beautifully.
- Fresh berries: Serve with strawberries or raspberries for a refreshing contrast.
- Whipped cream: A dollop of whipped cream adds extra creaminess.
- Chocolate shavings: Garnish with chocolate shavings for an elegant touch.
- Chilled milk: A glass of cold milk is a classic pairing with this dessert.
FAQs about Creamy Chocolate Oreo Cheesecake
Can I make this cheesecake ahead of time?
Absolutely! In fact, making this Creamy Chocolate Oreo Cheesecake a day in advance is ideal. It allows the flavors to meld beautifully and ensures a firmer texture. Just keep it covered in the refrigerator until you’re ready to serve.
How do I store leftovers?
Store any leftover cheesecake in an airtight container in the refrigerator. It should stay fresh for up to five days. Just be sure to keep it covered to maintain its creamy texture!
Can I use different cookies for the crust?
Yes! While Oreos are the classic choice, feel free to experiment with other cookies like chocolate wafer cookies or even graham crackers. Just adjust the amount of butter accordingly to ensure the crust holds together.
What can I substitute for heavy whipping cream?
If you’re looking for a lighter option, you can use half-and-half or whole milk, but the texture won’t be as rich. For a dairy-free alternative, coconut cream works well, giving a unique flavor to the cheesecake.
Is this cheesecake suitable for special diets?
You can easily adapt this recipe for various dietary needs. Use gluten-free Oreos for a gluten-free version, or swap in vegan cream cheese and coconut cream for a dairy-free option. Enjoy the flexibility!
Final Thoughts
Creating this Creamy Chocolate Oreo Cheesecake is more than just baking; it’s about crafting memories. Each slice tells a story, whether it’s a family gathering or a quiet evening at home. The joy of watching loved ones savor every bite is unmatched. This dessert brings smiles and satisfaction, making it a staple in my kitchen. Plus, the no-bake aspect means less time fussing and more time enjoying. So, roll up your sleeves, gather your ingredients, and dive into this delightful experience. Trust me, once you make it, you’ll want to share it with everyone you know!
PrintCreamy Chocolate Oreo Cheesecake: A Decadent Delight!
- Total Time: 6 hours 30 minutes
- Yield: 12 servings
- Diet: Vegetarian
Description
A rich and creamy chocolate cheesecake made with Oreo cookies, perfect for chocolate lovers.
Ingredients
- 36 Oreo cookies, including cream filling
- 6 tablespoons unsalted butter, melted
- 32 oz (900 g) full-fat cream cheese, softened
- 1 cup powdered sugar
- 2 teaspoons vanilla extract
- 12 oz (340 g) semisweet chocolate, melted and cooled until lukewarm
- 2 cups cold heavy whipping cream
- 8 oz (225 g) semisweet chocolate, finely chopped
- ¾ cup heavy whipping cream
- 10 Oreo cookies, roughly crushed
- 8 whole Oreo cookies
Instructions
- Finely crush the 36 cookies. Mix with melted butter and press firmly into the bottom of the casserole dish. Refrigerate for 20 minutes.
- Beat cream cheese, powdered sugar, and vanilla until smooth. Beat in the cooled melted chocolate.
- In another bowl, whip the cold cream to stiff peaks. Gently fold it into the chocolate cream cheese mixture.
- Spread the filling evenly over the crust. Refrigerate for 2 hours.
- For the topping, heat ¾ cup cream until steaming. Pour over the chopped chocolate, let stand for 3 minutes, then stir until smooth.
- Cool the ganache until lukewarm and pourable, then spread over the cheesecake. Refrigerate for at least 4 more hours, preferably overnight.
- Add crushed and whole Oreos just before serving.
Notes
- For best results, let the cheesecake chill overnight.
- Use high-quality chocolate for the best flavor.
- Ensure the cream cheese is at room temperature for easy mixing.
- Prep Time: 30 minutes
- Cook Time: 0 minutes
- Category: Dessert
- Method: No-Bake
- Cuisine: American
Nutrition
- Serving Size: 1 slice
- Calories: 450
- Sugar: 30g
- Sodium: 250mg
- Fat: 30g
- Saturated Fat: 18g
- Unsaturated Fat: 8g
- Trans Fat: 0g
- Carbohydrates: 40g
- Fiber: 2g
- Protein: 6g
- Cholesterol: 80mg