Introduction to Earthquake Cake
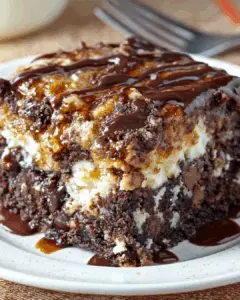
There’s something magical about a dessert that combines rich chocolate with creamy swirls and a hint of nostalgia. Earthquake Cake is just that—a delightful treat that brings back memories of family gatherings and potlucks. This recipe is perfect for those busy days when you want to impress your loved ones without spending hours in the kitchen. With its simple steps and decadent flavors, Earthquake Cake is a quick solution that will have everyone asking for seconds. Trust me, once you try it, this cake will become a staple in your dessert repertoire!
Why You’ll Love This Earthquake Cake
This Earthquake Cake is a game-changer for dessert lovers. It’s incredibly easy to whip up, making it perfect for those last-minute gatherings or cozy family dinners. The rich chocolate flavor, combined with the creamy cream cheese and crunchy nuts, creates a taste explosion that’s hard to resist. Plus, it’s a one-pan wonder, so cleanup is a breeze. You’ll love how quickly it disappears from the table!
Ingredients for Earthquake Cake
Gathering the right ingredients is the first step to creating this decadent Earthquake Cake. Here’s what you’ll need:
- Shredded Coconut: This adds a chewy texture and a hint of tropical flavor. It’s the secret ingredient that makes this cake feel special.
- Chopped Pecans or Walnuts: These nuts provide a delightful crunch and a nutty richness. Feel free to swap them for your favorite nuts if you prefer.
- Chocolate Cake Mix: The base of our cake, this mix simplifies the process while delivering that rich chocolate flavor we all crave.
- Powdered Sugar: This sweetener is essential for the cream cheese mixture, giving it that smooth, sweet finish.
- Unsalted Butter: Melted butter adds moisture and richness to the cake. Using unsalted allows you to control the saltiness.
- Cream Cheese: Softened cream cheese creates that luscious swirl in the cake, making each bite creamy and indulgent.
- Chocolate Chips: These little morsels of chocolate add extra richness and a delightful surprise in every slice.
- Water: This helps to bring the cake mix together, ensuring a moist and tender crumb.
- Large Eggs: Eggs provide structure and stability to the cake, helping it rise beautifully.
For those looking to mix things up, consider using a vanilla cake mix for a different flavor profile. You can also drizzle some caramel sauce on top before serving for an extra indulgent treat. Exact quantities for each ingredient can be found at the bottom of the article, ready for printing!
How to Make Earthquake Cake
Creating this Earthquake Cake is a delightful journey that’s as simple as it is rewarding. Follow these steps, and you’ll have a decadent dessert that will impress everyone. Let’s dive in!
Step 1: Preheat and Prepare
First things first, preheat your oven to 350°F (175°C). While that’s warming up, grab a 9×13-inch baking dish and grease it well. This will ensure your cake comes out easily and doesn’t stick.
Step 2: Layer the Coconut and Nuts
Next, sprinkle the shredded coconut and chopped nuts evenly over the bottom of your prepared baking dish. This layer adds texture and flavor, creating a delightful base for your cake.
Step 3: Mix the Cake Batter
In a large mixing bowl, combine the chocolate cake mix, water, and eggs. Mix everything together until well combined, about 2 minutes. You want a smooth batter that’s ready to bring the magic!
Step 4: Pour the Batter
Now, pour the cake batter over the coconut and nuts in the baking dish. Spread it out evenly, making sure every bit of that delicious coconut and nut layer is covered.
Step 5: Prepare the Cream Cheese Mixture
In a separate bowl, beat the softened cream cheese and powdered sugar together until smooth. This creamy mixture is what makes the Earthquake Cake so special. Drop spoonfuls of it over the cake batter, creating little dollops of goodness.
Step 6: Create the Marble Effect
Using a knife or a skewer, gently swirl the cream cheese mixture into the cake batter. This is where the magic happens! You want to create a marbled effect, so don’t overdo it—just a few swirls will do.
Step 7: Add Chocolate Chips
Sprinkle the chocolate chips evenly over the top of the cake. These little bursts of chocolate will melt into the cake as it bakes, adding even more richness to each slice.
Step 8: Drizzle with Butter
Now, drizzle the melted butter over the entire cake. This step adds moisture and a lovely golden finish. It’s like giving your cake a warm hug!
Step 9: Bake
Place your cake in the preheated oven and bake for 40-45 minutes. Keep an eye on it! You’ll know it’s done when a toothpick inserted into the center comes out clean. The aroma will fill your kitchen, making it hard to wait!
Step 10: Cool and Serve
Once baked, allow the cake to cool in the pan for at least 15 minutes before serving. This will help it set and make it easier to cut. Trust me, the wait will be worth it when you take that first bite!
Tips for Success
- Make sure your cream cheese is softened for easy mixing.
- Don’t skip the swirling step; it creates that beautiful marbled effect.
- For extra flavor, toast the nuts before adding them to the cake.
- Let the cake cool completely for cleaner slices.
- Store leftovers in an airtight container to keep it fresh.
Equipment Needed
- 9×13-inch Baking Dish: Essential for baking the cake. A glass or metal dish works well.
- Mixing Bowls: Use a large bowl for the batter and a smaller one for the cream cheese mixture.
- Electric Mixer: Makes mixing the cream cheese easier, but a whisk will do in a pinch.
- Spatula: Perfect for spreading the batter and cream cheese mixture evenly.
- Knife or Skewer: Needed for swirling the cream cheese into the batter.
Variations
- Vanilla Earthquake Cake: Swap the chocolate cake mix for a vanilla one for a lighter flavor profile.
- Nut-Free Option: Omit the nuts or replace them with sunflower seeds for a similar crunch without the allergens.
- Gluten-Free Version: Use a gluten-free chocolate cake mix to make this dessert suitable for those with gluten sensitivities.
- Fruit Additions: Toss in some chopped cherries or raspberries for a fruity twist that complements the chocolate.
- Caramel Swirl: Drizzle caramel sauce over the cream cheese mixture before swirling for an extra layer of flavor.
Serving Suggestions
- Whipped Cream: A dollop of fresh whipped cream on top adds a light, airy contrast to the rich cake.
- Ice Cream: Serve warm slices with a scoop of vanilla or chocolate ice cream for a decadent treat.
- Fresh Berries: Garnish with strawberries or raspberries for a pop of color and freshness.
- Presentation: Dust with powdered sugar before serving for an elegant touch.
- Pairing: Enjoy with a cup of coffee or a glass of milk to balance the sweetness.
FAQs about Earthquake Cake
As you embark on your Earthquake Cake adventure, you might have a few questions. Here are some common queries that can help you along the way:
What makes Earthquake Cake unique?
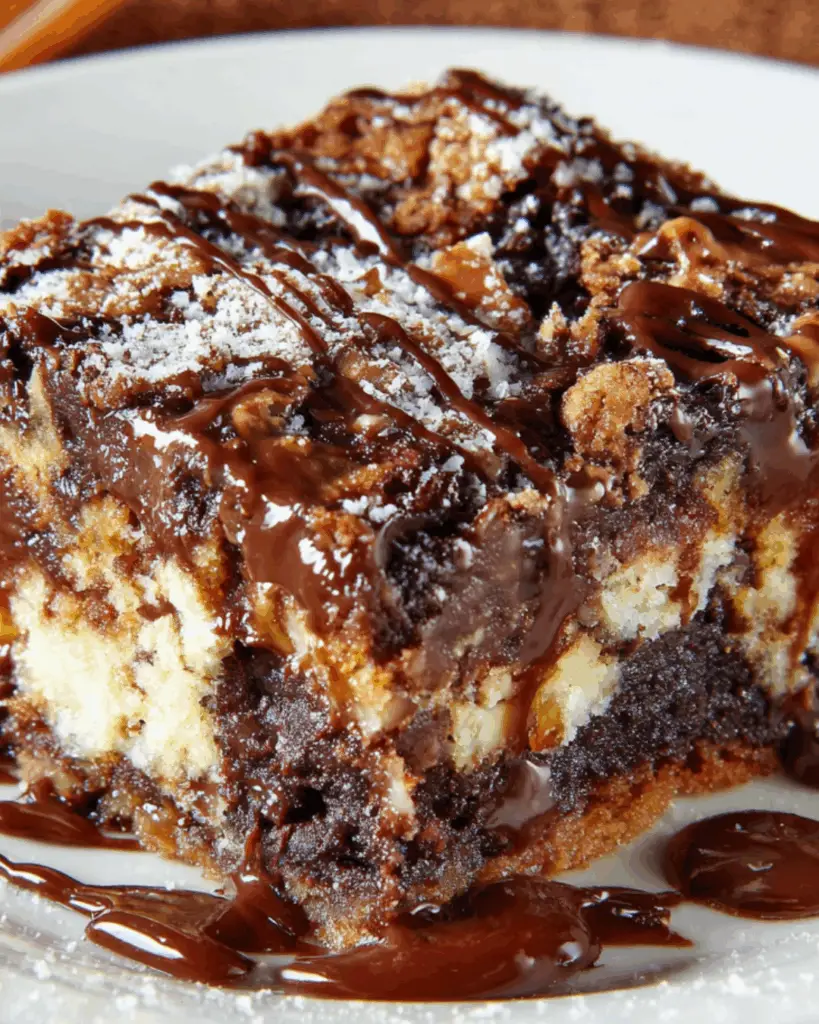
Earthquake Cake stands out due to its delightful marbled effect created by the cream cheese mixture. The combination of chocolate cake, coconut, and nuts adds layers of flavor and texture that make it truly special.
Can I use a different cake mix?
Absolutely! While chocolate cake mix is traditional, you can easily swap it for a vanilla or even a red velvet mix. Each variation brings its own unique twist to this decadent dessert.
How should I store leftovers?
To keep your Earthquake Cake fresh, store it in an airtight container at room temperature for up to three days. If you want to keep it longer, refrigerate it for up to a week.
Can I freeze Earthquake Cake?
Yes, you can freeze this cake! Just wrap it tightly in plastic wrap and then in aluminum foil. It can be frozen for up to three months. Thaw it in the fridge before serving.
What can I serve with Earthquake Cake?
This cake pairs wonderfully with whipped cream, ice cream, or fresh berries. A cup of coffee or a glass of milk also complements the rich flavors beautifully.
Final Thoughts
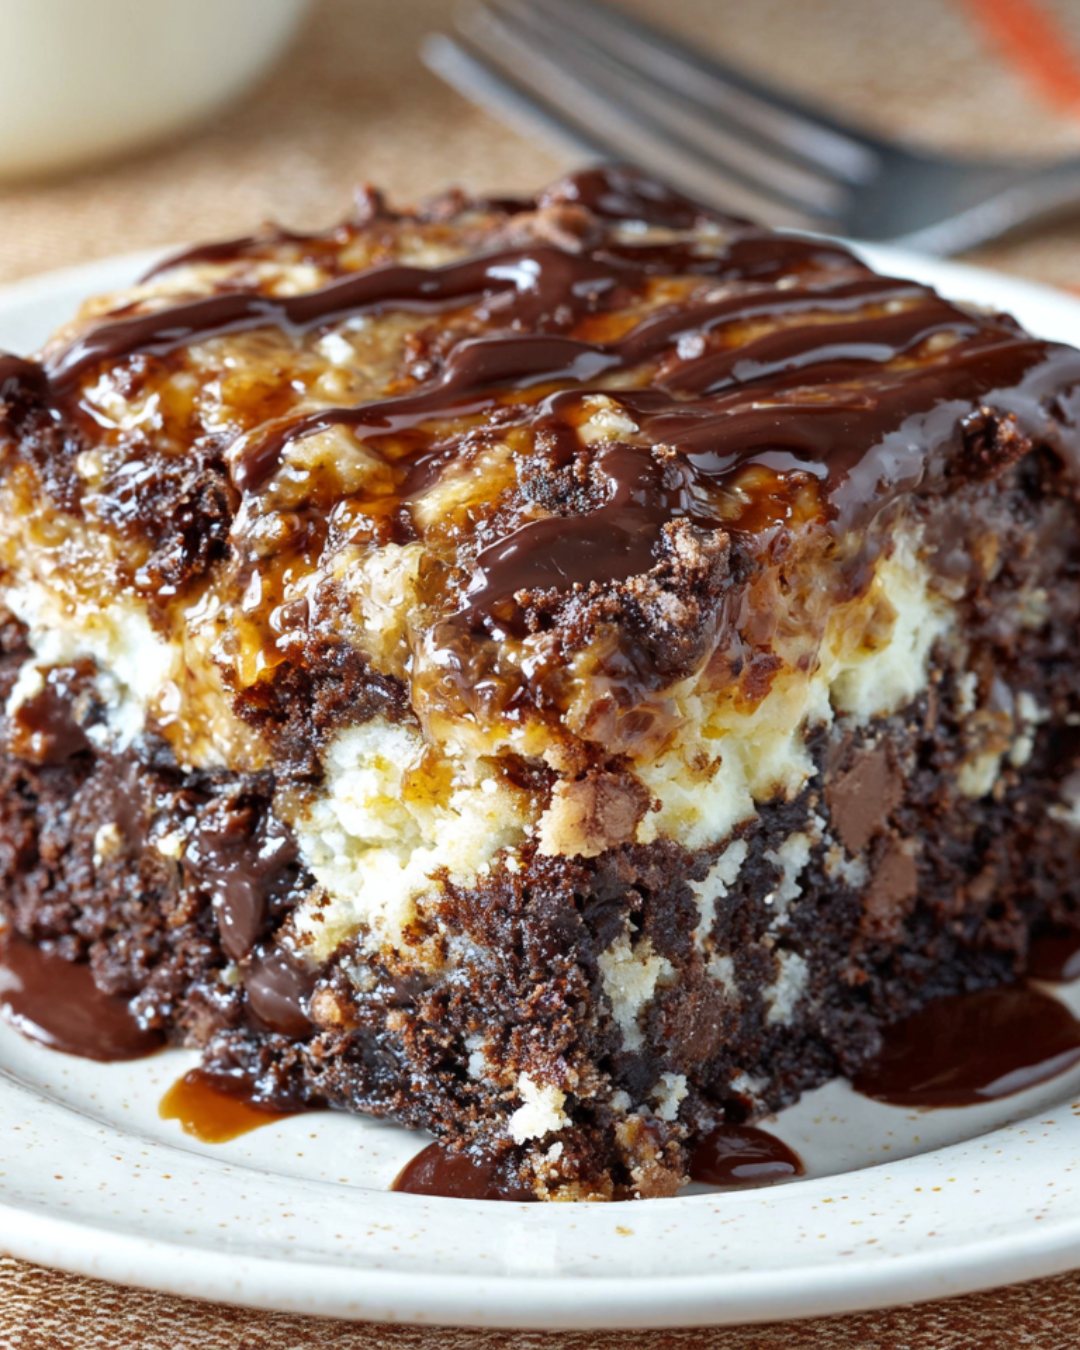
Making Earthquake Cake is more than just baking; it’s about creating memories and sharing joy with those you love. The rich chocolate, creamy swirls, and crunchy nuts come together to form a dessert that’s both comforting and indulgent. Each slice is a reminder of the simple pleasures in life, whether it’s a family gathering or a cozy night in. I hope this recipe brings as much happiness to your kitchen as it has to mine. So, roll up your sleeves, embrace the chaos, and let the deliciousness unfold. You won’t regret it!
PrintEarthquake Cake: Discover This Decadent Delight Recipe!
- Total Time: 1 hour
- Yield: 12 servings
- Diet: Vegetarian
Description
Earthquake Cake is a decadent dessert that features a rich chocolate cake base topped with a creamy swirl of cream cheese, shredded coconut, and nuts, creating a delightful marbled effect.
Ingredients
- 2 cups shredded coconut
- 1 cup chopped pecans or walnuts
- 1 box (16 oz) chocolate cake mix
- 1 cup powdered sugar
- 1/2 cup (1 stick) unsalted butter, melted
- 8 oz cream cheese, softened
- 1 cup chocolate chips
- 1 1/4 cups water
- 3 large eggs
Instructions
- Preheat your oven to 350°F (175°C). Grease a 9×13-inch baking dish.
- Sprinkle the shredded coconut and chopped nuts evenly over the bottom of the prepared baking dish.
- In a large mixing bowl, combine the chocolate cake mix, water, and eggs. Mix until well combined, about 2 minutes.
- Pour the cake batter over the coconut and nuts in the baking dish.
- In a separate bowl, beat the softened cream cheese and powdered sugar together until smooth. Drop spoonfuls of the cream cheese mixture over the cake batter.
- Using a knife or a skewer, gently swirl the cream cheese mixture into the cake batter to create a marbled effect.
- Sprinkle the chocolate chips evenly over the top of the cake.
- Drizzle the melted butter over the entire cake.
- Bake in the preheated oven for 40-45 minutes, or until a toothpick inserted into the center comes out clean.
- Allow the cake to cool in the pan for at least 15 minutes before serving.
Notes
- For a different flavor, try using a vanilla cake mix instead of chocolate.
- Add a layer of caramel sauce on top before serving for an extra indulgent treat.
- Prep Time: 15 minutes
- Cook Time: 40-45 minutes
- Category: Dessert
- Method: Baking
- Cuisine: American
Nutrition
- Serving Size: 1 slice
- Calories: 320
- Sugar: 20g
- Sodium: 200mg
- Fat: 18g
- Saturated Fat: 8g
- Unsaturated Fat: 10g
- Trans Fat: 0g
- Carbohydrates: 35g
- Fiber: 1g
- Protein: 4g
- Cholesterol: 50mg