Introduction to Easter Dirt Cake Casserole
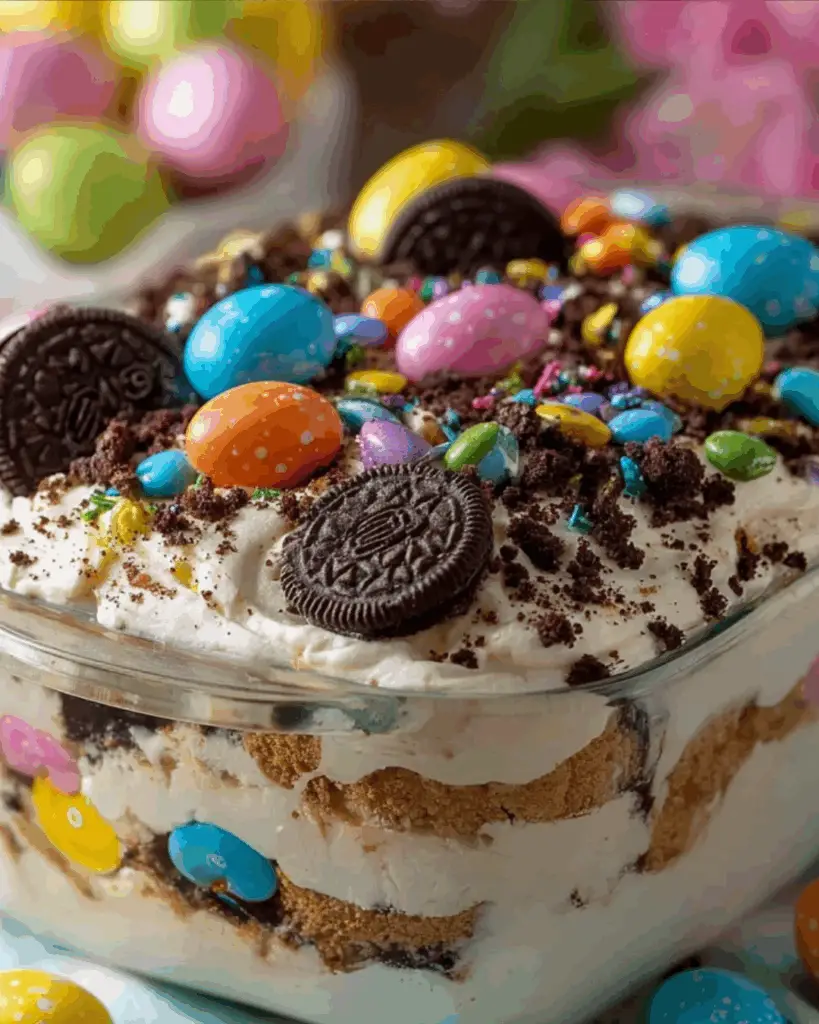
Springtime brings a sense of renewal, and with it, the joy of gathering with family and friends. One of my favorite ways to celebrate is with a delightful dessert that never fails to impress: the Easter Dirt Cake Casserole. This no-bake treat is not only a quick solution for a busy day, but it also adds a playful touch to any Easter celebration. With layers of creamy goodness, crushed Oreos, and colorful gummy candies, it’s a dish that brings smiles to both kids and adults alike. Trust me, this is one recipe you’ll want to keep in your back pocket!
Why You’ll Love This Easter Dirt Cake Casserole
This Easter Dirt Cake Casserole is a game-changer for dessert lovers. It’s incredibly easy to whip up, taking just 20 minutes of prep time. No baking required means you can spend more time enjoying the festivities. Plus, the combination of creamy filling and crunchy Oreos creates a delightful texture that’s hard to resist. It’s a crowd-pleaser that will have everyone asking for seconds, making it a must-have for your Easter table!
Ingredients for Easter Dirt Cake Casserole
Gathering the right ingredients is the first step to creating this delightful Easter Dirt Cake Casserole. Here’s what you’ll need:
- Cream Cheese: Softened to create a rich, creamy base that adds a tangy flavor.
- Powdered Sugar: This sweetener helps balance the cream cheese’s tanginess, making the filling smooth and sweet.
- Whipped Topping: Thawed, it lightens the mixture, giving it a fluffy texture that melts in your mouth.
- Instant Vanilla Pudding Mix: This adds a creamy consistency and a hint of vanilla flavor, enhancing the overall taste.
- Milk: Used to prepare the pudding mix, it helps achieve the perfect thickness.
- Oreo Cookies: Crushed to create a crunchy layer that mimics dirt, adding both texture and flavor.
- Gummy Candy: Think gummy worms or jelly beans for a fun, colorful topping that kids will love.
- Fresh Mint Leaves: Optional, but they add a pop of color and a refreshing touch when garnishing.
For those looking to mix things up, consider using chocolate pudding mix instead of vanilla for a chocolatey twist. You can also swap out the Oreos for crushed chocolate sandwich cookies if you prefer a different flavor. Exact quantities for each ingredient can be found at the bottom of the article, ready for printing!
How to Make Easter Dirt Cake Casserole
Creating the Easter Dirt Cake Casserole is a breeze! Follow these simple steps, and you’ll have a delightful dessert ready to impress your guests. Let’s dive in!
Step 1: Prepare the Cream Cheese Mixture
Start by grabbing a large mixing bowl. Beat the softened cream cheese and powdered sugar together until the mixture is smooth and creamy. This step is crucial; it sets the foundation for your dessert. You want it to be fluffy, so don’t rush it! A hand mixer works wonders here, but a sturdy whisk will do if you’re feeling adventurous.
Step 2: Combine with Whipped Topping
Next, gently fold in the thawed whipped topping. Use a spatula to combine it with the cream cheese mixture. The goal is to keep that light, airy texture. Be careful not to overmix; you want to maintain the fluffiness that makes this dessert so delightful. It’s like a cloud of sweetness!
Step 3: Make the Pudding Mixture
In another bowl, whisk together the instant vanilla pudding mix and milk. Keep whisking until it thickens, which should take about two minutes. This step adds a creamy layer to your casserole. The pudding will give it that classic dirt cake flavor, so don’t skip it!
Step 4: Combine Mixtures
Now, it’s time to bring everything together. Gently fold the pudding mixture into the cream cheese mixture. This is where the magic happens! You’ll want to ensure everything is well combined without losing that light texture. It should look creamy and inviting.
Step 5: Layer the Casserole
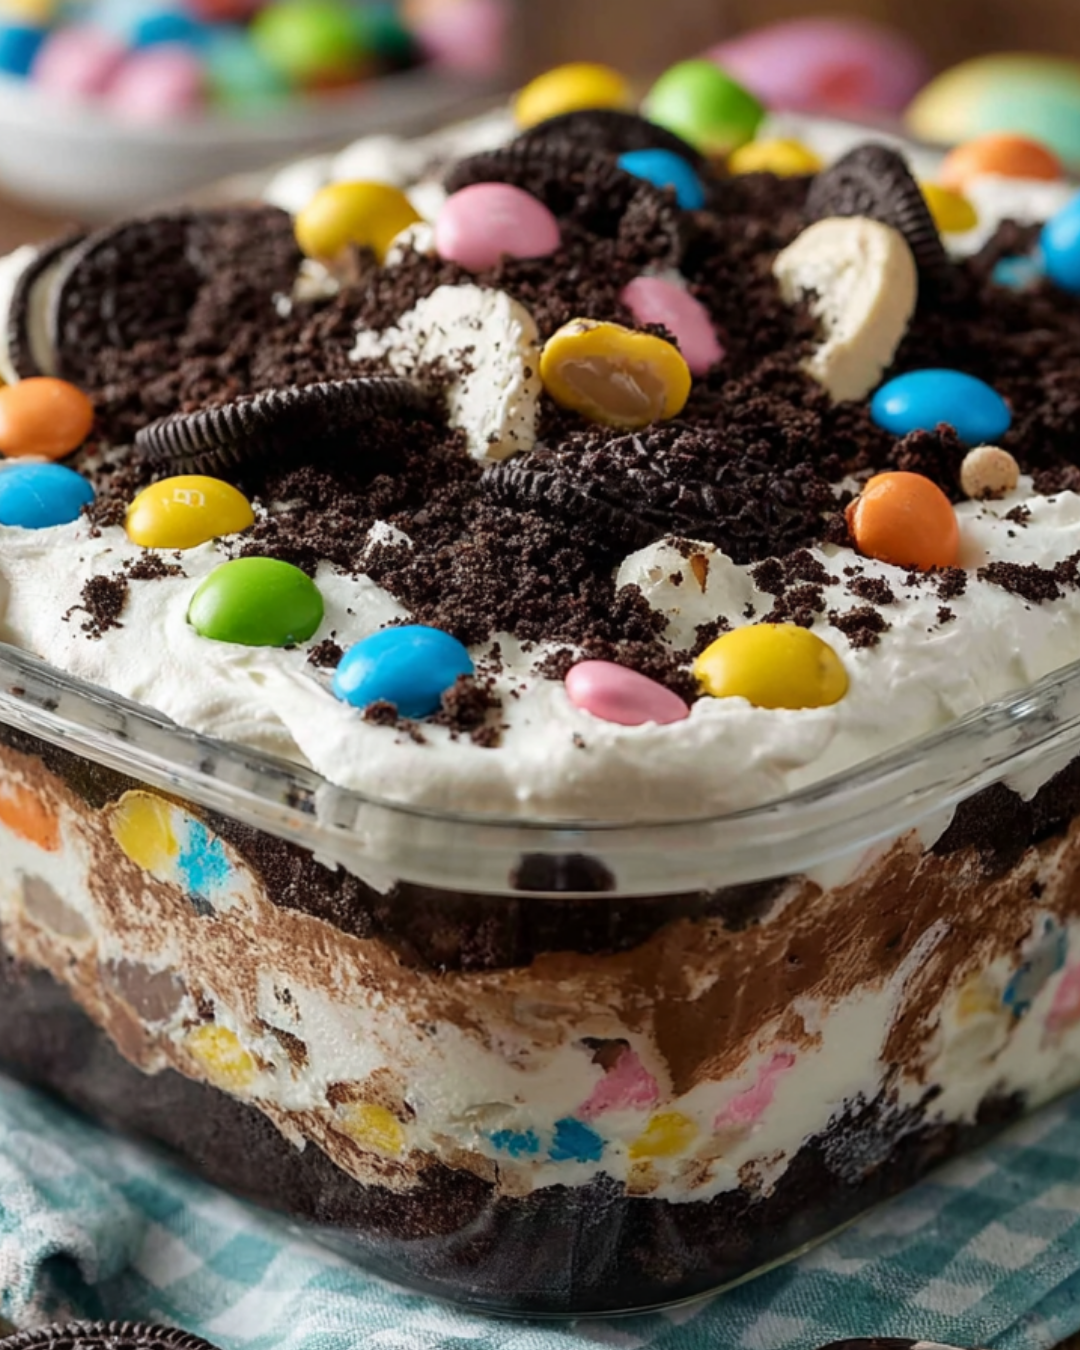
Grab your 9×13-inch casserole dish. Start by spreading half of the crushed Oreo cookies evenly on the bottom. Then, pour half of the cream cheese and pudding mixture over the Oreos, spreading it out evenly. Repeat this process with the remaining ingredients, finishing with a layer of crushed Oreos on top. This layering creates that signature “dirt” look!
Step 6: Refrigerate
Finally, cover the casserole with plastic wrap and refrigerate it for at least four hours, or overnight if you can wait. This step is essential for allowing the flavors to meld and the dessert to set properly. Trust me, the wait will be worth it when you take that first bite!
Tips for Success
- Make sure your cream cheese is softened for easy mixing.
- Use a hand mixer for a smoother cream cheese mixture.
- Don’t rush the refrigeration; letting it set overnight enhances the flavors.
- For a fun twist, try adding different gummy candies or sprinkles on top.
- Keep leftovers covered in the fridge for up to three days.
Equipment Needed
- Mixing Bowls: A large bowl for mixing the cream cheese and pudding, plus a smaller one for the pudding.
- Hand Mixer: Ideal for achieving a smooth cream cheese mixture; a whisk works too.
- Spatula: Perfect for folding ingredients together without deflating the mixture.
- Casserole Dish: A 9×13-inch dish is best, but any similar-sized dish will do.
Variations
- Chocolate Delight: Swap the vanilla pudding mix for chocolate pudding for a rich, chocolatey version.
- Fruit Infusion: Add fresh fruit like strawberries or blueberries between the layers for a fruity twist.
- Nutty Crunch: Incorporate crushed nuts, like walnuts or pecans, for an added crunch and flavor.
- Gluten-Free Option: Use gluten-free sandwich cookies instead of Oreos to make it suitable for gluten-sensitive guests.
- Vegan Version: Substitute cream cheese with a vegan alternative and use coconut whipped cream for a dairy-free treat.
Serving Suggestions
- Pair with fresh fruit salad for a refreshing contrast to the creamy dessert.
- Serve alongside a light, sparkling lemonade to balance the sweetness.
- For a festive touch, garnish with edible flowers or colorful sprinkles.
- Consider a scoop of vanilla ice cream for an extra indulgent treat.
FAQs about Easter Dirt Cake Casserole
Can I make Easter Dirt Cake Casserole ahead of time?
Absolutely! In fact, making it a day in advance is ideal. This allows the flavors to meld beautifully and ensures a firmer texture. Just cover it well and store it in the fridge until you’re ready to serve.
What can I use instead of Oreos?
If you’re looking for a different flavor, crushed chocolate sandwich cookies work great! You can also try graham crackers for a lighter texture or even gluten-free cookies for a suitable alternative.
How long does the casserole last in the fridge?
When stored properly, your Easter Dirt Cake Casserole can last up to three days in the fridge. Just make sure it’s covered to keep it fresh!
Can I use a different flavor of pudding?
Definitely! While vanilla is classic, chocolate pudding adds a rich twist. You could even experiment with butterscotch or cheesecake pudding for a unique flavor profile.
Is this dessert suitable for kids?
Yes! This Easter Dirt Cake Casserole is a hit with kids, thanks to its fun layers and colorful gummy candies. Just be mindful of any allergies when choosing your gummy toppings!
Final Thoughts
Creating the Easter Dirt Cake Casserole is more than just whipping up a dessert; it’s about bringing joy to your table. Each layer tells a story, from the creamy filling to the crunchy Oreos, and the vibrant gummy candies add a playful touch. This dessert is perfect for sharing laughter and memories with loved ones. Whether it’s a family gathering or a casual get-together, this delightful treat will surely be the star of the show. So, roll up your sleeves, gather your ingredients, and let the fun begin. Your Easter celebration deserves this sweet touch!
PrintEaster Dirt Cake Casserole: A Delightful Recipe to Try!
- Total Time: 4 hours 20 minutes
- Yield: 12 servings
- Diet: Vegetarian
Description
Easter Dirt Cake Casserole is a delightful and fun dessert perfect for celebrating Easter. This layered dessert features a creamy filling with crushed Oreo cookies and gummy candies, making it a hit with both kids and adults.
Ingredients
- 2 (8-ounce) packages cream cheese, softened
- 1 cup powdered sugar
- 1 (12-ounce) container whipped topping, thawed
- 1 (5.1-ounce) package instant vanilla pudding mix
- 2 cups milk
- 1 (15-ounce) package Oreo cookies, crushed
- 1 cup gummy candy (e.g., gummy worms or jelly beans)
- Fresh mint leaves for garnish (optional)
Instructions
- In a large mixing bowl, beat the softened cream cheese and powdered sugar together until smooth and creamy.
- Fold in the whipped topping until well combined.
- In another bowl, whisk together the instant vanilla pudding mix and milk until it thickens, about 2 minutes.
- Gently fold the pudding mixture into the cream cheese mixture until fully incorporated.
- In a 9×13-inch casserole dish, spread half of the crushed Oreo cookies evenly on the bottom.
- Pour half of the cream cheese and pudding mixture over the crushed Oreos, spreading it evenly.
- Add another layer of the remaining crushed Oreos on top of the cream cheese mixture.
- Spread the remaining cream cheese and pudding mixture over the second layer of Oreos.
- Top with the remaining crushed Oreos and sprinkle the gummy candy on top.
- Cover the casserole with plastic wrap and refrigerate for at least 4 hours or overnight to allow it to set.
- Before serving, garnish with fresh mint leaves if desired.
Notes
- For a chocolate twist, use chocolate pudding mix instead of vanilla.
- You can also substitute crushed chocolate sandwich cookies for the Oreos for a different flavor.
- Prep Time: 20 minutes
- Cook Time: 0 minutes
- Category: Dessert
- Method: No-bake
- Cuisine: American
Nutrition
- Serving Size: 1 serving
- Calories: 320
- Sugar: 20g
- Sodium: 200mg
- Fat: 20g
- Saturated Fat: 10g
- Unsaturated Fat: 5g
- Trans Fat: 0g
- Carbohydrates: 30g
- Fiber: 1g
- Protein: 4g
- Cholesterol: 40mg