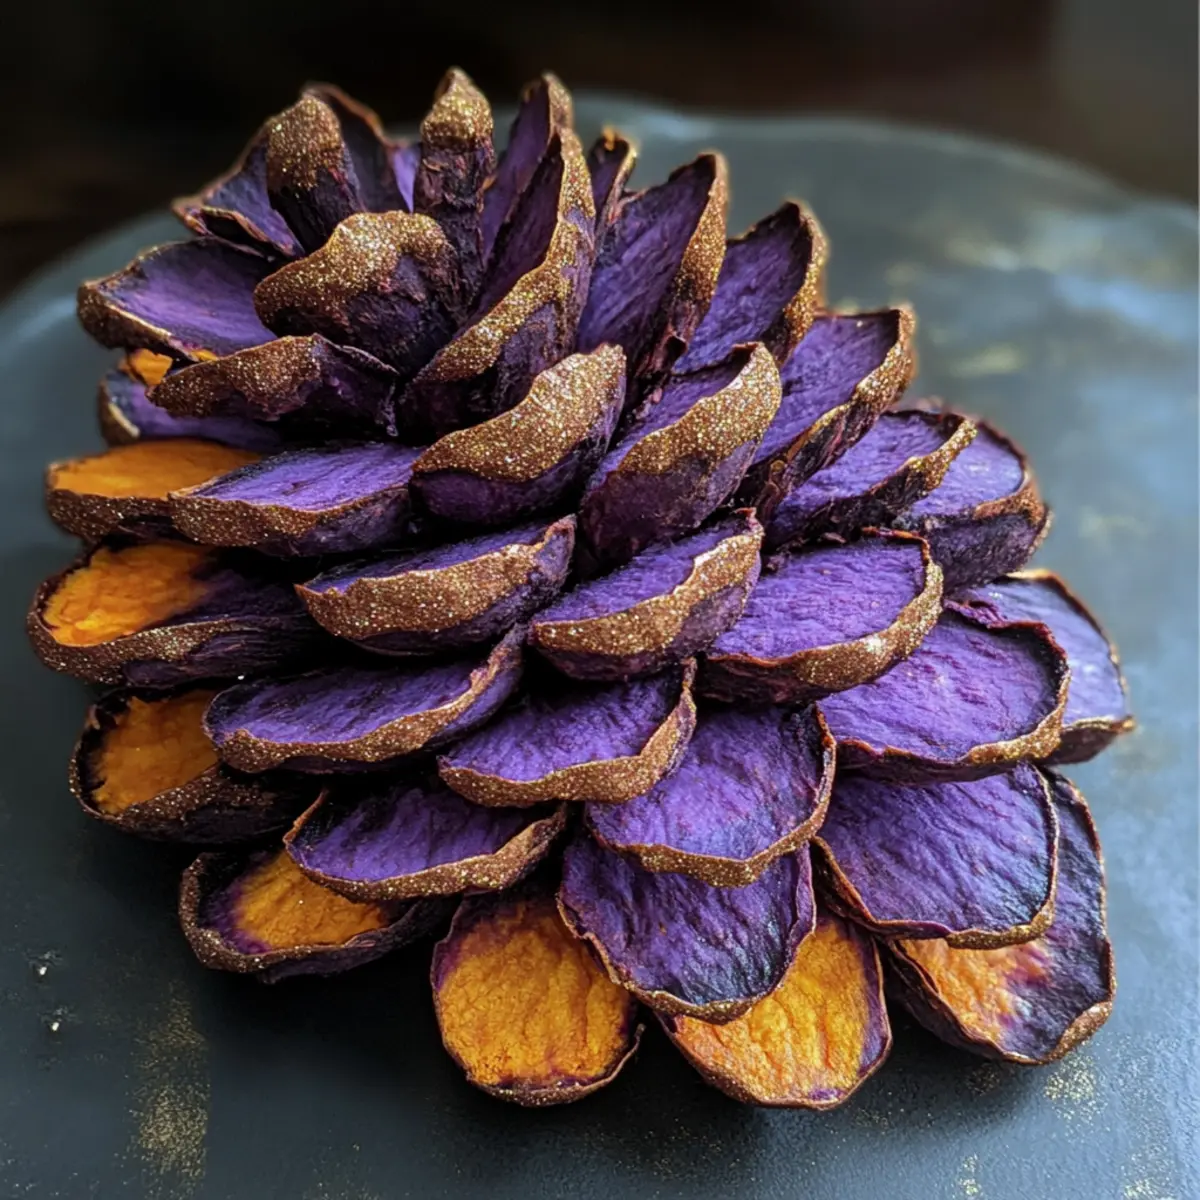
As I was sifting through a box of holiday decorations, I stumbled upon a delightful memory: the first time I crafted Christmas Edible Pine Cones with my family. These charming treats, made from smooth purple sweet potatoes, offer a vibrant twist on typical festive snacks. Not only are they visually stunning, but they are also incredibly easy to whip up, making them ideal for holiday gatherings or as thoughtful homemade gifts. With their sweet, creamy filling and crunchy chocolate-coated corn flakes mimicking real pine cones, these festive delights will surely impress friends and family alike. Are you ready to add a sprinkle of creativity to your holiday dessert table?
Why are Edible Pine Cones a Must-Try?
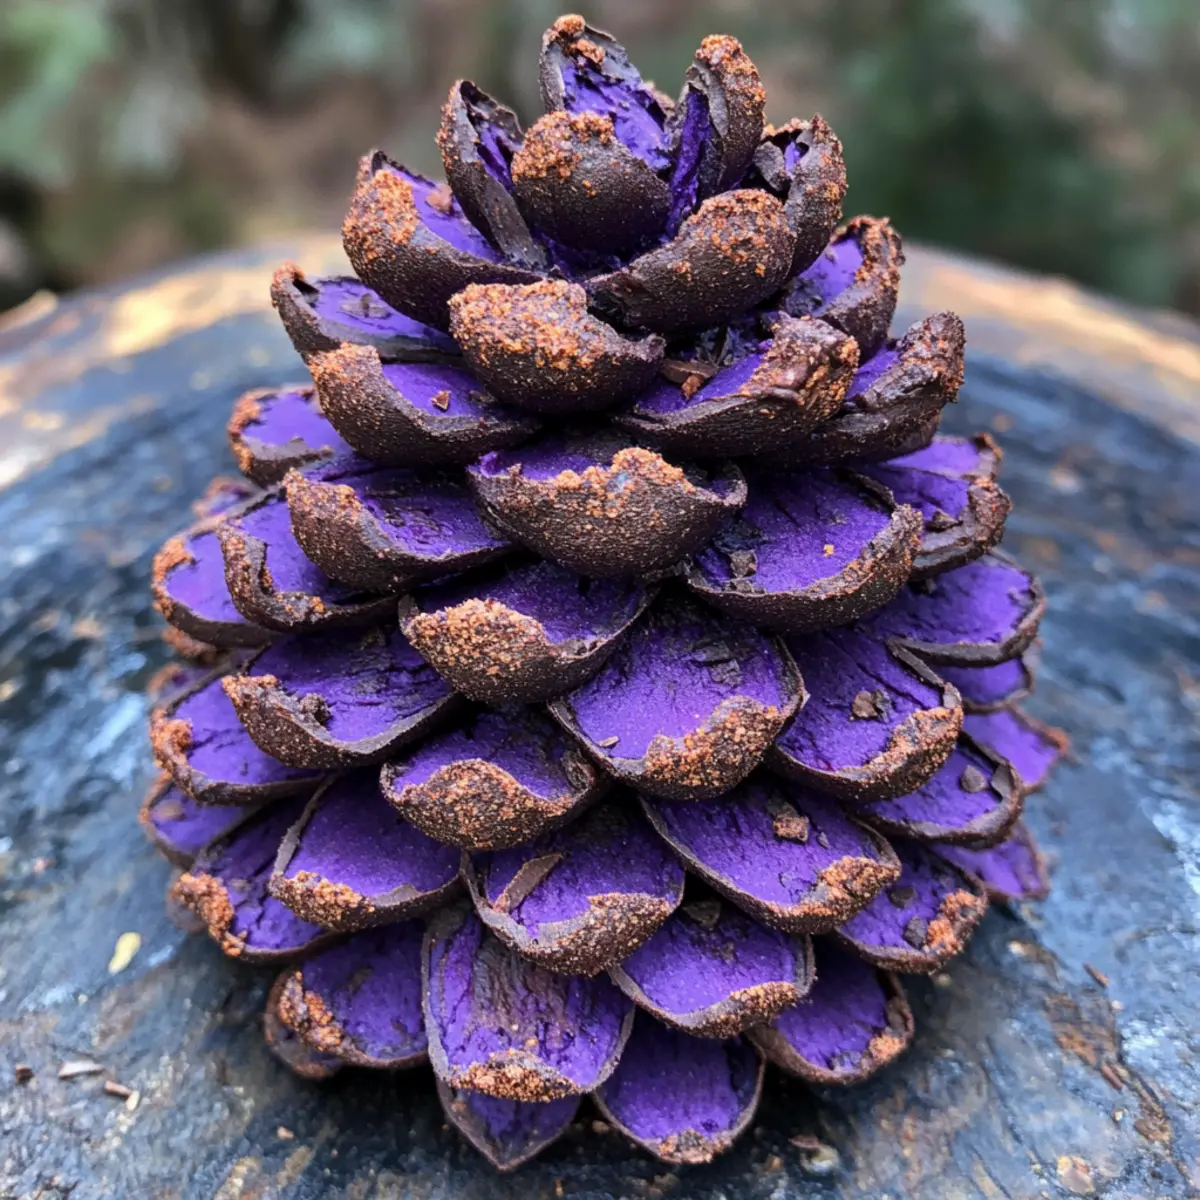
Fun and Festive: These Edible Pine Cones bring a unique flair to your holiday celebrations, combining vibrant purple sweet potatoes with whimsical decorations that kids and adults will adore.
Quick and Easy: Whipping up a batch is a breeze, making it a perfect choice for those last-minute party plans or thoughtful gifts.
Natural Ingredients: Crafted from wholesome ingredients, they offer a guilt-free treat that’s vegetarian-friendly, aligning perfectly with health-conscious choices.
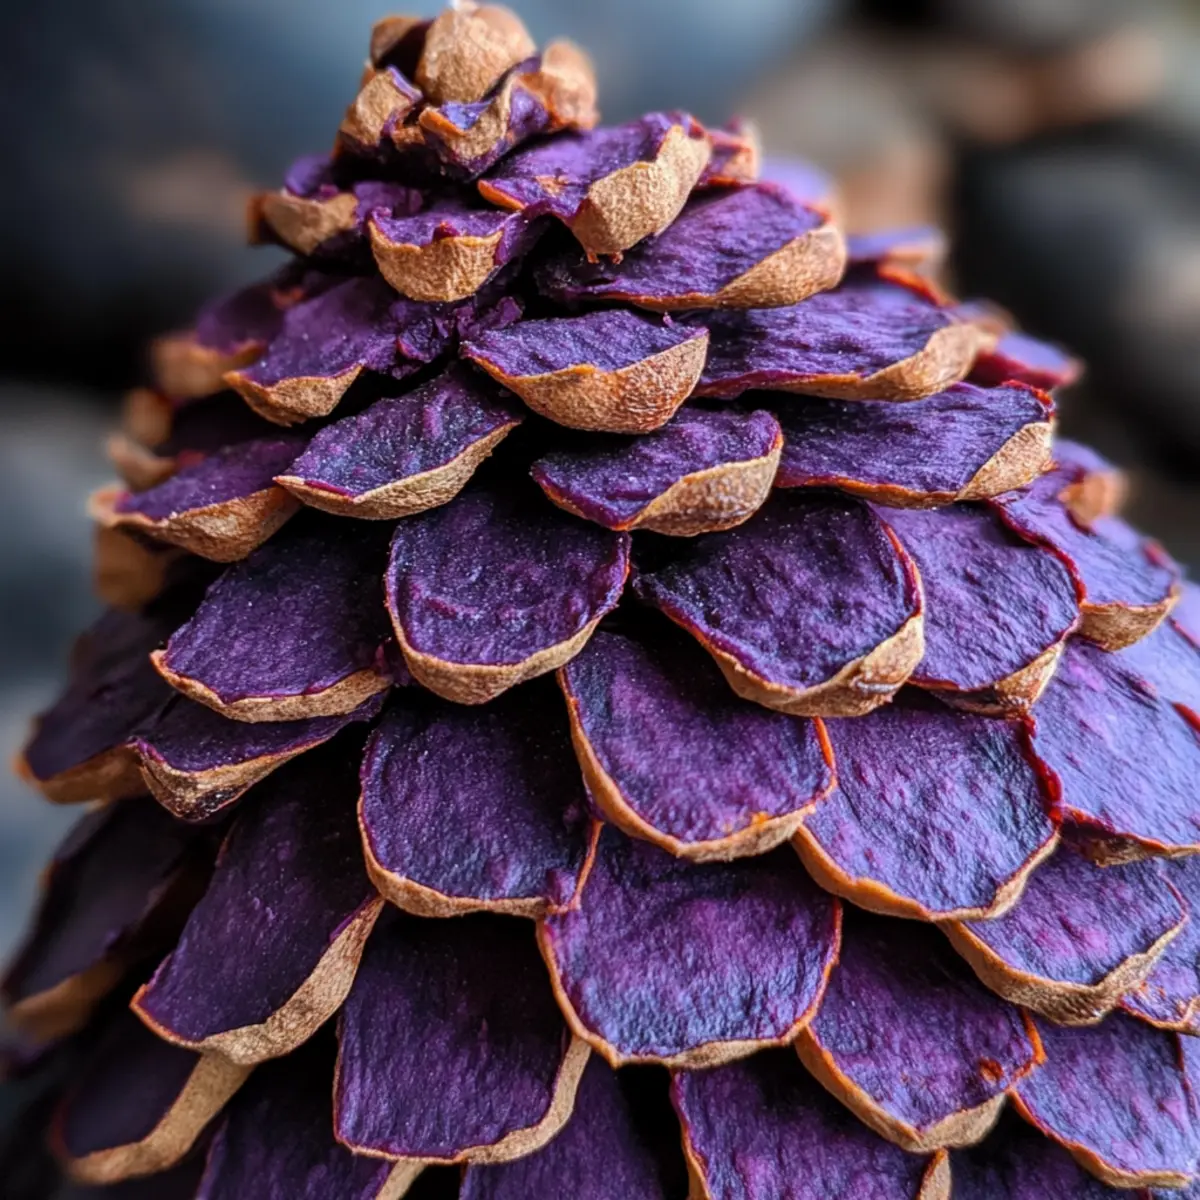
Impressive Presentation: Just imagine these charming treats as your holiday centerpiece! The striking colors and textures will surely be a conversation starter.
Creative Variations: Feeling adventurous? Try adding some coconut flakes or edible glitter for an even more festive touch! And for more unique holiday treats, check out our delightful Pineapple Heaven Cheesecake or spicy Pineapple Cowboy Candy.
Edible Pine Cones Ingredients
For the Pine Cone Base
- Purple Sweet Potatoes – The star of the recipe, offering sweetness and a beautiful color.
- Unsalted Butter (15 g) – Adds creaminess to the mash; substitute with coconut oil for a dairy-free option.
- Sugar (2 tbsp) – Sweetens the mixture; feel free to adjust to suit your taste.
- Cocoa Powder (1 tbsp) – Provides a deep hue that mimics the rich color of a pine cone; no substitutes suggested.
For Decorating
- Chocolate Coated Corn Flakes (1 packet) – Perfect for resembling pine cone scales, providing crunch; can be replaced with regular corn flakes for a less sweet option.
Dive into making these charming Edible Pine Cones, and watch how quickly they become a festive favorite in your household!
Step‑by‑Step Instructions for Christmas Edible Pine Cones
Step 1: Cook the Sweet Potatoes
Start by peeling and chopping the purple sweet potatoes into small chunks. Place them in a pot and cover with water, bringing it to a boil over high heat. Once boiling, reduce the heat to medium-low and simmer for about 10-15 minutes until the sweet potatoes are fork-tender and soft. Drain the water, leaving the vibrant potatoes ready for mashing.
Step 2: Prepare the Mash
While the sweet potatoes are still warm, add 15g of unsalted butter, 2 tablespoons of sugar, and 1 tablespoon of cocoa powder to the drained potatoes. Using a potato masher or fork, mash everything together until it forms a smooth and creamy mixture without lumps. This delightful mash will serve as the base for your Edible Pine Cones, ensuring they are sweet and rich.
Step 3: Shape the Pine Cones
Grab about two tablespoons of the sweet potato mash and place it onto a piece of cling film. Wrap the film tightly around the mash and begin shaping it into a cone, forming the body of your Edible Pine Cones. Once shaped, gently tap the cone on your work surface to flatten the bottom slightly. Remove the cling film and set the shaped cone aside while you continue with the remaining mash.
Step 4: Decorate the Cones
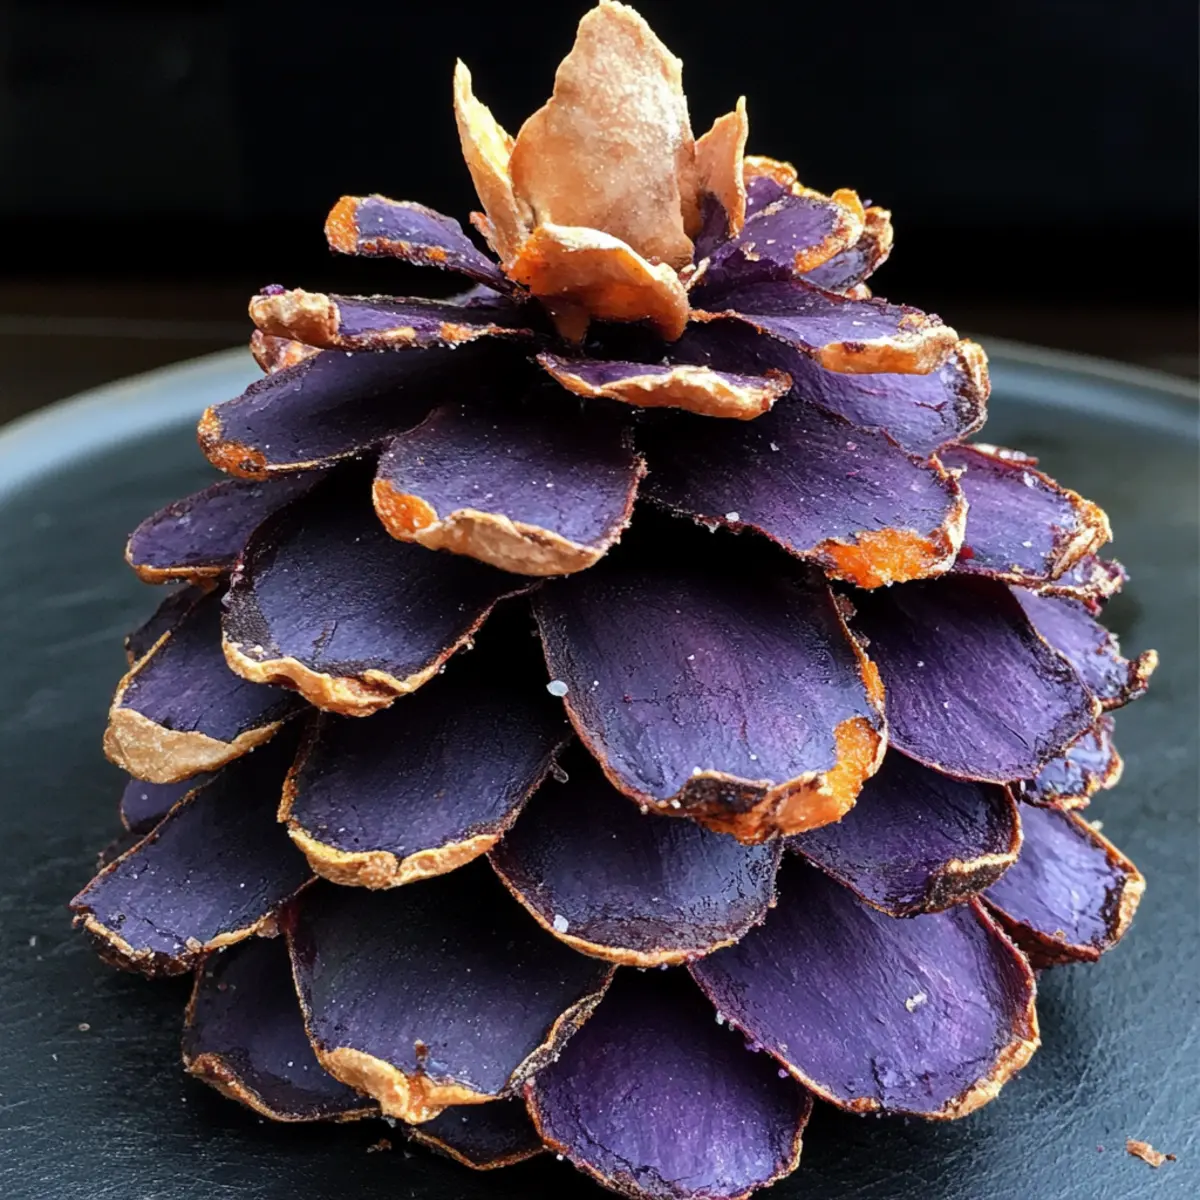
Unwrap the cling film from the shaped pine cones and prepare to add some fun decorations! Carefully insert the larger pieces of chocolate-coated corn flakes starting from the base of the cone, angling them outwards to mimic the scales of a pine cone. As you move upward, use smaller pieces, ensuring they stick securely to the sweet potato mash for an enticing and textured appearance.
Step 5: Repeat the Process
Continue shaping and decorating the remaining sweet potato mash to create about 10 delightful Edible Pine Cones. As you form each cone, focus on varying the sizes of the chocolate corn flakes for a more realistic look. Arrange your lovely creations on a festive plate, showcasing these charming treats, which are sure to be a hit at holiday gatherings!
Edible Pine Cones Variations & Substitutions
Feel free to let your creativity shine as you customize these delicious Edible Pine Cones with some exciting twists!
-
Dairy-Free: Swap unsalted butter with coconut oil for a rich, vegan-friendly alternative. This will keep your pine cones creamy while adhering to a plant-based diet.
-
Less Sweet: Opt for less sugar or substitute with a natural sweetener like maple syrup to cater to those who prefer a less sugary treat. Adjust the quantities based on your taste!
-
Holiday Flavors: Add a pinch of cinnamon or nutmeg to the sweet potato mash for a warm, comforting spice that complements the festive season beautifully. These spices can elevate the flavors to new heights!
-
Crunchy Toppings: Experiment by mixing in crushed nuts or seeds with the corn flakes for added crunch and nutritional benefits. Almonds or pecans would complement the sweetness perfectly!
-
Decorative Touch: Incorporate edible glitter or finely shredded coconut on top to give your pine cones a magical, snowy appearance. The visual flair will enchant everyone at your holiday gatherings.
-
Colorful Variation: Mix in a small amount of natural food coloring to the sweet potato mash for a vibrant twist, creating colorful pine cones that pop on the dessert table. This will attract attention and delight the eyes!
-
Exotic Flair: Try replacing purple sweet potatoes with orange sweet potatoes or even pumpkin puree for different flavor profiles while maintaining the festive spirit. Both options deliver a unique taste and character.
-
Gourmet Version: For a fancy touch, dip the corn flakes in white chocolate before decorating, adding an extra layer of sweetness and a beautiful contrast against the cocoa.
These delightful variations will surely keep everyone coming back for more. And if you’re still looking for more festive delights, don’t forget to check out our enchanting Pineapple Heaven Cheesecake and the spicy sensation of Pineapple Cowboy Candy. Happy baking!
How to Store and Freeze Edible Pine Cones
Room Temperature: Keep your Edible Pine Cones in an airtight container at room temperature for up to 2 days to maintain their freshness and texture.
Fridge: For slightly longer storage, you can refrigerate them for up to 3 days. This will help retain the sweet potato flavor but may cause the corn flakes to lose their crunch.
Freezer: If you’re looking to save them for later, freeze the Edible Pine Cones for up to 1 month. Wrap them tightly in cling film and place them in a freezer-safe container.
Reheating: To enjoy, simply let them thaw in the fridge overnight and serve at room temperature for the best texture. Avoid reheating in the microwave as it may soften the crunchy corn flakes.
What to Serve with Christmas Edible Pine Cones?
These festive treats are the perfect centerpiece for a holiday gathering, inviting friends and family to indulge in both flavor and creativity.
-
Warm Spiced Apple Cider: The comforting warmth of spiced apple cider provides a cozy contrast to the sweet, creamy pine cones, enhancing the festive mood.
-
Roasted Root Vegetables: A colorful medley of roasted carrots, parsnips, and sweet potatoes brings earthy sweetness, balancing the sugary notes of the pine cones.
-
Brie Cheese with Cranberry Sauce: Creamy brie topped with tart cranberry sauce offers a luxurious contrast, making your dessert experience more sophisticated and indulgent.
-
Gingerbread Cookies: These classic holiday cookies echo the festive spirit and flavors, creating a delightful pairing with the sweet, vibrant notes of the pine cones.
-
Chocolate-Dipped Fruit: Fresh strawberries and bananas dipped in dark chocolate add a fruity, luscious element that matches the fun theme of the pine cones.
-
Nutty Charcuterie Board: A selection of nuts, cured meats, and artisanal cheeses introduces savory elements that beautifully complement the sweet treats.
Consider serving these pairings together to create a memorable holiday celebration bursting with warmth and fun!
Expert Tips for Edible Pine Cones
-
Consistent Mash: Ensure your sweet potato mash is smooth and creamy for easy shaping; a too-thick or lumpy mash will make it hard to form cones.
-
Size Matters: Break chocolate corn flakes into various sizes before decorating. This adds variety and enhances the pine cone’s realistic appearance.
-
Freshness is Key: Serve the Edible Pine Cones fresh for the best texture. Store them in an airtight container but remember that corn flakes may lose their crunch.
-
Dairy Alternatives: If you’re aiming for a vegan version, swap out butter for coconut oil and ensure the corn flakes are dairy-free.
-
Presentation Tips: For an extra festive look, consider adding edible glitter or shredded coconut to mimic snow on your Edible Pine Cones!
Make Ahead Options
These delightful Edible Pine Cones are perfect for meal prep, saving you time during the busy holiday season! You can prepare the sweet potato mash up to 24 hours in advance. Simply cook and mash the purple sweet potatoes, then store the mixture in an airtight container in the refrigerator. When you’re ready to create your pine cones, remove the mash from the fridge, shape it into cones, and decorate with chocolate-coated corn flakes just before serving. This will ensure the corn flakes maintain their crunch for the best texture. Enjoy the convenience of this timeless treat while impressing your guests with fresh, festive bites!
Christmas Edible Pine Cones Recipe FAQs
How do I select ripe purple sweet potatoes?
Absolutely! When choosing purple sweet potatoes, look for ones that are firm with smooth skin and no dark spots or blemishes. They should feel heavy for their size and have a rich color. Avoid any potatoes that are soft or shriveled, as this indicates they may be past their prime.
How should I store the Edible Pine Cones?
To keep your Edible Pine Cones fresh, store them in an airtight container at room temperature for up to 2 days. If you’re looking to preserve them a bit longer, you can refrigerate them for up to 3 days. Just keep in mind that the corn flakes may lose some of their crunchiness when stored in the fridge.
Can I freeze Edible Pine Cones?
Yes, you can! To freeze your Edible Pine Cones, wrap each one tightly in cling film and place them in a freezer-safe container. They will last for up to 1 month in the freezer. When you’re ready to enjoy them, just thaw them overnight in the fridge and let them sit at room temperature before serving. This way, they’ll retain their shape and taste.
What can I do if my sweet potato mash is too thick?
If you find your sweet potato mash is too thick and hard to shape, no worries! Simply add a tablespoon of warm milk or melted butter to the mash. Mix it in thoroughly until you reach a smooth and pliable consistency that’s easy to mold into cones. This step ensures that your Edible Pine Cones hold their shape nicely while featuring that delicious sweet potato flavor.
Are Edible Pine Cones suitable for people with allergies?
Great question! These treats are vegetarian-friendly, but if you or your guests have dietary concerns, take care with the ingredients. Opt for gluten-free corn flakes if there are gluten sensitivities and ensure your chocolate-coated corn flakes are dairy-free if lactose intolerance is a concern. Always check ingredient labels to avoid any allergens.
How can I decorate the Edible Pine Cones for an extra festive touch?
Very! For a little extra flair, consider adding a sprinkle of edible glitter or finely shredded coconut on top of the chocolate corn flakes to mimic snow. You can also use colored icing to create whimsical designs on the cones. Get creative — your Edible Pine Cones will be as unique as they are delicious!
Delicious Edible Pine Cones: A Fun Holiday Treat for All
Ingredients
Equipment
Method
- Cook the Sweet Potatoes: Start by peeling and chopping the purple sweet potatoes into small chunks. Place them in a pot and cover with water, bringing it to a boil over high heat. Once boiling, reduce the heat to medium-low and simmer for about 10-15 minutes until the sweet potatoes are fork-tender and soft. Drain the water, leaving the vibrant potatoes ready for mashing.
- Prepare the Mash: While the sweet potatoes are still warm, add 15g of unsalted butter, 2 tablespoons of sugar, and 1 tablespoon of cocoa powder to the drained potatoes. Using a potato masher or fork, mash everything together until it forms a smooth and creamy mixture without lumps.
- Shape the Pine Cones: Grab about two tablespoons of the sweet potato mash and place it onto a piece of cling film. Wrap the film tightly around the mash and begin shaping it into a cone. Once shaped, gently tap the cone on your work surface to flatten the bottom slightly.
- Decorate the Cones: Unwrap the cling film from the shaped pine cones and insert the larger pieces of chocolate-coated corn flakes starting from the base of the cone, angling them outwards to mimic the scales of a pine cone.
- Repeat the Process: Continue shaping and decorating the remaining sweet potato mash to create about 10 delightful Edible Pine Cones.