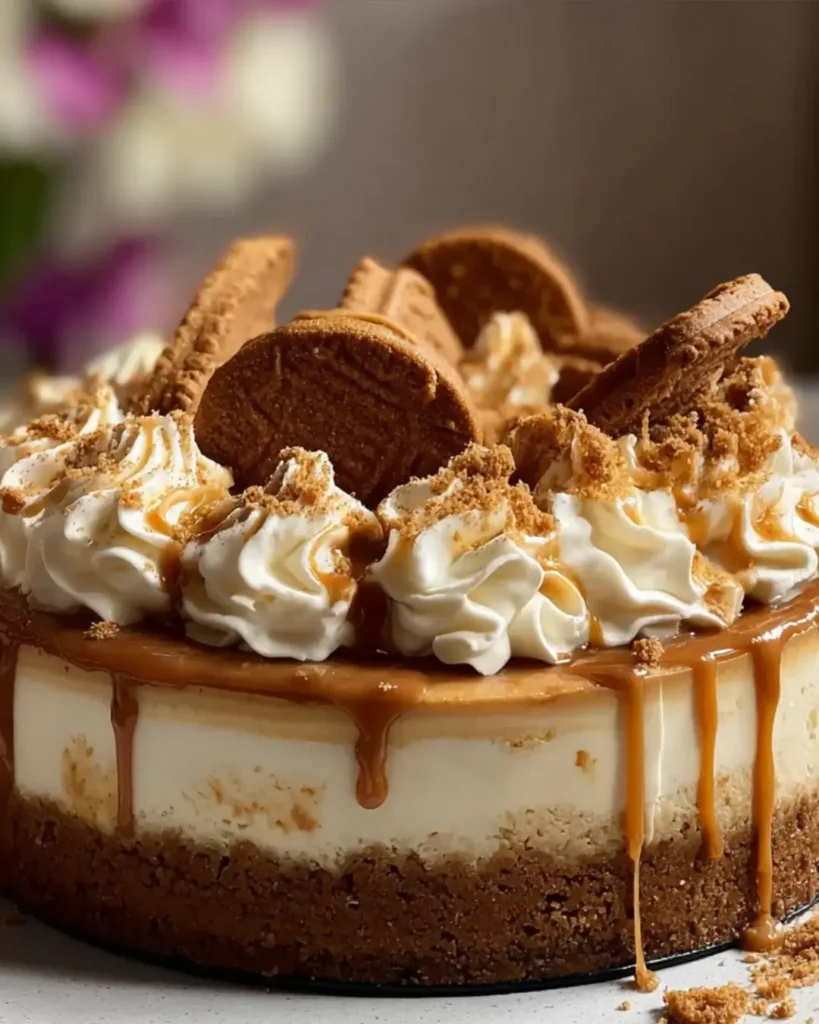
Introduction to Lotus Biscoff Cheesecake Bliss
There’s something magical about desserts that bring back memories. The first time I tasted a Lotus Biscoff cookie, I was instantly hooked. Now, imagine that delightful flavor transformed into a creamy, dreamy dessert. That’s where Lotus Biscoff Cheesecake Bliss comes in! This no-bake cheesecake is not just a treat; it’s a quick solution for those busy days when you want to impress your loved ones without spending hours in the kitchen. With its rich, indulgent flavors, this cheesecake is sure to become a favorite in your home, making every occasion feel a little more special.
Why You’ll Love This Lotus Biscoff Cheesecake Bliss
This Lotus Biscoff Cheesecake Bliss is a game-changer for dessert lovers. It’s incredibly easy to whip up, requiring no baking at all. In just 30 minutes of prep, you can create a show-stopping dessert that tastes like a slice of heaven. The combination of creamy cheesecake and the unique flavor of Biscoff cookies makes every bite a delightful experience. Trust me, your taste buds will thank you!
Ingredients for Lotus Biscoff Cheesecake Bliss
Gathering the right ingredients is the first step to creating this delightful dessert. Here’s what you’ll need:
- Cream cheese: The base of your cheesecake, providing that rich and creamy texture.
- Powdered sugar: This sweetens the filling and gives it a smooth finish.
- Vanilla extract: A splash of this adds warmth and depth to the flavor.
- Heavy whipping cream: Whipped to perfection, it lightens the cheesecake and adds a fluffy texture.
- Biscoff cookie spread: This is the star of the show, infusing the cheesecake with that iconic caramelized flavor.
- Crushed Biscoff cookies: These form the crust and add a delightful crunch.
- Unsalted butter: Helps bind the crust together, giving it a rich taste.
- Ground cinnamon: A hint of spice that complements the Biscoff flavor beautifully.
- Pinch of salt: Balances the sweetness and enhances the overall flavor.
- Extra Biscoff cookies: For garnish, adding a finishing touch that looks as good as it tastes.
For those looking to mix things up, consider drizzling melted chocolate over the top for a decadent twist. If you want to serve individual portions, divide the crust and filling into small dessert cups or jars for a fun presentation. You can find the exact quantities for each ingredient at the bottom of the article, ready for printing!
How to Make Lotus Biscoff Cheesecake Bliss
Creating this Lotus Biscoff Cheesecake Bliss is a delightful journey that’s as easy as pie—well, cheesecake! Follow these simple steps, and you’ll have a dessert that’s sure to impress.
Step 1: Prepare the Crust
Start by combining the crushed Biscoff cookies, melted butter, ground cinnamon, and a pinch of salt in a medium bowl. Mix until everything is well combined and resembles wet sand. This is your crust, and it’s going to be delicious!
Next, press the mixture firmly into the bottom of a 9-inch springform pan. Make sure it’s even and compact. Once that’s done, pop it in the refrigerator to chill while you prepare the filling. This chilling time helps the crust set perfectly.
Step 2: Make the Cream Cheese Mixture
In a large mixing bowl, beat the softened cream cheese with an electric mixer until it’s smooth and creamy. This is where the magic begins! Gradually add the powdered sugar, mixing until it’s fully incorporated.
Now, add the vanilla extract and Biscoff cookie spread. Beat everything together until it’s silky smooth. The aroma will be heavenly, and you might find yourself sneaking a taste!
Step 3: Whip the Cream
In a separate bowl, whip the heavy cream until stiff peaks form. This is crucial for that light, airy texture in your cheesecake. Be patient; it’s worth it!
Once you’ve achieved those stiff peaks, gently fold the whipped cream into the Biscoff cream cheese mixture. Use a spatula and be careful not to deflate the whipped cream. You want to keep that fluffiness intact!
Step 4: Assemble the Cheesecake
Now it’s time to bring it all together! Pour the cheesecake filling over the chilled crust in the springform pan. Use a spatula to smooth the top, making it look as good as it tastes.
Cover the cheesecake and refrigerate it for at least 4 hours, or preferably overnight. This allows the flavors to meld and the cheesecake to set beautifully.
Step 5: Garnish and Serve
Before serving, it’s time to add the finishing touch. Garnish your cheesecake with extra Biscoff cookies on top. This not only looks fantastic but adds a delightful crunch.
Carefully remove the sides of the springform pan and slice the cheesecake into pieces. Serve it up and watch as everyone’s eyes light up with joy!
Tips for Success
- Make sure your cream cheese is at room temperature for easy mixing.
- Don’t skip the chilling time; it’s essential for the cheesecake to set properly.
- Use a spatula to gently fold in the whipped cream to maintain that airy texture.
- For a cleaner slice, use a hot knife to cut through the cheesecake.
- Feel free to experiment with toppings like chocolate or fresh fruit!
Equipment Needed
- 9-inch springform pan: Essential for easy removal; a regular pie dish works too.
- Mixing bowls: Use a large bowl for the cream cheese and a medium one for the crust.
- Electric mixer: A hand mixer is perfect; a whisk can work if you’re up for a workout!
- Spatula: Great for folding and smoothing; a wooden spoon can do the job too.
Variations
- Chocolate Drizzle: Add a rich chocolate drizzle on top for a decadent twist that chocolate lovers will adore.
- Nutty Crunch: Mix in chopped nuts like pecans or walnuts into the crust for an added crunch and flavor.
- Fruit Topping: Top with fresh berries or sliced bananas for a refreshing contrast to the creamy cheesecake.
- Gluten-Free Option: Substitute regular Biscoff cookies with gluten-free versions to make this dessert suitable for gluten-sensitive friends.
- Vegan Adaptation: Use vegan cream cheese and coconut cream instead of heavy whipping cream for a plant-based version.
Serving Suggestions
- Pair with Coffee: A cup of freshly brewed coffee complements the sweetness of the cheesecake perfectly.
- Fresh Berries: Serve with a side of mixed berries for a refreshing contrast.
- Presentation: Use a cake stand to elevate your cheesecake and impress your guests.
- Whipped Cream: A dollop of whipped cream on top adds an extra touch of indulgence.
FAQs about Lotus Biscoff Cheesecake Bliss
Can I make Lotus Biscoff Cheesecake Bliss ahead of time?
Absolutely! This no-bake cheesecake is perfect for making ahead. In fact, it tastes even better after chilling overnight. Just cover it well in the fridge to keep it fresh.
How long does Lotus Biscoff Cheesecake Bliss last in the fridge?
This cheesecake can last up to 5 days in the refrigerator. Just make sure to store it in an airtight container to maintain its creamy texture and flavor.
Can I freeze Lotus Biscoff Cheesecake Bliss?
Yes, you can freeze it! Wrap individual slices tightly in plastic wrap and then place them in a freezer-safe container. It can last up to 2 months in the freezer. Just thaw in the fridge before serving.
What can I use instead of Biscoff cookie spread?
If you can’t find Biscoff cookie spread, try using other cookie spreads like speculoos or even Nutella for a different flavor profile. Just keep in mind that it will change the taste of your cheesecake.
Is Lotus Biscoff Cheesecake Bliss suitable for vegetarians?
Yes! This recipe is vegetarian-friendly, as it contains no meat or fish products. Just ensure that the ingredients you choose, like the cream cheese, are vegetarian-certified.
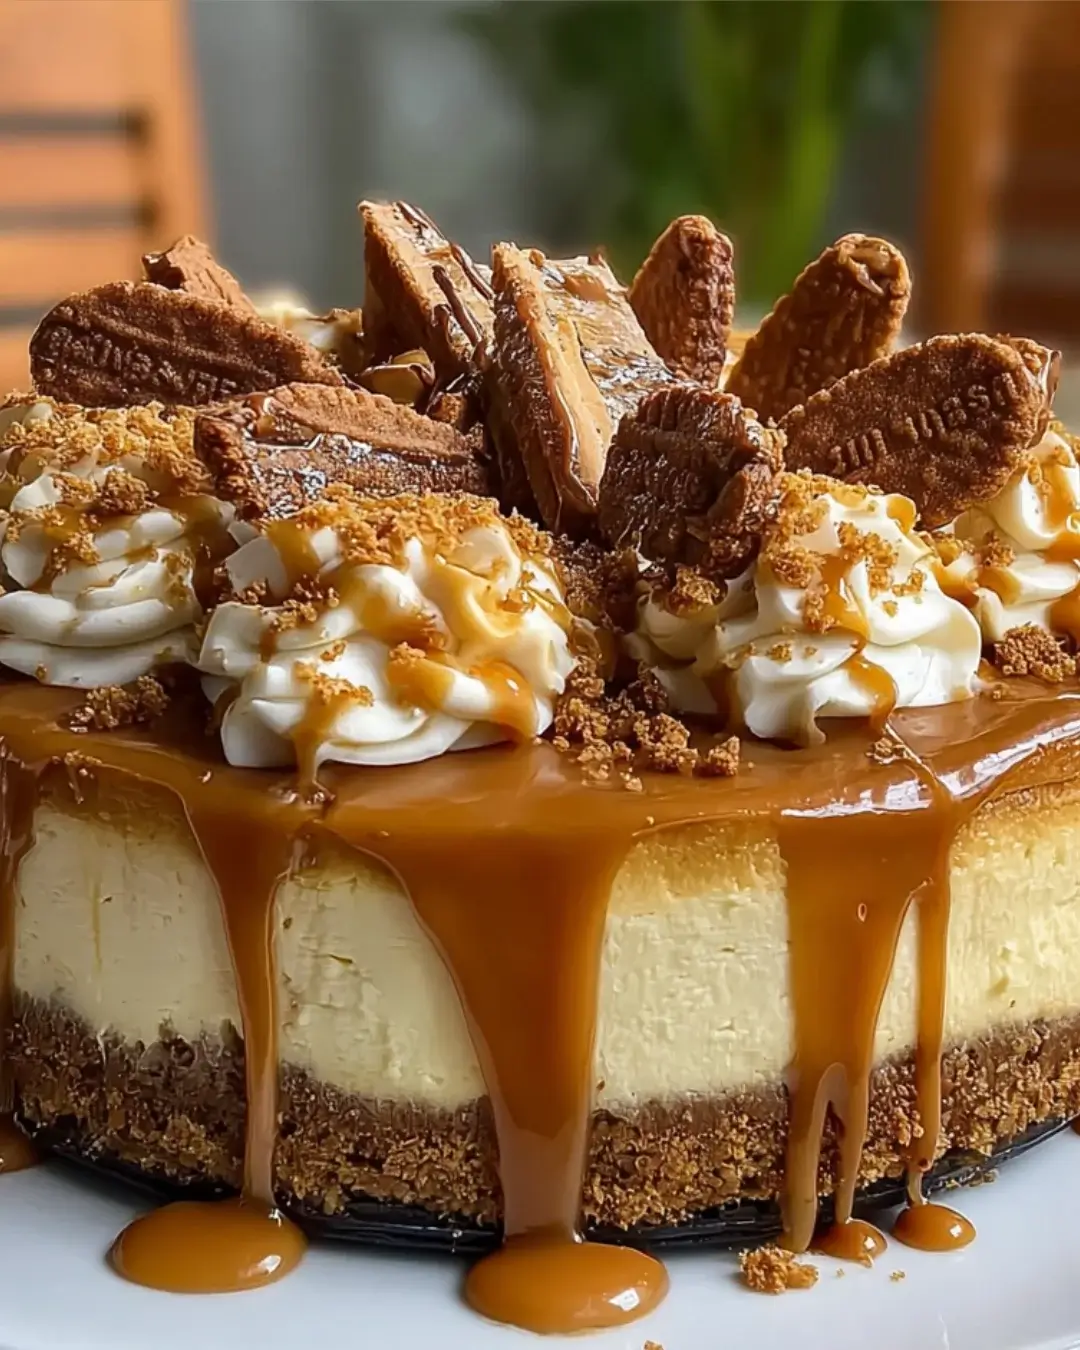
Final Thoughts
Creating Lotus Biscoff Cheesecake Bliss is more than just whipping up a dessert; it’s about crafting a moment of joy. Each slice is a celebration of flavors that dance on your palate, bringing smiles to faces around the table. Whether it’s a family gathering or a quiet evening at home, this cheesecake transforms any occasion into something special. The ease of preparation means you can focus on what truly matters—sharing delicious moments with loved ones. So, roll up your sleeves, dive into this delightful recipe, and let the bliss unfold with every creamy bite!
PrintLotus Biscoff Cheesecake Bliss will Delight Your Tastebuds!
- Total Time: 4 hours 30 minutes
- Yield: 8 servings
- Diet: Vegetarian
Description
Lotus Biscoff Cheesecake Bliss is a creamy and indulgent dessert that combines the rich flavors of Biscoff cookies and cheesecake, perfect for any occasion.
Ingredients
- 16 ounces cream cheese, softened
- 1 cup powdered sugar
- 1 teaspoon vanilla extract
- 1 cup heavy whipping cream
- 1 cup Biscoff cookie spread
- 1 cup crushed Biscoff cookies (about 10 cookies)
- 1/4 cup unsalted butter, melted
- 1/2 teaspoon ground cinnamon
- Pinch of salt
- Extra Biscoff cookies for garnish
Instructions
- In a medium bowl, combine the crushed Biscoff cookies, melted butter, ground cinnamon, and a pinch of salt. Mix until well combined and the mixture resembles wet sand. Press the mixture firmly into the bottom of a 9-inch springform pan to form the crust. Chill in the refrigerator while preparing the filling.
- In a large mixing bowl, beat the softened cream cheese with an electric mixer until smooth and creamy. Gradually add the powdered sugar and continue to beat until well incorporated.
- Add the vanilla extract and Biscoff cookie spread to the cream cheese mixture. Beat until fully combined and smooth.
- In a separate bowl, whip the heavy cream until stiff peaks form. Gently fold the whipped cream into the Biscoff cream cheese mixture until fully combined. Be careful not to deflate the whipped cream.
- Pour the cheesecake filling over the chilled crust in the springform pan. Smooth the top with a spatula. Cover and refrigerate for at least 4 hours, or preferably overnight, to allow the cheesecake to set.
- Before serving, garnish the cheesecake with extra Biscoff cookies on top. Carefully remove the sides of the springform pan and slice into pieces.
Notes
- For a chocolate twist, drizzle melted chocolate over the top before serving.
- To make individual servings, divide the crust and filling into small dessert cups or jars for a fun presentation.
- Prep Time: 30 minutes
- Cook Time: 0 minutes
- Category: Dessert
- Method: No-bake
- Cuisine: American
Nutrition
- Serving Size: 1 slice
- Calories: 350
- Sugar: 20g
- Sodium: 200mg
- Fat: 28g
- Saturated Fat: 16g
- Unsaturated Fat: 8g
- Trans Fat: 0g
- Carbohydrates: 25g
- Fiber: 1g
- Protein: 4g
- Cholesterol: 80mg