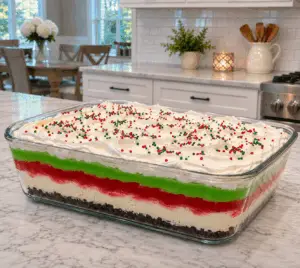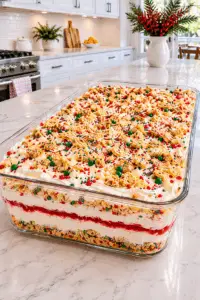
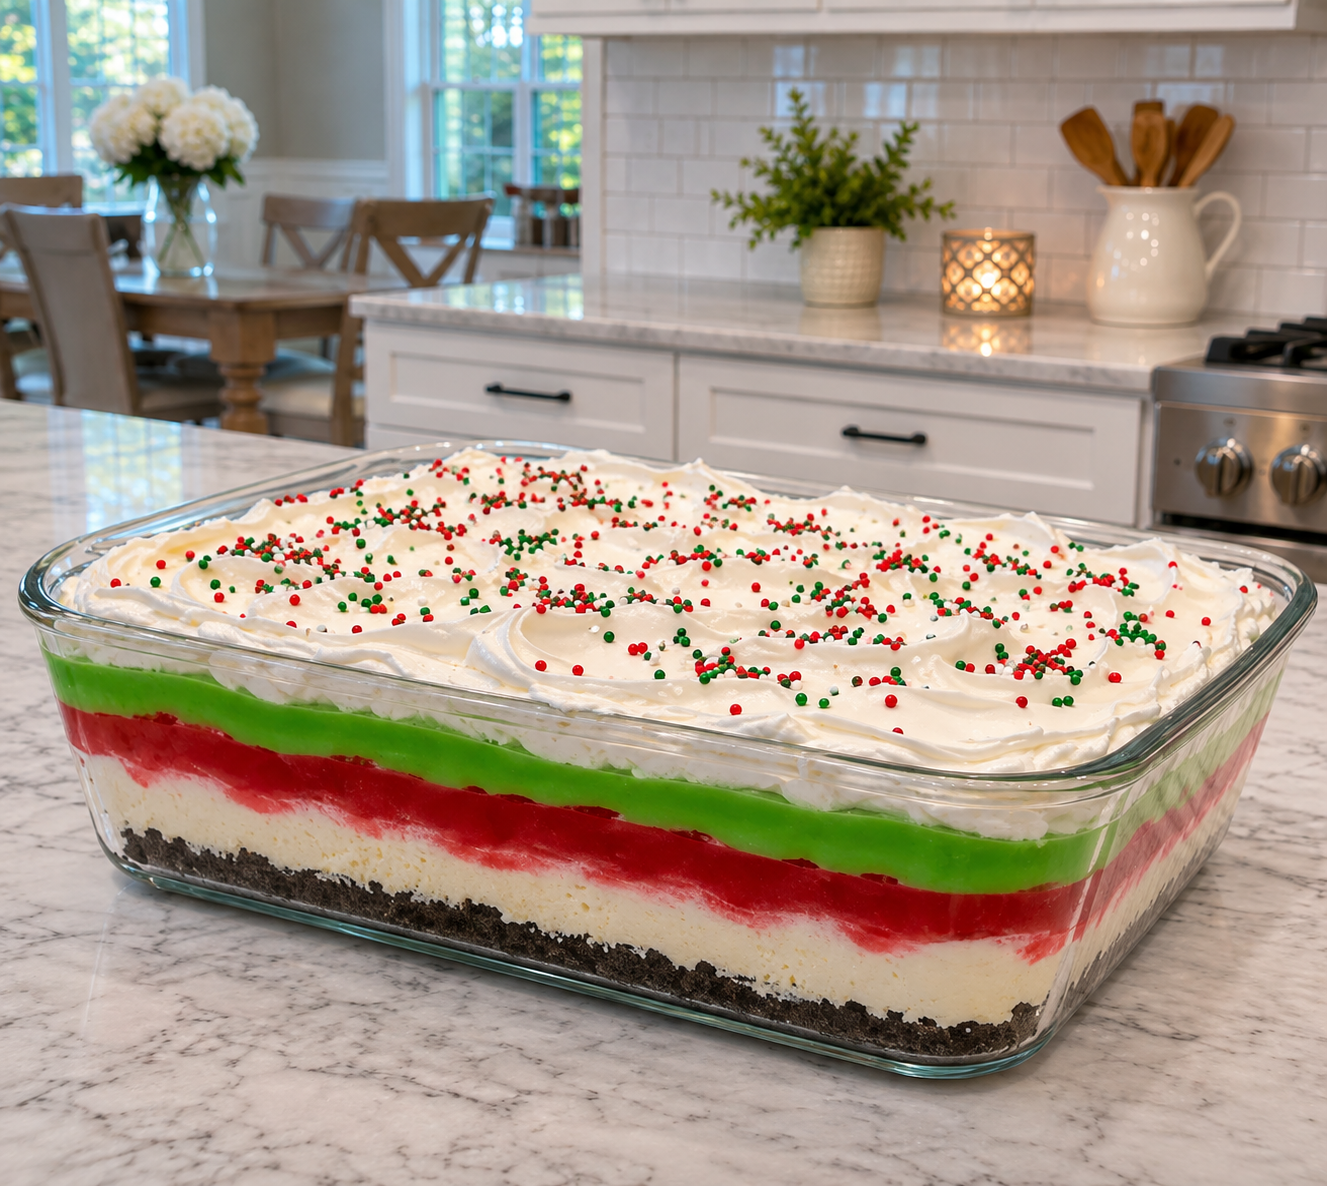
Introduction to No-Bake Christmas Lush Dessert
The holiday season is a whirlwind of joy, laughter, and, let’s be honest, a bit of chaos. Between shopping for gifts and decorating the tree, who has time to bake? That’s where the No-Bake Christmas Lush Dessert comes in—a festive must-try that’s as easy as it is delicious. This dessert layers creamy goodness with vibrant colors, making it a showstopper at any gathering. It’s the perfect solution for impressing your loved ones without spending hours in the kitchen. Trust me, this dessert will become your go-to for holiday celebrations!
Why You’ll Love This No-Bake Christmas Lush Dessert
This No-Bake Christmas Lush Dessert is a game-changer for the busy holiday season. It’s incredibly easy to whip up, requiring no baking skills whatsoever. In just 30 minutes of prep, you’ll have a stunning dessert ready to chill. The layers of creamy goodness and festive colors not only taste amazing but also look impressive on any table. Plus, it’s a crowd-pleaser that will leave your guests asking for seconds!
Ingredients for No-Bake Christmas Lush Dessert
Gathering the right ingredients is half the fun of making this No-Bake Christmas Lush Dessert. Here’s what you’ll need:
- Chocolate sandwich cookies: These form the delicious crust. Feel free to use any brand you love, but the classic ones work best.
- Unsalted butter: Melted butter binds the cookie crumbs together, giving the crust a rich flavor.
- Cream cheese: Softened cream cheese adds a creamy texture to the dessert. Make sure it’s at room temperature for easy mixing.
- Powdered sugar: This sweetens the cream cheese layer and gives it a smooth finish. You can substitute with a sugar alternative if desired.
- Vanilla extract: A splash of vanilla enhances the flavor profile, making everything taste even better.
- Frozen whipped topping: Thawed whipped topping adds lightness and creaminess. You can use homemade whipped cream if you prefer.
- Instant vanilla pudding mix: This is the secret to the luscious layers. It thickens up beautifully when mixed with milk.
- Cold whole milk: Essential for preparing the pudding mix. You can substitute with almond or oat milk for a dairy-free version.
- Red and green gel food coloring: These give the dessert its festive flair. You can skip this if you prefer a more classic look.
- Red and green sprinkles: These are the finishing touch! Add them just before serving for a pop of color.
For exact measurements, check the bottom of the article where you can find everything listed for easy printing.
How to Make No-Bake Christmas Lush Dessert
Creating this No-Bake Christmas Lush Dessert is a breeze! Follow these simple steps, and you’ll have a festive treat that will wow your family and friends. Let’s dive into the layers of deliciousness!
Step 1: Prepare the Crust
Start by finely crushing the chocolate sandwich cookies. You can use a food processor or place them in a zip-top bag and crush them with a rolling pin. Once they’re crumbly, mix the crumbs with melted butter until well combined. Press this mixture firmly into the bottom of a 9 × 13-inch glass dish. This will be your sturdy base. After that, pop it in the refrigerator for about 15 minutes to set.
Step 2: Cream Cheese Layer
In a mixing bowl, beat the softened cream cheese, powdered sugar, and vanilla extract together until smooth and creamy. This step is crucial for achieving that luscious texture. Once it’s well blended, gently fold in 4 ounces of the thawed whipped topping. This adds a lightness to the mixture. Spread this creamy layer evenly over the chilled crust, making sure it reaches the edges for a beautiful presentation.
Step 3: Red Pudding Layer
Now, grab the first box of instant vanilla pudding mix. In a separate bowl, whisk it together with 1½ cups of cold whole milk and the red gel food coloring. Whisk for about 2 minutes until it thickens. Let it stand for 3 minutes to set up a bit more. Once ready, carefully spread this vibrant red layer over the cream cheese layer, ensuring it’s even and smooth.
Step 4: Green Pudding Layer
For the next layer, repeat the process with the second box of pudding mix. Whisk it with the remaining 1½ cups of cold milk and the green gel food coloring. Again, whisk for 2 minutes and let it sit for 3 minutes. Spoon this green mixture over the red layer in small dollops. Then, gently smooth it out to create a seamless transition between the colors.
Step 5: Final Touches
Spread the remaining 8 ounces of whipped topping over the green layer. This adds a fluffy finish that’s simply irresistible. Cover the dish with plastic wrap and refrigerate for at least 4 hours. This chilling time is essential for the layers to set perfectly. Just before serving, sprinkle the red and green sprinkles on top for that festive touch!
Tips for Success
- Make sure your cream cheese is softened for easy mixing.
- Chill the dessert for at least 4 hours to achieve the best texture.
- Use a spatula to spread layers evenly for a polished look.
- Keep sprinkles separate until serving to maintain their crunch.
- Feel free to customize colors with different food dyes for a unique twist!
Equipment Needed
- 9 × 13-inch glass dish: A classic choice for layering desserts. You can also use a metal or ceramic dish.
- Mixing bowls: A set of various sizes will help with mixing ingredients.
- Whisk: Essential for blending pudding and cream cheese. A fork works in a pinch!
- Spatula: Perfect for spreading layers evenly.
- Food processor or rolling pin: For crushing cookies easily.
Variations
- Chocolate Lovers: Swap out half of the vanilla pudding for chocolate pudding for a rich twist.
- Fruit Infusion: Add a layer of fresh berries like strawberries or raspberries between the cream cheese and pudding layers for a fruity burst.
- Nutty Delight: Incorporate crushed nuts, such as pecans or walnuts, into the crust for added texture and flavor.
- Dairy-Free Option: Use dairy-free cream cheese and whipped topping, along with almond or coconut milk for a delicious alternative.
- Gluten-Free Version: Choose gluten-free chocolate sandwich cookies to make this dessert suitable for gluten-sensitive guests.
Serving Suggestions
- Pair with a warm cup of spiced cider or hot chocolate for a cozy treat.
- Serve alongside festive cookies or a cheese platter for a delightful dessert spread.
- Garnish with fresh mint leaves for a pop of color and freshness.
- Present in individual cups for a fun, personal touch at gatherings.
FAQs about No-Bake Christmas Lush Dessert
Can I make this dessert ahead of time?
Absolutely! This No-Bake Christmas Lush Dessert is perfect for making a day in advance. Just keep it covered in the refrigerator until you’re ready to serve. The flavors meld beautifully overnight!
How long does the No-Bake Christmas Lush Dessert last?
If stored properly in the fridge, this dessert can last up to 3-4 days. Just remember to add the sprinkles right before serving to keep them fresh and crunchy.
Can I use different flavors of pudding?
Definitely! While vanilla is classic, feel free to experiment with chocolate or even butterscotch pudding for a unique twist. Just keep the layering concept in mind!
Is this dessert suitable for vegetarians?
Yes, this No-Bake Christmas Lush Dessert is vegetarian-friendly. Just ensure that the whipped topping and cream cheese you choose are also vegetarian.
What can I substitute for the cream cheese?
If you’re looking for a lighter option, you can use Greek yogurt or a dairy-free cream cheese alternative. Both will still give you that creamy texture!
Final Thoughts
Creating the No-Bake Christmas Lush Dessert is more than just whipping up a treat; it’s about bringing joy to your holiday gatherings. Each layer tells a story, from the crunchy crust to the creamy fillings, all bursting with festive colors. This dessert not only satisfies your sweet tooth but also sparks conversations and laughter around the table. Whether you’re sharing it with family or friends, it’s bound to become a cherished tradition. So, roll up your sleeves, embrace the holiday spirit, and let this delightful dessert be the star of your festive celebrations!
PrintNo-Bake Christmas Lush Dessert is a festive must-try!
- Total Time: 4 hours 30 minutes
- Yield: 12 servings
- Diet: Vegetarian
Description
No-Bake Christmas Lush Dessert is a festive must-try that combines layers of creamy goodness with vibrant colors, perfect for holiday gatherings.
Ingredients
- 36 chocolate sandwich cookies, filling included
- 6 tablespoons unsalted butter, melted
- 8 ounces cream cheese, softened
- ½ cup powdered sugar
- 1 teaspoon vanilla extract
- 12 ounces frozen whipped topping, thawed and divided
- 2 boxes instant vanilla pudding mix, 3.4 ounces each
- 3 cups cold whole milk, divided
- ¼ teaspoon red gel food coloring
- ¼ teaspoon green gel food coloring
- 2 tablespoons red and green sprinkles
Instructions
- Finely crush the cookies and mix them with the melted butter. Press firmly into the bottom of a 9 × 13-inch glass dish. Refrigerate for 15 minutes.
- Beat the cream cheese, powdered sugar, and vanilla until smooth. Fold in 4 ounces of whipped topping and spread gently over the chilled crust.
- Whisk one box of pudding mix with 1½ cups cold milk and the red food coloring for 2 minutes. Let it stand for 3 minutes, then spread it over the cream cheese layer.
- In a separate bowl, whisk the second box of pudding mix with the remaining 1½ cups cold milk and the green food coloring for 2 minutes. Let it stand for 3 minutes. Spoon it over the red layer in small dollops, then gently smooth them together.
- Spread the remaining 8 ounces of whipped topping over the green layer. Cover and refrigerate for at least 4 hours. Add the sprinkles just before serving.
Notes
- Make sure to let the dessert chill for at least 4 hours for the best texture.
- Add sprinkles just before serving to keep them from getting soggy.
- Prep Time: 30 minutes
- Cook Time: 0 minutes
- Category: Dessert
- Method: No-Bake
- Cuisine: American
Nutrition
- Serving Size: 1 slice
- Calories: 320
- Sugar: 22g
- Sodium: 200mg
- Fat: 18g
- Saturated Fat: 10g
- Unsaturated Fat: 6g
- Trans Fat: 0g
- Carbohydrates: 36g
- Fiber: 1g
- Protein: 4g
- Cholesterol: 30mg