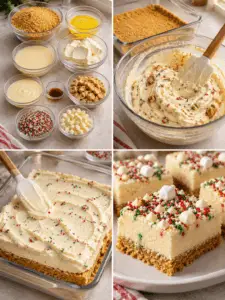
Introduction to Santa’s No-Bake Sugar Cookie Bars
The holiday season brings a whirlwind of joy, laughter, and, let’s be honest, a bit of chaos. Between shopping, decorating, and family gatherings, who has time to bake? That’s where Santa’s No-Bake Sugar Cookie Bars come to the rescue! These delightful treats are not only easy to whip up, but they also deliver that festive flavor we all crave. Imagine creamy frosting, a cookie base, and colorful toppings, all without turning on the oven. Perfect for impressing your loved ones or satisfying your sweet tooth, these bars are a holiday must-try!
Why You’ll Love This Santa’s No-Bake Sugar Cookie Bars
Santa’s No-Bake Sugar Cookie Bars are a game-changer for the busy holiday season. They come together in just 30 minutes, making them a quick and stress-free treat. The creamy frosting paired with the crunchy cookie base creates a delightful contrast that will have everyone coming back for seconds. Plus, no baking means less mess and more time to enjoy the festivities with family and friends. What’s not to love?
Ingredients for Santa’s No-Bake Sugar Cookie Bars
Gathering the right ingredients is the first step to creating these festive delights. Here’s what you’ll need:
- Crushed vanilla wafer cookies: These form the base of your bars, providing a sweet and crunchy texture.
- Finely crushed sugar cookies: They add extra sweetness and enhance the cookie flavor.
- Unsalted butter: Melted butter binds the cookie base together, giving it richness.
- Powdered sugar: This sweetener helps create a smooth texture in both the base and frosting.
- Vanilla extract: A splash of this adds a warm, aromatic flavor that’s essential for any dessert.
- Milk: Just a bit of milk helps to moisten the cookie base, making it easier to press into the pan.
- Cream cheese: Softened cream cheese is the star of the frosting, lending a creamy and tangy flavor.
- Unsalted butter (for frosting): This adds richness and helps achieve a fluffy consistency in the frosting.
- Heavy cream: A touch of heavy cream makes the frosting extra smooth and spreadable.
- White chocolate chips: Melted and drizzled on top, they add a sweet, creamy finish.
- Christmas sprinkles: These colorful decorations bring a festive touch to your bars.
- Mini M&M’s: These add a fun crunch and a pop of color.
- Crushed peppermint candies (optional): For those who love a minty twist, these are a delightful addition.
For exact measurements, check the bottom of the article where you can find everything listed for easy printing. Feel free to get creative with your toppings or substitute ingredients based on what you have on hand!
How to Make Santa’s No-Bake Sugar Cookie Bars
Creating Santa’s No-Bake Sugar Cookie Bars is a breeze! Follow these simple steps, and you’ll have a festive treat ready to impress. Let’s dive in!
Prepare the Baking Pan
Start by lining an 8 × 8-inch baking pan with parchment paper. Leave some overhang on the sides. This makes it super easy to lift the bars out later. Trust me, you’ll thank yourself when it’s time to cut them!
Make the Cookie Base
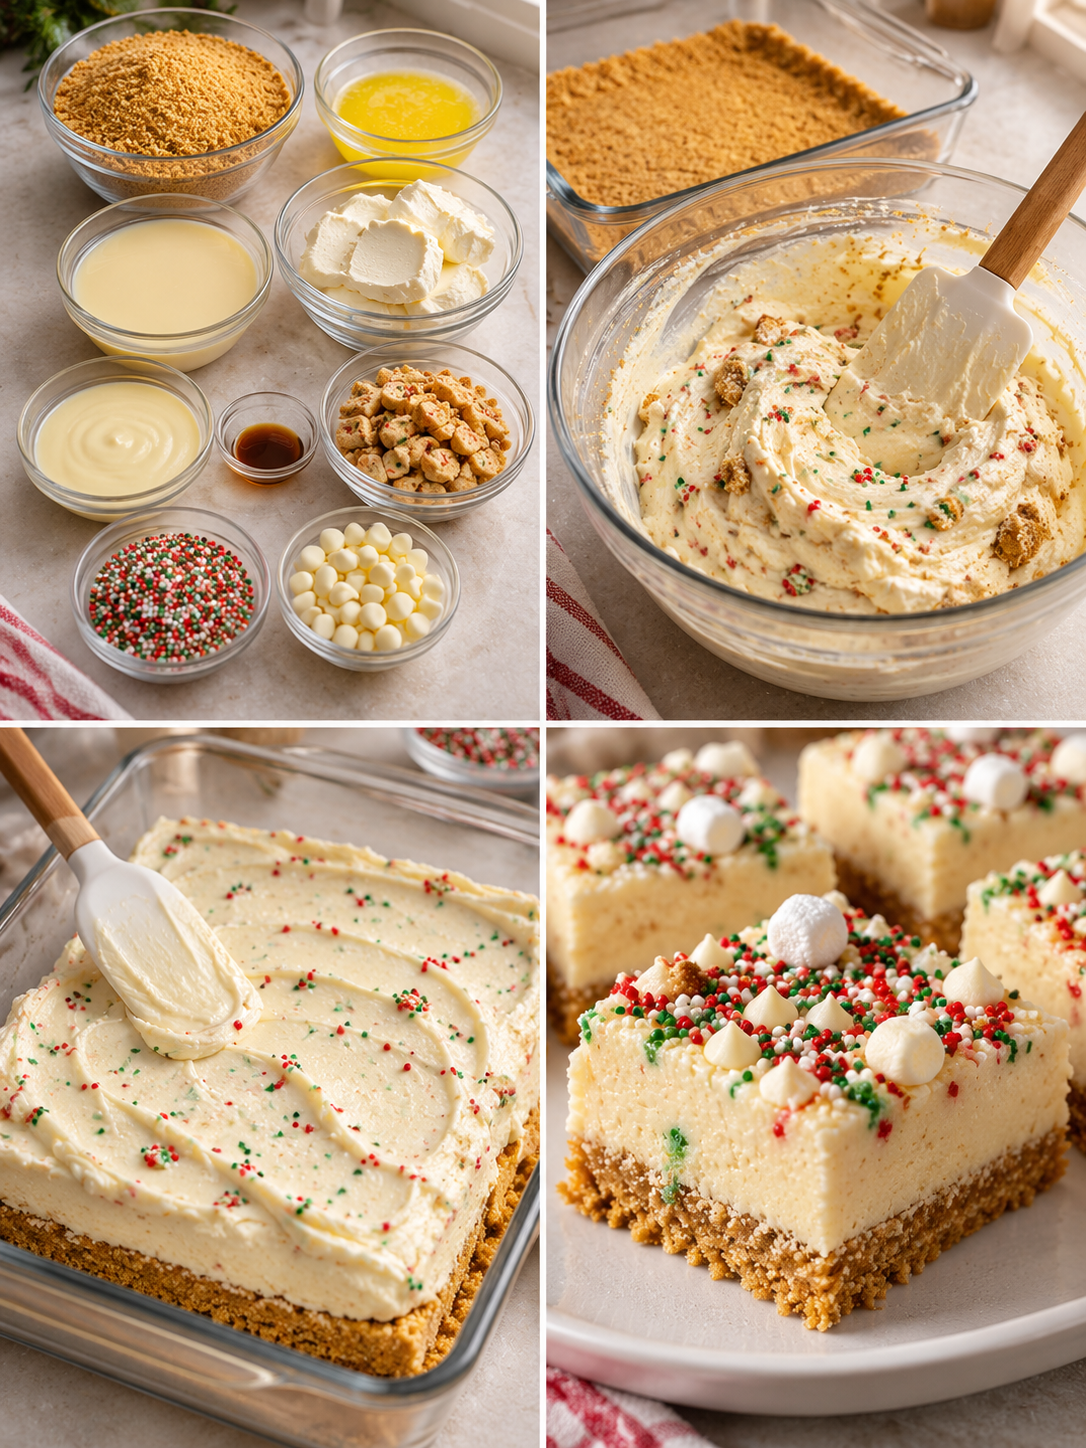
In a large mixing bowl, combine the crushed vanilla wafers, crushed sugar cookies, melted butter, powdered sugar, vanilla extract, and milk. Mix until everything is well combined and resembles moist cookie dough. It should hold together when pressed. This is your cookie base, and it’s going to be delicious!
Chill the Cookie Base
Once your cookie base is ready, transfer it to the prepared pan. Press it firmly into an even layer using the back of a spoon or a measuring cup. Now, pop it in the refrigerator for 20–30 minutes. Chilling is crucial here; it helps the base firm up, making it easier to spread the frosting later.
Prepare the Cream Cheese Frosting
While the base chills, let’s whip up that creamy frosting! In a separate bowl, beat the softened cream cheese and butter until smooth and fluffy. Gradually add the powdered sugar and vanilla extract, mixing until creamy. Finally, stir in the heavy cream until the frosting reaches a spreadable consistency. You want it to be light and airy!
Assemble the Bars
Now for the fun part! Spread the cream cheese frosting evenly over the chilled cookie base. Then, melt the white chocolate chips in the microwave in 20-second intervals, stirring in between until smooth. Drizzle the melted white chocolate over the frosting layer. Finish by decorating with red and green Christmas sprinkles, mini M&M’s, and crushed peppermint candies if you’re feeling festive!
Final Refrigeration
After assembling, it’s time for one last chill. Refrigerate the bars for at least 2–3 hours, or until they’re completely firm. This step is key to achieving that perfect texture. Once set, lift the bars out of the pan using the parchment paper and cut them into squares with a sharp knife. Enjoy your festive creation!
Tips for Success
- Ensure your cream cheese and butter are at room temperature for easy mixing.
- Press the cookie base firmly into the pan for a sturdy foundation.
- Chill the bars long enough to set; patience pays off!
- Customize toppings based on your taste—get creative!
- Use a sharp knife to cut clean squares for a polished look.
Equipment Needed
- Baking pan: An 8 × 8-inch pan works best, but a 9 × 9-inch pan is a good alternative.
- Parchment paper: Essential for easy removal; aluminum foil can work in a pinch.
- Mixing bowls: Use medium and large bowls for mixing ingredients.
- Electric mixer: A hand mixer is perfect, but a whisk will do if you’re feeling strong!
- Spatula: Great for spreading frosting evenly; a butter knife can also work.
Variations
- Gluten-Free: Substitute crushed gluten-free cookies for the vanilla wafers and sugar cookies to make these bars gluten-free.
- Chocolate Lovers: Add cocoa powder to the cookie base for a chocolate twist or use chocolate frosting instead of cream cheese frosting.
- Nutty Delight: Incorporate finely chopped nuts like pecans or walnuts into the cookie base for added crunch and flavor.
- Fruit Infusion: Mix in dried cranberries or chopped cherries for a fruity burst in every bite.
- Vegan Option: Use vegan cream cheese and butter substitutes, along with dairy-free chocolate chips for a plant-based version.
Serving Suggestions
- Pair these bars with a warm cup of hot cocoa or spiced apple cider for a cozy treat.
- Serve alongside a platter of fresh fruit for a refreshing contrast.
- For a festive touch, arrange the bars on a decorative holiday platter.
- Top with whipped cream for an extra indulgent experience.
FAQs about Santa’s No-Bake Sugar Cookie Bars
Can I make Santa’s No-Bake Sugar Cookie Bars ahead of time?
Absolutely! These bars can be made a day in advance. Just store them in the refrigerator until you’re ready to serve. They actually taste even better after chilling overnight!
How should I store the leftover bars?
Keep any leftovers in an airtight container in the refrigerator. They’ll stay fresh for up to a week, but I doubt they’ll last that long!
Can I use different toppings for the bars?
Definitely! Feel free to customize the toppings based on your preferences. You can use crushed cookies, nuts, or even seasonal candies to make them your own.
What if I don’t have cream cheese?
If cream cheese isn’t available, you can substitute it with mascarpone cheese or a dairy-free cream cheese alternative for a similar creamy texture.
Are Santa’s No-Bake Sugar Cookie Bars suitable for kids?
Yes! These bars are a hit with kids. They’re easy to make and fun to decorate. Just keep an eye on the toppings if you have little ones with allergies!
Final Thoughts
Santa’s No-Bake Sugar Cookie Bars are more than just a dessert; they’re a celebration of the holiday spirit. Each bite is a delightful blend of creamy frosting and crunchy cookie goodness, bringing smiles to faces young and old. The best part? You can whip them up in no time, leaving you with more moments to cherish with family and friends. Whether you’re hosting a gathering or simply indulging after a long day, these bars are sure to spread joy. So, roll up your sleeves, gather your loved ones, and enjoy the magic of the season with these festive treats!
PrintSanta’s No-Bake Sugar Cookie Bars are a must-try treat!
- Total Time: 3 hours 30 minutes
- Yield: 16 squares
- Diet: Vegetarian
Description
Santa’s No-Bake Sugar Cookie Bars are a festive and creamy treat perfect for the holiday season, combining a cookie bar base with a rich cream cheese frosting and delightful toppings.
Ingredients
- 2 cups crushed vanilla wafer cookies
- 1 cup finely crushed sugar cookies
- ½ cup unsalted butter, melted
- ¼ cup powdered sugar
- 1 teaspoon vanilla extract
- 2 tablespoons milk
- 8 oz cream cheese, softened
- ½ cup unsalted butter, softened
- 2 cups powdered sugar
- 1 teaspoon vanilla extract
- 2 tablespoons heavy cream
- ½ cup white chocolate chips
- ¼ cup red and green Christmas sprinkles
- ¼ cup mini M&M’s
- 2 tablespoons crushed peppermint candies (optional)
Instructions
- Line an 8 × 8-inch baking pan with parchment paper, leaving some overhang on the sides for easy removal.
- In a large mixing bowl, combine the crushed vanilla wafers, crushed sugar cookies, powdered sugar, melted butter, vanilla extract, and milk.
- Stir until the mixture resembles moist cookie dough and holds together when pressed.
- Transfer the mixture to the prepared pan. Press firmly into an even layer using the back of a spoon or the bottom of a measuring cup.
- Refrigerate the cookie base for 20–30 minutes until firm.
- In a separate bowl, beat the softened cream cheese and butter until smooth and fluffy.
- Gradually add the powdered sugar and vanilla extract. Beat until creamy, then mix in the heavy cream until the frosting reaches a spreadable consistency.
- Spread the cream cheese frosting evenly over the chilled cookie base.
- Melt the white chocolate chips in the microwave in 20-second intervals, stirring between each interval until smooth.
- Drizzle the melted white chocolate over the frosting layer.
- Decorate with red and green Christmas sprinkles, mini M&M’s, and crushed peppermint candies.
- Refrigerate for at least 2–3 hours, or until completely firm.
- Lift the bars out of the pan using the parchment paper. Cut into squares with a sharp knife.
- Serve chilled and enjoy these festive, creamy no-bake Christmas treats!
Notes
- For best results, ensure the cream cheese and butter are at room temperature before mixing.
- Feel free to customize the toppings based on your preferences.
- These bars can be made a day in advance and stored in the refrigerator.
- Prep Time: 30 minutes
- Cook Time: 0 minutes
- Category: Dessert
- Method: No-Bake
- Cuisine: American
Nutrition
- Serving Size: 1 square
- Calories: 250
- Sugar: 18g
- Sodium: 150mg
- Fat: 12g
- Saturated Fat: 7g
- Unsaturated Fat: 3g
- Trans Fat: 0g
- Carbohydrates: 32g
- Fiber: 1g
- Protein: 2g
- Cholesterol: 30mg