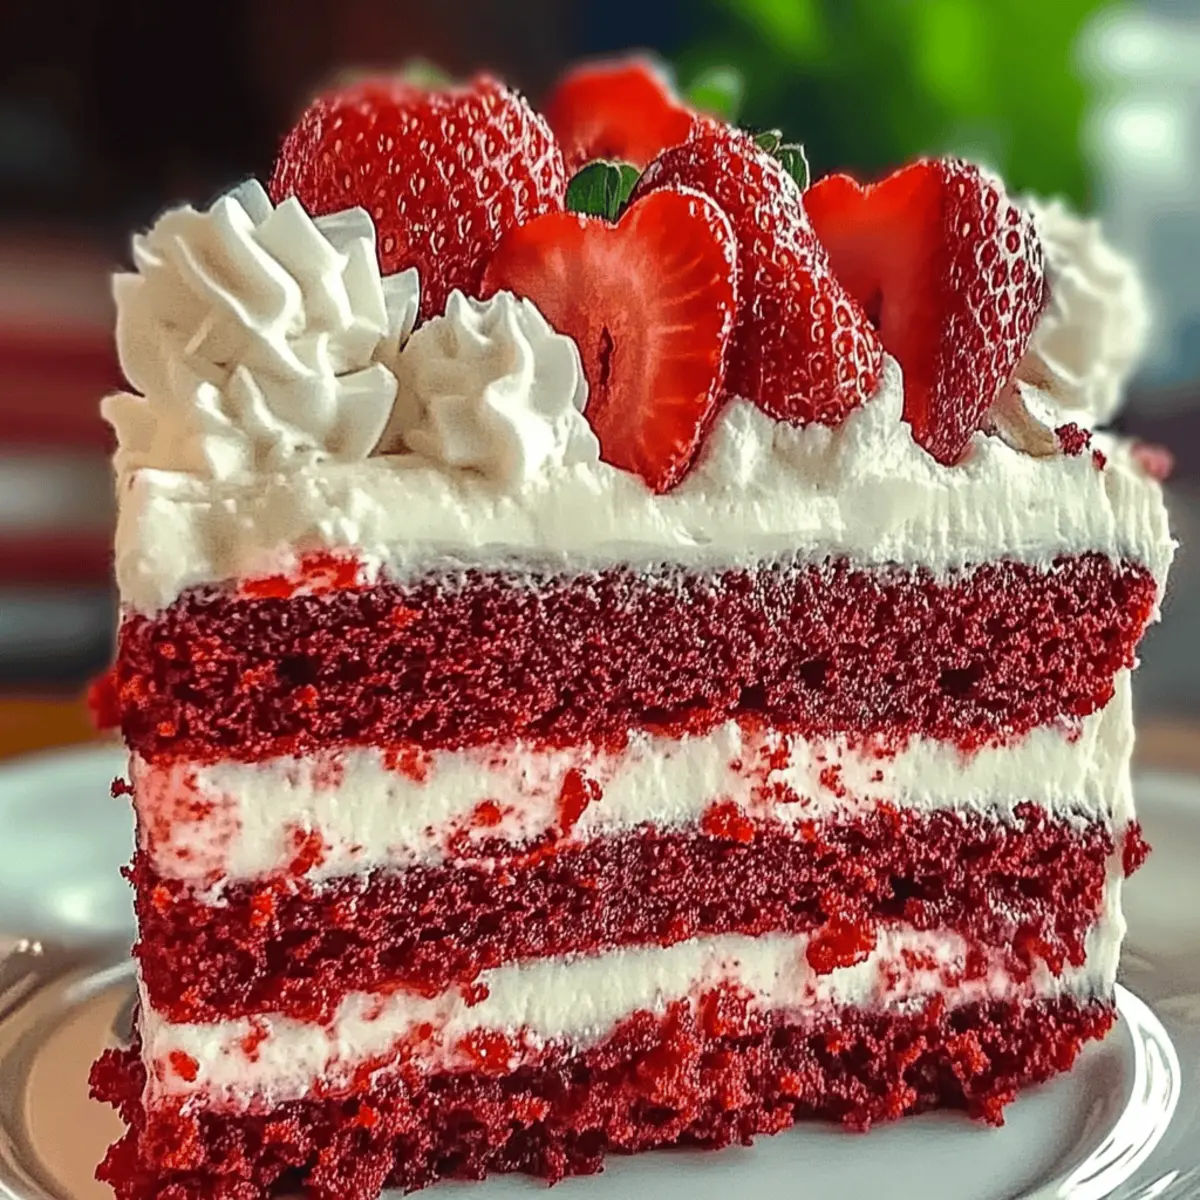
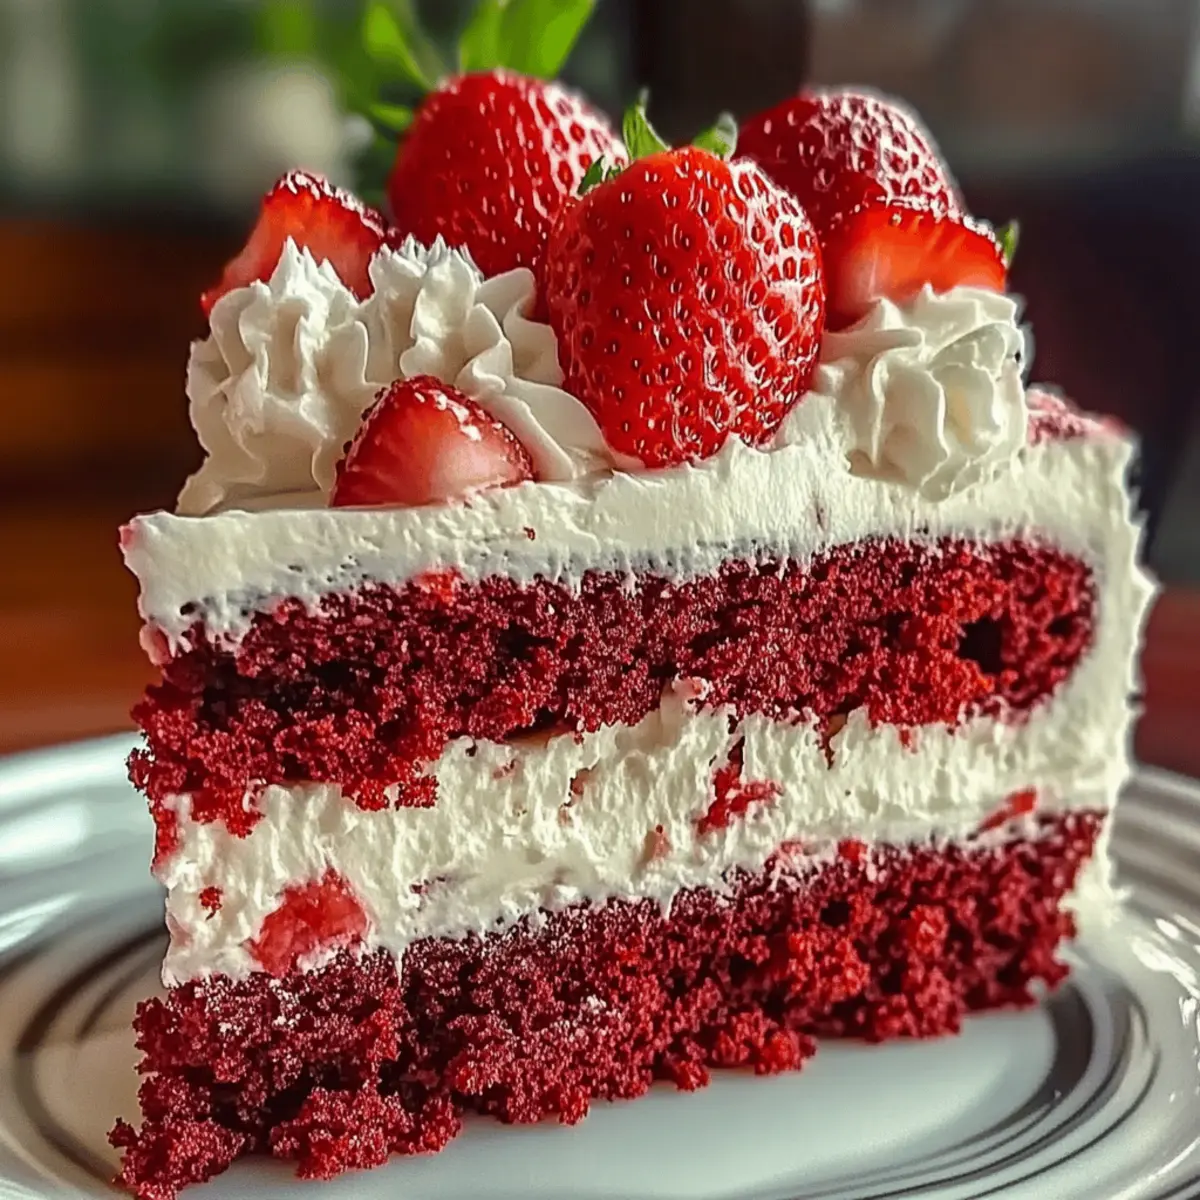
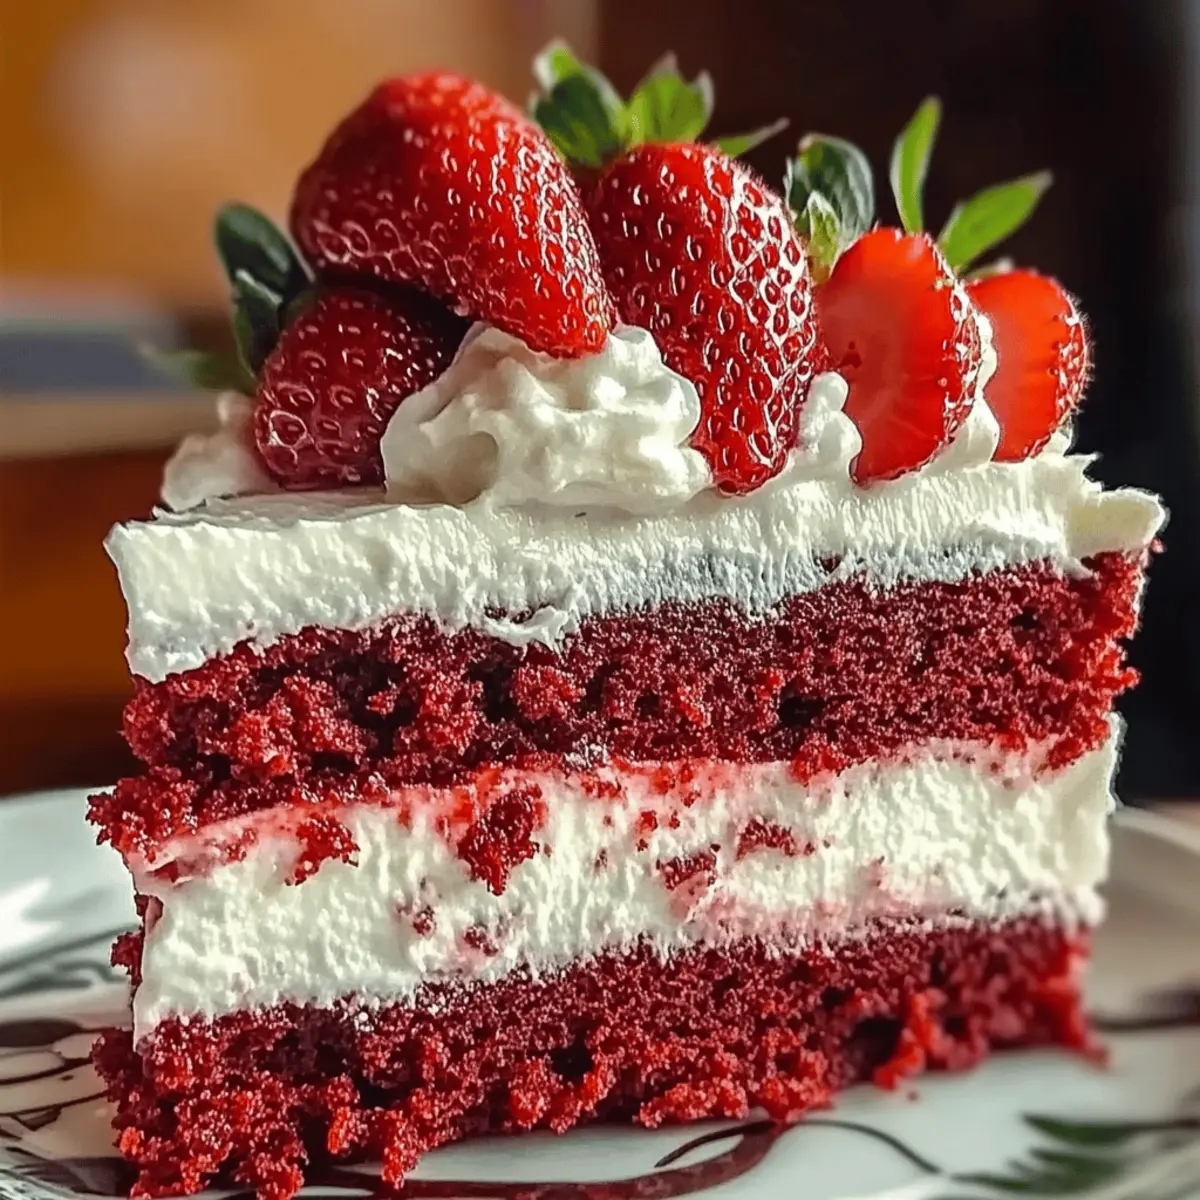
As I stood in my kitchen surrounded by the vibrant colors of summer fruits, I couldn’t help but feel an overwhelming sense of joy. That’s when I decided to whip up my Strawberry Earthquake Cake—a delightful layered dessert that’s not only fun to make but also a guaranteed crowd-pleaser. This easy creation combines luscious layers of red velvet cake with fresh strawberries and a velvety cream cheese frosting, making it the star of any summer gathering or special occasion. Plus, it looks stunning on the table, ensuring all eyes are on your masterpiece. Are you ready to dive into this delightful adventure and create something unforgettable?
Why is Strawberry Earthquake Cake a Must-Try?
Visual Stunning: The vibrant layers of red velvet and fresh strawberries create a show-stopping dessert that is sure to impress guests at any gathering.
Easy to Prepare: This straightforward recipe requires minimal effort, making it accessible for both novice and experienced bakers alike.
Burst of Flavor: Each slice offers a delightful blend of sweet, creamy, and fruity notes that are reminiscent of summer, perfect for special occasions.
Versatile Options: Feel free to customize with other berries or even serve in charming mason jars for individual portions.
Crowd-Pleaser: This cake is not just delicious; it’s a favorite among friends and family, ensuring it disappears quickly at gatherings—just like my Strawberry Lemon Cake or Strawberry Cheesecake Cinnamon Rolls.
Strawberry Earthquake Cake Ingredients
Here’s what you’ll need to create this stunning dessert:
For the Cake Layers
• Red Velvet Cake Mix – Provides the cake’s base and color; feel free to substitute with homemade red velvet cake if preferred.
• Fresh Strawberries – Adds natural sweetness and freshness; only use fresh for best results as frozen berries may add excess moisture.
For the Cream Filling
• Strawberry Preserves – Enhances the strawberry flavor and adds moisture; you can use homemade preserves for a personal touch.
• Cream Cheese – Offers a rich, creamy filling; mascarpone can be a delightful substitute for a sweeter twist.
• Unsalted Butter – Adds richness; make sure it’s melted for proper mixing.
• Powdered Sugar – Sweetens the filling; adjust the amount for a less sweet taste if desired.
• Heavy Cream – Creates a fluffy filling texture when whipped and is essential for stability in layered cakes.
• Vanilla Extract – Adds depth of flavor; always opt for pure vanilla extract for the best quality.
For Garnish
• Fresh Strawberries for Garnish – Enhances presentation and adds a fresh, inviting touch to your cake.
Step‑by‑Step Instructions for Strawberry Earthquake Cake
Step 1: Preheat the Oven
Begin by preheating your oven to 350°F (175°C), preparing it for baking. While the oven warms, take three 8-inch round cake pans and grease them thoroughly with butter or cooking spray. Then, lightly dust the pans with flour to ensure the cakes release easily after baking. This step sets the stage for your moist Strawberry Earthquake Cake.
Step 2: Prepare the Cake Mix
Next, follow the package instructions to prepare the red velvet cake mix, ensuring it’s well-blended and free of lumps. Divide the batter evenly among the three greased pans. Place the pans in the preheated oven and bake for 20-25 minutes. You can check for doneness by inserting a toothpick in the center; it should come out clean.
Step 3: Cool the Cakes
Once baked, remove the cake pans from the oven and let them cool on a wire rack for about 10 minutes. Carefully run a knife around the edges to loosen the cakes, then turn them out onto the racks to cool completely. This step is crucial to ensure proper layering when assembling your Strawberry Earthquake Cake later on.
Step 4: Prepare the Filling
While the cakes cool, prepare the luscious filling. In a mixing bowl, beat together the softened cream cheese, melted butter, and powdered sugar until smooth and fluffy. Gradually fold in whipped heavy cream and a splash of vanilla extract, creating a light and creamy filling. Set this delightful mixture aside for assembling the cake.
Step 5: Assemble the Cake
Start the assembly by placing the first layer of the cooled red velvet cake on a serving plate. Spread a generous layer of your cream filling over the top, ensuring it reaches the edges. Next, add a layer of strawberry preserves and sprinkle freshly chopped strawberries on top. Repeat this process with the second cake layer, creating a beautiful stack of flavors.
Step 6: Top and Frost
After layered deliciousness, gently place the third cake layer on top. Use the remaining cream filling to frost the entire cake, ensuring it looks beautifully covered and inviting. For a festive touch, decorate the top with additional fresh strawberries and drizzle some extra strawberry preserves, making your Strawberry Earthquake Cake truly eye-catching.
Step 7: Chill Before Serving
Finally, refrigerate the assembled cake for at least 1 hour before slicing. Chilling helps the layers set and makes for cleaner cuts when serving. This step is essential for allowing all the flavors to meld beautifully, resulting in a delightful Strawberry Earthquake Cake that is both visually stunning and deliciously refreshing.
Make Ahead Options
These Strawberry Earthquake Cakes are perfect for busy home cooks looking to save time! You can prepare the red velvet cake layers up to 24 hours in advance. Just bake them, allow them to cool completely, and then wrap them tightly in plastic wrap to lock in moisture and freshness. The cream filling can be made ahead as well; refrigerate it in an airtight container for up to 3 days. When you’re ready to serve, simply layer the cake, spread the filling, and frost it. Chilling the assembled cake is crucial, so refrain from slicing until it’s been chilled for at least 1 hour to enhance flavor and maintain quality—resulting in a stunning dessert ready for your guests!
How to Store and Freeze Strawberry Earthquake Cake
Fridge: Keep any leftover Strawberry Earthquake Cake in an airtight container for up to 3 days. This helps maintain its moisture and flavor.
Freezer: For longer storage, slice the cake into individual portions and wrap each slice tightly in plastic wrap. Store in the freezer for up to 2 months for best results.
Thawing: To enjoy frozen slices, simply transfer them to the fridge overnight to thaw gently. Avoid microwaving to preserve the cake’s texture.
Reheating: If desired, you can warm slices slightly in the microwave for about 10-15 seconds before serving, especially when paired with whipped cream or ice cream.
Tips for the Best Strawberry Earthquake Cake
- Layering Wisely: Ensure cake layers are completely cooled before assembling; this prevents melting of the filling and keeps your Strawberry Earthquake Cake intact.
- Spreading Filling: Use an offset spatula to spread the cream filling evenly; this helps prevent any bulging or slippage as you stack the layers.
- Fresh Strawberries Only: Opt for fresh strawberries over frozen for the best flavor and texture; frozen berries can introduce unwanted moisture that affects layer integrity.
- Chill to Set: Allow the cake to chill in the fridge for at least 1 hour after assembly; this helps firm up the layers, making it easier to slice and serve.
- Taste Before Serving: Always taste a small slice before serving to ensure the balance of flavors is just right; adjustments can be made with extra strawberry preserves if needed.
- Innovative Garnishes: Get creative with garnishes like mint leaves or a dusting of powdered sugar for added flair to your Strawberry Earthquake Cake presentation.
What to Serve with Strawberry Earthquake Cake
Imagine a sunlit gathering where laughter fills the air, and that perfect dessert steals the show—this cake pairs beautifully with delightful accompaniments.
- Whipped Cream: This light and airy topping adds a creamy contrast, making each bite of cake even more indulgent and satisfying.
- Fresh Berries: A medley of blueberries, raspberries, or blackberries brightens the plate and complements the cake with their tartness. These little bursts of flavor enhance the summer experience and elevate the dessert’s presentation.
- Vanilla Ice Cream: Delicate vanilla ice cream balances the sweetness of the cake, providing a luscious richness that you simply can’t resist. This classic pairing makes for a delightful contrast in temperature and texture.
- Mint Leaves: Bright green mint adds a touch of freshness and color, stimulating the senses and enhancing the vibrant experience of the cake. A simple garnish can take your presentation from lovely to stunning!
- Sparkling Lemonade: Refreshing and zesty, a glass of sparkling lemonade is a wonderful drink choice that cuts through the sweetness of the cake, making every bite even more exhilarating.
- Chocolate Drizzle: For the chocolate lovers, adding a drizzle of melted dark chocolate provides a decadent layer that pairs beautifully with the strawberry flavors, creating a luxurious experience.
- Peach Sorbet: A scoop of peach sorbet brings a fruity cooling effect to the table that enhances the cake’s summer vibe, appealing to those who enjoy a touch of whimsy in their desserts.
- Almond Biscotti: The nutty flavor of almond biscotti offers a crunchy texture that contrasts beautifully with the soft cake layers, a delightful combo for the palate.
- Chilled Rosé: A glass of chilled rosé wine pairs beautifully with the earthiness of the cake, making each bite even more enjoyable. Its fruity notes mirror the strawberries and elevate the entire experience.
- Lemon Tart: For a zesty dessert option alongside the cake, a lemon tart provides a tangy finish that balances the sweetness and adds another layer of flavor to your gathering.
Strawberry Earthquake Cake Variations & Substitutions
Feel free to get creative and tailor this delightful dessert to your taste preferences or dietary needs!
-
Mixed Berries: Swap fresh strawberries for a mix of blueberries and raspberries for a colorful twist.
Embrace the lively flavors of summer with this berry combination. Each bite takes you on a refreshing journey! -
Chocolate Drizzle: Add a drizzle of melted dark chocolate over the top for a rich finish.
This indulgent addition complements the creaminess beautifully, making your cake even more decadent. -
Nutty Crunch: Fold in some chopped walnuts or pecans into the filling for added texture.
The crunchiness provides a delightful contrast to the smooth layers, making each slice exciting and flavorful. -
Gluten-Free Version: Use a gluten-free red velvet cake mix instead of regular cake mix.
This seamless swap ensures everyone can enjoy a slice without compromising on taste. -
Boozy Preserves: Stir in a splash of strawberry liqueur into the preserves for an adult-only twist.
The hint of alcohol elevates the flavor profile, making it a sophisticated dessert for special occasions. -
Creamy Layer Alternative: Substitute cream cheese with whipped coconut cream for a dairy-free option.
This gives your cake a light, airy filling that is still full of flavor. It’s a fantastic way to impress friends with dietary restrictions! -
Seasonal Spice: Experiment with a sprinkle of cinnamon in the cream filling for a warm flavor boost.
The addition of spice creates a comforting depth, making your cake feel even more cozy and inviting. -
Mason Jar Presentation: Create individual servings by layering cake and filling in mason jars.
Not only is this a cute serving idea, but it also makes transporting and serving at gatherings a breeze.
Explore these variations to craft your very own Strawberry Earthquake Cake, making it uniquely yours! For more berry goodness, check out my Strawberry Crunch Cheesecake or enjoy the flavors of Strawberry Lemon Blondies.
Strawberry Earthquake Cake Recipe FAQs
What type of strawberries should I use for the Strawberry Earthquake Cake?
Absolutely! I recommend using fresh strawberries for the best flavor and texture. Look for berries that are bright red, firm, and free from blemishes. Avoid frozen strawberries as they tend to release excess moisture, which can affect the cake’s layers.
How should I store leftover Strawberry Earthquake Cake?
For optimal freshness, store any leftover cake in an airtight container in the refrigerator for up to 3 days. This will help retain moisture and flavor. Make sure it’s tightly sealed to prevent it from drying out or absorbing other odors from the fridge.
Can I freeze the Strawberry Earthquake Cake?
Yes, you can! If you want to freeze the cake, slice it into individual portions first. Wrap each slice tightly in plastic wrap and then place them in a freezer-safe bag or container. It can be stored in the freezer for up to 2 months. When you’re ready to enjoy a slice, let it thaw in the fridge overnight.
What should I do if the cake layers are uneven?
Very! If you find that your cake layers are uneven, you can easily level them using a serrated knife. Just carefully trim the domed tops off each cake layer to create a flat surface. This will also help the cake stack more evenly when assembling.
Is this Strawberry Earthquake Cake suitable for those with dietary restrictions?
While the cake itself is vegetarian, consider any specific dietary needs when preparing it. For lactose-sensitive individuals, you could substitute cream cheese with a dairy-free alternative. Always check ingredients for allergens if you’re serving guests with specific food restrictions.
How can I enhance the flavor of the cream filling?
To add more depth to your cream filling, feel free to incorporate a splash of lemon juice or a blend of fresh citrus zest. Another wonderful twist is to add a touch of almond extract along with the vanilla for a nutty undertone. Experiment with flavors to find your perfect balance!

Strawberry Earthquake Cake That Will Wow Your Guests
Ingredients
Equipment
Method
- Preheat your oven to 350°F (175°C) and grease three 8-inch round cake pans.
- Prepare the red velvet cake mix according to package instructions, and divide the batter evenly into the pans. Bake for 20-25 minutes until a toothpick comes out clean.
- Cool the cakes on a wire rack for about 10 minutes, then turn them out onto racks to cool completely.
- In a mixing bowl, beat together softened cream cheese, melted butter, and powdered sugar until smooth. Gradually fold in whipped heavy cream and vanilla extract.
- Place the first layer of red velvet cake on a serving plate, spread a layer of cream filling on top, add strawberry preserves and chopped strawberries. Repeat with the second layer.
- Place the third cake layer on top and frost the entire cake with remaining cream filling, decorating with fresh strawberries and extra preserves.
- Refrigerate the assembled cake for at least 1 hour before slicing.