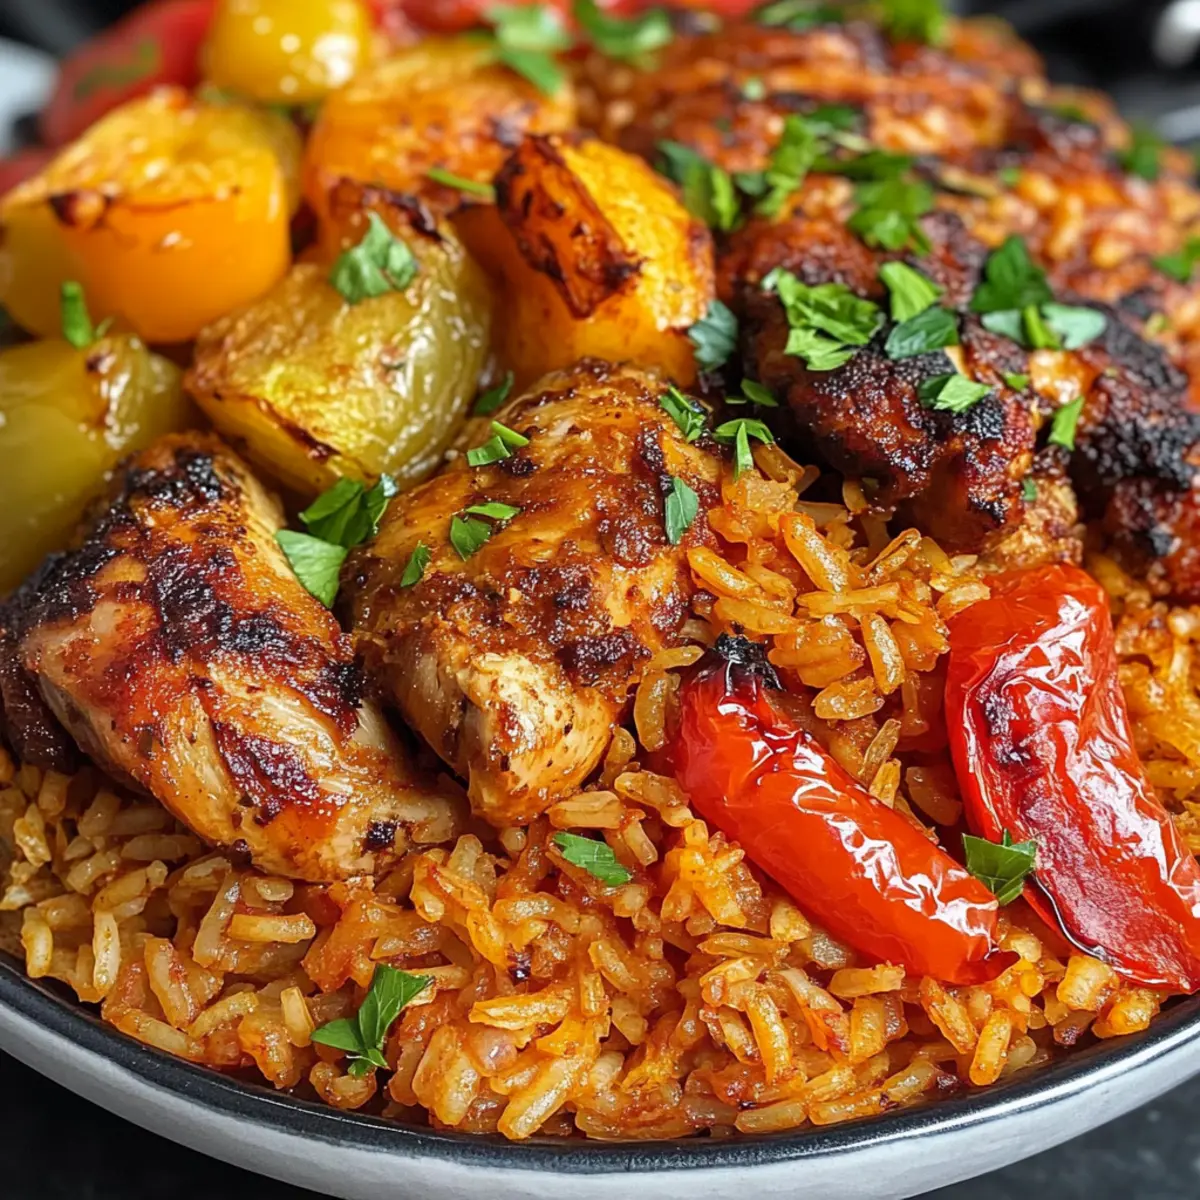
The aroma of roasted vegetables and spices wafted through my kitchen, reminding me why I love cooking so much. This Baked Jollof Rice with Roasted Vegetables and Chicken transforms an ordinary meal into a vibrant feast that’s perfect for gatherings or cozy weeknight dinners. Not only is it a crowd-pleaser that brings everyone together, but it also offers the comforting essence of West African cuisine with minimal effort. The beauty of this recipe lies in its adaptability; it’s just as delightful for vegetarians when you swap in hearty veggies. Are you ready to dive into a dish that celebrates flavor and community? Let’s embark on this culinary journey together!
Why is Baked Jollof Rice Unforgettable?
Vibrant flavors: This dish is a delightful explosion of flavors, highlighted by the smoky sweetness of roasted vegetables and succulent chicken. Each bite transports you to the heart of West Africa, creating a festive atmosphere around your dining table.
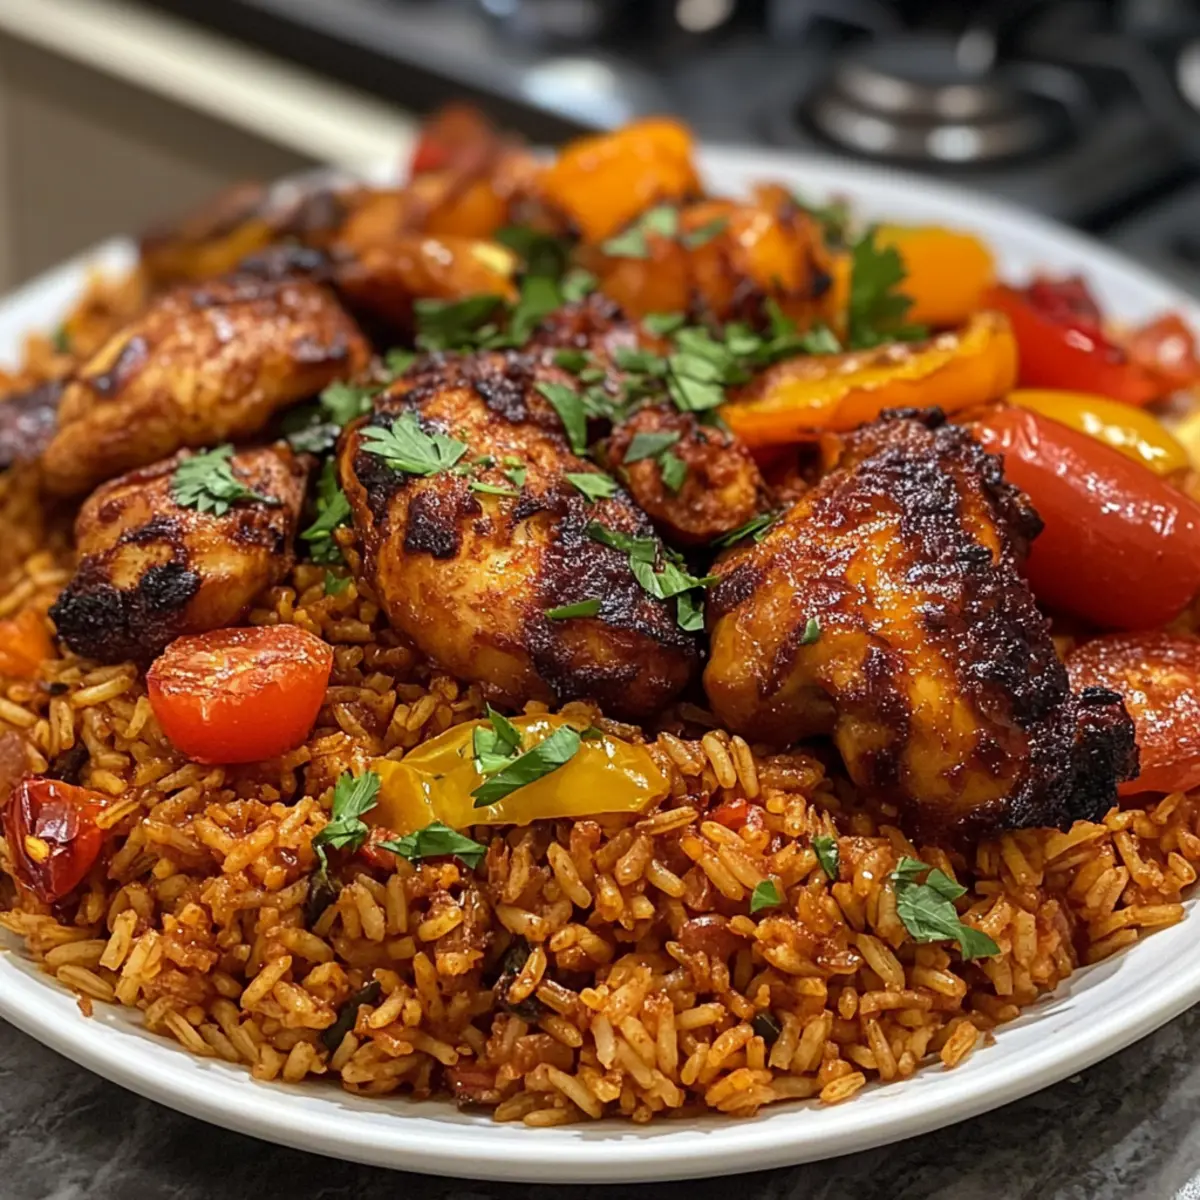
Crowd-pleaser: Perfect for gatherings, Baked Jollof Rice is a dish that everyone will love. Serve it up with sides like fried plantains or a crisp green salad for a complete meal that will wow your guests.
Versatile: Whether you stick to the classic chicken or opt for a vegetarian twist, this recipe adapts beautifully to suit all dietary preferences. Try swapping chicken with a mix of seasonal veggies for a hearty vegetarian delight.
Easy prep: With minimal prep time and straightforward instructions, you can transform simple ingredients into a memorable dish that doesn’t require hours in the kitchen.
Comforting essence: This meal embodies the comforting charm of home-cooked food, reminiscent of cozy family gatherings or festive celebrations. It’s the ultimate comfort dish that brings everyone together, just like Chicken Fried Rice and Chicken Rice Casserole do!
Baked Jollof Rice Ingredients
• Let’s gather everything you need for this delightful dish!
For the Chicken
• Chicken thighs – The main protein that keeps everything juicy; feel free to swap with hearty vegetables for a vegetarian option.
• Chicken bouillon – Adds savory depth; simply use vegetable bouillon for a vegetarian version.
For the Seasoning
• Garlic powder – Enhances aroma and flavor; fresh garlic can provide an even magic touch.
• Onion powder – Gives sweetness and body; replace with fresh onions if you prefer.
• Cayenne pepper – A touch of heat; reduce or omit for a milder dish.
• Black pepper – Adds warmth and spice.
• Paprika – Contributes beautiful color and subtle sweetness.
• Salt – Essential for flavor enhancement; adjust to taste.
• Dried thyme – Infuses a lovely herby aroma; oregano or Italian seasoning can step in if needed.
• Curry powder – Offers a warm, complex flavor profile.
For the Cooking
• Oil – Vital for marinating and cooking; olive or vegetable oil works wonderfully.
• Lemon juice – Brightens the dish; lime juice is a suitable alternative.
For the Vegetables
• Peppers, tomatoes, red onion – The vibrant base of roasted vegetables that adds freshness; any seasonal veggies can switch in beautifully.
• Garlic bulb – Roasted garlic adds a sweet, creamy flavor; fresh will deliver a sharper taste.
• Tomato paste – Adds richness; you can use fresh tomatoes if preferred.
For the Rice
• Sella basmati rice – Perfect for maintaining shape during baking; long-grain or jasmine rice can work with adjusted cooking times.
• Bay leaf – Adds a delicate aromatic flavor; feel free to omit if it’s not on hand.
This Baked Jollof Rice is ready to steal the show at your next meal!
Step‑by‑Step Instructions for Baked Jollof Rice
Step 1: Marinate Chicken
Begin by cleaning your chicken thighs under cold water and patting them dry with paper towels. In a bowl, combine garlic powder, onion powder, cayenne pepper, black pepper, paprika, salt, dried thyme, curry powder, lemon juice, and oil. Coat the chicken thighs with this spice mixture evenly, cover, and refrigerate for at least 1 hour to allow the flavors to meld deeply.
Step 2: Preheat Oven
While the chicken marinates, preheat your oven to 400°F (200°C). This temperature will ensure the chicken roasts evenly and achieves a golden-brown color, creating that irresistible aroma. Prepare two baking dishes: one for the chicken and the other for your vegetables to roast simultaneously.
Step 3: Prepare Vegetables
Chop the peppers, tomatoes, and red onion, and place them in the second baking dish alongside a whole garlic bulb and fresh thyme. Drizzle with olive oil, season with salt and pepper, and toss everything together. Roast in the oven for 30–35 minutes, stirring halfway through, until the vegetables are tender and beginning to caramelize, enhancing their natural sweetness.
Step 4: Roast Chicken
Once the vegetables are in the oven, take the marinated chicken thighs and arrange them in the first baking dish. Roast the chicken in the same oven for approximately 40–45 minutes. The skin should be golden and crispy, while the juices run clear when pierced, indicating they’re cooked through beautifully.
Step 5: Make Sauce
After the chicken and vegetables are roasted, combine the vegetables and the garlic bulb into a blender or food processor. Blend until smooth, creating a vibrant sauce. Pour in the tomato paste and stir in the chicken juices from the roasting dish to enrich the flavor, mixing thoroughly until it’s a uniform consistency that looks irresistible.
Step 6: Cook Rice
In a separate bowl, rinse the Sella basmati rice under cold water until the water runs clear to prevent stickiness. Mix the rinsed rice with the blended vegetable sauce, and add the necessary water or stock along with a bay leaf. Transfer this mixture into a casserole dish, cover tightly with foil, and place it in the oven at 350°F (175°C) for about 50–60 minutes until the rice is tender and has absorbed all the flavors.
Step 7: Serve
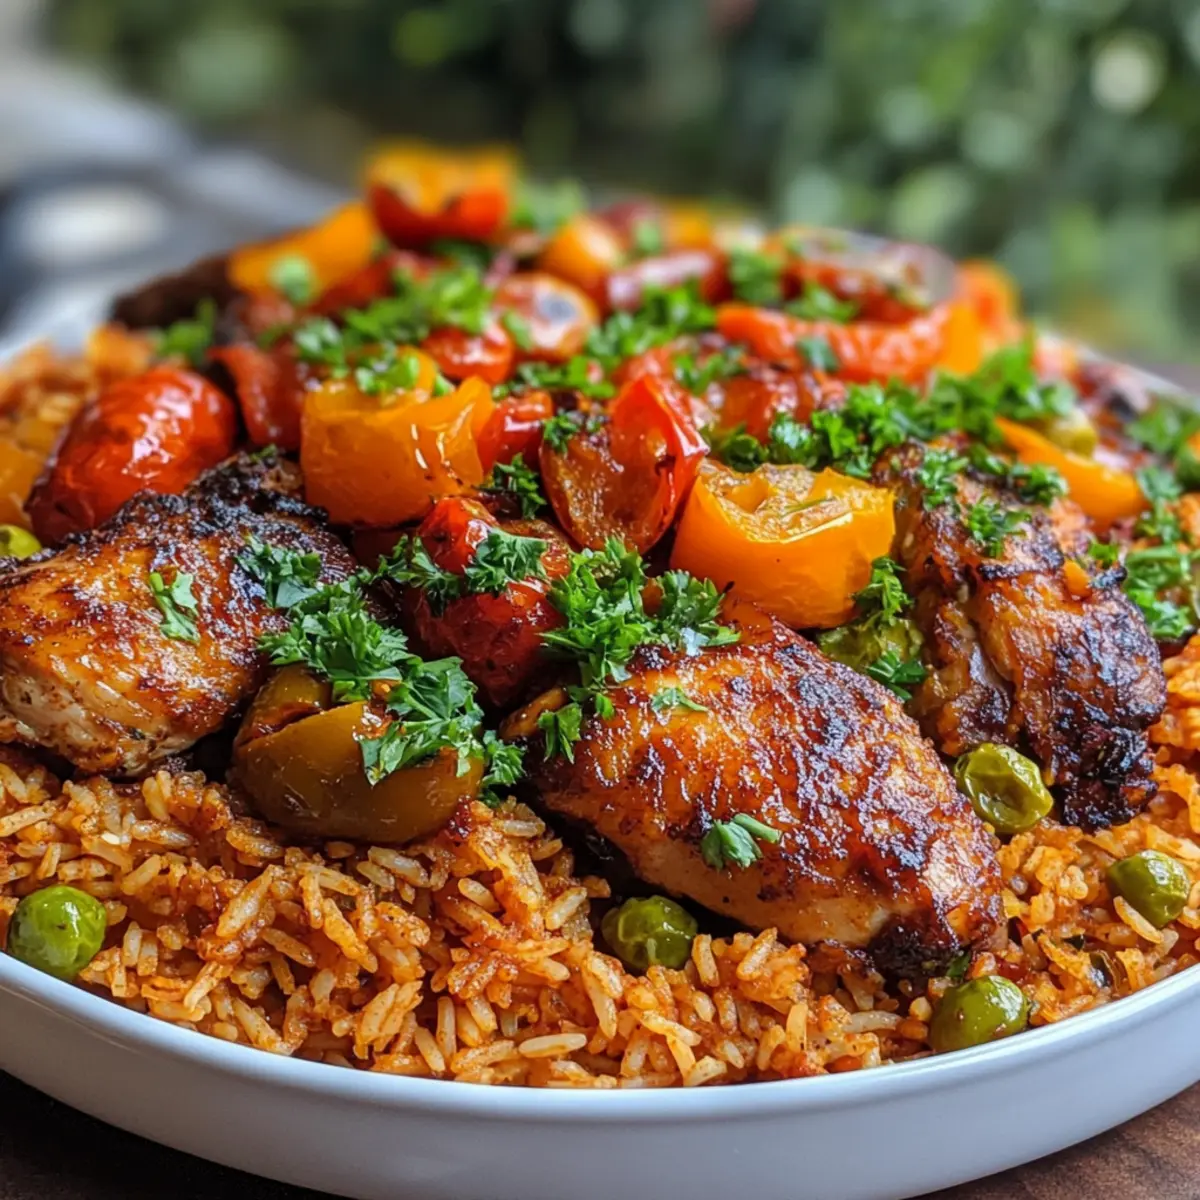
Once the rice is cooked and fluffy, remove it from the oven and let it sit for a few minutes to settle. Fluff the rice with a fork, ensuring the grains remain separate. Serve the Baked Jollof Rice topped with the succulent roasted chicken and garnish with freshly chopped parsley or scallions for added freshness and color, inviting everyone to dig in!
Storage Tips for Baked Jollof Rice
Fridge: Store leftovers in airtight containers; Baked Jollof Rice and chicken can be kept for up to 4 days. For best texture, separate chicken and rice before refrigerating.
Freezer: For longer storage, freeze portions of Baked Jollof Rice in airtight containers for up to 3 months. Thaw overnight in the refrigerator prior to reheating.
Reheating: Reheat gently in the microwave or on the stovetop, adding a splash of water to prevent drying out. Heat until warmed through, making sure it’s thoroughly heated for optimal taste.
Tips: Always allow the dish to cool completely before storing to maintain freshness and flavor.
Make Ahead Options
This Baked Jollof Rice is perfect for busy cooks looking to save time during the week! You can marinate the chicken thighs up to 24 hours in advance, allowing those rich flavors to deepen. Additionally, the roasted vegetables can be prepared ahead and stored in the refrigerator for up to 3 days; just keep them in an airtight container to maintain freshness. When you’re ready to enjoy your meal, simply roast the marinated chicken and reheat the vegetables. Combine the blended sauce with rinsed rice and bake as instructed for a delectable dish that feels just as fresh and vibrant, turning dinner into a delightful, stress-free experience!
What to Serve with Baked Jollof Rice
Dive into a world of delightful pairings that elevate your meal to extraordinary heights.
- Crispy Fried Plantains: Sweet and savory, plantains add a lovely contrast to the spicy notes of the rice.
- Refreshing Cucumber Salad: A light cucumber salad with a tangy dressing balances the rich, hearty flavors of the Jollof.
- Creamy Coleslaw: The crunchy texture and creamy dressing provide a satisfying counterpoint to the fluffy rice.
- Garlicky Green Beans: Sautéed green beans with garlic offer a fresh, vibrant side that complements the dish beautifully.
- Spicy Corn Fritters: These crispy nuggets bring a hint of sweetness and texture that works harmoniously with the rice.
- Chilled Coconut Water: Quench your thirst with the refreshing taste of coconut water; it’s the perfect tropical drink to accompany your feast.
Each of these sides enhances the experience of enjoying Baked Jollof Rice, making for a meal that’s not only delicious but also deeply satisfying.
Baked Jollof Rice Variations & Substitutions
Feel free to explore these delightful twists to make your Baked Jollof Rice even more unique and personalized!
-
Vegetarian Delight: Swap chicken for a mix of roasted veggies like eggplant, zucchini, and sweet potatoes. They bring hearty flavors without missing the protein punch!
-
Spicy Kick: For those who love heat, add diced scotch bonnet peppers during the cooking process. This kicks up the spice level and adds an authentic punch. Be ready for a fiery feast!
-
Coconut Cream: Integrate some coconut milk into your sauce for a luxurious, creamy texture that perfectly complements the spices. It transforms the entire flavor profile into a tropical twist!
-
Quinoa Switch: If you’re aiming for a gluten-free option, consider using quinoa instead of rice. It cooks faster and adds a lovely nuttiness that balances the flavors beautifully.
-
Herb Boost: Fresh herbs like cilantro or parsley can be stirred in just before serving for a burst of color and freshness. They elevate the dish with vibrant notes that dance on the palate!
-
Flavorful Broth: Instead of water, use vegetable broth to cook the rice for deeper flavor infusion. It adds a savory richness that pairs perfectly with the roasted components.
-
Oven-Baked Veggies: Mix in your favorite seasonal vegetables such as butternut squash or cherry tomatoes for a colorful medley. Roasting brings out their natural sweetness, enhancing the dish’s complexity.
-
Richer Tomato Base: For a bolder tomato flavor, blend fresh or canned tomatoes directly into the sauce, and omit the tomato paste. This brings freshness alongside depth.
Exploring these variations not only adds excitement to your kitchen adventures but ensures every serving feels special. If you’re interested in more comforting recipes, don’t miss out on trying Ground Beef Rice or savor the simplicity of Tofu Oven Baked!
Expert Tips for Baked Jollof Rice
• Rinse the Rice: Always rinse the Sella basmati rice thoroughly to remove excess starch. This ensures fluffy grains and prevents stickiness in your Baked Jollof Rice.
• Cover Tightly: When baking, make sure your casserole dish is tightly covered with foil. This traps steam, cooking the rice evenly and perfectly.
• Adjust Spice Levels: If serving a mixed crowd, taste your sauce before adding cayenne pepper. You can always adjust the spice levels to suit everyone’s preference.
• Use Seasonal Veggies: Feel free to vary your roasted vegetables based on the season. Fresh, in-season produce will enhance the flavor and nutritional value of your Baked Jollof Rice.
• Let it Rest: After baking, allow your rice dish to sit for a few minutes before serving. This helps all the flavors meld beautifully, making every bite more delightful and aromatic.
Baked Jollof Rice Recipe FAQs
What type of chicken can I use for Baked Jollof Rice?
Absolutely! Chicken thighs are preferred for their juiciness and flavor, but you can easily substitute them with chicken breasts or even hearty vegetables like eggplant or zucchini for a vegetarian twist. If you choose vegetables, consider marinating them in similar spices for added depth.
How should I store leftover Baked Jollof Rice?
For best results, store leftovers in airtight containers in the refrigerator. You can keep them for up to 4 days. It’s best to separate the chicken from the rice to maintain their textures. Keep them covered to prevent them from drying out.
Can I freeze Baked Jollof Rice?
Certainly! You can freeze portions of Baked Jollof Rice in airtight containers for up to 3 months. To do this, allow the dish to cool completely, then portion out what you won’t eat right away. For reheating, defrost overnight in the fridge and then warm it up in the oven or microwave.
What if my Baked Jollof Rice comes out sticky?
Very! If your rice turns out sticky, it’s often due to not rinsing it enough before cooking. Rinsing the rice until the water runs clear helps remove excess starch, promoting a fluffy texture. For future batches, just be sure to rinse thoroughly before mixing with your sauce.
Are there any dietary considerations for Baked Jollof Rice?
Of course! This recipe is quite adaptable. For a gluten-free version, ensure that the bouillon and curry powder are gluten-free. If making it for pets, be cautious as certain spices and seasonings can be harmful. It’s best to avoid any garlic or onions in portions intended for them.
How long does Baked Jollof Rice take to prepare?
To create this delightful dish, expect about 2 hours total—1 hour for marinating the chicken and roasting the vegetables, followed by another hour for the rice to bake. If you’re short on time, you can prep some parts in advance or even freeze portions for easy meals later.
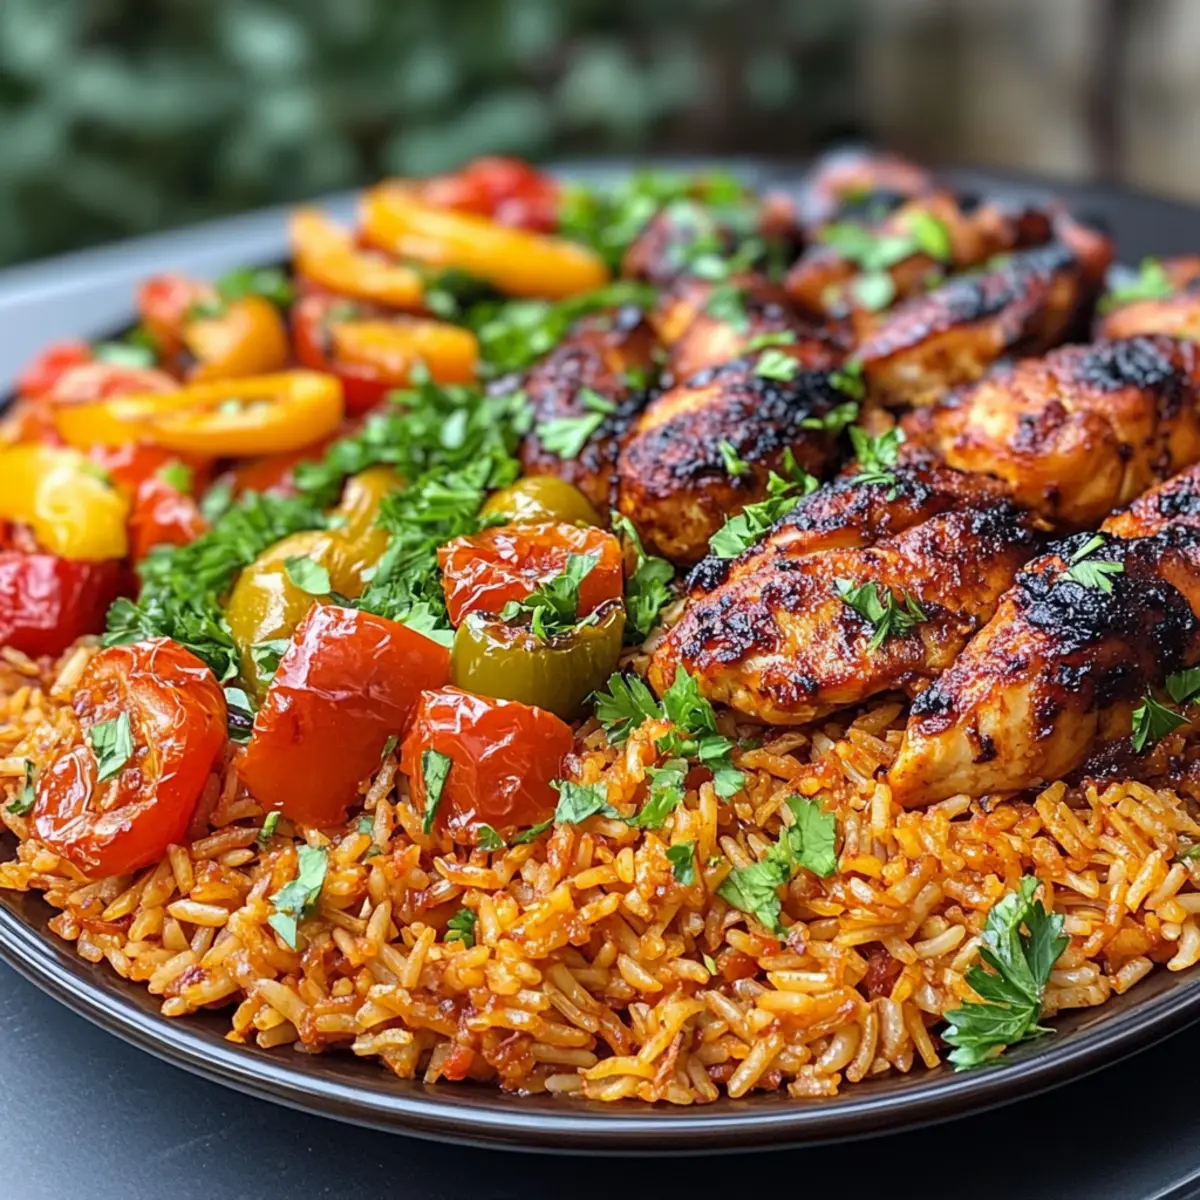
Flavor-Packed Baked Jollof Rice That Will Wow Your Guests
Ingredients
Equipment
Method
- Begin by cleaning your chicken thighs under cold water and patting them dry with paper towels. In a bowl, combine garlic powder, onion powder, cayenne pepper, black pepper, paprika, salt, dried thyme, curry powder, lemon juice, and oil. Coat the chicken thighs with this spice mixture evenly, cover, and refrigerate for at least 1 hour to allow the flavors to meld deeply.
- While the chicken marinates, preheat your oven to 400°F (200°C). Prepare two baking dishes: one for the chicken and the other for your vegetables.
- Chop the peppers, tomatoes, and red onion, and place them in the second baking dish alongside a whole garlic bulb and fresh thyme. Drizzle with olive oil, season with salt and pepper, and toss everything together. Roast in the oven for 30–35 minutes, stirring halfway through.
- Once the vegetables are in the oven, take the marinated chicken thighs and arrange them in the first baking dish. Roast the chicken for approximately 40–45 minutes.
- After roasting, combine the vegetables and garlic in a blender or food processor and blend until smooth. Pour in the tomato paste and mix in the chicken juices.
- Rinse the Sella basmati rice under cold water until the water runs clear. Mix the rinsed rice with the blended vegetable sauce, add the necessary water or stock along with a bay leaf. Transfer to a casserole dish, cover tightly with foil, and bake at 350°F (175°C) for about 50–60 minutes.
- Once cooked, let the rice sit for a few minutes. Fluff with a fork and serve topped with the succulent roasted chicken and garnish with parsley or scallions.