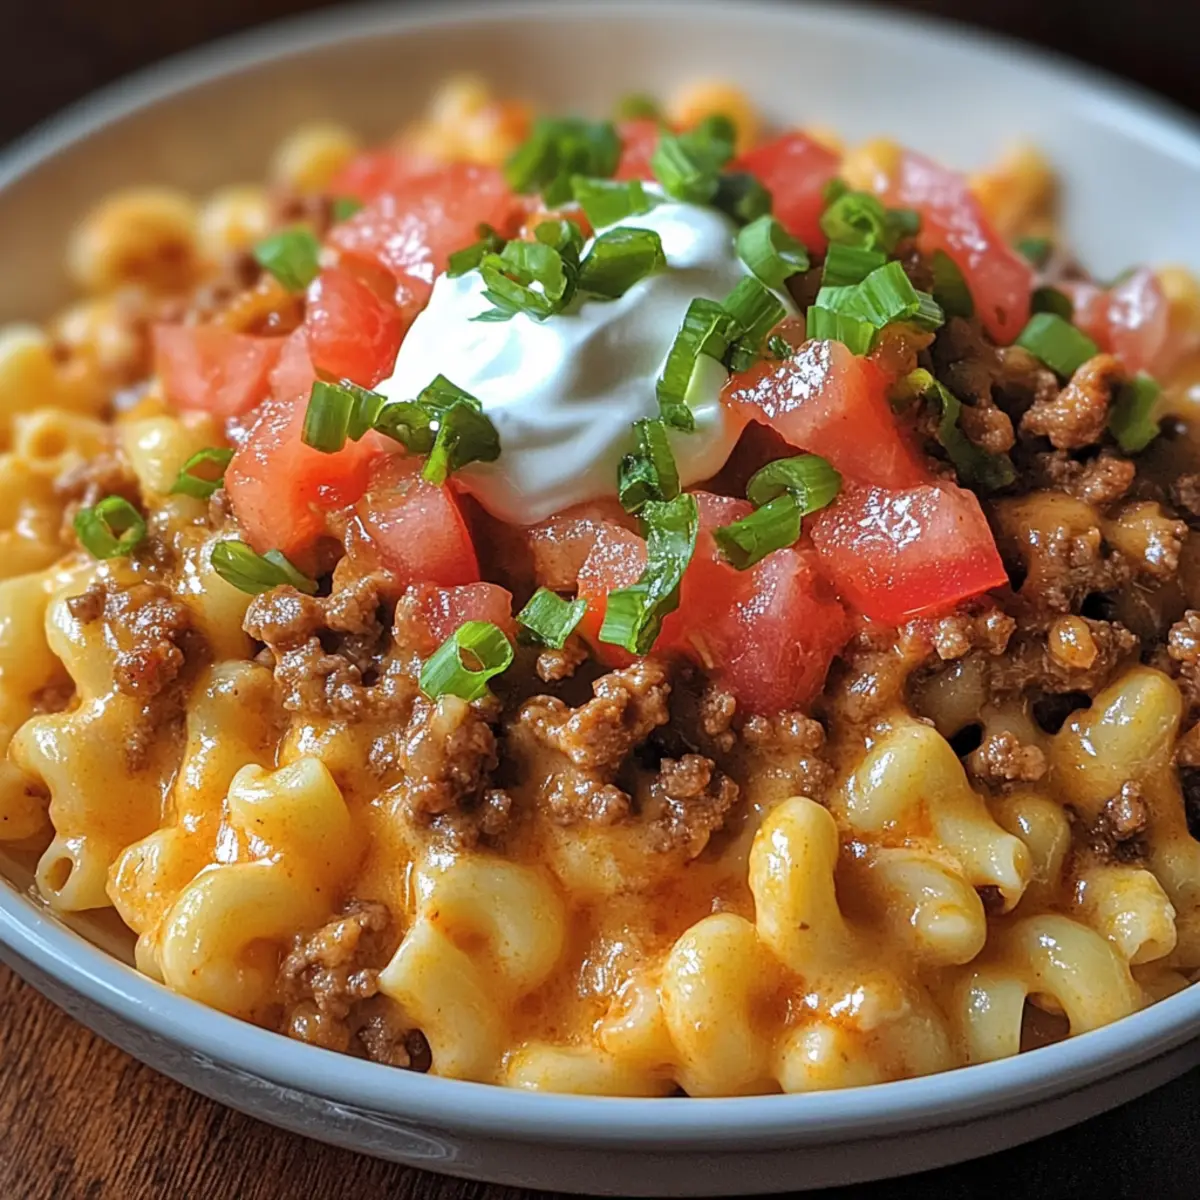
As I stood in my kitchen, frustration creeping in, I realized that fast food was not the answer to my dinnertime dilemma. That’s when a simple yet delicious idea struck me: Taco Mac. This dish takes the comforting goodness of creamy mac and cheese and elevates it with bold, taco-seasoned beef, making it not only family-friendly but also a crowd-pleaser. It’s quick to whip up, perfect for those busy evenings when you want a satisfying meal without spending hours in the kitchen. Picture a cheesy fusion that leaves everyone asking for seconds—who could resist? Ready to dive into this delightful blend of flavors and textures? Let’s get cooking!
Why is Taco Mac a must-try?
Hearty and Satisfying: The combination of creamy mac and cheesy goodness paired with taco-seasoned beef ensures each bite is loaded with flavor and comfort.
Quick Preparation: This dish comes together in under 30 minutes, making it an ideal choice for busy weeknights or unexpected guests.
Crowd Pleaser: Taco Mac is perfect for family dinners or gatherings, easily impressing both kids and adults alike.
Versatile Ingredients: Create your own masterpiece by adding fresh veggies or spices, or try it alongside a side of crispy nachos for an extra treat like my Flavorful Honey Minutes or Buffalo Chicken Macaroni.
Comforting Fusion: With its delicious marriage of classic mac and cheese with zesty taco flavors, it’s sure to become a staple in your recipe collection!
Taco Mac Ingredients
For the Beef Mixture
• Ground Beef – Adds protein and richness; substitute with ground turkey or plant-based meat for a leaner version.
• Taco Seasoning – Provides bold flavor; use homemade seasoning for a personalized touch.
• Water – Helps dissolve the taco seasoning and create a sauce.
For the Pasta and Cheese
• Elbow Macaroni – The main carbohydrate; can substitute with any small pasta like penne or rotini.
• Shredded Cheddar Cheese – Adds creaminess and flavor; substitute with Monterey Jack or Pepper Jack for different profiles.
• Shredded Mozzarella Cheese – Provides creaminess and stretchiness; use other melting cheeses as an alternative.
For the Sauce and Toppings
• Diced Tomatoes (14.5 oz can) – Adds moisture and flavor; fresh tomatoes work great for a fresher taste.
• Sour Cream – Adds creaminess and tang; Greek yogurt or cream cheese can be substituted.
• Chopped Green Onions – Offers a fresh crunch; can replace with chopped parsley or cilantro.
• Olive Oil – Used for sautéing the tomatoes; any neutral oil can be substituted.
• Milk – Brings creaminess to the sauce; can use non-dairy milk for a dairy-free option.
Dive right into this delightful Taco Mac creation, and let’s make mealtime a joy!
Step‑by‑Step Instructions for Taco Mac
Step 1: Brown the Beef
Heat a large skillet over medium-high heat and add the ground beef. Sauté for about 5-7 minutes, breaking it up with a spatula until it’s evenly browned and no longer pink. Carefully drain any excess fat from the skillet, allowing the delicious beef flavor to remain, then return the skillet to the heat.
Step 2: Season the Beef
Stir in the taco seasoning and pour in 1/2 cup of water, mixing well to combine. Let the mixture simmer for about 5 minutes, allowing the flavors to meld and the sauce to thicken slightly. You want a nice, rich consistency that will pair perfectly with the mac and cheese.
Step 3: Cook the Macaroni
While the beef is simmering, bring a large pot of salted water to a boil. Add the elbow macaroni and cook according to the package instructions, usually about 7-9 minutes, until al dente. Once done, drain the pasta and set it aside, letting the steam escape to prevent sticking.
Step 4: Sauté the Tomatoes
In the same pot you used for the macaroni, heat 1 tablespoon of olive oil over medium heat. Add the diced tomatoes, cooking for 2-3 minutes until they begin to soften and release their juices. This step brings a beautiful freshness to your Taco Mac, so watch for that vibrant, saucy look.
Step 5: Combine Ingredients
Add the cooked macaroni and the beef mixture to the pot with the sautéed tomatoes. Gently fold everything together, ensuring the pasta and beef are thoroughly mixed with the tomatoes. Pour in 1/2 cup of milk, stirring well until everything is coated and the mixture looks creamy.
Step 6: Melt the Cheeses
Sprinkle in the shredded cheddar and mozzarella cheeses, stirring continuously over low heat until the cheeses melt completely and the mixture becomes extra creamy. Keep an eye on it to prevent sticking, resulting in a beautifully cheesy Taco Mac that’s irresistible.
Step 7: Stir in the Sour Cream
Remove the pot from heat and mix in the sour cream until it’s fully incorporated. This adds a tangy richness to the dish and brings everything together smoothly. The combination of flavors should be comforting and inviting, perfect for feeding the family.
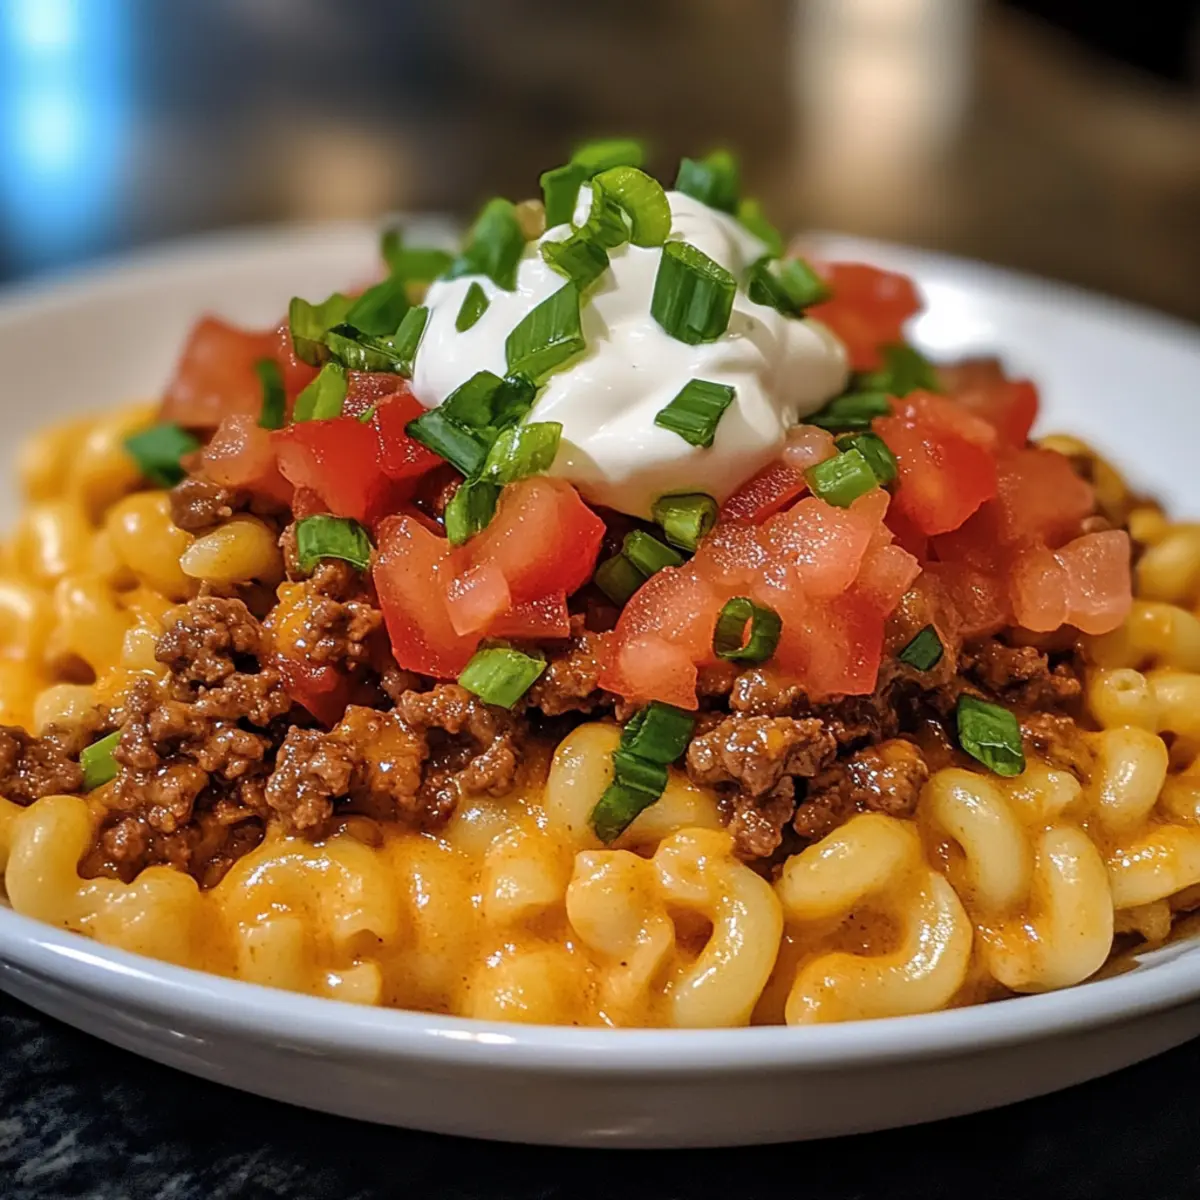
Step 8: Garnish and Serve
Finally, sprinkle the chopped green onions on top for a fresh finish. Serve your Taco Mac hot, and watch as everyone dives into this warm, cheesy comfort food. Pair it with crispy nachos or a fresh salad for a fulfilling meal.
What to Serve with Taco Mac
As you bask in the warm, cheesy goodness of Taco Mac, consider these delightful pairings that enhance your meal experience.
-
Crispy Nachos: Perfect for scooping up extra cheese and beef, these crunchy chips add a delightful texture contrast.
-
Fresh Guacamole: Creamy and rich, guacamole brings a smooth balance to the savory flavors of Taco Mac—guaranteed to impress your guests.
-
Zesty Cilantro Lime Rice: Fluffy rice infused with zesty flavors elevates the dish, complementing the spices in the Taco Mac for a refreshing bite.
-
Simple Green Salad: A crisp mix of greens and light dressing provides a refreshing crunch that cuts through the creaminess, offering a balanced plate.
-
Black Bean Salsa: Packed with protein and texture, this savory salsa brings a punch of flavor that melds beautifully with the vibrant taco notes.
-
Coronado Mexican Beer: For a delightful beverage pairing, this refreshing beer tames the spices and enhances your eating experience.
-
Chocolate Chip Cookies: Sweet snacks for dessert provide a comforting finish to your meal, bringing smiles and warmth around the table.
With these savory and sweet options, your Taco Mac night will truly be a celebration of flavors!
Taco Mac Variations & Substitutions
Feel free to get creative with this Taco Mac recipe and let your taste buds dance!
-
Spicy Kick: Add diced jalapeños or a few dashes of hot sauce for a fiery twist that packs a serious punch.
-
Veggie Delight: Toss in colorful bell peppers or sweet corn for extra nutrition and a pop of vibrant flavors, making every bite more exciting.
-
Creamy Alternative: Swap sour cream for Greek yogurt or cream cheese to give your dish a slightly tangy twist while still keeping it rich and creamy.
-
Cheesy Improv: Replace cheddar and mozzarella with creamy goat cheese or pepper jack cheese for a unique flavor profile to tickle your taste buds.
-
Dairy-Free Option: Use non-dairy milk and substitute the cheeses with vegan cheese to create a deliciously creamy and dairy-free Taco Mac.
-
Pasta Choices: Instead of elbow macaroni, try penne or even spiral pasta for different textures and an engaging meal experience.
-
Herb Infusion: Add chopped fresh cilantro or parsley for a burst of freshness on top; these herbs can brighten the dish and elevate the flavors.
-
Crunch Factor: Top with crushed tortilla chips or crispy corn strips before serving to add a delightful crunch that contrasts beautifully with the creamy Mac.
This Taco Mac is a versatile dish that welcomes your personal touches. Enjoy experimenting, and don’t forget to check out my Truffle Mac Cheese for more cheesy inspiration!
How to Store and Freeze Taco Mac
Fridge: Store Taco Mac in an airtight container in the refrigerator for up to 3 days. Make sure it cools completely before sealing it to retain freshness.
Freezer: You can freeze Taco Mac for up to 2 months. Portion it into freezer-safe containers. To prevent freezer burn, wrap it tightly in plastic wrap before sealing the container.
Reheating: When ready to enjoy, thaw overnight in the fridge and reheat in the microwave or on the stovetop, adding a splash of milk to maintain its creamy texture.
Make-Ahead: This dish can be prepared in advance and kept in the fridge, making it perfect for busy weeknights while still delivering delicious Taco Mac flavors!
Make Ahead Options
Taco Mac is perfect for those busy weeknights when you want a delicious meal with minimal effort! You can prepare the beef mixture (ground beef, taco seasoning, and water) up to 3 days in advance, storing it in an airtight container in the refrigerator. Additionally, cook the macaroni and refrigerate it separately to preserve its texture. When you’re ready to eat, simply heat the beef mixture and combine it with the cooked macaroni and sautéed tomatoes, followed by stirring in the cheeses and sour cream. This make-ahead approach ensures your Taco Mac remains just as delicious and flavorful, allowing you to enjoy quality family time without spending hours in the kitchen!
Expert Tips for Taco Mac
-
Perfectly Browned Beef: Ensure the ground beef is well-browned to enhance flavor. Undercooked beef can result in a bland taste.
-
Al Dente Pasta: Avoid overcooking the macaroni to keep it al dente; mushy pasta won’t hold up in the creamy Taco Mac.
-
Homemade Seasoning: For a unique flavor profile, consider making your own taco seasoning. This prevents excessive saltiness from store-bought mixes.
-
Creamy Consistency: To keep your dish creamy, always add milk gradually and stir well. If it appears too dry, a little extra water or milk can help adjust the consistency.
-
Fresh Toppings: Don’t skip the garnishes! Chopped green onions add freshness, but feel free to experiment with your favorite toppings for a personalized Taco Mac.
Taco Mac Recipe FAQs
What type of beef should I use for Taco Mac?
Absolutely! Ground beef is the traditional choice for Taco Mac, providing richness and flavor. However, you can substitute it for ground turkey or even a plant-based meat for a leaner or vegetarian option. If you choose ground turkey, make sure to season it well to enhance the flavors!
How long can I store Taco Mac in the fridge?
Taco Mac can be stored in an airtight container in the refrigerator for up to 3 days. Be sure to let it cool to room temperature before sealing to ensure it stays fresh and delicious.
Can I freeze Taco Mac?
Yes, indeed! You can freeze Taco Mac for up to 2 months. To do this, portion it into freezer-safe containers and wrap them tightly in plastic wrap. Just remember to label your containers with the date, so you know when to enjoy them!
How do I reheat Taco Mac without losing its creaminess?
To reheat Taco Mac, thaw it overnight in the fridge if frozen, then heat it in the microwave or on the stovetop. For stovetop reheating, add a splash of milk to restore its creamy texture as it warms, stirring until it’s nice and heated through.
Are there any dietary considerations for Taco Mac?
Definitely! Taco Mac is versatile and can accommodate various dietary needs. For a gluten-free option, use gluten-free pasta. If you have lactose intolerance, substitute the cheese and sour cream with dairy-free alternatives like nutritional yeast and vegan yogurt. Always check ingredient labels for any allergens!
What can I do if my Taco Mac is too dry?
If you find that your Taco Mac has turned out too dry, don’t fret! You can add a bit more milk gradually, stirring until the creamy consistency returns. If it’s too thick, adding a splash of water with stirring will help achieve the right texture.

Creamy Taco Mac: A Comforting Dish for Busy Nights
Ingredients
Equipment
Method
- Heat a large skillet over medium-high heat and add the ground beef. Sauté for about 5-7 minutes, breaking it up with a spatula until it’s evenly browned and no longer pink. Carefully drain any excess fat from the skillet, then return the skillet to the heat.
- Stir in the taco seasoning and pour in 1/2 cup of water, mixing well to combine. Let the mixture simmer for about 5 minutes, allowing the flavors to meld and the sauce to thicken slightly.
- While the beef is simmering, bring a large pot of salted water to a boil. Add the elbow macaroni and cook according to the package instructions, until al dente. Once done, drain the pasta and set it aside.
- In the same pot, heat 1 tablespoon of olive oil over medium heat. Add the diced tomatoes, cooking for 2-3 minutes until they begin to soften and release their juices.
- Add the cooked macaroni and the beef mixture to the pot with the sautéed tomatoes. Gently fold everything together.
- Pour in 1/2 cup of milk, stirring well until everything is coated and the mixture looks creamy.
- Sprinkle in the shredded cheddar and mozzarella cheeses, stirring continuously over low heat until the cheeses melt completely.
- Remove the pot from heat and mix in the sour cream until it’s fully incorporated.
- Sprinkle the chopped green onions on top for a fresh finish. Serve hot.