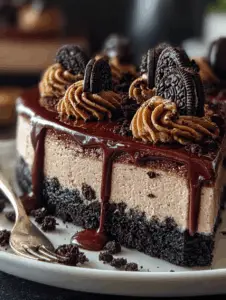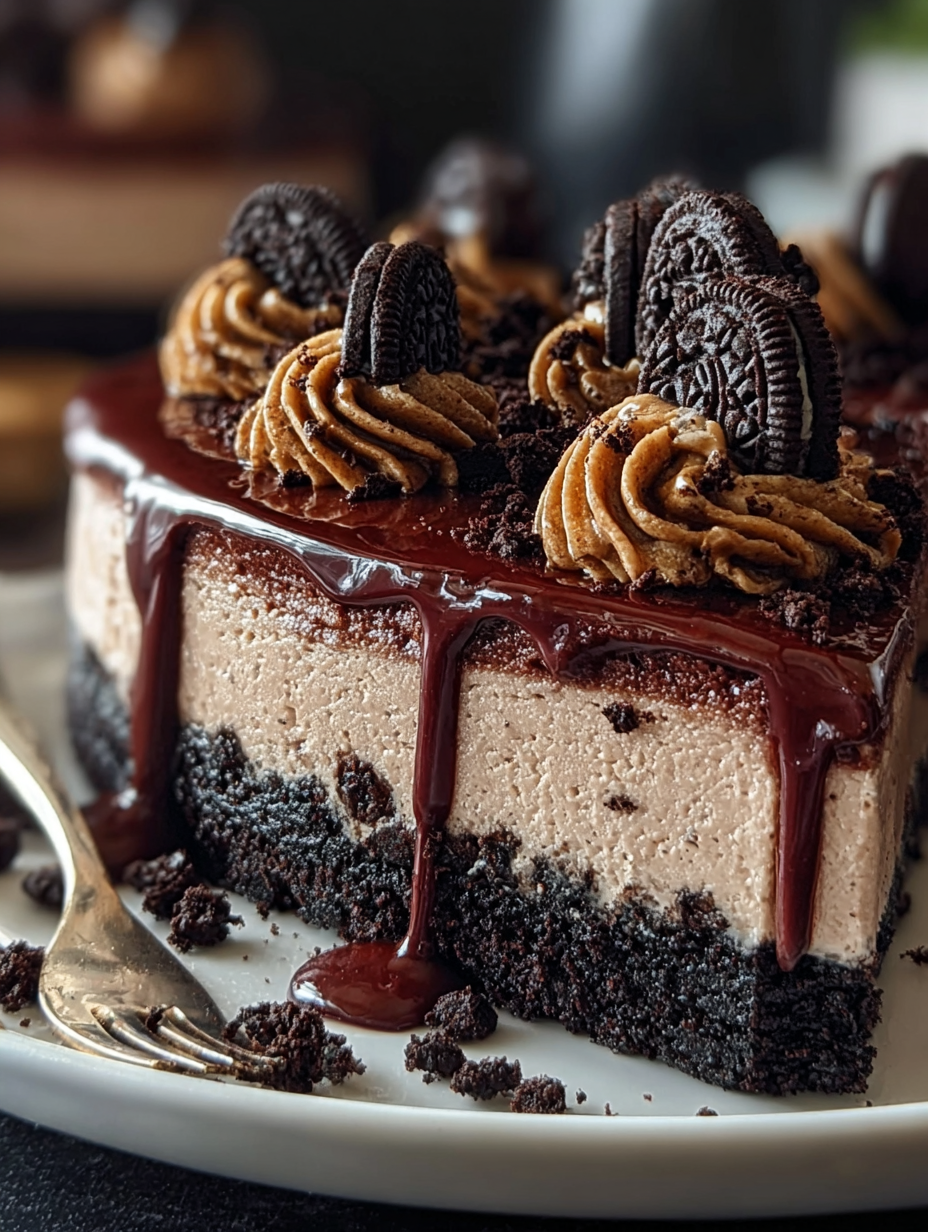
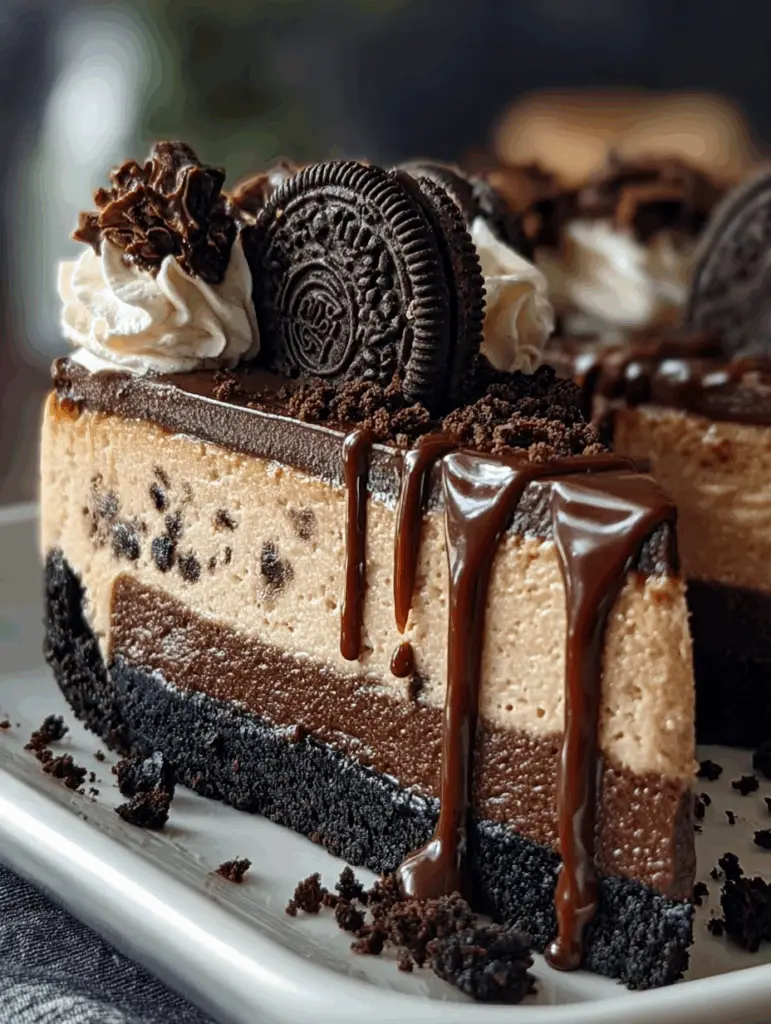
Introduction to Velvet Oreo Cheesecake
There’s something magical about dessert that brings people together, and this Velvet Oreo Cheesecake is no exception. I remember the first time I made it; the kitchen filled with the sweet aroma of baking Oreos, and my family couldn’t resist sneaking bites before it even cooled. This cheesecake is not just a treat; it’s a quick solution for a busy day or a showstopper for gatherings. With its rich, creamy texture and delightful Oreo crust, it’s bound to impress your loved ones. Trust me, once you try this recipe, it will become a staple in your dessert repertoire.
Why You’ll Love This Velvet Oreo Cheesecake
This Velvet Oreo Cheesecake is a dessert lover’s dream come true. It’s incredibly easy to whip up, making it perfect for those busy weeknights or last-minute gatherings. The rich, velvety texture paired with the crunch of Oreos creates a delightful contrast that will have everyone coming back for seconds. Plus, it’s a crowd-pleaser, ensuring you’ll impress family and friends without spending hours in the kitchen.
Ingredients for Velvet Oreo Cheesecake
Gathering the right ingredients is the first step to creating your Velvet Oreo Cheesecake masterpiece. Here’s what you’ll need:
- Oreo cookies: The star of the show! These provide the base for the crust and add that signature chocolatey flavor.
- Unsalted butter: This helps bind the Oreo crumbs together, creating a rich and buttery crust.
- Cream cheese: The heart of the cheesecake, it gives that creamy texture we all love. Make sure it’s softened for easy mixing.
- Granulated sugar: Sweetens the filling, balancing the richness of the cream cheese.
- Eggs: They help set the cheesecake, giving it structure while keeping it moist.
- Vanilla extract: A splash of this adds depth and enhances the overall flavor.
- Sour cream: This ingredient adds a tangy richness that elevates the cheesecake’s taste.
- Heavy cream: Used in both the filling and for whipping, it contributes to the cheesecake’s velvety texture.
- Powdered sugar: This is for sweetening the whipped cream topping, ensuring it’s light and fluffy.
- Crushed or halved Oreos: These are for decoration, adding a fun crunch and visual appeal.
- Chocolate sauce: Optional, but a drizzle can take your cheesecake to the next level of indulgence.
For exact measurements, check the bottom of the article where you can find everything listed for easy printing. Happy baking!
How to Make Velvet Oreo Cheesecake
Creating your Velvet Oreo Cheesecake is a delightful journey. Follow these simple steps, and you’ll be rewarded with a dessert that’s as impressive as it is delicious. Let’s dive in!
Step 1: Prepare the Crust
Start by preheating your oven to 325°F (165°C). Grab those Oreo cookies and crush them into fine crumbs. You can use a food processor or place them in a zip-top bag and smash them with a rolling pin. Once you have your crumbs, mix them with melted unsalted butter until well combined. This mixture should hold together when pressed. Now, firmly press the crumb mixture into the bottom of a 9-inch springform pan. This step is crucial; a well-pressed crust ensures a sturdy base for your cheesecake.
Step 2: Make the Filling
In a large mixing bowl, beat the softened cream cheese and granulated sugar together until smooth and creamy. This is where the magic begins! Add the eggs one at a time, mixing gently after each addition. This method helps achieve that silky texture we all crave in a cheesecake. Make sure to scrape down the sides of the bowl to incorporate everything evenly.
Step 3: Add Remaining Ingredients
Now it’s time to elevate your filling. Mix in the vanilla extract, sour cream, and heavy cream until just combined. The sour cream adds a delightful tang, while the heavy cream contributes to the velvety texture. Finally, fold in the roughly chopped Oreos, ensuring they’re evenly distributed throughout the mixture. This will give your cheesecake those delightful Oreo chunks in every bite!
Step 4: Bake
Pour the creamy filling over your prepared crust, smoothing the top with a spatula. Bake in the preheated oven for 55–65 minutes. Keep an eye on it! The edges should be set, but the center should still have a slight jiggle. This jiggle is key; it means your cheesecake will be perfectly creamy once cooled.
Step 5: Cool
Once baked, turn off the oven and crack the door open. Let the cheesecake sit in the oven for about 30 minutes. This gentle cooling process helps prevent cracks on the surface. After that, remove it from the oven and let it cool completely at room temperature. Patience is a virtue here; cooling properly is essential for the best texture.
Step 6: Chill
After cooling, refrigerate your cheesecake for at least 6 hours, but overnight is even better. Chilling allows the flavors to meld beautifully and enhances the overall texture. Trust me, the wait is worth it!
Step 7: Decorate
When you’re ready to serve, whip the heavy cream with powdered sugar until stiff peaks form. This will create a light and fluffy topping. Pipe or spread the whipped cream over the chilled cheesecake, and don’t forget to sprinkle crushed or halved Oreos on top for that extra crunch and visual appeal.
Step 8: Serve
Slice your Velvet Oreo Cheesecake and serve it chilled. For an indulgent touch, drizzle with chocolate sauce if desired. Each bite is a creamy, dreamy experience that’s sure to impress!
Tips for Success
- Always use room temperature cream cheese for a smooth filling.
- Don’t skip the chilling step; it enhances flavor and texture.
- For a cleaner slice, use a hot knife to cut through the cheesecake.
- Feel free to adjust the amount of crushed Oreos for decoration based on your preference.
- Experiment with different toppings like caramel or fresh berries for a twist.
Equipment Needed
- 9-inch springform pan: Essential for easy removal; a regular cake pan works too, but slicing will be trickier.
- Mixing bowls: Use a large bowl for the filling; a medium bowl for whipping cream.
- Electric mixer: A hand mixer is great, but a stand mixer saves time.
- Spatula: Perfect for folding in ingredients and smoothing the filling.
- Food processor or rolling pin: For crushing Oreos into fine crumbs.
Variations
- Chocolate Mint: Add a few drops of peppermint extract to the filling for a refreshing twist.
- Peanut Butter Swirl: Mix in some creamy peanut butter into the filling for a rich, nutty flavor.
- Gluten-Free: Substitute regular Oreos with gluten-free Oreos to make this dessert suitable for gluten-sensitive friends.
- Fruit Topping: Top with fresh berries or a berry compote for a fruity contrast to the rich cheesecake.
- Vegan Option: Use vegan cream cheese and coconut cream for the whipped topping to create a plant-based version.
Serving Suggestions
- Pair your Velvet Oreo Cheesecake with a scoop of vanilla ice cream for a delightful contrast.
- Serve alongside fresh berries to add a pop of color and freshness.
- For drinks, consider a rich coffee or a glass of cold milk to complement the flavors.
- Presentation tip: Use a cake stand to elevate your cheesecake and make it the star of the dessert table.
FAQs about Velvet Oreo Cheesecake
As you embark on your journey to create the perfect Velvet Oreo Cheesecake, you might have a few questions. Here are some common queries that can help you along the way:
Can I use low-fat cream cheese for this recipe?
While you can use low-fat cream cheese, it may affect the texture and creaminess of your Velvet Oreo Cheesecake. For the best results, I recommend sticking with full-fat cream cheese.
How do I know when my cheesecake is done baking?
The edges should be set, but the center should still have a slight jiggle. This indicates that your cheesecake will be creamy once it cools. Remember, it will continue to set as it cools!
Can I make this cheesecake ahead of time?
Absolutely! In fact, making it a day in advance is ideal. Chilling overnight enhances the flavors and gives you a smoother texture, making it a perfect make-ahead dessert.
What can I use instead of sour cream?
If you don’t have sour cream on hand, you can substitute it with Greek yogurt. It will provide a similar tangy flavor and creamy texture to your Velvet Oreo Cheesecake.
How should I store leftovers?
Store any leftover cheesecake in an airtight container in the refrigerator. It should stay fresh for up to five days, but I doubt it will last that long!
Final Thoughts
Creating this Velvet Oreo Cheesecake is more than just baking; it’s about crafting memories. Each slice tells a story, whether it’s a family gathering or a quiet evening treat. The rich, creamy texture paired with the crunch of Oreos makes every bite a delightful experience. Plus, the joy of sharing it with loved ones is unmatched. As you savor this dessert, remember that it’s not just about the flavors but the moments you create around the table. So, roll up your sleeves, embrace the process, and enjoy the sweet rewards of your culinary adventure!
PrintVelvet Oreo Cheesecake: Discover the Ultimate Recipe!
- Total Time: 7 hours 30 minutes
- Yield: 12 servings
- Diet: Vegetarian
Description
A rich and creamy Velvet Oreo Cheesecake with a delicious Oreo crust and topped with whipped cream and crushed Oreos.
Ingredients
- 24 Oreo cookies
- 5 tbsp (70 g) unsalted butter, melted
- 24 oz (680 g) cream cheese, softened
- ¾ cup (150 g) granulated sugar
- 3 large eggs
- 1 tsp vanilla extract
- ½ cup (120 ml) sour cream
- 12 Oreo cookies, roughly chopped
- ½ cup (120 ml) heavy cream
- 1 cup (240 ml) heavy whipping cream
- 2 tbsp powdered sugar
- 8–10 Oreo cookies, crushed or halved
- Chocolate sauce, optional
Instructions
- Prepare the crust: Preheat oven to 325°F (165°C). Crush the Oreos into fine crumbs and mix with melted butter. Press firmly into the bottom of a 9-inch (23 cm) springform pan.
- Make the filling: Beat the softened cream cheese and sugar until smooth and creamy. Add the eggs one at a time, mixing gently after each addition.
- Add remaining ingredients: Mix in vanilla, sour cream, and heavy cream until just combined. Fold in the chopped Oreos.
- Bake: Pour the filling over the crust and smooth the top. Bake for 55–65 minutes, until the edges are set but the center still has a slight jiggle.
- Cool: Turn off the oven, crack the door open, and leave the cheesecake inside for about 30 minutes. Remove and cool completely.
- Chill: Refrigerate for at least 6 hours, preferably overnight.
- Decorate: Whip the heavy cream with powdered sugar until stiff peaks form. Pipe or spread over the cheesecake and decorate with crushed or halved Oreos.
- Serve: Drizzle with chocolate sauce if desired, then slice and serve chilled.
Notes
- For best results, use room temperature cream cheese.
- Chilling overnight enhances the flavor and texture.
- Feel free to adjust the amount of crushed Oreos for decoration based on preference.
- Prep Time: 30 minutes
- Cook Time: 1 hour
- Category: Dessert
- Method: Baking
- Cuisine: American
Nutrition
- Serving Size: 1 slice
- Calories: 450
- Sugar: 30g
- Sodium: 300mg
- Fat: 30g
- Saturated Fat: 15g
- Unsaturated Fat: 10g
- Trans Fat: 0g
- Carbohydrates: 40g
- Fiber: 2g
- Protein: 6g
- Cholesterol: 100mg