There’s something magical about uncovering a hidden culinary gem from another culture. Today, I’m thrilled to share my take on Easy Banh Bo Nuong, a delightful Vietnamese Honeycomb Cake that’s sure to enchant your taste buds. This enchanting dessert features a light and fluffy texture, alongside a captivating honeycomb appearance that makes it a feast for the eyes. With its gluten-free and dairy-free attributes, it’s not just a treat for special occasions but also a simple, healthy option to brighten up your everyday meals. Not to mention, its aromatic blend of pandan and coconut will transport you straight to the bustling streets of Vietnam with each bite. Are you ready to dive into a world of delicious possibilities and create a dessert that’s both show-stopping and comforting? Let’s get started!
Why is This Cake So Amazing?
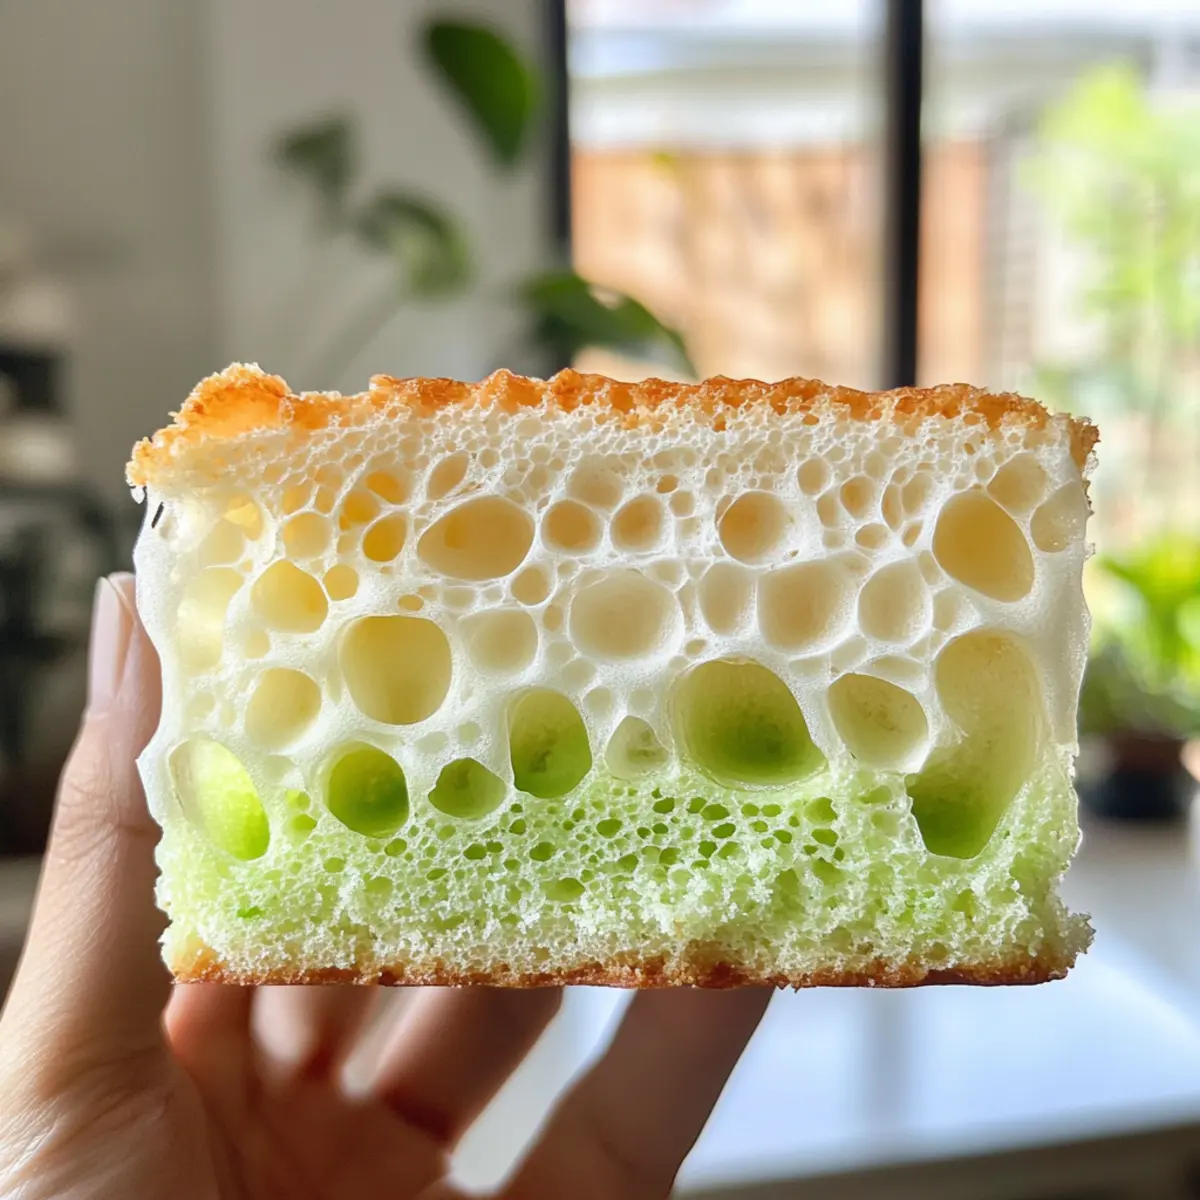
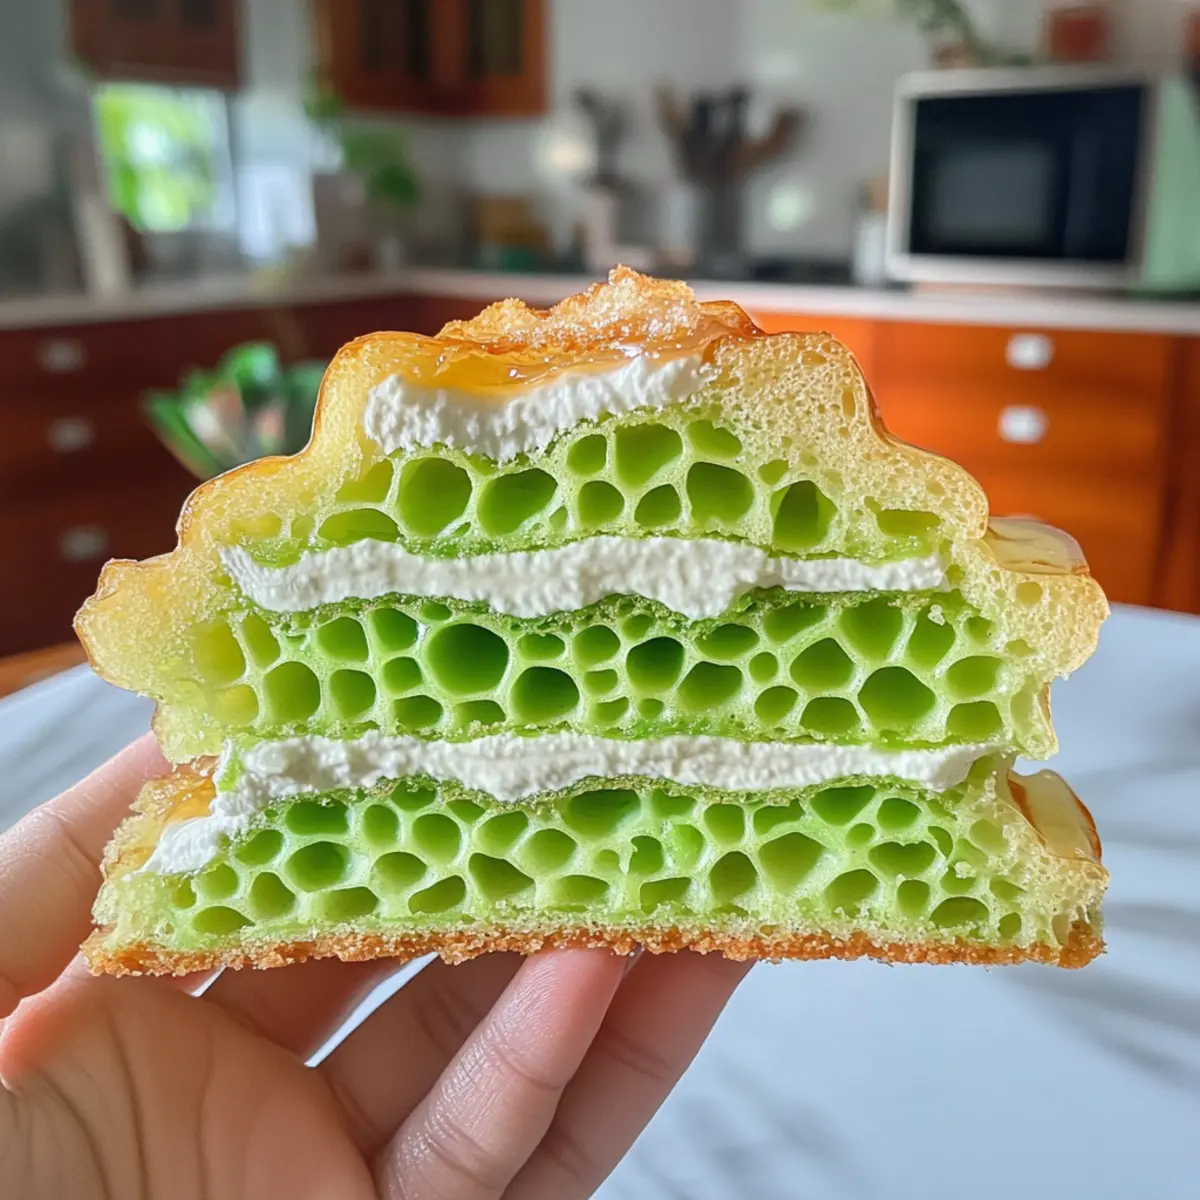
Light and Fluffy: The Easy Banh Bo Nuong offers a delightful texture that feels like eating a cloud! Its airy delight is perfect for anyone tired of dense desserts.
Unique Flavors: The enchanting combination of pandan and coconut creates a sweet, exotic taste that’s truly unforgettable.
Easy to Make: With simple ingredients and straightforward steps, you’ll have this beautiful cake ready in no time.
Perfect for Everyone: As a gluten-free and dairy-free option, it caters to various dietary needs, making it an ideal dessert for gatherings. You might also enjoy pairing it with a cup of tea, just like with the Sugar Cookie Cheesecake for an extra treat!
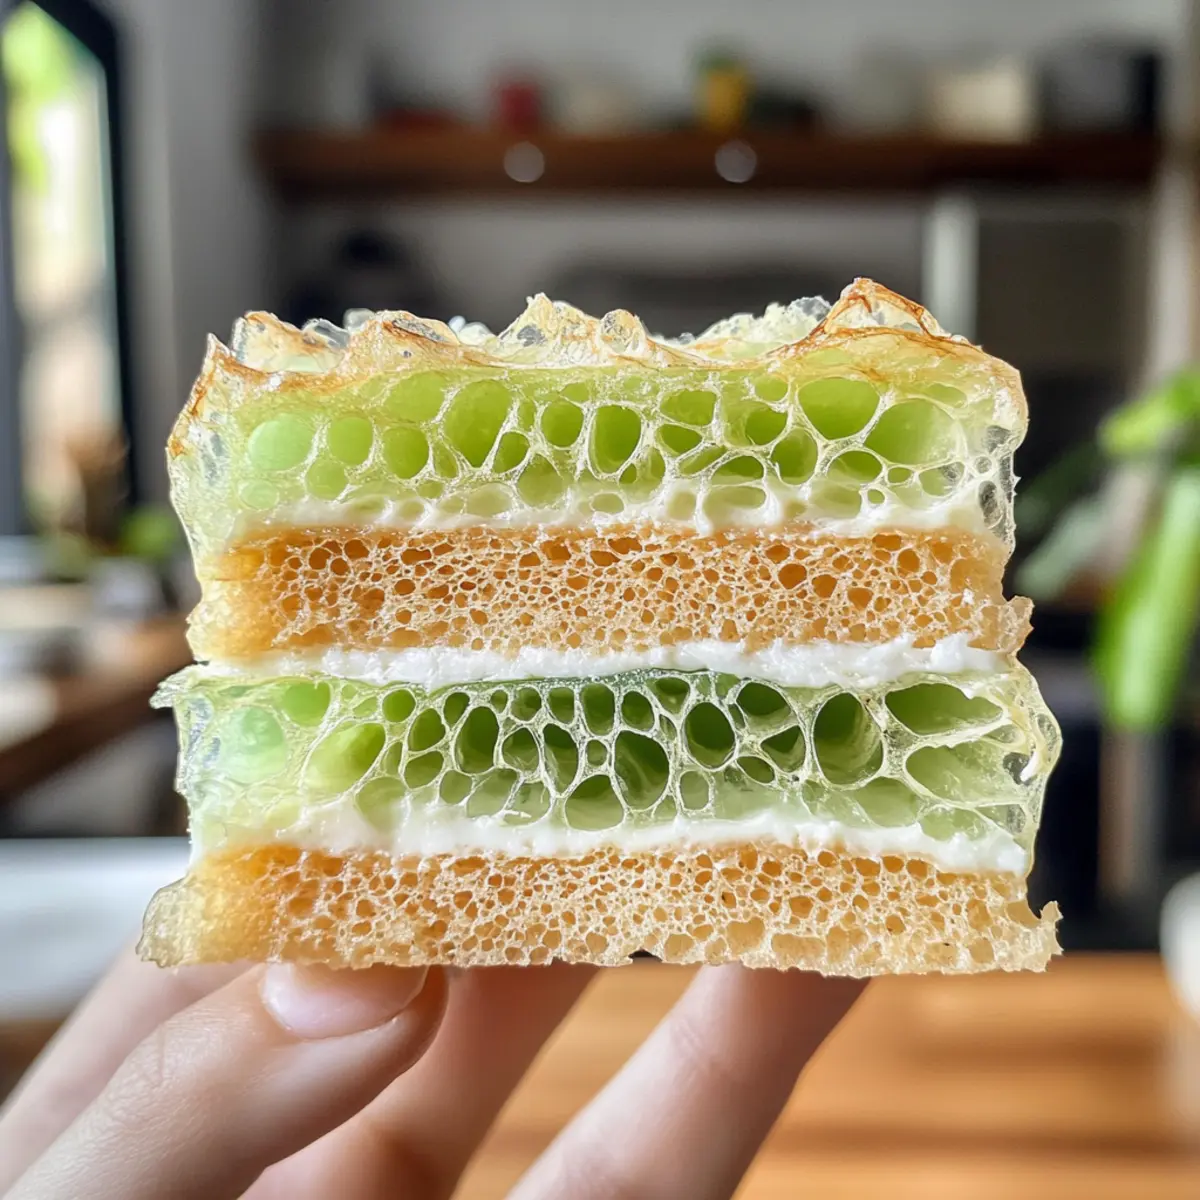
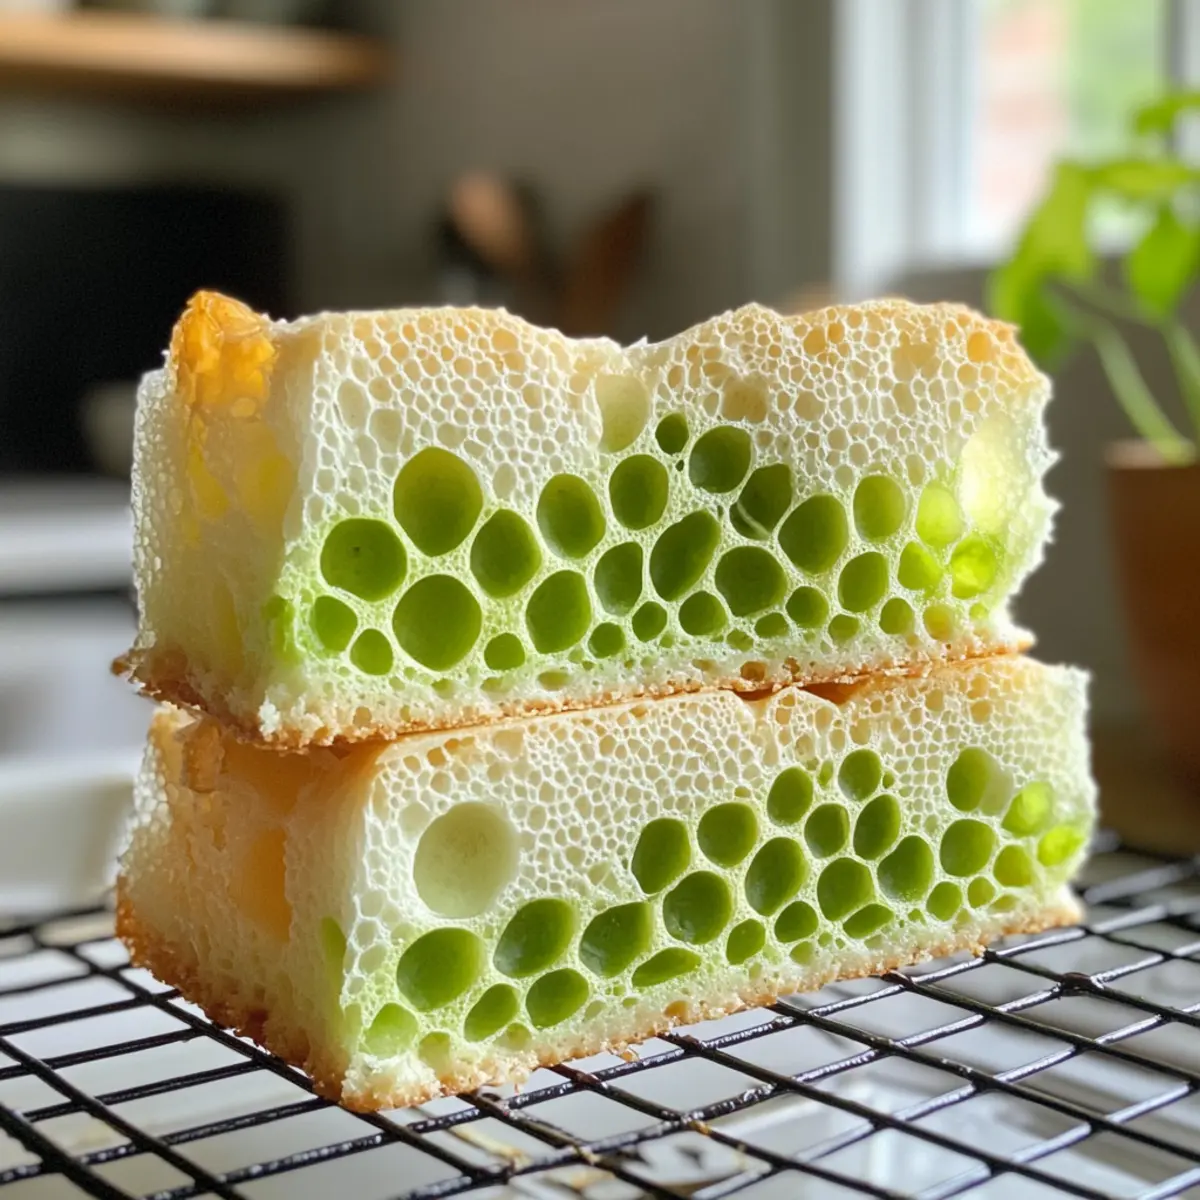
Impressive Presentation: Its honeycomb appearance will wow your friends and family, making it a perfect centerpiece for celebrations. This cake isn’t just dessert; it’s an experience!
Vietnamese Honeycomb Cake Ingredients
• Discover the key ingredients for this delicious treat!
For the Batter
- Coconut Milk – Base liquid adding creaminess and flavor; use full-fat for richness.
- Pandan Leaves – Imparts a natural, aromatic sweetness and vibrant green color; can substitute with 1 tsp of pandan extract if leaves are unavailable.
- Eggs – Provides structure and moisture; using large eggs yields the best results.
- Granulated Sugar – Sweetens the cake, balancing its flavor; adjust to taste, with some preferring up to 1.5 cups for added sweetness.
- Pandan Extract – Enhances the pandan flavor profile; double if using extract instead of leaves.
- Vanilla Extract – Adds depth and warmth to the overall flavor.
- Tapioca Starch – Critical for achieving the cake’s signature texture and honeycomb appearance; no substitute recommended.
- Single Acting Baking Powder – Provides lift to the cake; ensure you use single acting, approximately 16g from one packet.
- Salt – Balances sweetness and enhances overall flavors.
Step‑by‑Step Instructions for Vietnamese Honeycomb Cake
Step 1: Preheat the Oven
Begin by preheating your oven to 350°F (177°C). As the oven heats, place a bundt pan inside to warm up as well; this will help the cake release later and achieve its signature honeycomb texture. Allow the pan to preheat for about 10 minutes while you prepare the batter.
Step 2: Prepare the Coconut Mixture
In a blender, combine 14 ounces of full-fat coconut milk with 10 fresh pandan leaves. Blend until smooth, then strain the mixture through a fine mesh sieve into a bowl, pressing down on the leaves to extract every bit of liquid. This fragrant coconut-pandan mixture is essential for your Vietnamese Honeycomb Cake.
Step 3: Mix the Wet Ingredients
In a large mixing bowl, gently whisk together the strained coconut mixture with 5 large eggs and 1 1/3 cups of granulated sugar. Take care to mix slowly to avoid incorporating too many bubbles, which can affect texture. For an even smoother batter, strain the egg mixture again to ensure everything is well combined.
Step 4: Add Flavorings
Next, mix in 1/2 teaspoon of pandan extract and 1 teaspoon of vanilla extract into the wet ingredients. Stir gently until the extracts are fully integrated. This step enhances the delicious aroma and flavor profile of the Vietnamese Honeycomb Cake, setting the stage for its unique taste.
Step 5: Combine Dry Ingredients
In a separate bowl, whisk together 1 cup of tapioca starch, 16 grams of single acting baking powder, and a pinch of salt. Gradually fold this dry mixture into the wet ingredients until just combined, being careful not to overmix. Straining the batter again at this stage will help eliminate lumps, ensuring a smooth consistency.
Step 6: Pour and Bake
Carefully pour the batter into the preheated bundt pan, ensuring an even layer. Place the pan in the oven and bake for 50 to 55 minutes, or until a toothpick inserted into the center comes out clean. You’ll know the cake is done when it begins to pull away from the sides and exhibits a beautiful golden hue.
Step 7: Cool the Cake
Once baked, remove the bundt pan from the oven and let it cool for about 60 minutes, allowing the cake to set. When the cake has cooled sufficiently, carefully flip the bundt pan upside down on a wire rack to release the cake. The gentle inverted tap should reveal the stunning honeycomb design perfectly.
What to Serve with Easy Banh Bo Nuong?
There’s nothing quite like completing your meal with delightful pairings that elevate your homemade dessert experience.
-
Fresh Mango Slices: Their juicy sweetness provides a refreshing contrast to the cake’s fluffy texture, enhancing the tropical vibe.
-
Coconut Ice Cream: Creamy and rich, this pairing mirrors the coconut flavor in the cake, adding a luscious element to every bite.
-
Green Tea: The earthy notes of green tea complement the delicate sweetness of the cake while balancing its rich coconut pandan flavors. For the best experience, serve both warm and chilled.
-
Thai Sweet Sticky Rice: This comforting side adds a chewy, hearty texture that contrasts beautifully with the airy cake.
-
Chilled Fruit Salad: A vibrant mix of seasonal fruits can offer a burst of freshness, making each slice feel light and more delightful.
-
Coconut Milk Drizzle: Drizzling extra coconut milk on the cake will enhance its coconut flavor, providing extra moisture and richness that complements its texture beautifully.
-
Kefir or Yogurt: A dollop of tangy kefir or yogurt can balance the sweetness and provide a creamy element that harmonizes with the cake.
-
Flavored Tea: Sipping on fragrant jasmine or pandan tea while enjoying this cake can enhance the sensory experience, echoing its Asian origins beautifully.
Expert Tips for Vietnamese Honeycomb Cake
-
Preheat is Key: Always preheat the bundt pan to ensure the cake releases perfectly and achieves that gorgeous honeycomb texture.
-
Straining Matters: Use a fine mesh sieve to remove lumps from the batter. This helps create the light, airy texture you desire in your Vietnamese Honeycomb Cake.
-
Cooling Time: Allow the cake to cool completely before inverting it from the pan. This ensures it holds its shape and releases easily, avoiding any potential mess.
-
Sugar Adjustments: Feel free to adjust the sugar to your liking! Traditional recipes may call for less sweetness, so taste as you go to match your palate.
-
Don’t Skip the Tapioca: Tapioca starch is essential for texture. Avoid substituting it, as it’s crucial for achieving that signature honeycomb interior.
Storage Tips for Vietnamese Honeycomb Cake
Room Temperature: Store the cake in an airtight container at room temperature for up to 3 days to maintain its delightful texture.
Fridge: If you’re in a warmer climate, refrigeration is recommended; keep it in an airtight container for optimal freshness for about a week.
Freezer: To freeze, wrap the cake tightly in plastic wrap and store in an airtight container. It can last for up to 2 months. Thaw in the fridge overnight before enjoying.
Reheating: For a warm treat, reheat individual slices in the microwave for about 15-20 seconds. Don’t forget to savor the aroma of your Vietnamese Honeycomb Cake!
Vietnamese Honeycomb Cake Customization
Feel free to let your creativity shine with these delightful variations to make this cake your own!
-
Gluten-Free: Confirm that all ingredients, especially your baking powder and other packaged goods, are certified gluten-free.
-
Dairy-Free: Not only is this cake already dairy-free, but you can also explore using almond milk for an incredible nutty flavor twist.
-
Brown Sugar: Use brown sugar instead of granulated sugar to create a deeper, caramel-like flavor that adds delightful richness to every bite.
-
Flavor Boost: Try experimenting with a splash of orange or almond extract for a unique twist. Each note contributes a layer of complexity to the original flavor profile.
-
Toppings Galore: Top your cake with fresh fruits like mango, or even drizzle it with a coconut glaze. These additions can elevate the dessert into a vibrant centerpiece.
-
Mini Banh Bo Nuong: Transform the cake into mini portions by using muffin tins, perfect for sharing during gatherings or as a handheld treat.
-
Adding Heat: Want to add a kick? Incorporate a touch of finely grated ginger or a small pinch of cayenne pepper into the batter to surprise your taste buds.
-
Texture Pairing: For a delightful crunch, serve alongside some toasted coconut flakes, reminiscent of the tropical flavors within the cake! You’ll find that the texture contrast will leave everyone wanting more.
These variations allow you to enjoy many different facets of the classic Banh Bo Nuong! If you are inspired to try more flavors, don’t forget to check out the delicious Strawberry Lemon Cake or indulge in the rich Cream Brulee Cheesecake for a delightful balance of comfort and elegance!
Make Ahead Options
Preparing the Easy Banh Bo Nuong ahead of time is a fantastic way to simplify your meal planning! You can mix the wet ingredients and combine the dry ingredients up to 24 hours in advance, storing them separately in the refrigerator to maintain freshness and flavor. Just be sure to keep your coconut mixture tightly sealed to prevent any odors from tainting it. When you’re ready to bake, simply combine the wet and dry ingredients, pour the batter into the preheated bundt pan, and bake as instructed. By taking these steps, you’ll save precious time on busy days without sacrificing the delightful taste of this Vietnamese Honeycomb Cake!
Easy Banh Bo Nuong (Vietnamese Honeycomb Cake) Recipe FAQs
How do I select ripe pandan leaves for the cake?
Absolutely! Look for pandan leaves that are vibrant green and fresh. They should feel pliable and not dry or brittle. If you find dark spots or yellowing, it’s best to avoid those, as they may not impart the best flavor to your cake.
What is the best way to store leftovers?
Very simple! Store your Vietnamese Honeycomb Cake in an airtight container at room temperature for up to 3 days. If the weather is warm, I recommend refrigerating it, which helps maintain its freshness for about one week.
Can I freeze the Banh Bo Nuong?
Of course! To freeze, first, let the cake cool completely. Wrap it tightly in plastic wrap, ensuring no air gets in, then place it in an airtight container. It can be frozen for up to 2 months. When you’re ready to enjoy it, just thaw it in the fridge overnight before serving.
What if my cake doesn’t rise properly?
If your cake doesn’t rise, it might be due to expired baking powder or overmixing the batter. Always check the baking powder’s expiration date before using it, and when mixing, aim for a gentle fold instead of vigorous stirring to keep the batter light. If all else fails, consider checking your oven temperature with an oven thermometer to ensure it’s accurate!
Are there any allergens I should consider for this recipe?
This cake is a wonderful gluten-free and dairy-free dessert, making it suitable for many diets. However, since it’s made with eggs, it’s not vegan. If you’re concerned about allergies, ensure all ingredients, especially the coconut milk and tapioca starch, are certified gluten-free if necessary.
Irresistible Vietnamese Honeycomb Cake You Can Make Today
Ingredients
Equipment
Method
- Preheat your oven to 350°F (177°C) and place a bundt pan inside to warm up for about 10 minutes.
- In a blender, combine 14 ounces of full-fat coconut milk with 10 fresh pandan leaves. Blend until smooth, then strain through a sieve into a bowl.
- In a large bowl, whisk together the coconut mixture, 5 large eggs, and 1 1/3 cups of sugar gently to avoid bubbles.
- Mix in 1/2 teaspoon of pandan extract and 1 teaspoon of vanilla extract into the wet mixture, stirring gently.
- In a separate bowl, whisk together 1 cup of tapioca starch, 16 grams of baking powder, and a pinch of salt. Fold into the wet ingredients.
- Pour the batter into the preheated bundt pan and bake for 50 to 55 minutes, or until a toothpick inserted comes out clean.
- Let the cake cool for about 60 minutes before inverting it onto a wire rack.