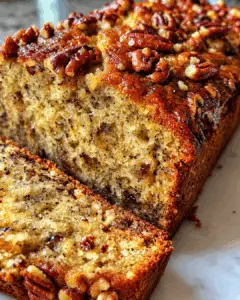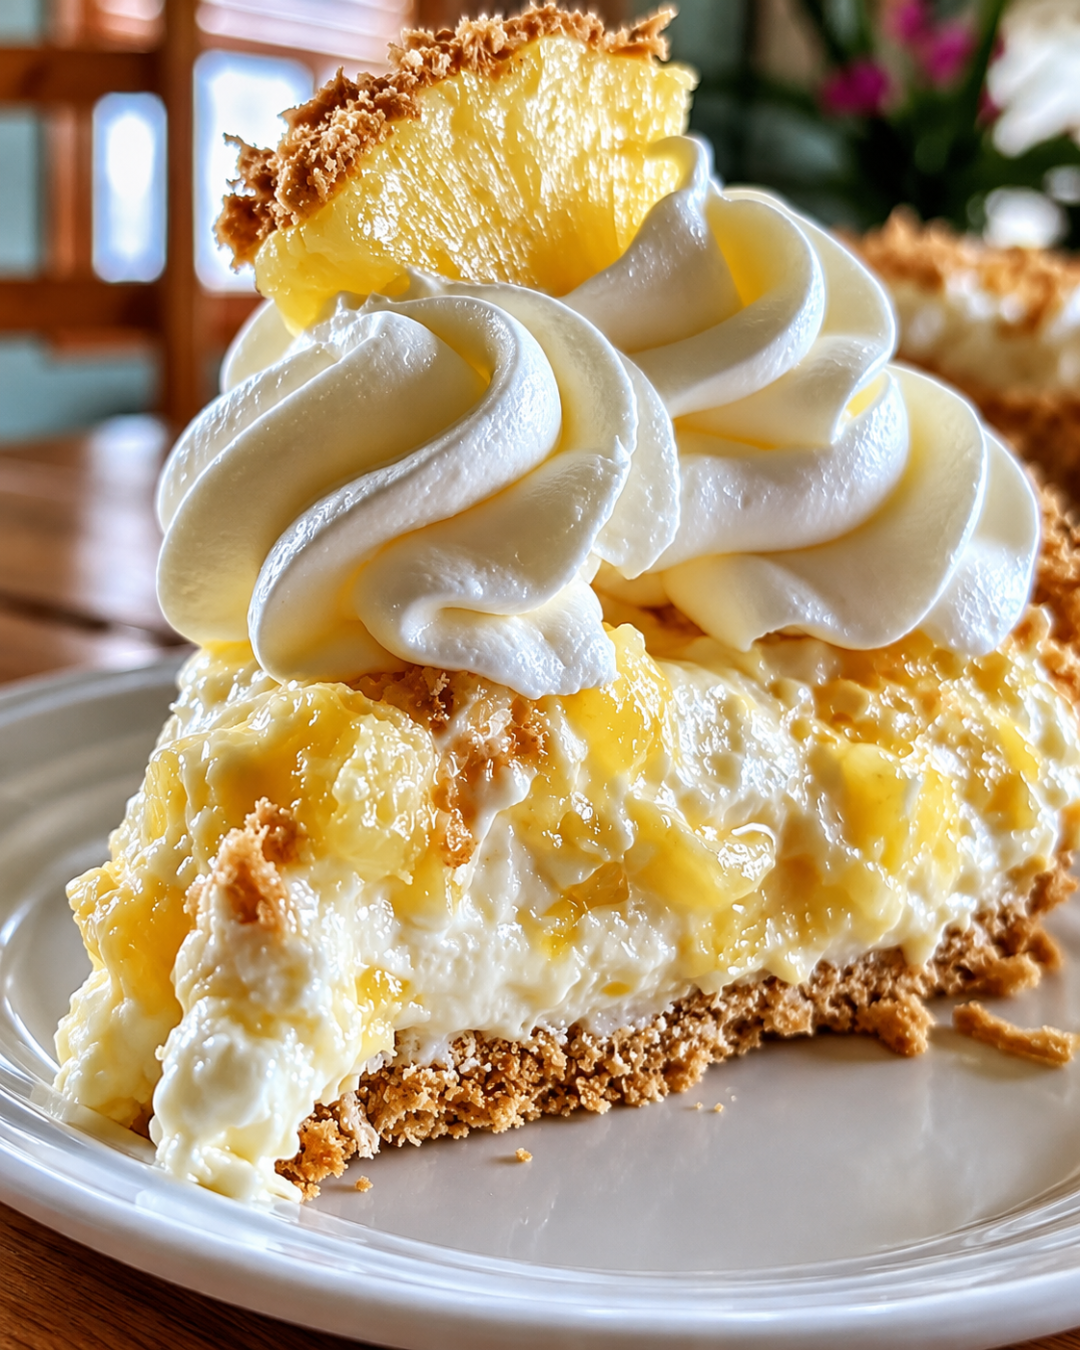
Introduction to Grandma’s No-Bake Pineapple Pie
There’s something magical about desserts that remind us of childhood, isn’t there? Grandma’s No-Bake Pineapple Pie is one of those sweet memories that brings a smile to my face. It’s the kind of recipe that’s perfect for a busy day or a last-minute gathering. With just a few simple ingredients, you can whip up a delightful treat that impresses everyone. The creamy texture and tropical flavor make it a hit at any occasion. Plus, it’s a no-bake wonder, so you can spend less time in the kitchen and more time enjoying life!
Why You’ll Love This Grandma’s No-Bake Pineapple Pie
This pie is a game-changer for anyone who loves delicious desserts without the fuss. It’s incredibly easy to make, taking just 15 minutes of prep time. The refreshing taste of pineapple combined with creamy goodness is simply irresistible. Plus, it’s a crowd-pleaser that works for any occasion, from summer barbecues to cozy family dinners. You’ll find yourself making this recipe again and again!
Ingredients for Grandma’s No-Bake Pineapple Pie
Gathering the right ingredients is the first step to creating this delightful pie. Here’s what you’ll need:
- Cream Cheese: This is the base of our pie, providing a rich and creamy texture that makes every bite heavenly.
- Granulated Sugar: A touch of sweetness to balance the tanginess of the pineapple and cream cheese.
- Vanilla Extract: Just a splash adds depth and warmth to the flavor profile.
- Whipped Topping: This lightens the mixture, giving it that airy feel we all love in a dessert.
- Crushed Pineapple: The star of the show! Make sure it’s well-drained to avoid a soggy pie.
- Graham Cracker Crust: A classic choice that adds a crunchy texture and buttery flavor, perfect for holding all that creamy goodness.
- Chopped Pecans (optional): For those who enjoy a little crunch, these nuts add a delightful contrast to the smooth filling.
- Maraschino Cherries (optional): A fun garnish that adds a pop of color and a hint of sweetness on top.
For exact measurements, check the bottom of the article where you can find everything you need for printing. Feel free to get creative with your ingredients; after all, cooking is all about making it your own!
How to Make Grandma’s No-Bake Pineapple Pie
Creating Grandma’s No-Bake Pineapple Pie is a breeze! Follow these simple steps, and you’ll have a delicious dessert ready to impress your family and friends. Let’s dive in!
Step 1: Prepare the Cream Cheese Mixture
Start by grabbing a large mixing bowl. Beat the softened cream cheese, granulated sugar, and vanilla extract together until the mixture is smooth and creamy. This is where the magic begins! The cream cheese should be soft enough to blend easily, so let it sit out for a bit if it’s too firm. You want a luscious base that sets the stage for the rest of the pie.
Step 2: Fold in the Whipped Topping
Next, gently fold in the whipped topping. This step is crucial for achieving that light, airy texture we all love. Use a spatula and a gentle hand to combine the whipped topping with the cream cheese mixture. You want to keep as much air in the whipped topping as possible, so avoid vigorous stirring. Think of it as a dance—slow and graceful!
Step 3: Add Pineapple and Pecans
Now it’s time to bring in the star of the show: the crushed pineapple! Make sure it’s well-drained to prevent a soggy pie. Fold the pineapple into the mixture along with the optional chopped pecans. The pecans add a delightful crunch, but if you’re not a fan, feel free to skip them. Just like Grandma used to say, “Make it your own!”
Step 4: Fill the Graham Cracker Crust
Grab your graham cracker crust and spoon the creamy mixture into it. Spread it evenly with a spatula, making sure it reaches all the edges. This is where the pie starts to take shape! The crust will provide a perfect balance to the creamy filling, so take your time to get it just right.
Step 5: Refrigerate
Cover the pie with plastic wrap and pop it in the refrigerator. It needs to chill for at least 4 hours, but overnight is even better. This allows the flavors to meld and the pie to firm up beautifully. Patience is key here, but trust me, it’s worth the wait!
Step 6: Garnish and Serve
Once your pie is set, it’s time to get creative with garnishes! Top it with a dollop of whipped topping, sprinkle some chopped pecans, or add a few maraschino cherries for a pop of color. Slice it up and serve chilled. Watch as everyone digs in, and enjoy the smiles that follow!
Tips for Success
- Make sure your cream cheese is softened for easy mixing.
- Drain the crushed pineapple thoroughly to avoid a watery pie.
- For a firmer pie, refrigerate overnight instead of just 4 hours.
- Experiment with toppings like coconut or chocolate shavings for a twist.
- Use a spatula to gently fold ingredients to maintain that light texture.
Equipment Needed
- Mixing Bowl: A large bowl for combining ingredients. A sturdy glass or ceramic bowl works well.
- Electric Mixer: For beating the cream cheese. A whisk can work in a pinch, but it’ll take longer.
- Spatula: Essential for folding and spreading the mixture evenly.
- Measuring Cups: Handy for precise ingredient amounts, though you can eyeball it if you’re feeling adventurous!
- Plastic Wrap: To cover the pie while it chills in the fridge.
Variations
- Fruit Medley: Mix in other fruits like diced strawberries or mango for a tropical twist.
- Low-Fat Option: Use low-fat cream cheese and whipped topping to lighten the dessert without sacrificing flavor.
- Vegan Version: Substitute cream cheese with a vegan alternative and use coconut whipped cream for a dairy-free delight.
- Chocolate Lovers: Add cocoa powder to the cream cheese mixture or drizzle chocolate sauce on top before serving.
- Nut-Free: Omit the pecans and consider using sunflower seeds for a crunchy texture without nuts.
Serving Suggestions
- Pair with a scoop of vanilla ice cream for an extra creamy treat.
- Serve alongside fresh fruit like strawberries or blueberries for a colorful plate.
- Complement with a refreshing iced tea or lemonade to balance the sweetness.
- For a festive touch, garnish with mint leaves or edible flowers.
FAQs about Grandma’s No-Bake Pineapple Pie
Can I make Grandma’s No-Bake Pineapple Pie ahead of time?
Absolutely! This pie is perfect for making ahead. In fact, it tastes even better after chilling overnight. Just cover it well and store it in the fridge until you’re ready to serve.
What can I substitute for cream cheese?
If you’re looking for a lighter option, you can use Greek yogurt or a vegan cream cheese alternative. Both will give you a creamy texture while keeping the flavor delightful.
How do I store leftovers?
Store any leftovers in an airtight container in the fridge. It should stay fresh for about 3-4 days, but I doubt it will last that long with how delicious it is!
Can I use fresh pineapple instead of canned?
Yes, you can! Just make sure to finely chop the fresh pineapple and drain it well to avoid excess moisture. It’ll add a fresh twist to Grandma’s classic recipe.
What other toppings can I use?
The sky’s the limit! You can try shredded coconut, chocolate shavings, or even a drizzle of caramel sauce. Get creative and make it your own!
Final Thoughts
Making Grandma’s No-Bake Pineapple Pie is more than just whipping up a dessert; it’s about creating memories. Each slice brings a taste of nostalgia, reminding me of sunny afternoons spent with family. The joy of sharing this pie with loved ones is unmatched. It’s a simple recipe that delivers big on flavor and smiles. Whether it’s a summer barbecue or a cozy family dinner, this pie is sure to be a hit. So, roll up your sleeves, gather your ingredients, and let the sweet magic of this no-bake delight fill your home with happiness!
PrintGrandma’s No-Bake Pineapple Pie: A Sweet Delight Recipe!
- Total Time: 4 hours 15 minutes
- Yield: 8 servings
- Diet: Vegetarian
Description
A delightful and easy no-bake pineapple pie recipe that brings a taste of Grandma’s kitchen to your table.
Ingredients
- 1 package cream cheese, softened
- ½ cup granulated sugar
- 1 tsp vanilla extract
- 1 container whipped topping, thawed
- 1 can crushed pineapple, well drained
- 1 graham cracker crust
- ¼ cup chopped pecans, optional
- Maraschino cherries, for garnish, optional
Instructions
- In a large bowl, beat the softened cream cheese, sugar, and vanilla until smooth and creamy.
- Gently fold in the whipped topping until well combined.
- Fold in the drained crushed pineapple and chopped pecans, if using.
- Spoon the mixture into the graham cracker crust and spread the top evenly.
- Cover and refrigerate for at least 4 hours, preferably overnight, until firm.
- Garnish with whipped topping, pecans, or cherries before serving.
- Slice chilled and serve.
Notes
- For best results, refrigerate overnight to allow the pie to set properly.
- Feel free to customize the garnish with your favorite toppings.
- Prep Time: 15 minutes
- Cook Time: 0 minutes
- Category: Dessert
- Method: No-Bake
- Cuisine: American
Nutrition
- Serving Size: 1 slice
- Calories: 250
- Sugar: 15g
- Sodium: 150mg
- Fat: 15g
- Saturated Fat: 8g
- Unsaturated Fat: 5g
- Trans Fat: 0g
- Carbohydrates: 30g
- Fiber: 1g
- Protein: 3g
- Cholesterol: 30mg