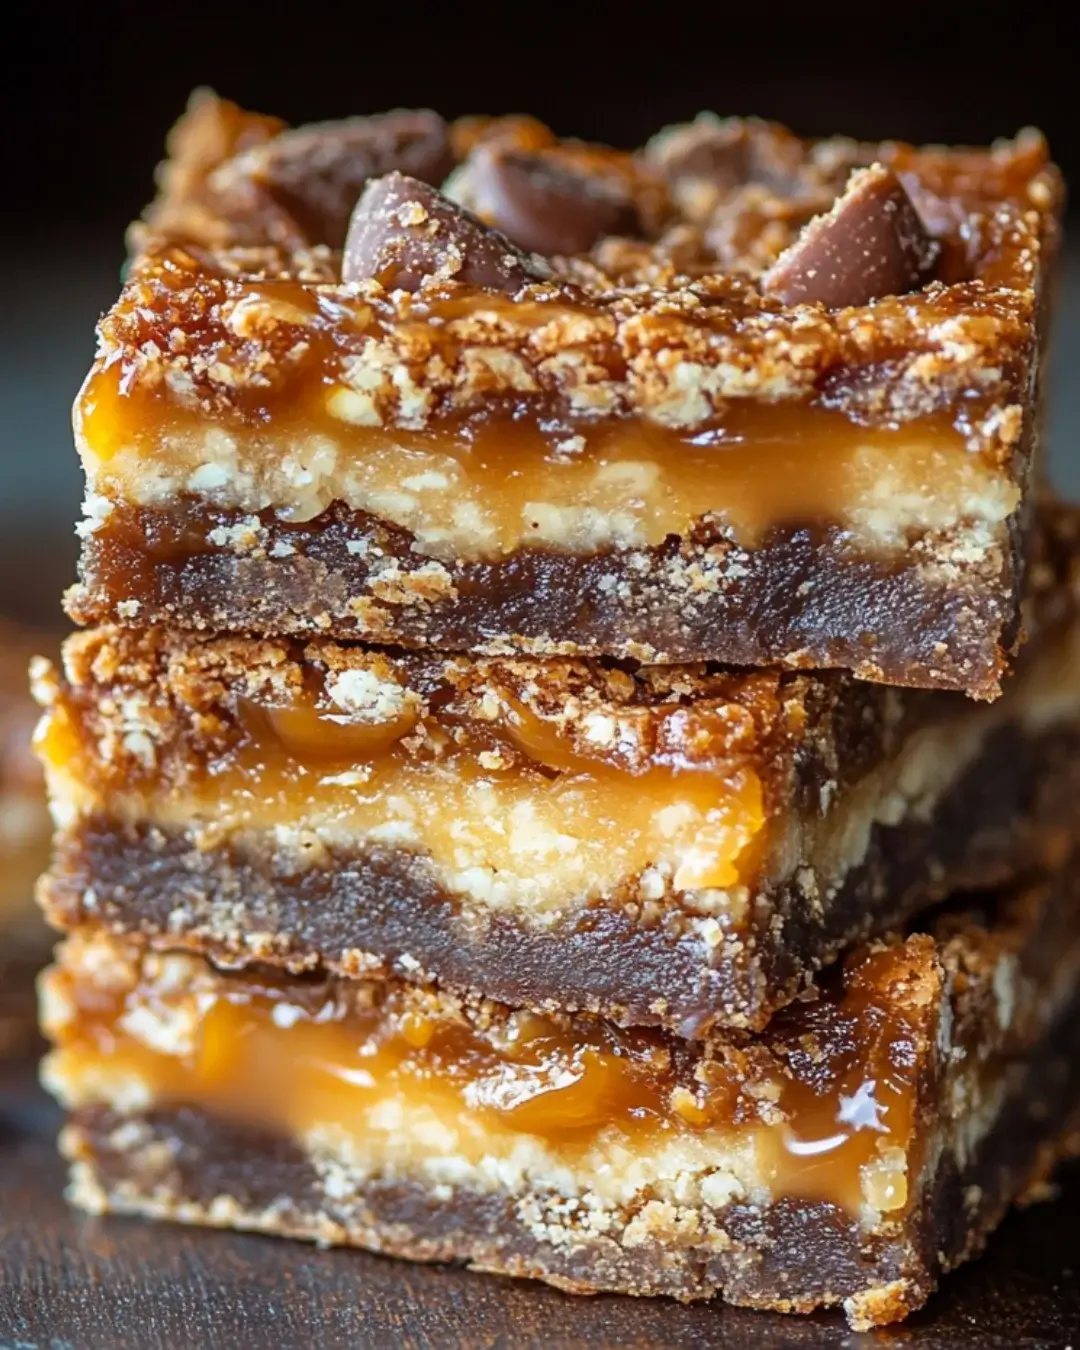
Introduction to Butterfinger Caramel Bars
There’s something magical about the combination of chocolate and caramel, isn’t there? When I think of my childhood, I remember sneaking Butterfinger bars from the pantry, savoring each crunchy bite. Now, as a passionate home cook, I’ve transformed that nostalgia into a delightful treat: Butterfinger Caramel Bars. These bars are not just a quick solution for a busy day; they’re a sweet way to impress your loved ones. With a crumbly crust, gooey filling, and a drizzle of chocolate, they’re sure to bring smiles all around. Let’s dive into this delicious adventure!
Why You’ll Love This Butterfinger Caramel Bars
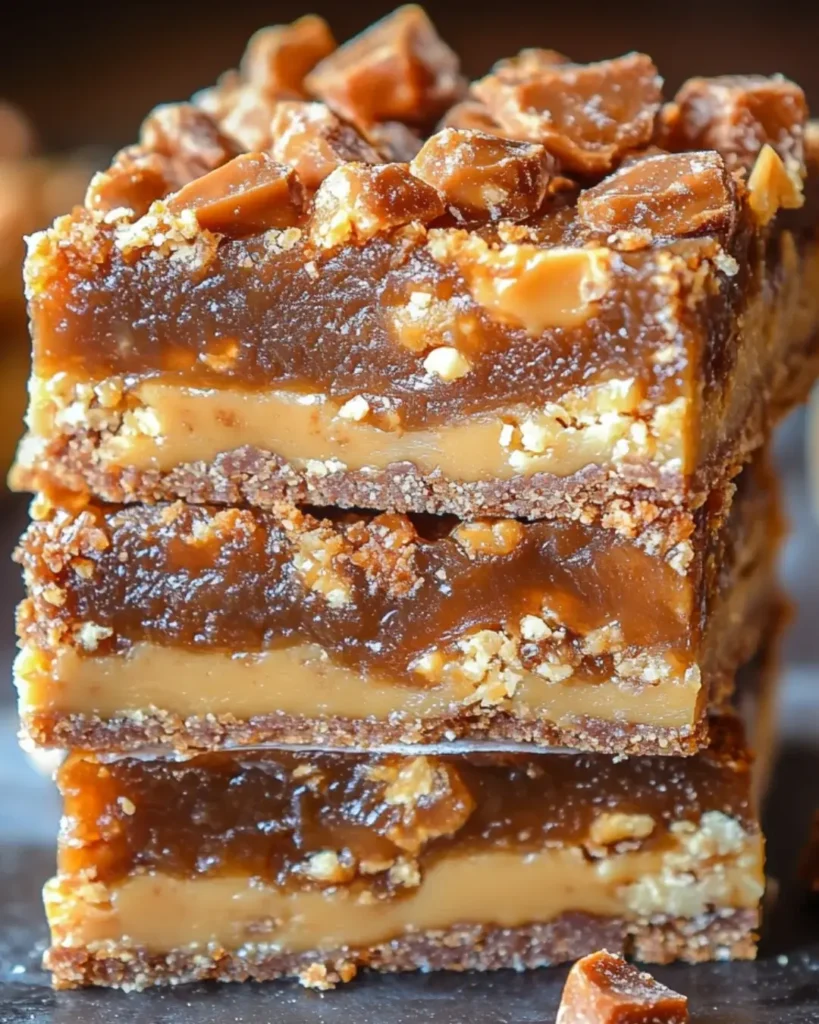
These Butterfinger Caramel Bars are a game-changer in the dessert world. They come together in just 45 minutes, making them perfect for those last-minute cravings or unexpected guests. The rich, buttery flavor combined with the sweet crunch of Butterfinger creates a taste explosion that’s hard to resist. Plus, they’re easy to make, so even if you’re not a pro in the kitchen, you’ll feel like one with this recipe!
Ingredients for Butterfinger Caramel Bars
Gathering the right ingredients is the first step to creating these delightful Butterfinger Caramel Bars. Here’s what you’ll need:
- All-purpose flour: This forms the base of our crumbly crust, providing structure and texture.
- Rolled oats: They add a hearty chewiness and a touch of wholesome goodness to the bars.
- Brown sugar: Packed with moisture, it gives a rich sweetness and a hint of caramel flavor.
- Baking soda: This leavening agent helps the crust rise slightly, creating a light texture.
- Salt: Just a pinch enhances the sweetness and balances the flavors beautifully.
- Unsalted butter: Melted butter brings richness and binds the crust ingredients together.
- Sweetened condensed milk: This creamy ingredient is the secret to the gooey filling, adding sweetness and moisture.
- Butterfinger candy bars: Chopped into pieces, they provide that signature crunchy, peanut-buttery flavor.
- Semi-sweet chocolate chips: Melting these on top creates a luscious finish that ties everything together.
For those looking to mix things up, consider adding chopped nuts for a nutty twist or substituting the Butterfinger bars with your favorite candy bars for a unique flavor profile. You can find the exact quantities for each ingredient at the bottom of the article, ready for printing!
How to Make Butterfinger Caramel Bars
Step 1: Preheat and Prepare
Start by preheating your oven to 350°F (175°C). While it warms up, grab a 9×9-inch baking pan. Grease it lightly or line it with parchment paper for easy removal later. This little step ensures your Butterfinger Caramel Bars come out perfectly without sticking!
Step 2: Mix the Crust Ingredients
In a large bowl, combine the all-purpose flour, rolled oats, brown sugar, baking soda, and salt. Stir them together until well mixed. Then, pour in the melted unsalted butter. Mix until the ingredients are crumbly, creating a delicious base for your bars.
Step 3: Form the Crust
Take half of the crumb mixture and press it firmly into the bottom of your prepared baking pan. This forms the crust that will hold all the deliciousness together. Make sure it’s even and compact, so it bakes up nicely and supports the filling.
Step 4: Prepare the Filling
In a separate bowl, mix the sweetened condensed milk with the chopped Butterfinger candy bars. Stir until the candy is evenly distributed throughout the creamy mixture. This filling is where the magic happens, bringing that signature Butterfinger flavor to life!
Step 5: Assemble the Bars
Pour the Butterfinger filling over the crust, spreading it out evenly. Then, sprinkle the remaining crumb mixture on top, pressing it down gently. This layer adds a delightful crunch to your Butterfinger Caramel Bars, balancing the gooey filling perfectly.
Step 6: Bake the Bars
Place the pan in the preheated oven and bake for 25-30 minutes. You’ll know they’re ready when the top turns golden brown. Once baked, let the bars cool in the pan for about 10 minutes before transferring them to a wire rack to cool completely.
Step 7: Drizzle with Chocolate
To finish, melt the semi-sweet chocolate chips in a microwave-safe bowl. Heat in 30-second intervals, stirring until smooth. Drizzle the melted chocolate over the cooled bars, creating a luscious topping that ties all the flavors together beautifully.
Tips for Success
- Make sure your butter is fully melted for a smooth crust.
- Don’t skip the cooling time; it helps the bars set properly.
- Use a sharp knife to cut the bars for clean edges.
- Store leftovers in an airtight container to keep them fresh.
- Experiment with different candy bars for unique flavors!
Equipment Needed
- Baking pan: A 9×9-inch pan is ideal, but an 8×8-inch works too.
- Mixing bowls: Use one large bowl for the crust and another for the filling.
- Measuring cups: Essential for accurate ingredient portions.
- Spatula: Great for spreading and mixing ingredients evenly.
- Microwave-safe bowl: Needed for melting chocolate smoothly.
Variations
- Nutty Delight: Add 1/2 cup of chopped peanuts or almonds for a crunchy twist that complements the Butterfinger flavor.
- Chocolate Lovers: Substitute the semi-sweet chocolate chips with dark chocolate for a richer taste.
- Healthier Option: Use whole wheat flour and reduce the sugar for a slightly healthier version without sacrificing flavor.
- Gluten-Free: Swap the all-purpose flour with a gluten-free flour blend to make these bars suitable for gluten-sensitive friends.
- Seasonal Flavors: Incorporate crushed peppermint candies during the holidays for a festive touch!
Serving Suggestions
- Pair these Butterfinger Caramel Bars with a scoop of vanilla ice cream for a delightful contrast.
- Serve with a hot cup of coffee or a cold glass of milk to enhance the flavors.
- For a fun presentation, cut the bars into bite-sized pieces and arrange them on a colorful platter.
FAQs about Butterfinger Caramel Bars
Can I use other candy bars instead of Butterfinger?
Absolutely! Feel free to swap out Butterfinger for your favorite candy bars. Snickers, Milky Way, or even Reese’s can add a unique twist to your Butterfinger Caramel Bars.
How should I store the Butterfinger Caramel Bars?
Store these delicious bars in an airtight container at room temperature. They’ll stay fresh for up to a week, but I doubt they’ll last that long!
Can I make these bars ahead of time?
Yes! These bars are perfect for making ahead. Just prepare them, let them cool, and store them in an airtight container until you’re ready to serve.
What can I do if the bars are too crumbly?
If your Butterfinger Caramel Bars turn out crumbly, it might be due to not enough butter or not pressing the crust firmly enough. Make sure to follow the instructions closely for the best results!
Are Butterfinger Caramel Bars suitable for vegetarians?
Yes! This recipe is vegetarian-friendly, as it doesn’t contain any meat or meat by-products. Enjoy these sweet treats without worry!
Final Thoughts
Creating these Butterfinger Caramel Bars is more than just baking; it’s about crafting sweet memories. Each bite transports me back to simpler times, where joy was found in the little things, like sharing treats with friends and family. The combination of crunchy, gooey, and chocolaty goodness is a surefire way to brighten anyone’s day. Whether you’re whipping them up for a gathering or indulging solo, these bars are a delightful reminder that life is sweeter when shared. So, roll up your sleeves and dive into this delicious adventure—you won’t regret it!
Butterfinger Caramel Bars: Make Delicious Treats Now!
Ingredients
Method
- Preheat the oven to 350°F (175°C). Grease a 9x9-inch baking pan or line it with parchment paper.
- In a large bowl, combine the flour, oats, brown sugar, baking soda, and salt. Stir in the melted butter until crumbly.
- Press half of the mixture into the bottom of the prepared baking pan to form the crust.
- In a separate bowl, mix the sweetened condensed milk with the chopped Butterfinger candy bars. Pour this mixture over the crust.
- Sprinkle the remaining crumb mixture over the Butterfinger layer, pressing it down gently.
- Bake for 25-30 minutes, or until the top is golden brown. Let it cool in the pan for about 10 minutes before transferring to a wire rack.
- Once cooled, melt the chocolate chips in a microwave-safe bowl in 30-second intervals, stirring until smooth. Drizzle over the cooled bars.
- Allow the chocolate to set before cutting into squares.
Nutrition
Notes
- These bars can be stored in an airtight container at room temperature for up to one week.
- For a nutty twist, consider adding 1/2 cup of chopped nuts, such as peanuts or almonds.
- You can substitute the Butterfinger bars with your favorite candy bars for a different flavor profile.