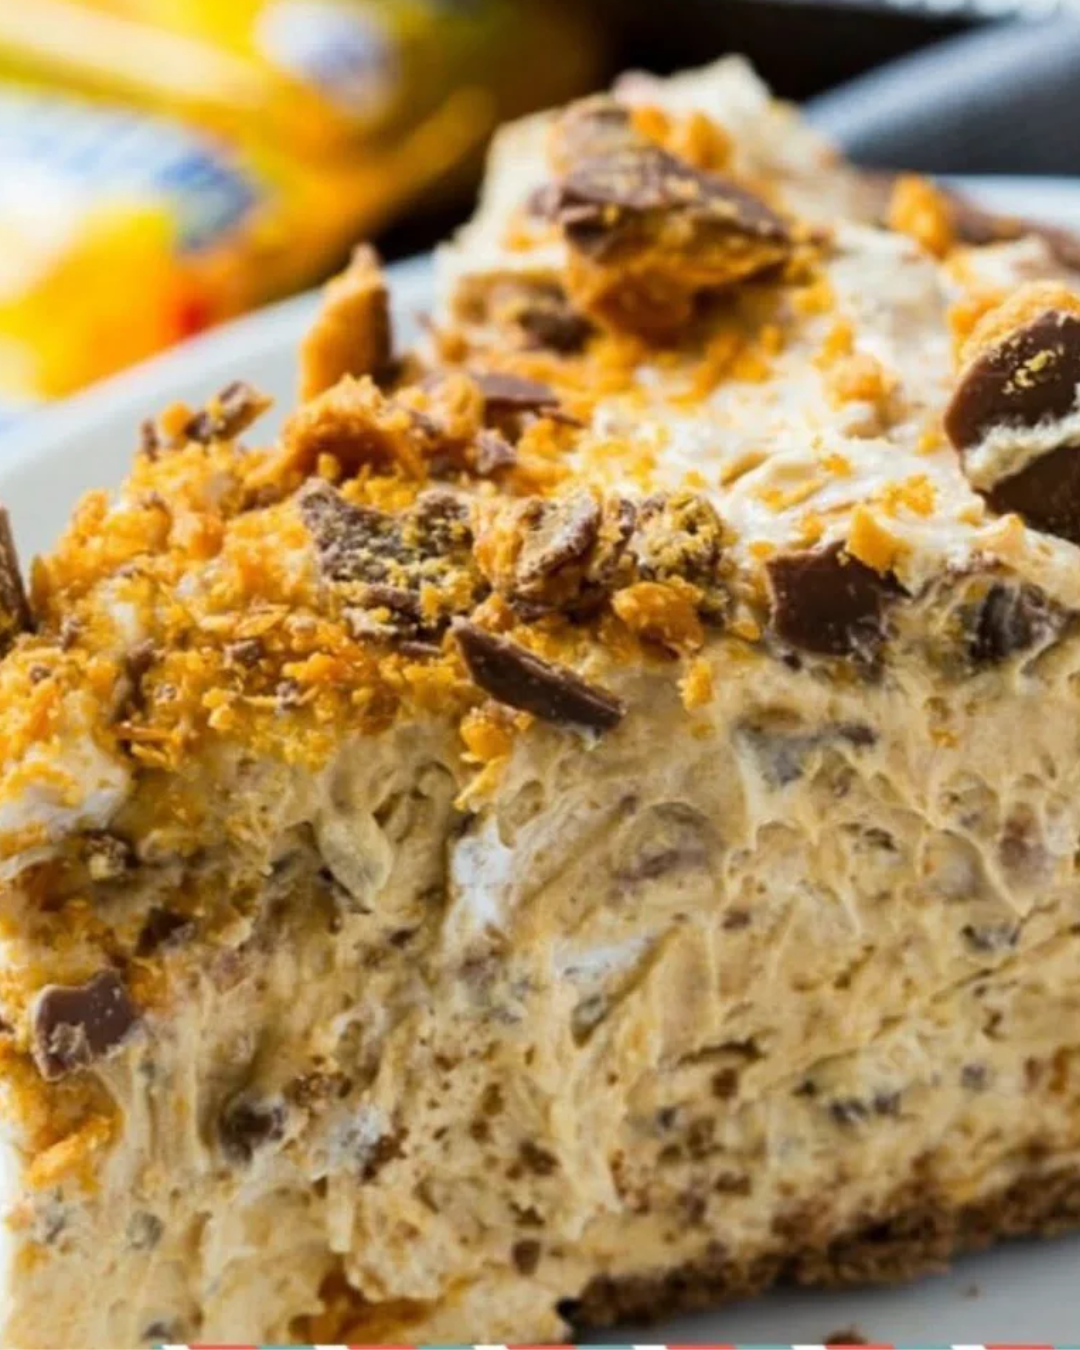
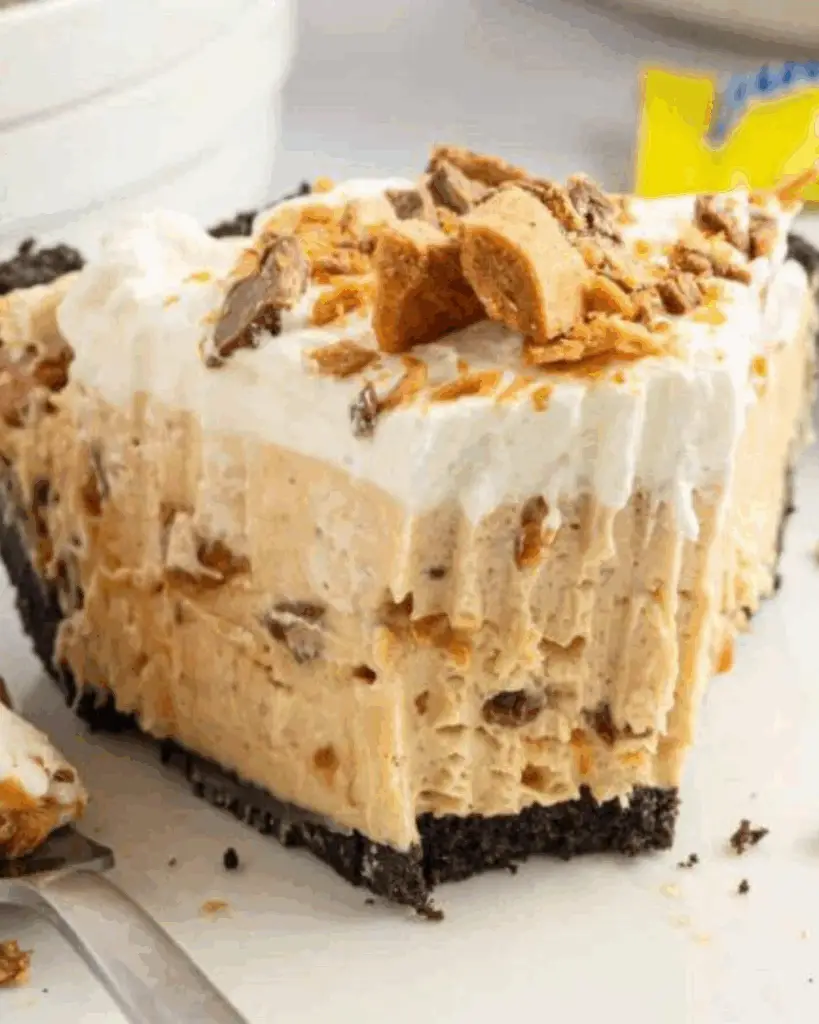
Introduction to Butterfinger Pie
There’s something magical about dessert that brings us all together, isn’t there? Butterfinger Pie is one of those delightful treats that can turn an ordinary day into a celebration. This no-bake wonder combines a rich chocolate cookie crust with a creamy filling that’s bursting with the nostalgic flavor of Butterfinger bars. Whether you’re looking for a quick solution for a busy weeknight or a show-stopping dessert to impress your friends at a gathering, this recipe is your go-to. Trust me, once you serve this pie, you’ll be the hero of the kitchen!
Why You’ll Love This Butterfinger Pie
This Butterfinger Pie is a dream come true for anyone who loves dessert but craves simplicity. It’s incredibly easy to whip up, requiring no baking and minimal effort. The combination of creamy peanut butter and crunchy Butterfinger pieces creates a flavor explosion that’s hard to resist. Plus, it’s perfect for any occasion, whether it’s a family dinner or a casual get-together with friends. You’ll find yourself making this pie again and again!
Ingredients for Butterfinger Pie
Gathering the right ingredients is the first step to creating your Butterfinger Pie masterpiece. Here’s what you’ll need:
- Chocolate Cookie Crust: The base of this pie is made from chocolate sandwich cookies, like Oreos. Their rich flavor pairs perfectly with the creamy filling.
- Unsalted Butter: This helps bind the crushed cookies together, creating a firm crust that holds up beautifully.
- Cream Cheese: Softened cream cheese adds a rich, creamy texture to the filling, making it smooth and luscious.
- Creamy Peanut Butter: This ingredient brings a nutty flavor that complements the sweetness of the Butterfinger bars.
- Powdered Sugar: For sweetness and a smooth consistency, powdered sugar is essential in the filling.
- Vanilla Extract: A splash of vanilla enhances the overall flavor, adding warmth and depth.
- Whipped Topping: Thawed whipped topping, like Cool Whip, lightens the filling and gives it a fluffy texture.
- Butterfinger Bars: The star of the show! Crushed Butterfinger bars add that signature crunch and flavor.
- Topping Ingredients: More whipped topping, additional crushed Butterfinger bars, and optional chocolate syrup or caramel sauce for drizzling. Chopped peanuts can add an extra crunch.
For exact measurements, check the bottom of the article where you can find everything listed for easy printing. Feel free to get creative with substitutions, like using a graham cracker crust for a milder chocolate flavor!
How to Make Butterfinger Pie
Creating your Butterfinger Pie is a fun and straightforward process. Follow these simple steps, and you’ll have a delicious dessert ready to impress. Let’s dive into the details!
Step 1: Make the Crust
Start by preparing the chocolate cookie crust. In a mixing bowl, combine the finely crushed chocolate sandwich cookies with melted unsalted butter. Mix until the crumbs are evenly moistened. Now, here’s the key: press this mixture firmly into the bottom and up the sides of a 9-inch pie dish. This ensures a sturdy crust that holds everything together. Once pressed, refrigerate the crust for 20 to 30 minutes. This chilling time helps it set properly, making it easier to fill later.
Step 2: Prepare the Filling
Next, it’s time to whip up the creamy filling. In a large mixing bowl, beat the softened cream cheese until it’s smooth and fluffy. Then, add in the creamy peanut butter, powdered sugar, and a splash of vanilla extract. Beat this mixture until it’s light and creamy, with no lumps. Now, gently fold in the whipped topping until everything is well combined. Finally, stir in the crushed Butterfinger bars, ensuring they’re evenly distributed throughout the filling. The texture should be rich and inviting, with a delightful crunch from the candy.
Step 3: Assemble the Pie
Now comes the fun part—assembling your pie! Take the chilled crust out of the refrigerator and spoon the creamy filling into it. Spread the filling evenly, smoothing the top with a spatula. Next, take the remaining whipped topping and spread it over the filling, creating a beautiful layer. For the finishing touch, sprinkle generously with more crushed Butterfinger pieces. If you’re feeling adventurous, drizzle some chocolate syrup or caramel sauce on top for added sweetness. Your pie is starting to look irresistible!
Step 4: Chill
Finally, it’s time to chill your masterpiece. Place the assembled pie in the refrigerator for at least 4 hours, or overnight if you can wait. This chilling process is crucial for achieving the perfect texture, allowing the flavors to meld beautifully.
Tips for Success
- Freeze the Butterfinger bars for 15 minutes before crushing to make them easier to break into pieces.
- For a cleaner slice, chill the pie for an additional 20–30 minutes before serving.
- Use a food processor to crush the cookies quickly and evenly.
- Feel free to experiment with different toppings, like chopped nuts or a drizzle of caramel.
- Store any leftovers covered in the refrigerator for up to 4 days.
Equipment Needed
- 9-inch Pie Dish: A standard pie dish works best, but a springform pan can also be used for easy removal.
- Mixing Bowls: Use a large bowl for the filling and a smaller one for the crust.
- Electric Mixer: A hand mixer or stand mixer makes beating the cream cheese a breeze.
- Spatula: A rubber spatula is perfect for folding in the whipped topping.
- Measuring Cups and Spoons: Essential for accurate ingredient measurements.
Variations
- Chocolate Lovers: Swap the chocolate cookie crust for a brownie crust for an extra fudgy experience.
- Nutty Twist: Add chopped peanuts or pecans to the filling for a delightful crunch and nutty flavor.
- Healthier Option: Use Greek yogurt instead of cream cheese for a lighter filling that still tastes amazing.
- Vegan Version: Substitute the cream cheese with a vegan cream cheese alternative and use coconut whipped cream for topping.
- Flavor Infusion: Mix in a tablespoon of espresso powder to the filling for a mocha Butterfinger pie that’s out of this world.
Serving Suggestions
- Pair your Butterfinger Pie with a scoop of vanilla ice cream for a delightful contrast.
- Serve alongside a rich cup of coffee or a creamy milkshake to enhance the dessert experience.
- For a festive touch, garnish with chocolate shavings or a sprinkle of crushed peanuts.
- Present the pie on a colorful platter to make it visually appealing at gatherings.
FAQs about Butterfinger Pie
As you embark on your Butterfinger Pie journey, you might have a few questions. Here are some common queries that can help you along the way:
Can I make Butterfinger Pie ahead of time?
Absolutely! This no-bake pie is perfect for making ahead. Just prepare it a day in advance and let it chill overnight. The flavors will meld beautifully, making it even more delicious.
How do I store leftovers?
Store any leftover Butterfinger Pie in the refrigerator, covered tightly. It will stay fresh for up to four days, but I doubt it will last that long!
Can I use other candy bars?
Definitely! While Butterfinger bars are the star, feel free to experiment with other candy bars like Snickers or Reese’s for a fun twist on this dessert.
Is Butterfinger Pie suitable for vegetarians?
Yes, this Butterfinger Pie is vegetarian-friendly! Just ensure that the whipped topping you use is also vegetarian.
What can I substitute for cream cheese?
If you’re looking for a lighter option, Greek yogurt can be a great substitute for cream cheese. It will still provide a creamy texture while cutting down on calories.
Final Thoughts
Creating this Butterfinger Pie is more than just whipping up a dessert; it’s about crafting a moment of joy. Each slice is a delightful blend of creamy, crunchy, and sweet that brings smiles to faces young and old. Whether you’re celebrating a special occasion or simply treating yourself after a long day, this pie is sure to impress. The best part? It’s so easy to make that you’ll find yourself returning to this recipe time and again. So, gather your ingredients, roll up your sleeves, and let the magic of Butterfinger Pie fill your kitchen with happiness!
PrintButterfinger Pie: Indulge in This Easy, Irresistible Recipe!
- Total Time: 4 hours 20 minutes
- Yield: 8 servings
- Diet: Vegetarian
Description
Indulge in this easy, irresistible Butterfinger Pie recipe that combines a chocolate cookie crust with a creamy Butterfinger filling, topped with whipped cream and crushed Butterfinger bars.
Ingredients
- Chocolate Cookie Crust
- 24 chocolate sandwich cookies (such as Oreo), finely crushed
- 6 tablespoons unsalted butter, melted
- Butterfinger Filling
- 1 (8 oz) package cream cheese, softened
- 1 cup creamy peanut butter
- 1 cup powdered sugar
- 1 teaspoon vanilla extract
- 1½ cups whipped topping (such as Cool Whip), thawed
- 6 fun-size Butterfinger bars (or 4 regular bars), crushed
- Topping
- 1½ cups whipped topping
- 2–3 fun-size Butterfinger bars, crushed
- Chocolate syrup (optional)
- Caramel sauce (optional)
- Chopped peanuts (optional)
Instructions
- Make the Crust: Mix the crushed chocolate cookies with the melted butter until evenly moistened. Press the mixture firmly into the bottom and sides of a 9-inch pie dish. Refrigerate for 20–30 minutes until firm.
- Prepare the Filling: In a large mixing bowl, beat the cream cheese until smooth. Add the peanut butter, powdered sugar, and vanilla. Beat until light and creamy. Fold in the whipped topping until fully combined. Gently stir in the crushed Butterfinger candy bars.
- Assemble the Pie: Spoon the filling into the chilled crust and smooth the top. Spread the remaining whipped topping evenly over the filling. Sprinkle generously with crushed Butterfinger pieces. Drizzle with chocolate syrup and caramel sauce, if desired.
- Chill: Refrigerate for at least 4 hours, or overnight for the best texture.
Notes
- Freeze the Butterfinger bars for 15 minutes before crushing—they’ll break into crisp pieces more easily.
- For cleaner slices, freeze the pie for 20–30 minutes before serving.
- A graham cracker crust also works well if you prefer a milder chocolate flavor.
- Store leftovers covered in the refrigerator for up to 4 days.
- Prep Time: 20 minutes
- Cook Time: 0 minutes
- Category: Dessert
- Method: No-Bake
- Cuisine: American
Nutrition
- Serving Size: 1 slice
- Calories: 350
- Sugar: 25g
- Sodium: 200mg
- Fat: 20g
- Saturated Fat: 10g
- Unsaturated Fat: 8g
- Trans Fat: 0g
- Carbohydrates: 35g
- Fiber: 1g
- Protein: 5g
- Cholesterol: 30mg