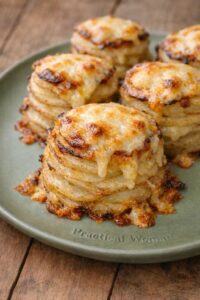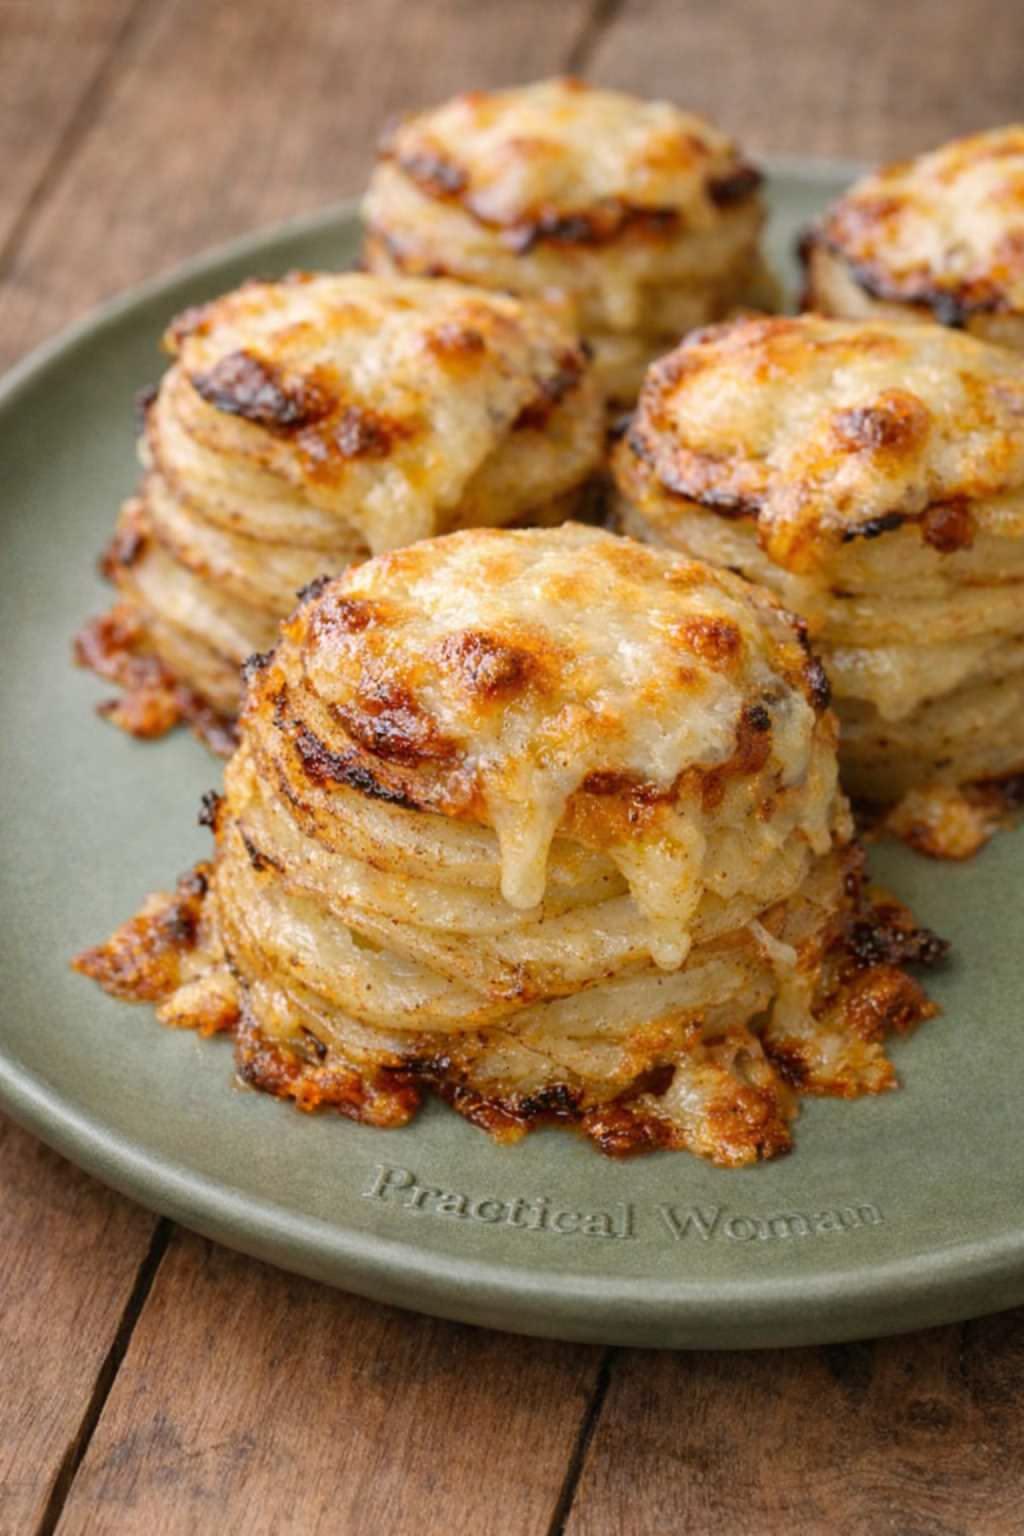
Introduction to Cheesy Potato Stacks
There’s something magical about the aroma of baked potatoes wafting through the kitchen. Cheesy Potato Stacks are not just a dish; they’re a warm hug on a plate. Perfect for a busy weeknight or a gathering with friends, these stacks are a delightful way to elevate your potato game. With layers of tender potatoes and gooey cheese, they’re sure to impress your loved ones. Plus, they’re easy to whip up, making them a go-to recipe for any occasion. Let’s dive into this cheesy goodness that will have everyone asking for seconds!
Why You’ll Love This Cheesy Potato Stacks
Cheesy Potato Stacks are the ultimate comfort food, combining simplicity with mouthwatering flavor. They come together quickly, making them perfect for busy nights or last-minute gatherings. The layers of cheese and potatoes create a satisfying dish that pleases even the pickiest eaters. Plus, they’re versatile enough to pair with any main course, ensuring you’ll always have a crowd-pleaser on your table. What’s not to love?
Ingredients for Cheesy Potato Stacks
Gathering the right ingredients is the first step to creating these delightful Cheesy Potato Stacks. Here’s what you’ll need:
- Yukon Gold or Russet potatoes: These varieties are perfect for stacking due to their creamy texture and flavor. Thinly slicing them ensures even cooking.
- Unsalted butter: Adds richness and helps the potatoes crisp up beautifully.
- Olive oil: A touch of healthy fat that enhances flavor and aids in browning.
- Garlic: Freshly minced garlic infuses the stacks with a savory aroma that’s hard to resist.
- Salt and black pepper: Essential seasonings that elevate the overall taste of the dish.
- Italian seasoning: A blend of herbs that brings a burst of flavor, making each bite more exciting.
- Smoked paprika: Adds a subtle smokiness that complements the cheese and potatoes perfectly.
- Sharp cheddar cheese: This cheese provides a bold flavor that pairs wonderfully with the potatoes.
- mozzarella cheese: Melts beautifully, creating that gooey texture we all love.
- Grated Parmesan cheese: A finishing touch that adds a salty, nutty flavor to the top layer.
- Fresh parsley: Chopped for garnish, it adds a pop of color and freshness.
- Fresh chives (optional): These can be sprinkled on top for an extra layer of flavor.
- Sour cream (optional): A creamy accompaniment that balances the richness of the stacks.
For exact measurements, check the bottom of the article where you can find everything listed for easy printing. Happy cooking!
How to Make Cheesy Potato Stacks
Step 1: Preheat the Oven
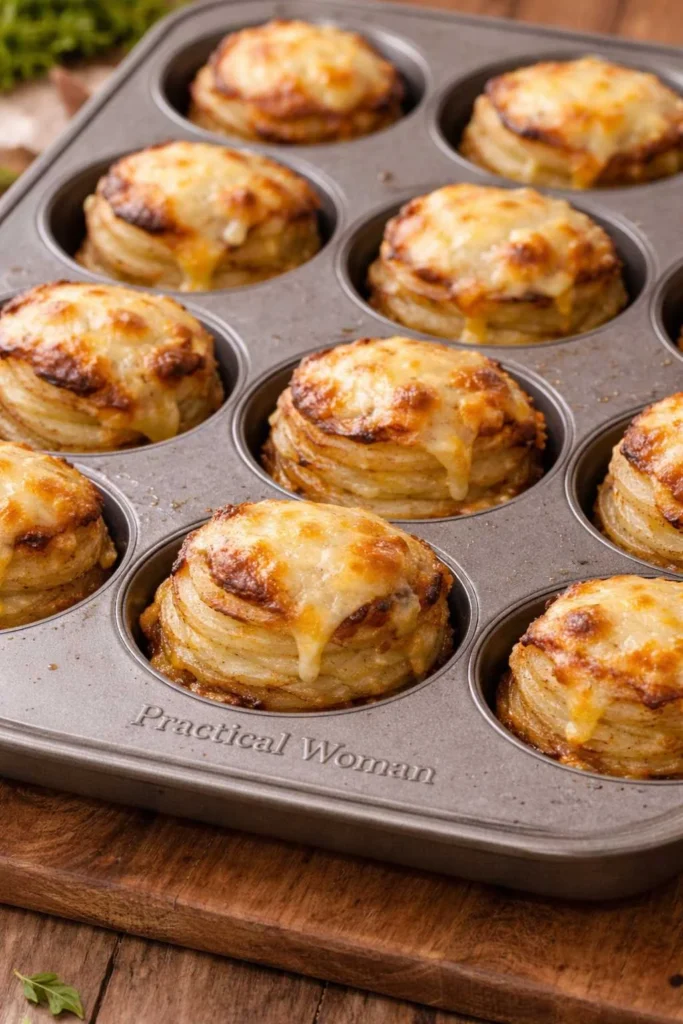
Start by preheating your oven to 400°F (200°C). This step is crucial for achieving that perfect golden-brown crust. While the oven heats up, grease a 12-cup standard muffin pan with butter or nonstick cooking spray. This will ensure your Cheesy Potato Stacks come out easily and maintain their shape.
Step 2: Prepare the Potato Mixture
In a large bowl, combine the melted butter, olive oil, minced garlic, salt, black pepper, Italian seasoning, and smoked paprika. This mixture is the flavor base for your stacks. Add the thinly sliced potatoes and toss them gently until they’re evenly coated. This step ensures every slice is infused with deliciousness, making each bite irresistible.
Step 3: Layer the Potatoes
Now comes the fun part—layering! Take about 5–7 potato slices and place them in each muffin cup. Sprinkle a small amount of cheddar, mozzarella, and Parmesan cheese between every few layers. This cheese distribution is key to achieving that gooey, cheesy goodness. Keep layering until each cup is full, finishing with a generous sprinkle of cheese on top.
Step 4: Bake the Potato Stacks
Cover the muffin pan loosely with aluminum foil and pop it in the oven. Bake for 30 minutes to allow the potatoes to soften. After that, remove the foil and continue baking for another 15–20 minutes. This will give your stacks that crispy, golden top. Keep an eye on them to ensure they don’t over-brown!
Step 5: Cool and Serve
Once baked, let the potato stacks cool in the pan for about 5 minutes. This helps them set and makes them easier to remove. Use a butter knife to gently run around the edges, then carefully lift each stack out. Garnish with chopped parsley and fresh chives for a pop of color before serving!
Tips for Success
- Use a mandoline slicer for perfectly even potato slices, ensuring consistent cooking.
- Don’t skip the foil cover during the first half of baking; it helps steam the potatoes.
- Experiment with different cheeses for unique flavors—try gouda or pepper jack!
- Let the stacks cool slightly before removing them to maintain their shape.
- For extra crispiness, broil the tops for a minute after baking.
Equipment Needed
- Muffin pan: A standard 12-cup muffin pan works best, but you can use a silicone mold for easy removal.
- Mandoline slicer: This tool ensures even potato slices, but a sharp knife will do the trick too.
- Mixing bowl: Any large bowl will suffice for combining ingredients.
- Aluminum foil: Essential for covering the pan while baking; parchment paper can be a substitute.
Variations
- Herb-Infused: Add fresh herbs like rosemary or thyme to the potato mixture for an aromatic twist.
- Spicy Kick: Incorporate diced jalapeños or a sprinkle of cayenne pepper for a spicy version.
- Loaded Style: Top with crispy bacon bits and green onions for a loaded potato stack experience.
- Vegan Option: Substitute dairy cheese with plant-based cheese and use olive oil instead of butter.
- Sweet Potato Stacks: Swap regular potatoes for sweet potatoes for a healthier, sweeter alternative.
Serving Suggestions
- Pair with grilled steak or roast chicken for a hearty meal.
- Serve alongside baked salmon for a lighter option.
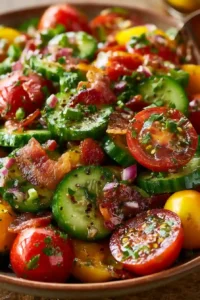
- Complement with a fresh garden salad to balance the richness.
- Drizzle with a tangy balsamic reduction for an elegant touch.
- Present on a rustic wooden board for a charming display.
FAQs about Cheesy Potato Stacks
Can I make Cheesy Potato Stacks ahead of time?
Absolutely! You can prepare the potato stacks in advance and store them in the refrigerator. Just cover the muffin pan with plastic wrap and bake them when you’re ready to serve. This makes them a fantastic option for meal prep!
What type of cheese works best for Cheesy Potato Stacks?
While sharp cheddar and mozzarella are classic choices, feel free to experiment! Gouda, pepper jack, or even a blend of your favorites can add unique flavors to your stacks. The key is to choose cheeses that melt well.
How do I store leftover Cheesy Potato Stacks?
Store any leftovers in an airtight container in the refrigerator for up to four days. You can also freeze them in a freezer-safe container for up to two months. Just reheat in the oven or air fryer for that crispy texture!
Can I use other vegetables in this recipe?
Definitely! You can mix in thinly sliced vegetables like zucchini or bell peppers for added flavor and nutrition. Just be mindful of their cooking times to ensure everything bakes evenly.
What can I serve with Cheesy Potato Stacks?
These stacks pair wonderfully with grilled meats, roasted vegetables, or a fresh salad. They’re versatile enough to complement any main dish, making them a perfect side for any meal!
Final Thoughts
Creating Cheesy Potato Stacks is more than just cooking; it’s about bringing joy to the table. The process of layering those tender potatoes and melting cheese is a delightful experience that fills your kitchen with warmth and comfort. Each bite is a reminder of home-cooked goodness, perfect for sharing with family and friends. Whether it’s a casual weeknight dinner or a special occasion, these stacks are sure to impress. So, roll up your sleeves, embrace the cheesy goodness, and enjoy the smiles that come with every delicious serving. Happy cooking!
PrintCheesy Potato Stacks: A Delicious Layered Delight!
- Total Time: 1 hour 5 minutes
- Yield: 12 servings
- Diet: Vegetarian
Description
Cheesy Potato Stacks are a delicious layered dish made with thinly sliced potatoes, cheese, and seasonings, baked to perfection.
Ingredients
- 2 pounds Yukon Gold or Russet potatoes, thinly sliced (about ⅛ inch thick)
- 3 tablespoons unsalted butter, melted
- 2 tablespoons olive oil
- 3 cloves garlic, minced
- 1 teaspoon salt
- ½ teaspoon black pepper
- 1 teaspoon Italian seasoning
- ½ teaspoon smoked paprika
- 1 cup shredded sharp cheddar cheese
- 1 cup shredded mozzarella cheese
- ½ cup grated Parmesan cheese
- 2 tablespoons chopped fresh parsley
- Fresh chives, finely chopped (optional)
- Sour cream, for serving (optional)
Instructions
- Preheat the oven to 400°F (200°C) and grease a 12-cup standard muffin pan with butter or nonstick cooking spray.
- In a large bowl, combine the melted butter, olive oil, garlic, salt, pepper, Italian seasoning, and smoked paprika. Add the potato slices and toss until evenly coated.
- Layer 5–7 potato slices into each muffin cup, sprinkling a small amount of cheddar, mozzarella, and Parmesan between every few layers. Continue layering until each muffin cup is full, finishing with extra cheese on top.
- Cover the muffin pan loosely with aluminum foil and bake for 30 minutes. Remove the foil and continue baking for 15–20 minutes, or until the potatoes are tender and the tops are golden brown and crispy.
- Allow the potato stacks to cool in the pan for 5 minutes. Run a butter knife around the edges and carefully lift each stack out.
- Garnish with chopped parsley and fresh chives. Serve with sour cream if desired.
Notes
- Serving suggestions include grilled steak, roast chicken, pork chops, baked salmon, meatloaf, and grilled vegetables.
- For storage, keep in an airtight container in the refrigerator for up to 4 days or freeze in a freezer-safe container for up to 2 months.
- To reheat, bake at 375°F (190°C) for 10–15 minutes or air fry at 350°F (175°C) for 5–7 minutes until hot and crispy.
- Prep Time: 20 minutes
- Cook Time: 45 minutes
- Category: Side Dish
- Method: Baking
- Cuisine: American
Nutrition
- Serving Size: 1 stack
- Calories: 250
- Sugar: 1g
- Sodium: 400mg
- Fat: 15g
- Saturated Fat: 8g
- Unsaturated Fat: 5g
- Trans Fat: 0g
- Carbohydrates: 25g
- Fiber: 2g
- Protein: 8g
- Cholesterol: 30mg