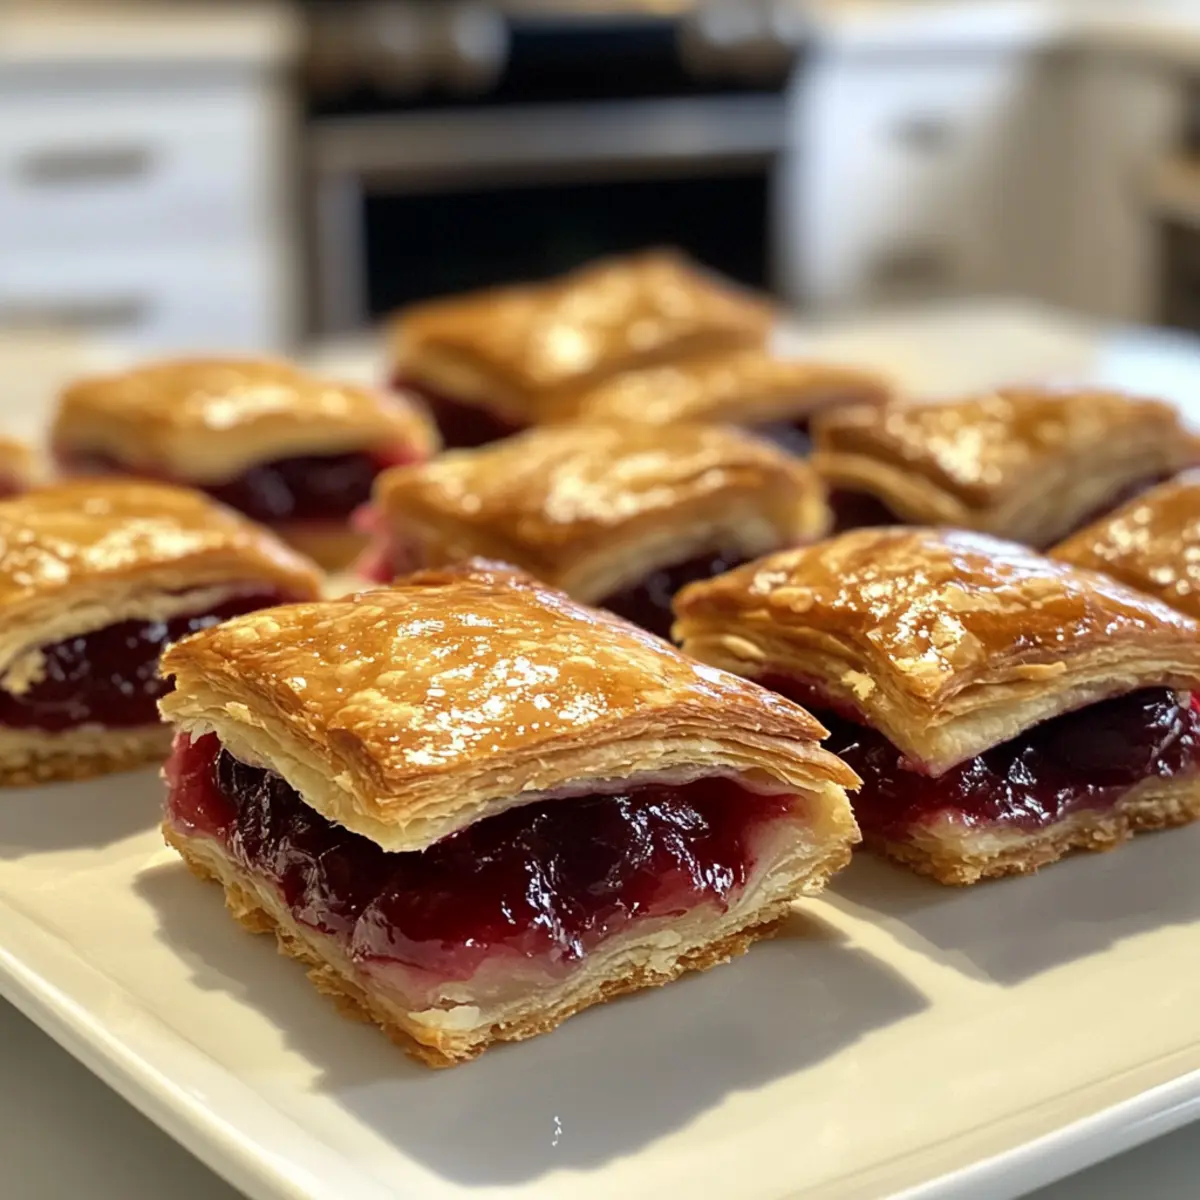
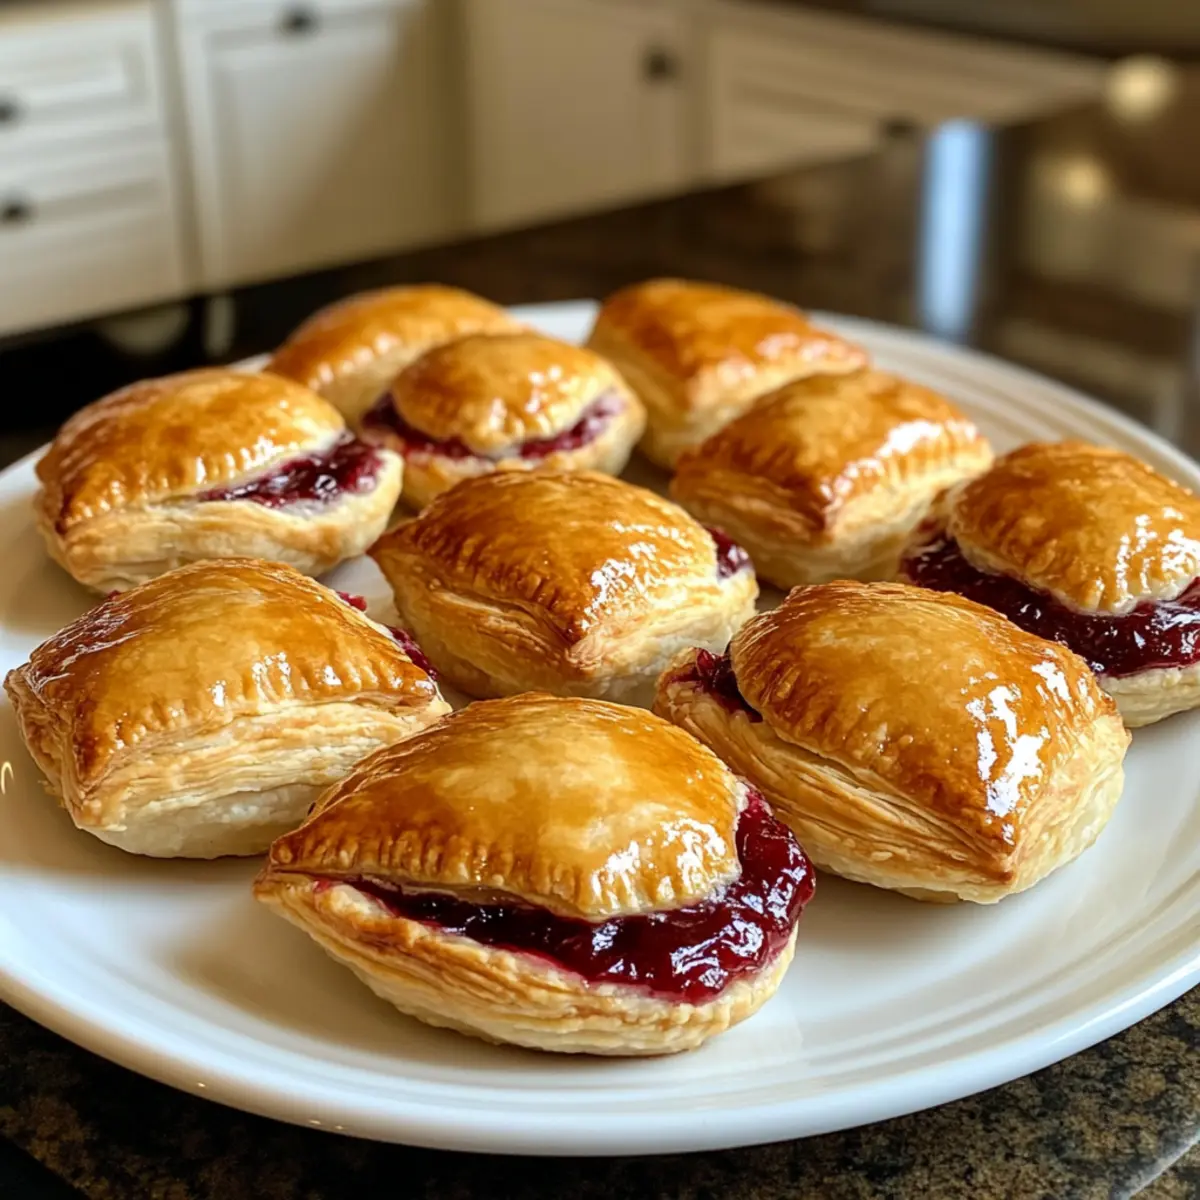
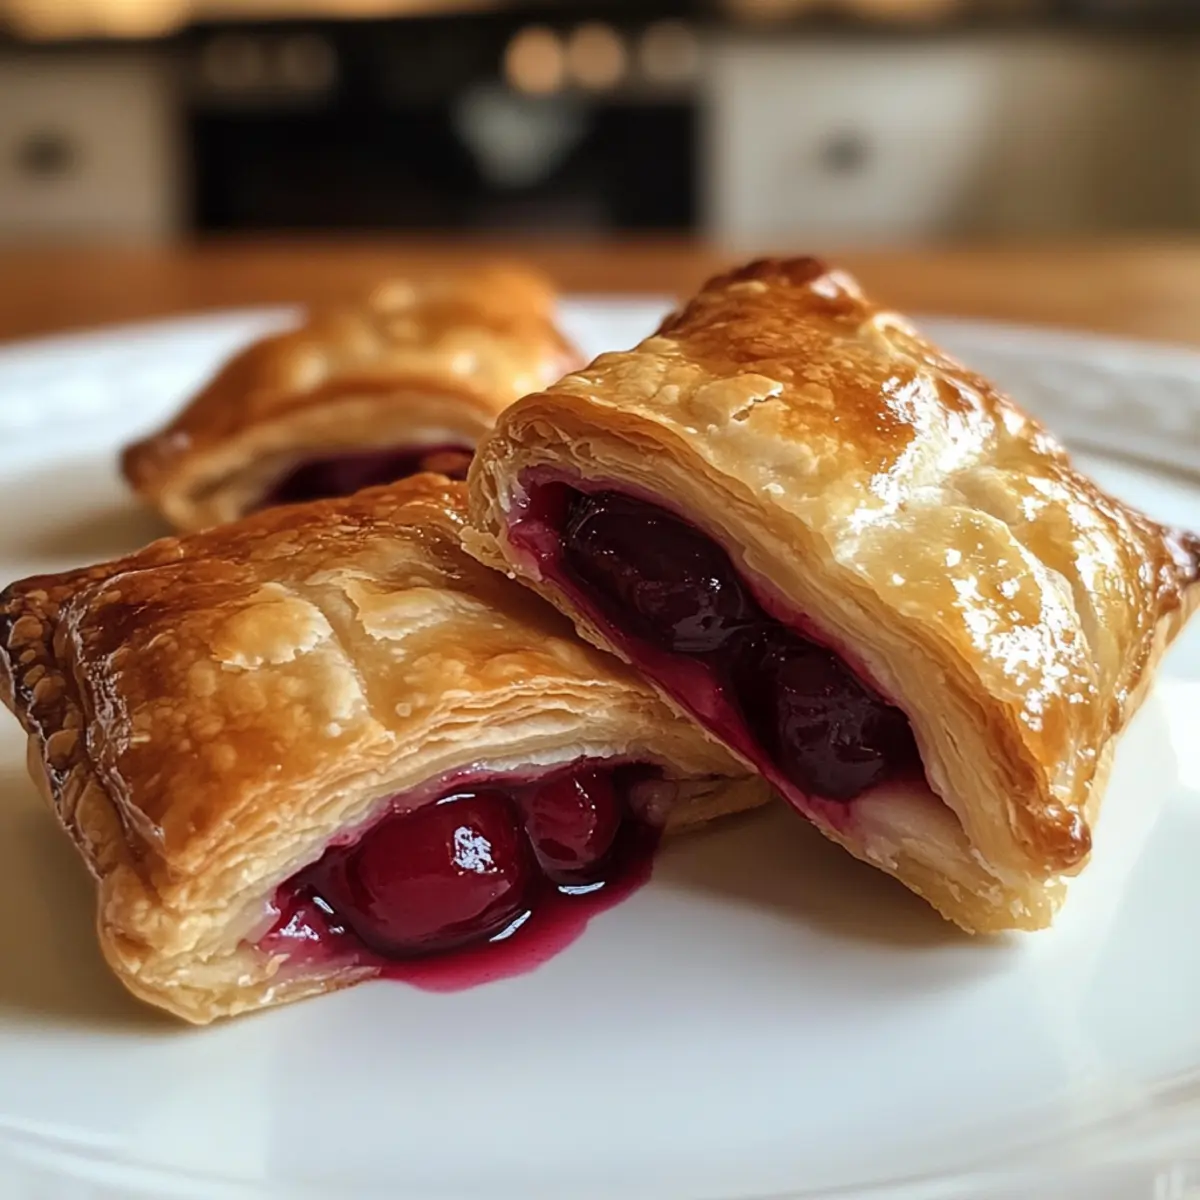
As I rummaged through my pantry the other day, a half-empty can of cherry pie filling caught my eye, sparking a delightful memory of summer picnics and family gatherings. That’s when the idea for these Quick & Easy Cherry Pie Bites blossomed! Imagine biting into a flaky, golden crust that hides a warm, sweet-tart cherry filling—perfect for satisfying those dessert cravings without all the fuss. Not only are these treats a breeze to whip up, but their portable nature makes them ideal for sharing at parties or enjoying on the go. Plus, they can easily fit into your gluten-free diet with a simple swap! Ready to transform your next gathering (or just your day) with these mini delights? Let’s dive into how to make them!
Why are Cherry Pie Bites a Must-Try?
Irresistible Flavors: These Cherry Pie Bites boast the perfect balance of sweet-tart cherry filling and flaky crust, making every bite a blissful indulgence.
Quick Preparation: With minimal ingredients and simple steps, you can whip up a batch in no time, delighting friends and family without the hassle.
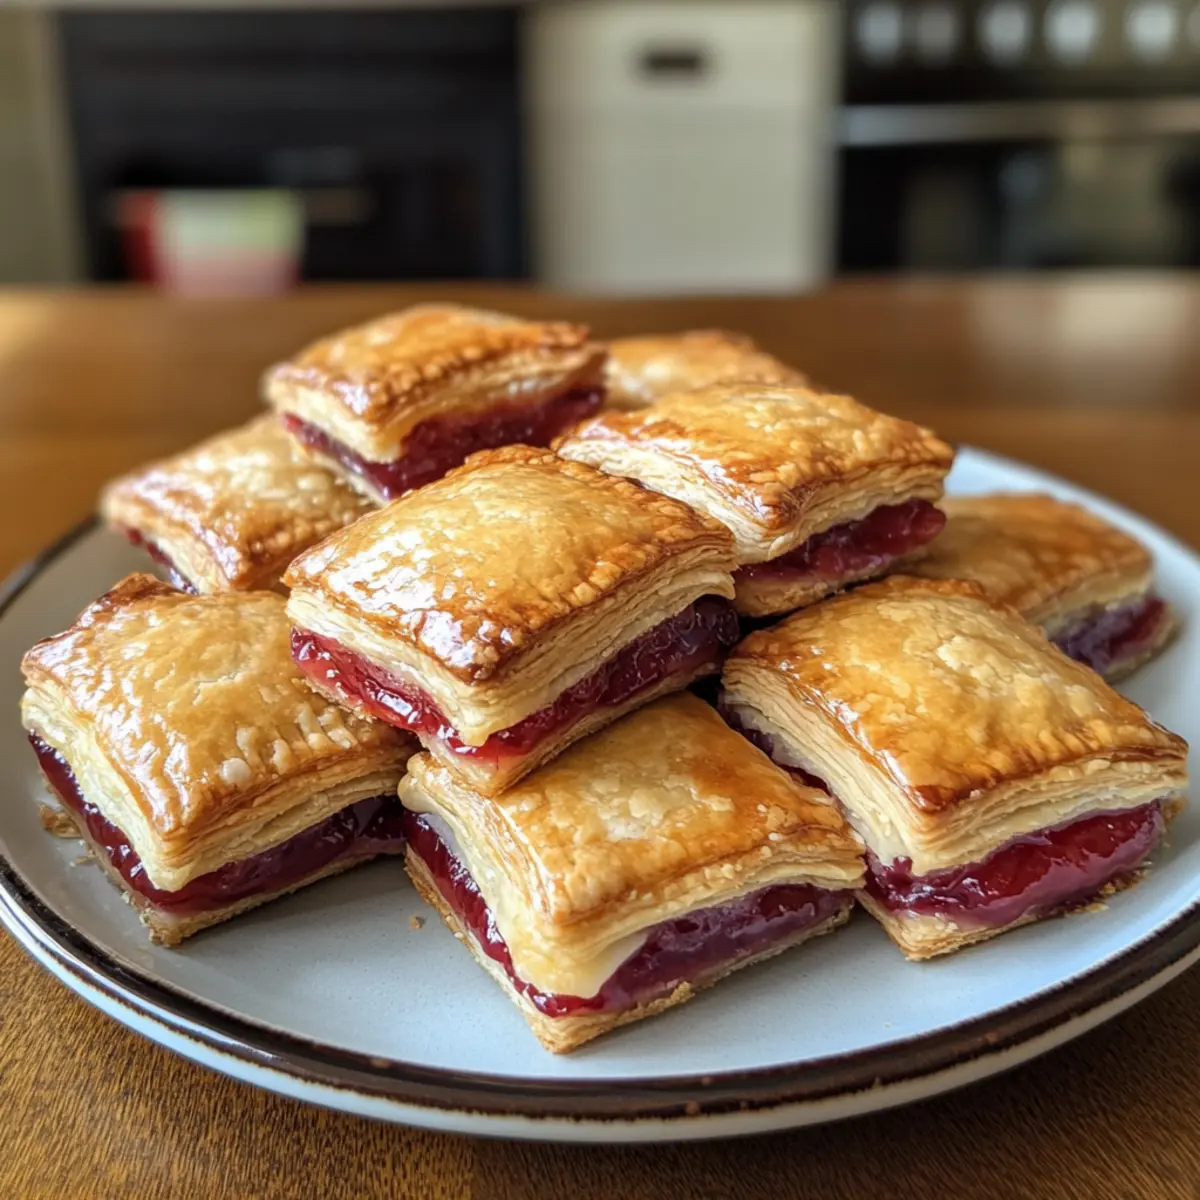
Crowd-Pleasing: Their bite-sized nature makes them an easy treat to share, perfect for parties, potlucks, or cozy family nights.
Customizable: Enjoy them as is or switch it up with variations like Cherry Cheesecake Bites or Chocolate-Cherry Bites for a delightful twist!
Budget-Friendly: Using pantry staples like crescent dough and cherry filling, these treats won’t break the bank while delivering big flavor.
Portable Goodness: Whether you’re out and about or hosting at home, these bites are effortless to grab and enjoy, making them perfect for any occasion!
Cherry Pie Bites Ingredients
For the Dough
- Crescent Roll Dough – Provides the flaky, buttery crust; you can use puff pastry for added flakiness.
- Melted Butter – Gives a golden finish when brushed on top; optional but recommended for that bakery touch.
For the Filling
- Cherry Pie Filling – Offers a sweet-tart flavor profile that’s essential for these Cherry Pie Bites; substitute with any fruit pie filling like blueberry or apple.
- Cream Cheese – Adds richness and a cheesecake-like flavor; feel free to skip for a lighter option.
- Powdered Sugar – Sweetens the cream cheese mixture for added sweetness; you can replace it with granulated sugar, but texture may differ.
- Vanilla Extract – Enhances overall flavor; almond extract can provide a delightful twist if desired.
For Toppings (Optional)
- Coarse Sugar – Optional topping for additional sweetness and crunch; regular granulated sugar is a fine substitute.
- Powdered Sugar Glaze – Mix powdered sugar with milk or cream for a drizzle of extra sweetness; an excellent finishing touch for your bites!
Step‑by‑Step Instructions for Cherry Pie Bites
Step 1: Preheat the Oven
Begin by preheating your oven to 375°F (190°C). While the oven heats up, prepare a baking sheet by lining it with parchment paper. This will not only prevent sticking but also allow for easy cleanup after baking your delightful Cherry Pie Bites.
Step 2: Prepare the Cream Cheese Mixture
In a small mixing bowl, combine cream cheese, powdered sugar, and vanilla extract. Use a hand mixer or whisk to blend until the mixture is smooth and creamy, taking about 2–3 minutes. This creamy mixture will add richness to your Cherry Pie Bites, so ensure it’s well combined before proceeding.
Step 3: Unroll the Dough
Carefully unroll the crescent roll dough on a clean surface. Separate the dough into individual triangles along the perforated lines. Each triangle will serve as a delightful pocket for your filling, so handle the dough gently to maintain its integrity as you prepare to assemble these Cherry Pie Bites.
Step 4: Assemble the Bites
Take a triangle of dough and place about ½ teaspoon of the cream cheese mixture at the wide end. Next, add 1–2 teaspoons of cherry pie filling on top of the cream cheese. Be cautious to avoid overfilling, as the filling might overflow during baking. This careful layering is key to crafting delicious Cherry Pie Bites.
Step 5: Seal the Edges
Gently fold the corners of the dough over the filling, creating a triangular pocket. Pinch the edges tightly to seal them properly, ensuring the filling stays inside during baking. This sealing step is crucial for maintaining the bite’s integrity and achieving that delightful burst of flavor with every bite.
Step 6: Bake the Bites
Place the assembled Cherry Pie Bites on the prepared baking sheet, making sure they are spaced apart. Brush the tops with melted butter for a golden finish, and sprinkle with coarse sugar if desired. Bake in the preheated oven for 10–12 minutes, or until the bites are puffed and golden brown.
Step 7: Drizzle with Glaze
Once your Cherry Pie Bites have cooled for a few minutes, prepare a simple glaze by mixing powdered sugar with a little milk until smooth. Drizzle the glaze over the bites for an extra touch of sweetness. This optional step adds an appealing finish, making your Cherry Pie Bites look as delightful as they taste!
Cherry Pie Bites Variations & Substitutions
Feel free to explore these delightful variations that take your Cherry Pie Bites to the next level of enjoyment!
-
Fruit Swap: Replace cherry filling with your favorite fruit like blueberries or apples for unexpected flavors. Strawberry or peach work beautifully too, bringing vibrant bursts of sweetness!
-
Dairy-Free: Use non-dairy cream cheese and substituted butter for a deliciously creamy bite that’s perfect for those avoiding dairy. You won’t miss the traditional ingredients at all!
-
Gluten-Free Option: Swap crescent dough for gluten-free puff pastry, ensuring everyone can indulge in these tasty treats without worry. Just be mindful of the baking time as gluten-free products may vary.
-
Nutty Crunch: Add a sprinkle of crushed nuts to the filling for an exciting texture boost. Walnuts or almonds pair delightfully with cherry, creating an enticing crunch with every bite.
-
Spicy Kick: If you crave a touch of heat, mix a pinch of cayenne pepper into the cherry filling. It adds an unexpected zesty warmth that can turn every bite into a flavor adventure!
-
Chocolate Drizzle: After glazing the bites, drizzle melted chocolate on top for an extra layer of indulgence. Imagine the contrast of rich chocolate harmonizing with the sweet-tart cherry flavor!
-
Seasonal Twist: Incorporate seasonal spices like cinnamon or nutmeg into the cream cheese mixture. This warm addition can evoke cozy feelings, perfect for autumn or winter gatherings.
-
Savory Version: Use a savory filling of brie and cranberry sauce for a unique appetizer experience that would pair perfectly with a glass of wine. Great for holiday celebrations, these bites offer a delightful twist that’s hard to resist!
Make Ahead Options
These Cherry Pie Bites are perfect for meal prep enthusiasts! You can assemble the bites and refrigerate them for up to 24 hours before baking, ensuring they maintain their flaky texture and delicious cherry filling. Simply prepare the filling and assemble the bites, sealing them well to prevent any leaking. For even longer storage, freeze the assembled bites for up to 2 months. Just remember to thaw them completely before baking to keep them light and airy. When you’re ready to enjoy, bake straight from the fridge or freezer, brushing with melted butter for that golden finish. You’ll have homemade delights ready to share with minimal effort!
Storage Tips for Cherry Pie Bites
Room Temperature: Keep Cherry Pie Bites in an airtight container at room temperature for up to 2 days to enjoy their best texture and flavor.
Fridge: Store in the refrigerator for up to 5 days. Ensure they are sealed tightly to prevent drying out and maintain their delightful taste.
Freezer: Freeze these bites for up to 2 months in a freezer-safe container. Layer parchment paper between them to prevent sticking.
Reheating: When ready to enjoy, reheat from frozen at 350°F for 10–12 minutes or until heated through to restore their flaky texture and warm cherry filling.
Expert Tips for Cherry Pie Bites
• Avoid Overfilling: Make sure you use about 1 teaspoon of filling per bite. Overfilling can cause leaks while baking, so stick to this amount for the best results.
• Seal Tight: Pinch the edges firmly to prevent any fillings from escaping during baking. This step is essential to lock in the delicious flavor of your Cherry Pie Bites.
• Use an Egg Wash: For a shiny, golden finish, brush the tops with beaten egg before baking. This will make your bites look even more tempting!
• Chill Before Baking: If time allows, refrigerate the assembled bites for up to 24 hours before baking. They will hold their shape better and result in a flakier texture.
• Perfect Puff Pastry: If substituting the crescent roll dough with puff pastry, ensure it’s fully thawed and rolled thin for the ideal flaky crust.
• Store Correctly: These Cherry Pie Bites can be kept in an airtight container at room temperature for up to 2 days. For longer storage, refrigerate or freeze them, and reheat before serving!
What to Serve with Cherry Pie Bites
Indulging in these delightful bites is just the beginning—let’s make the whole meal memorable with delicious pairings!
-
Vanilla Ice Cream: A classic pairing that adds a creamy, cold contrast to the warm, flaky bites. The melting ice cream complements the rich cherry filling perfectly.
-
Fresh Whipped Cream: Light and airy, whipped cream adds a luxurious touch. It beautifully balances the sweetness and enriches each bite with a cloud of flavor.
-
Hot Coffee: A robust cup of coffee pairs wonderfully with the sweetness of the Cherry Pie Bites. The bitterness cuts through the sugar and enhances the cherry flavor.
-
Sparkling Water: A refreshing, bubbly option that cleanses the palate between bites. It adds a sophisticated touch when served at parties.
-
Fruit Salad: A light and refreshing option, fruit salad adds brightness and texture to your spread. Try mixing seasonal fruits for a burst of color and freshness alongside the bites.
-
Cheese Board: Create a savory contrast with a selection of cheese. Soft cheeses like brie or cream cheese will harmonize beautifully with the sweet bites.
-
Chocolate Sauce: Drizzle on top or serve as a dip for an extra decadent experience. The richness of chocolate enhances the fruit and adds a deep flavor contrast.
-
Herbal Tea: A calming cup of chamomile or mint tea offers a soothing balance to the sweet cherry filling. Perfect for a cozy afternoon treat.
-
Peanut Butter Dipping Sauce: For a twist, serve with a creamy peanut butter sauce. The nuttiness can elevate the flavors while adding a protein-packed dimension.
Cherry Pie Bites Recipe FAQs
What type of cherry pie filling should I use?
You can use any canned cherry pie filling for these Cherry Pie Bites, but feel free to switch things up with other fruit pie fillings like blueberry or apple. Look for fillings that don’t have a lot of excess liquid to keep your bites from getting too soggy.
How long can I store Cherry Pie Bites?
Cherry Pie Bites can be stored in an airtight container at room temperature for up to 2 days. If you want to keep them longer, store them in the refrigerator for up to 5 days. Just remember to seal them well to keep them fresh and delicious!
Can I freeze Cherry Pie Bites? If so, how?
Absolutely! You can freeze your Cherry Pie Bites for up to 2 months. To freeze, place them in a single layer in a freezer-safe container, separating layers with parchment paper to avoid sticking. When you’re ready to enjoy them, simply reheat from frozen at 350°F for 10–12 minutes until heated through.
What if my Cherry Pie Bites leak during baking?
If your Cherry Pie Bites leak, it may be because they were overfilled. To prevent this, stick to about 1 teaspoon of filling per bite and ensure you’ve sealed the edges tightly. If leaks do happen, you can still enjoy the bites—just consider it a little extra cherry goodness on your plate!
Are Cherry Pie Bites gluten-free?
Yes, you can make Cherry Pie Bites gluten-free by using gluten-free crescent roll dough or puff pastry. Always check the ingredient labels to ensure they are safe for your dietary needs. Enjoying homemade treats doesn’t have to compromise your health!
Delicious Cherry Pie Bites Perfect for Any Sweet Craving
Ingredients
Equipment
Method
- Preheat your oven to 375°F (190°C) and line a baking sheet with parchment paper.
- Combine cream cheese, powdered sugar, and vanilla extract in a bowl until smooth.
- Unroll the crescent roll dough and separate it into individual triangles.
- Place about ½ teaspoon of the cream cheese mixture at the wide end of each triangle, then add 1-2 teaspoons of cherry pie filling.
- Fold the corners of the dough over the filling and pinch the edges tightly to seal.
- Brush the tops with melted butter and sprinkle with coarse sugar. Bake for 10-12 minutes until golden brown.
- Cool for a few minutes, then drizzle with glaze made from powdered sugar and milk.