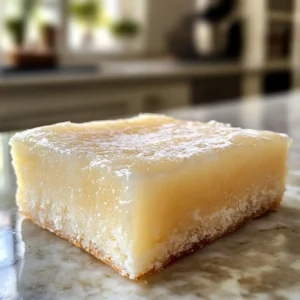
The warm scent of coconut and vanilla wafting through my kitchen instantly transports me to the vibrant shores of Hawaii, where Butter Mochi reigns supreme. This chewy gluten-free dessert is not just a delectable treat but also an easy recipe to whip up in no time—perfect for busy evenings or spontaneous gatherings. With its delightful texture and rich flavor, this simple dish is bound to win over your friends and family, making it a go-to crowd-pleaser for any occasion. Plus, it checks all the boxes for homemade comfort food that brings a smile to everyone’s face. Ready to learn how to create this incredibly chewy Butter Mochi that feels like a warm hug with each bite? Let’s dive in!
Why is Butter Mochi So Irresistible?
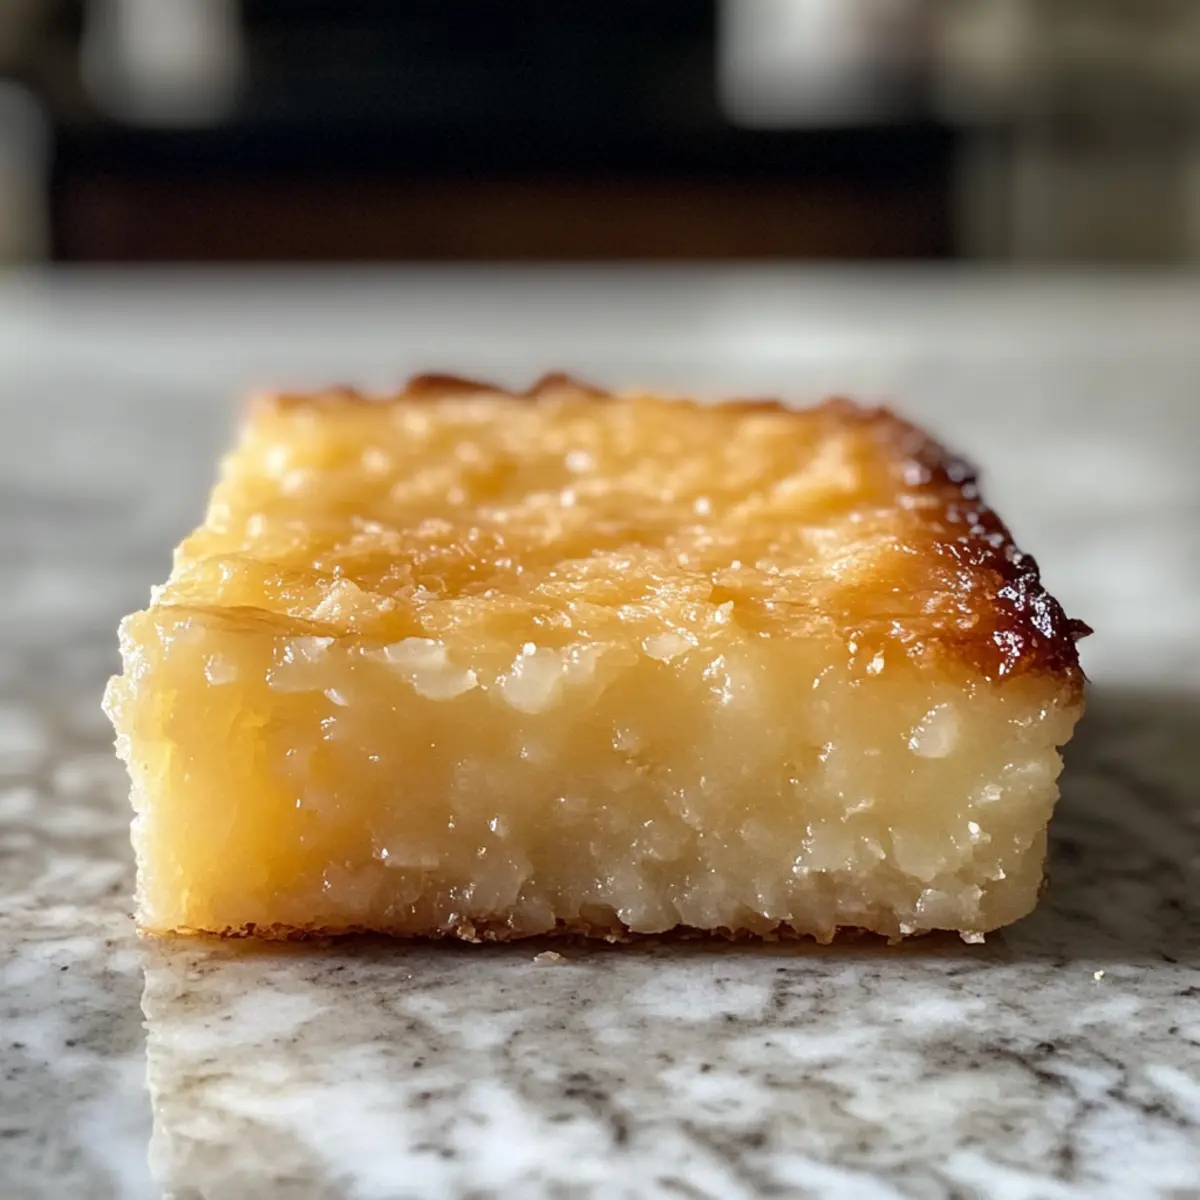
Chewy Delight: The distinctive texture of Butter Mochi sets it apart, offering a satisfying chew that keeps you coming back for more.
Quick and Easy: With just a few simple steps, you can whip up this dessert in no time—perfect for those busy weekdays or last-minute celebrations.
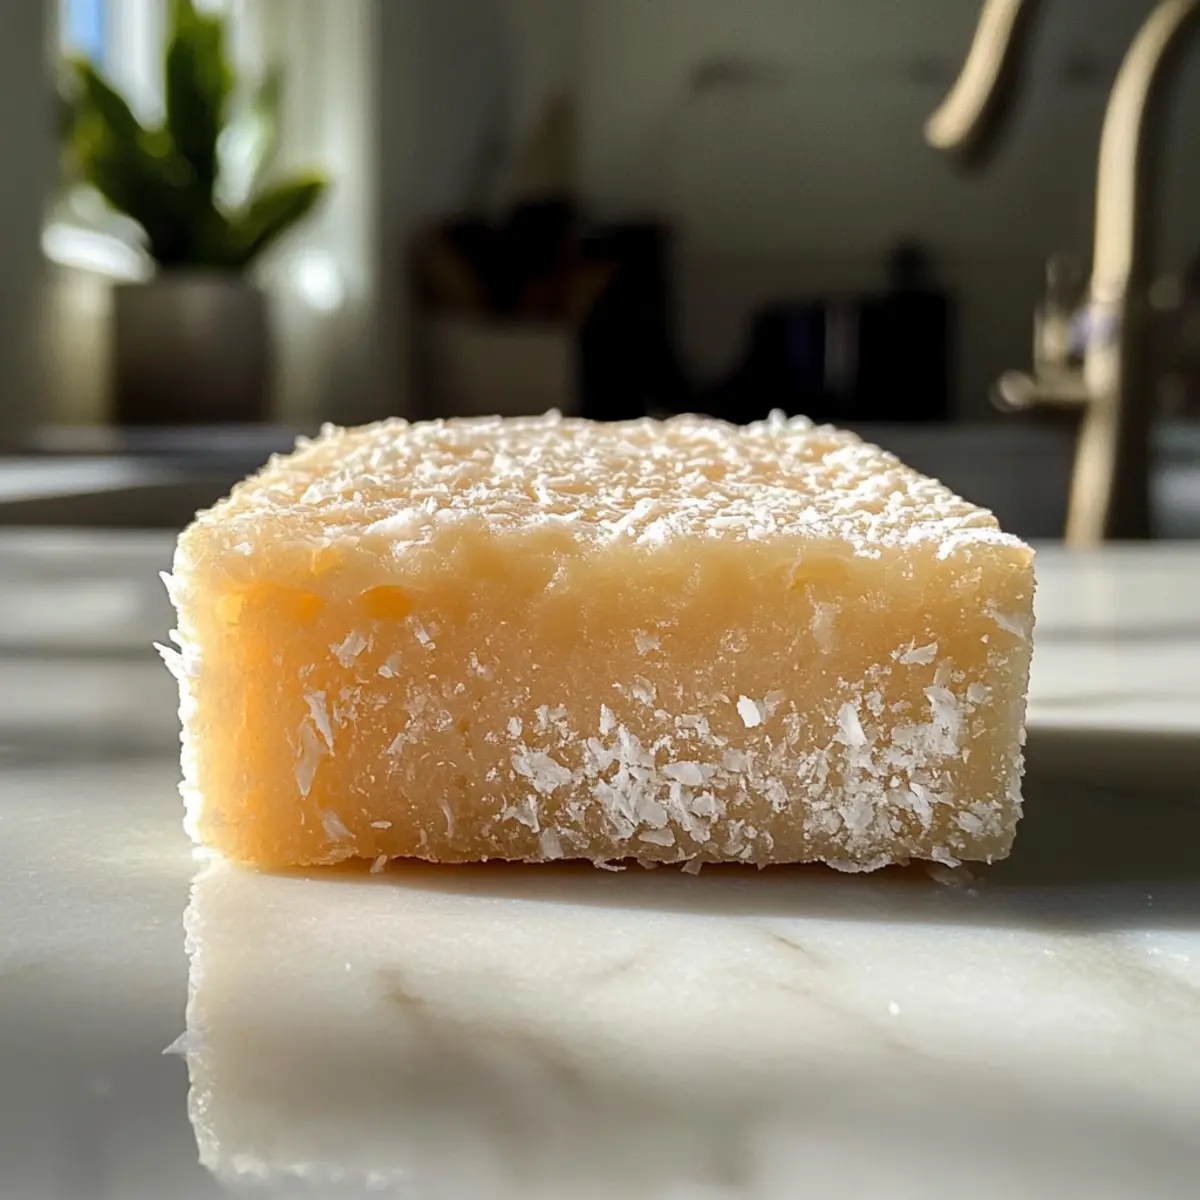
Tropical Flavors: Rich coconut and buttery vanilla come together to create a flavor explosion that transports you straight to the Hawaiian islands, making each bite feel like a vacation.
Crowd-Pleasing Treat: This dessert is sure to be a hit at any gathering, inviting compliments and happy faces, perfect for serving alongside Peanut Butter Yogurt or Buttermilk Pancakes for a delightful brunch.
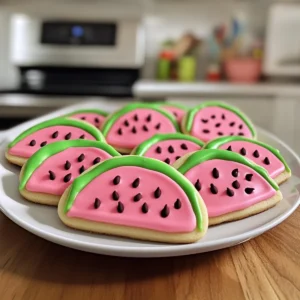
Versatile Variations: Feel free to get creative—top your Butter Mochi with fresh fruit or serve it with a scoop of coconut ice cream for an elevated dessert experience!
Chewy Butter Mochi Ingredients
• To create the irresistibly chewy Butter Mochi, gather these essential ingredients.
For the Batter
- Sweet Rice Flour – Essential for that signature chewy texture; don’t swap with regular flour.
- Granulated Sugar – Provides the perfect sweetness; feel free to use palm sugar for extra depth.
- Coconut Milk – Infuses a tropical richness; full-fat coconut milk enhances creaminess beautifully.
- Melted Butter – Ensures a moist and luscious final product that melts in your mouth.
- Eggs – Add necessary structure and richness, making the mochi wonderfully satisfying.
- Baking Powder – Aids in rising slightly, contributing to that perfect soft texture.
- Vanilla Extract – Elevates the buttery flavor; opt for pure extract for the best taste.
- Salt – Balances the sweetness, enhancing the overall flavor without overpowering it.
Feel free to experiment with these ingredients to make your own chewy Butter Mochi creation!
Step‑by‑Step Instructions for Chewy Butter Mochi
Step 1: Preheat the Oven
Begin by preheating your oven to 350°F (175°C). This ensures that your Chewy Butter Mochi bakes evenly from the moment you place it in. While the oven heats, gather your ingredients and equipment, such as a mixing bowl, whisk, and a greased 9×13-inch baking dish, setting yourself up for success.
Step 2: Mix Dry Ingredients
In a large mixing bowl, whisk together 2 cups of sweet rice flour, 1 cup of granulated sugar, and 1 tablespoon of baking powder. Mix until these dry ingredients are well-blended, creating a light and airy base for your mochi. The mixture should appear uniform, free of clumps, which is critical for achieving that delightful chewy texture.
Step 3: Combine Liquids
Add 1 can (13.5 oz) of coconut milk and ½ cup of melted butter directly into your dry ingredient mixture. Stir everything together until you achieve a smooth and creamy batter. The consistency should be thick yet pourable, perfect for creating the rich, chewy Butter Mochi that you’re aiming for in this delicious dessert.
Step 4: Incorporate Eggs and Flavoring
Next, gently whisk in 3 eggs, 1 teaspoon of vanilla extract, and ¼ teaspoon of salt into the batter. This combination will add richness and depth to the Chewy Butter Mochi. Continue to mix until all ingredients are fully incorporated, and the batter has a glossy look, indicating it’s ready for baking.
Step 5: Prepare Baking Dish
Pour the finished batter into your greased 9×13-inch baking dish, spreading it evenly with a spatula. Ensure the surface is smooth to promote even baking. At this stage, you might notice the batter’s thick consistency, a hallmark of the tantalizing Chewy Butter Mochi you’re about to create.
Step 6: Bake
Place the baking dish in the preheated oven and bake for about 35-40 minutes. Keep an eye on the mochi; it should turn a lovely golden brown and puff slightly. To check for doneness, insert a toothpick in the center; it should come out clean, indicating that your Butter Mochi is fully baked.
Step 7: Cool
Once baked, carefully remove the dish from the oven and allow it to cool in the pan for about 10 minutes. This cooling period helps the buttery, chewy texture set properly, making it easier to slice later. The warm aroma of coconut and vanilla will fill your kitchen, beckoning you to take a bite.
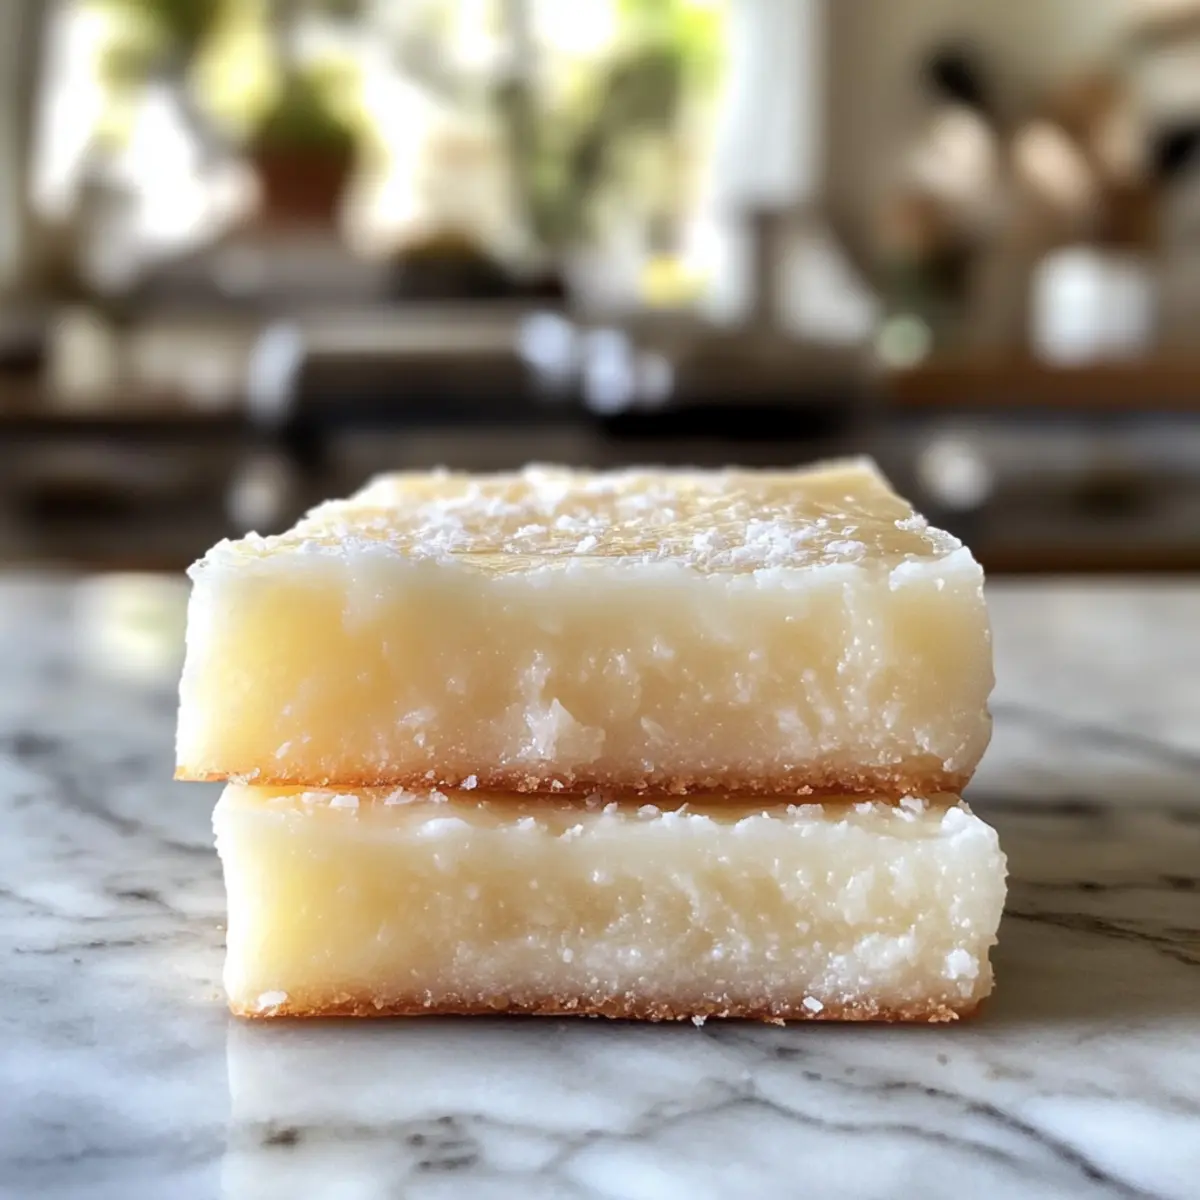
Step 8: Slice
After cooling, transfer the Chewy Butter Mochi onto a cutting board. Using a sharp knife, slice it into squares or rectangles according to your preference. Each piece will reveal its delightful, soft, and chewy interior, a treat that invites smiles and compliments from everyone who tries it.
Make Ahead Options
These Chewy Butter Mochi are perfect for those who need to streamline their meal prep! You can mix the batter up to 24 hours in advance; simply store it in an airtight container in the refrigerator to maintain its fresh and creamy consistency. Alternatively, you can prepare the mochi fully and let it cool, then store the sliced pieces in an airtight container for up to 3 days at room temperature or refrigerate for up to a week. When you’re ready to serve, just remove the mochi from the container, and enjoy it cold or warmed slightly in the microwave—your family will find them just as delicious as freshly baked. This way, you save time while keeping the delightful texture and flavors intact for that sweet moment of indulgence!
How to Store and Freeze Chewy Butter Mochi
Room Temperature: Store leftover Chewy Butter Mochi in an airtight container at room temperature for up to 2 days to maintain its delicious texture.
Fridge: If you’d like to keep it longer, you can refrigerate the mochi for up to a week. Just make sure it’s well-covered to prevent it from drying out.
Freezer: For extended preservation, freeze the Chewy Butter Mochi for up to 3 months. Wrap individual squares in plastic wrap and place them in a freezer-safe bag.
Reheating: To restore that delightful chewy texture, reheat the mochi in the microwave for about 10-15 seconds before serving. Enjoy!
Expert Tips for Chewy Butter Mochi
-
Quality Flour Matters: Use sweet rice flour specifically labeled for mochi to achieve the authentic chewy texture; regular flour won’t yield the same result.
-
Butter Temperature: Make sure your melted butter isn’t too hot before mixing it into the batter; excessively hot fat can cook the eggs prematurely, impacting texture.
-
Mixing Technique: Avoid overmixing your batter once adding wet ingredients—this helps maintain the perfect chewy consistency in your Chewy Butter Mochi.
-
Baking Time: Keep an eye on your mochi in the oven; baking times can vary with different ovens. Check for doneness with a toothpick around the 35-minute mark.
-
Serving Suggestions: Enhance your Butter Mochi with toppings like fresh fruit or a drizzle of chocolate to elevate flavor and presentation at gatherings.
Chewy Butter Mochi Variations
Customize your Butter Mochi to suit your taste and dietary preferences, adding exciting twists to your delightful creation.
-
Dairy-Free: Substitute melted butter with coconut oil for a completely dairy-free version that enhances the tropical flavor.
Add a hint of avocado oil for an extra rich texture! -
Flavorful Extracts: Swap vanilla extract for almond or coconut extract for a new flavor profile that adds depth.
These variations lend a unique twist that keeps things interesting for each batch you prepare. -
Nutty Addition: Stir in ½ cup of finely chopped macadamia nuts or walnuts for a delightful crunch alongside the chewy goodness.
This nutty element will contrast beautifully with the soft texture of the mochi. -
Sweeteners Swap: Experiment with using honey or maple syrup instead of granulated sugar for a more natural sweetness.
Both options can add their own unique flavor notes, enhancing your mochi’s overall taste. -
Tropical Twist: Incorporate ½ cup of pineapple or mango puree for a fruity burst in each bite.
This golden addition will transport you to a sunny beach, adding to the Hawaiian essence. -
Chocolate Drizzle: Drizzle melted dark chocolate over the top after slicing for a decadent touch that pairs perfectly with the chewy texture.
It adds a rich contrast, appealing to both chocolate lovers and mochi fans alike. -
Spice It Up: Add ¼ teaspoon of cinnamon or nutmeg to the batter for a warm flavor that makes each bite even cozier.
This addition is especially delightful during cooler months, creating a comforting experience. -
Hearty Alternatives: Use oat flour instead of sweet rice flour for a more fibrous and nutritious option.
This swap can change the texture slightly, making it interesting and satisfying for the health-conscious chef!
These variations will let you explore and discover your favorite version of this beloved dessert, making it your own delicious tradition. Enjoy serving these delightful treats alongside a fresh scoop of coconut ice cream or a bowl of Peanut Butter Banana overnight oats for a special family gathering!
What to Serve with Irresistibly Chewy Gluten-Free Butter Mochi
Indulging in Butter Mochi opens the door to a symphony of delightful pairings that enhance your dessert experience.
-
Fresh Mango Slices: The sweetness and juiciness of mangoes offer a refreshing contrast to the chewy texture, balancing the rich flavors of the mochi beautifully. The tropical essence ties it all together, making each bite an island escape.
-
Coconut Ice Cream: Creamy and cold, coconut ice cream amplifies the lush coconut flavor of the mochi, delivering a delightful juxtaposition of temperatures and textures.
-
Pineapple Salsa: A vibrant mix of fresh pineapple, lime, and mint brings zingy acidity, cutting through the sweetness of Butter Mochi. It’s a fun and zesty accompaniment that will surprise and delight your guests.
-
Matcha Green Tea: Sipping on smooth, earthy matcha complements the sweetness of the mochi, creating a beautifully balanced flavor profile. It’s perfect for those who appreciate the herbal notes that contrast with the dessert.
-
Whipped Cream: Light and airy, whipped cream adds a luscious touch to your Butter Mochi. The creaminess envelops the chewy pieces, enhancing their delightful indulgence.
-
Chocolate Drizzle: A simple drizzle of dark chocolate not only adds visual appeal but also provides a rich decadence that elevates the mochi to new heights. You can experiment with flavors, too, by using flavored chocolate for a unique twist.
-
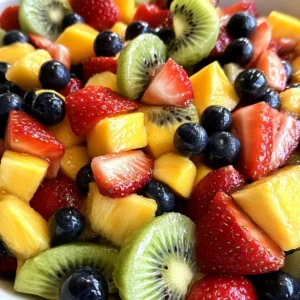
Tropical Fruit Salad: A medley of passionfruit, kiwi, and papaya brings a burst of color and freshness to your dessert table. The acidity and sweetness create a cheerful contrast, making each spoonful refreshing.
-
Iced Herbal Tea: A chilled herbal tea can cleanse the palate between bites while complementing the tropical vibes of the Butter Mochi. Flavors like hibiscus or chamomile work especially well, enhancing your dessert experience.
-
Almond Cookies: These light, crunchy cookies provide a delightful textural contrast to the soft, chewy mochi. Their nutty essence rounds out the meal, inviting more smiles at the table.
Chewy Butter Mochi Recipe FAQs
How do I choose the right sweet rice flour for Chewy Butter Mochi?
Absolutely! When selecting sweet rice flour, look for packages labeled specifically for mochi or glutinous rice flour. Brands like Mochiko are excellent choices, as they provide the unique chewiness essential for this dessert. Avoid using regular all-purpose flour, as it will alter the texture significantly.
How should I store leftover Chewy Butter Mochi?
For the best freshness, store your leftover Chewy Butter Mochi in an airtight container at room temperature for up to 2 days. If you want to keep it longer, transfer it to the refrigerator, where it will stay good for about a week. Just make sure it’s well-covered to avoid any drying out!
Can I freeze Chewy Butter Mochi, and if so, how?
Yes! You can absolutely freeze Chewy Butter Mochi for up to 3 months. To do this, slice the mochi into squares and wrap each piece tightly in plastic wrap. Then, place the wrapped pieces in a freezer-safe bag or container. When you’re ready to enjoy a piece, just reheat it in the microwave for about 10-15 seconds to restore that delightful chewy texture.
What should I do if my Chewy Butter Mochi is too dry or dense?
Very common! If you find that your Chewy Butter Mochi is too dry or dense, it might be due to overmixing the batter or baking it for too long. Always mix gently after adding your wet ingredients to maintain that lovely chewy texture. If overbaked, the top may look golden but may have dried out the moisture inside. To fix a dry batch, consider serving it with a scoop of coconut ice cream or a drizzle of cream to add moisture back into each bite.
Is Chewy Butter Mochi safe for people with allergies?
While Chewy Butter Mochi is gluten-free, it’s important to be cautious with allergies. Ensure that the sweet rice flour is processed in a gluten-free facility and double-check your other ingredients, especially the coconut milk, for additives. This recipe contains eggs and dairy (butter), so if you’re accommodating someone with those allergies, you can substitute the butter with a dairy-free option and use an egg replacement like flax eggs or commercial egg replacers.

Chewy Butter Mochi: Your New Favorite Gluten-Free Treat
Ingredients
Equipment
Method
- Preheat your oven to 350°F (175°C). Gather ingredients and equipment.
- In a mixing bowl, whisk together sweet rice flour, granulated sugar, and baking powder.
- Add coconut milk and melted butter into the mixture, stirring until smooth.
- Gently whisk in the eggs, vanilla extract, and salt until fully combined.
- Pour the batter into a greased 9x13-inch baking dish, smoothing the surface.
- Bake for 35-40 minutes until golden brown; check with a toothpick for doneness.
- Allow to cool in the pan for about 10 minutes.
- Transfer to a cutting board and slice into squares or rectangles.