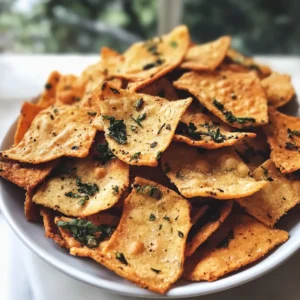
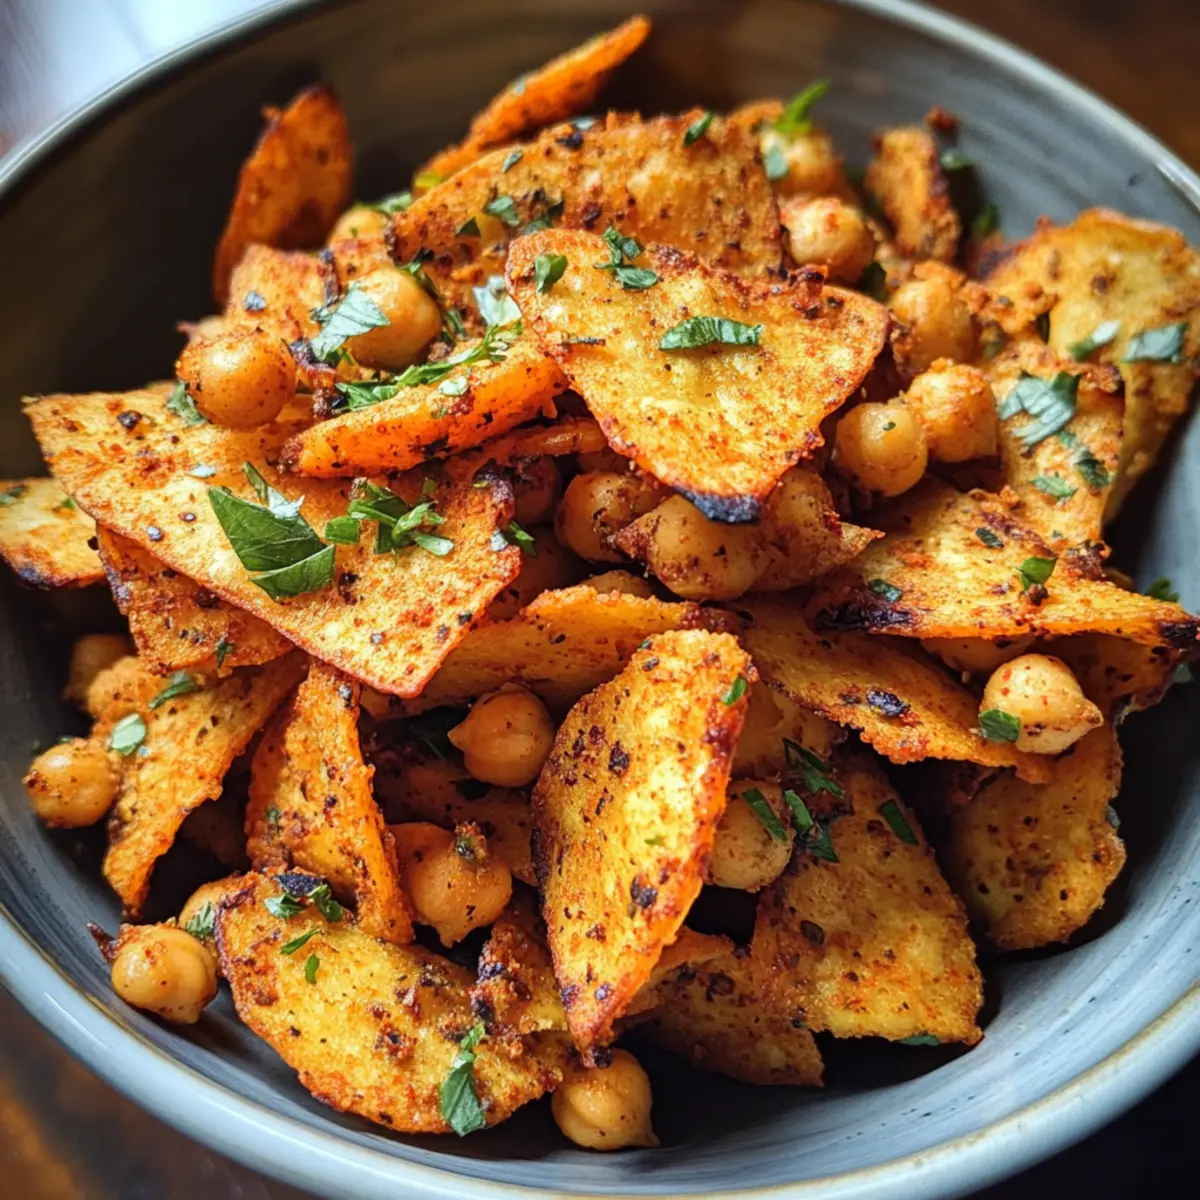
As I was rummaging through my pantry, the forgotten bag of chickpea flour caught my eye, sparking an idea: why not transform these humble ingredients into something crispy and delightful? Enter my Crispy Baked Chickpea Chips, a gluten-free and vegan snack that even the pickiest eaters will adore. These chips are not just quick and simple to whip up—they’re also a fantastic vessel for creativity, allowing you to customize them with your favorite herbs and spices. Whether you’re seeking a healthy alternative to traditional chips or just want to impress your friends at your next gathering, these chickpea chips are the perfect solution. Curious about what flavor combo you’ll dive into? Let’s get cooking!
Why are Baked Chickpea Chips a Must-Try?
Nutritious Choice: Packed with plant-based protein and fiber, these chickpea chips are a guilt-free snack that supports your health goals.
Effortless Preparation: With just a few simple steps, you can create a satisfying crunch that rivals store-bought snacks without the additives.
Versatile Flavor: Customize with your favorite herbs and spices for a unique taste experience, ensuring your snacks never get boring.
Family-Friendly: Even picky eaters will love these chips, making them perfect for sharing at family gatherings or parties. Plus, they pair beautifully with dips like hummus or guacamole!
Satisfying Texture: Enjoy the light, crispy crunch that offers a delightful alternative to traditional chips, all while remaining gluten-free and vegan.
Chickpea Chips Ingredients
For the Batter
- Chickpea Flour – This is the heart of your chickpea chips, providing a crunchy base with a lovely nutty flavor.
- Water – Essential for binding the flour and ensuring a smooth batter; mix thoroughly to avoid lumps.
- Salt – A little pinch enhances the flavor; feel free to adjust based on your taste preference.
For the Seasoning
- Herbs/Spices – Get creative! Options like rosemary, garlic powder, smoked paprika, or chili flakes can transform your chips. Start gently with kids’ favorites and go bolder for adult taste buds.
Successful snacking starts here! Enjoy experimenting with variations to make these chickpea chips uniquely yours!
Step‑by‑Step Instructions for Crispy Baked Chickpea Chips
Step 1: Prepare the Batter
In a mixing bowl, whisk together chickpea flour, salt, and water until you achieve a smooth, lump-free batter. This step is crucial for your chickpea chips to turn out crispy and delicious. Aim for a consistency similar to pancake batter, which should take about 2-3 minutes.
Step 2: Line Baking Sheets
Preheat your oven to 400°F (200°C). While it warms up, line two baking sheets with parchment paper to ensure easy removal of your chickpea chips later on. This handy step helps to prevent sticking and promotes that delightful crispiness when baked.
Step 3: Spread Batter
Once your batter is ready, pour spoonfuls onto the parchment-lined sheets, spreading them into thin circles with the back of a spoon. Keep them about ¼ inch thick for the best results. Thinner chips will bake to a crunchier texture, so take a moment for an even spread to ensure uniform cooking.
Step 4: Season
Before baking, sprinkle your preferred herbs and spices over the batter circles. Think about how each seasoning can enhance your chickpea chips—a pinch of garlic powder or a dash of smoked paprika adds delightful flavors. Don’t be afraid to get creative; mix and match to suit your taste!
Step 5: Bake
Place the baking sheets in the preheated oven and bake for about 10 minutes. Keep a close eye on them; you’re looking for the edges to turn golden brown and the chips to easily lift away from the parchment. If you see them bubbling, you’re on the right track!
Step 6: Cool and Serve
After baking, remove the chips from the oven and let them cool on the sheets for 15-20 minutes. This step is essential for the chips to reach their full crispiness. Once cooled, enjoy your homemade chickpea chips on their own or serve them with dips like hummus or guacamole for a tasty snack!
How to Store and Freeze Chickpea Chips
Room Temperature: Store your chickpea chips in an airtight container at room temperature for up to 4 days to maintain their crispness.
Re-crisping: If your chips lose their crunch, place them in a preheated oven at 350°F (175°C) for about 5 minutes to re-crisp them before serving.
Freezer: For longer storage, freeze the unbaked batter in a sealed bag for up to 2 months. Just thaw and bake when you’re ready for a fresh batch!
Serving Tip: Serve with your favorite dips to create a delicious snack experience that everyone will love!
What to Serve with Crispy Baked Chickpea Chips?
Elevate your snacking experience with delightful pairings that transform these crispy joys into a feast.
-
Creamy Hummus: This classic dip adds a rich, velvety texture that complements the crunch of your chickpea chips, enhancing every bite.
-
Guacamole Bliss: The creamy avocado dip provides a fresh, zesty contrast, making it a refreshing companion for your flavorful chips.
-
Dairy-Free Queso: Indulge in the cheesy goodness without the dairy! This dip offers a savory, satisfying flavor that contrasts beautifully with the crispy chips.
-
Salsa Fresca: Bright, fresh tomatoes, onions, and cilantro bring a tangy burst, balancing the nuttiness of chickpeas for a lively snack.
-
Roasted Red Pepper Dip: This smoky, sweet dip pairs wonderfully with the chickpea chips’ crunch, adding depth and drama to your snack time.
-
Garden Salad: Tossed with fresh greens and a light vinaigrette, this salad balances the hearty chips, making for a wholesome, light meal perfect for sharing.
-
Sparkling Water with Lime: Refresh your palate with fizzy sparkling water, a zesty lime twist perfectly complements the flavors of the chickpea chips.
-
Dark Chocolate Squares: For a sweet finish, a square of dark chocolate provides a rich, indulgent experience after the savory crunch of the chips.
Chickpea Chips Variations & Substitutions
Feel free to personalize your chickpea chips by incorporating different flavors and textures!
- Dairy-Free: Substitute any cheese toppings with nutritional yeast for a cheesy flavor without the dairy.
- Spicy Kick: Add crushed red pepper flakes or cayenne pepper to the batter for an extra heat boost.
- Savory Herbs: Mix in dried oregano, thyme, or basil for a Mediterranean twist that adds complexity to the flavor.
- Smoky Flavor: Incorporate smoked paprika to mimic the essence of traditional barbecue chips with a healthy spin.
- Zesty Delight: Squeeze some lemon juice and zest onto the batter before baking for a fresh, tangy edge.
- Textural Twist: Consider half chickpea flour and half brown rice flour for a different crunchy texture that still keeps it gluten-free.
Experimenting with these variations will keep your snacks exciting. Serve your chips with hummus or guacamole for an extra layer of deliciousness! Enjoy creating your unique batch of chickpea chips that everyone will love!
Expert Tips for Crispy Chickpea Chips
-
Spread Thinly: Ensure your batter is spread thinly on the baking sheets for optimal crispiness; thicker chips may end up chewy rather than crunchy.
-
Watch the Clock: Keep an eye on the baking time; it’s better to check a minute or two early to avoid burning your chickpea chips.
-
Cool for Crunch: Let the chips cool completely after baking; this crucial step enhances their texture, making them even crispier.
-
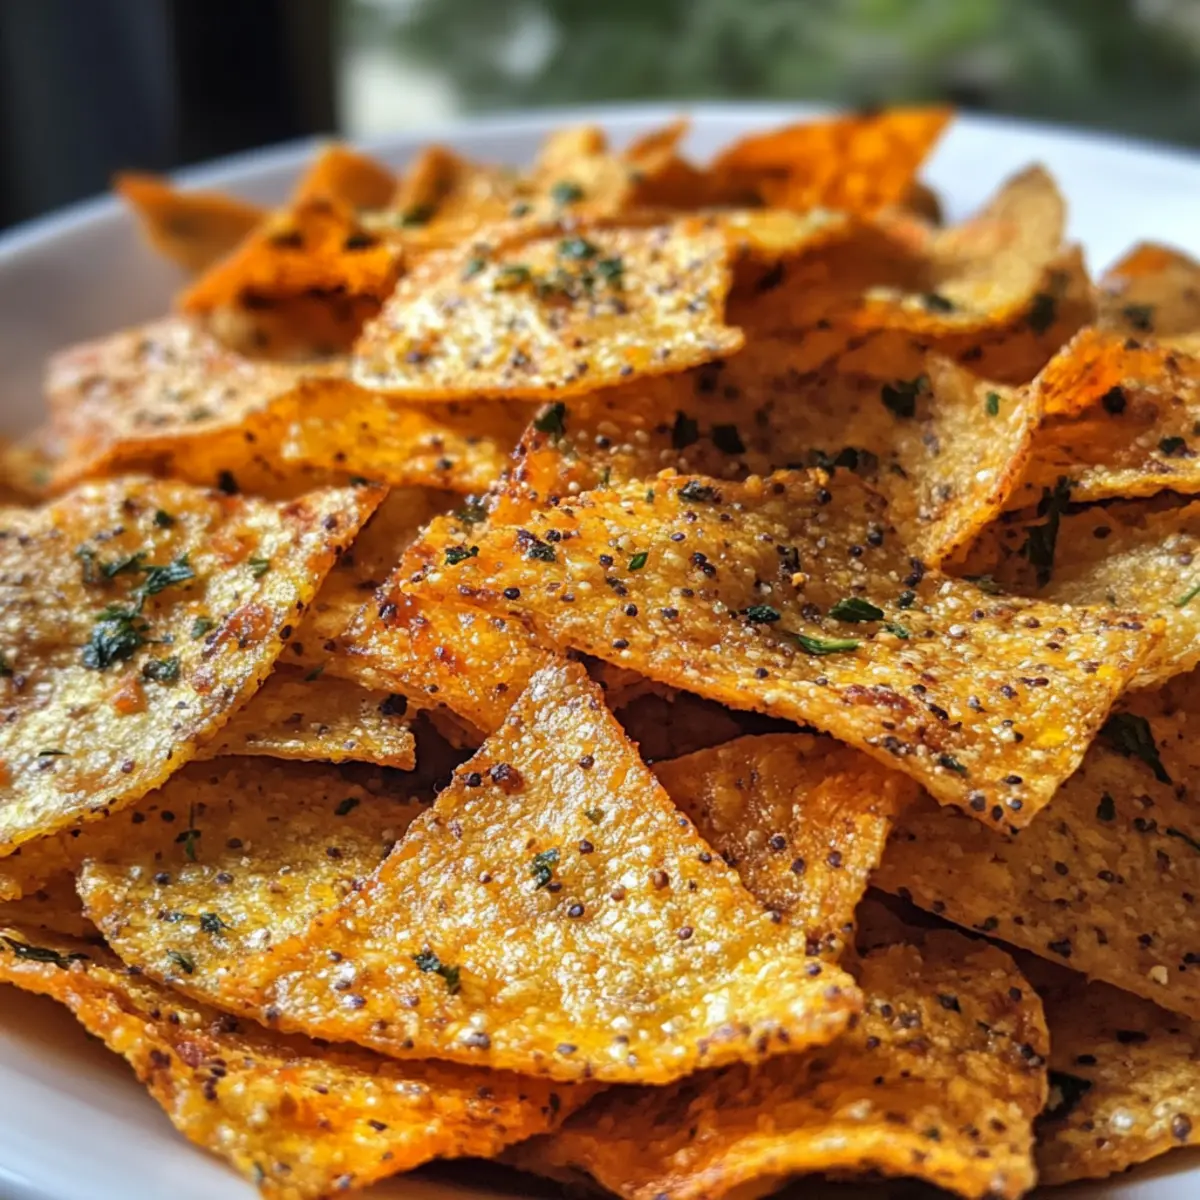
Flavors Galore: Don’t be afraid to experiment with herbs and spices; a combination of smoked paprika and garlic powder creates a delightful flavor profile.
-
Storage Matters: Store leftover chips in an airtight container at room temperature for up to 4 days. To revitalize them, pop them back in the oven for a few minutes.
Make Ahead Options
These Crispy Baked Chickpea Chips are ideal for meal prep, allowing you to save time during busy weeknights! You can prepare the batter up to 24 hours in advance—just whisk together the chickpea flour, water, and salt, then store it in an airtight container in the fridge. The seasoning can also be mixed and kept separately, ensuring the flavors are fresh. When you’re ready to enjoy, simply spread the batter on lined baking sheets, sprinkle the herbs or spices, and bake at 400°F for about 10 minutes. By prepping ahead, you’ll have delicious, customizable snacks ready to go whenever cravings strike!
Crispy Baked Chickpea Chips Recipe FAQs
What type of chickpea flour should I use?
I recommend using fine chickpea flour for the best results. It’s also known as besan or gram flour, and it provides a lovely nutty flavor. If you want a different texture, try mixing half chickpea flour with half rice flour.
How should I store my chickpea chips?
Store your chickpea chips in an airtight container at room temperature for up to 4 days. This keeps them fresh and crispy. If they lose their crunch, simply re-crisp them in a preheated oven at 350°F (175°C) for about 5 minutes before serving.
Can I freeze chickpea chips?
Absolutely! You can freeze the unbaked batter in a sealed bag for up to 2 months. When you’re ready to make your chips, just thaw the batter in the refrigerator overnight, then follow the baking instructions as usual for fresh, crispy chips.
What if my chickpea chips turn out chewy?
No worries! The most common reason for chewy chips is if the batter is too thick or not spread thin enough on the baking sheet. Be sure to spread the batter into ¼ inch thick circles for optimal crunchiness. Also, allow the chips to cool completely after baking to enhance their crisp texture.
Are chickpea chips suitable for gluten-free diets?
Yes! Chickpea chips are naturally gluten-free, making them a fantastic snack for those with gluten sensitivities or celiac disease. Just be mindful of any other ingredients or dips you serve with them to ensure they’re also gluten-free.
Can I customize the flavor of my chickpea chips?
Very! One of the best parts of making chickpea chips is their versatility. Experiment with a variety of herbs and spices, like oregano, nutritional yeast, or cumin. Just remember to start with smaller amounts for a milder taste, especially if kids are enjoying them!
Crispy Chickpea Chips: Healthy Snacks with Flavorful Twists
Ingredients
Equipment
Method
- In a mixing bowl, whisk together chickpea flour, salt, and water until smooth and lump-free.
- Preheat your oven to 400°F (200°C) and line two baking sheets with parchment paper.
- Pour spoonfuls of the batter onto the sheets, spreading into thin circles about ¼ inch thick.
- Sprinkle your chosen herbs and spices over the batter circles before baking.
- Bake in the preheated oven for about 10 minutes until edges are golden brown.
- Remove from oven and let cool for 15-20 minutes before serving.