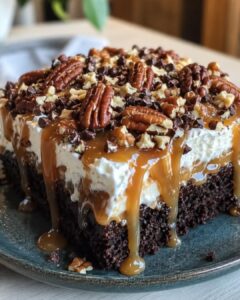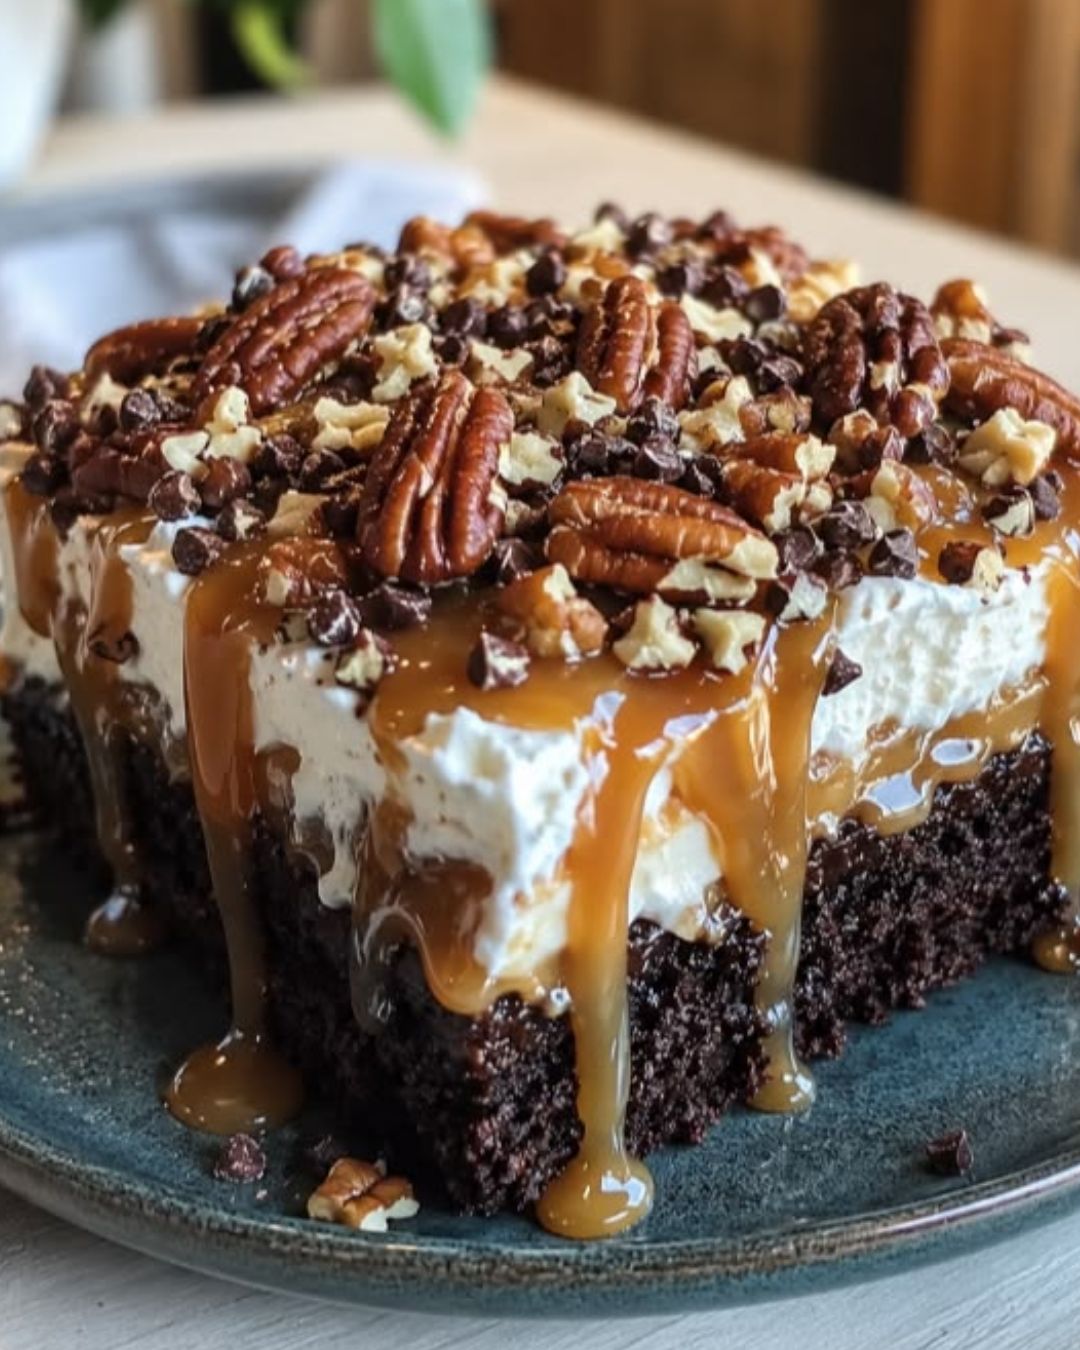
Introduction to Chocolate Turtle Cake
There’s something magical about a dessert that combines rich chocolate, creamy caramel, and crunchy pecans. The Chocolate Turtle Cake is just that—a delightful treat that brings back memories of family gatherings and celebrations. Whether you’re looking to impress your loved ones or simply satisfy a sweet tooth after a long day, this cake is your go-to solution. It’s easy to whip up, and the best part? It requires minimal effort for maximum flavor. Trust me, once you serve this cake, you’ll be the star of the dessert table!
Why You’ll Love This Chocolate Turtle Cake
This Chocolate Turtle Cake is a game-changer for any dessert lover. It’s incredibly easy to make, perfect for those busy weeknights or last-minute gatherings. The combination of chocolate, caramel, and pecans creates a flavor explosion that will have everyone coming back for seconds. Plus, it’s a crowd-pleaser that looks impressive without requiring hours in the kitchen. You’ll love how quickly it disappears!
Ingredients for Chocolate Turtle Cake
Gathering the right ingredients is the first step to creating your Chocolate Turtle Cake masterpiece. Here’s what you’ll need:
- Devil’s Food chocolate cake mix: This is the base of your cake, providing that rich chocolate flavor. You can use any brand you prefer.
- Ingredients required on the cake mix box: Follow the instructions on the box for eggs, oil, and water. These are essential for the cake’s texture.
- Sweetened condensed milk: This creamy ingredient soaks into the cake, adding moisture and sweetness. It’s a game-changer!
- Caramel sundae topping: This luscious topping gives your cake that signature caramel flavor. You can find it in the ice cream aisle.
- Whipped topping: Thawed whipped topping adds a light, fluffy layer that balances the richness of the cake. You can also use homemade whipped cream if you’re feeling adventurous.
- Chopped pecans: These nuts add a delightful crunch and nutty flavor. Feel free to substitute with walnuts or leave them out if you prefer.
- Mini semi-sweet chocolate chips: These little morsels enhance the chocolate flavor and add texture. Dark chocolate chips work well too!
- Salted caramel sauce: Drizzling this on top elevates the cake to a whole new level of indulgence. You can make your own or buy it pre-made.
For exact measurements, check the bottom of the article where you can find everything listed for easy printing. Now that you have your ingredients ready, let’s dive into the fun part—making this delicious cake!
How to Make Chocolate Turtle Cake
Creating your Chocolate Turtle Cake is a delightful journey. Follow these simple steps, and you’ll have a show-stopping dessert that everyone will love. Let’s get started!
Step 1: Prepare the Cake Mix
First, grab your box of Devil’s Food chocolate cake mix. Follow the package directions to prepare the mix, adding the required eggs, oil, and water. Once mixed, pour it into a greased 9×13-inch pan. Bake according to the instructions, usually around 30 minutes. The aroma of chocolate will fill your kitchen, making it hard to wait!
Step 2: Poke Holes in the Cake
Once your cake is baked and cooled completely, it’s time for some fun. Using the handle of a wooden spoon, a skewer, or even a chopstick, poke deep holes evenly across the entire cake. This step is crucial as it allows the sweetened condensed milk to soak in, creating that moist, decadent texture.
Step 3: Soak with Sweetened Condensed Milk
Now, take your can of sweetened condensed milk and slowly pour it over the cake. Make sure to cover all the holes you just poked. The milk will seep in, making the cake incredibly moist and sweet. Let it soak for a few minutes; trust me, this is where the magic happens!
Step 4: Add Caramel Topping
Next, grab your jar of caramel sundae topping. Spread it evenly over the entire surface of the cake. The caramel will blend beautifully with the chocolate and condensed milk, creating a luscious layer that’s hard to resist. Don’t be shy—use as much as you like!
Step 5: Chill the Cake
Refrigerate your cake for at least 1 hour. For the best flavor and texture, chilling it overnight is ideal. This step allows all those delicious flavors to meld together, making each bite a creamy delight. Plus, it’s a great way to build anticipation!
Step 6: Add Whipped Topping
After chilling, it’s time to add the whipped topping. Spread it evenly over the chilled caramel layer. This fluffy layer adds a lightness that balances the richness of the cake. If you’re feeling adventurous, you can even make your own whipped cream for an extra special touch!
Step 7: Garnish with Pecans and Chocolate Chips
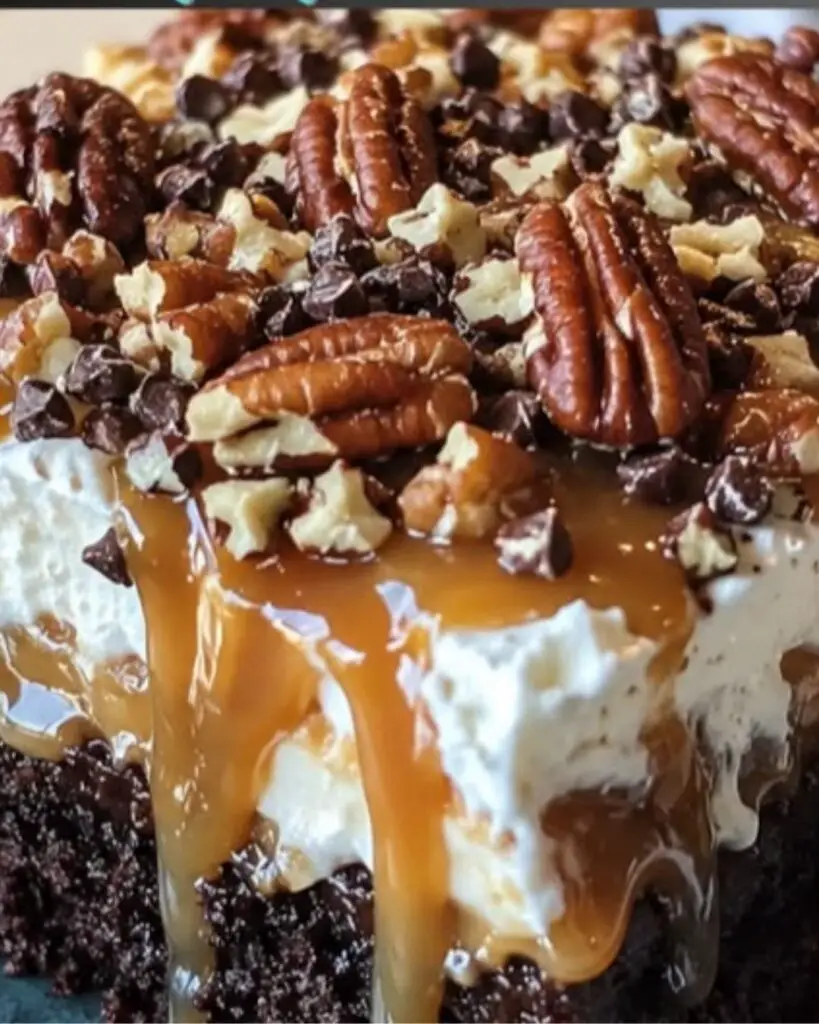
Now for the finishing touches! Sprinkle chopped pecans and mini chocolate chips on top of the whipped topping. The pecans add a delightful crunch, while the chocolate chips enhance the overall chocolate experience. It’s a feast for the eyes and the taste buds!
Step 8: Drizzle with Salted Caramel Sauce
Finally, drizzle salted caramel sauce over the top of your cake. This step is the cherry on top, elevating your Chocolate Turtle Cake to a whole new level of indulgence. Now, it’s ready to be served! Keep it refrigerated until you’re ready to cut into squares and enjoy.
Tips for Success
- Always let the cake cool completely before poking holes; this prevents it from falling apart.
- For a richer flavor, use dark chocolate chips instead of semi-sweet.
- Chill the cake overnight for the best texture and flavor.
- Feel free to mix in some chocolate syrup with the caramel for an extra chocolatey kick.
- Experiment with different nuts or toppings to make it your own!
Equipment Needed
- 9×13-inch baking pan: Essential for baking the cake. A glass or metal pan works well.
- Mixing bowl: Use a large bowl for combining the cake mix and wet ingredients.
- Wooden spoon or spatula: Perfect for mixing and spreading toppings.
- Skewer or chopstick: Handy for poking holes in the cake.
- Refrigerator: Necessary for chilling the cake to enhance flavors.
Variations
- Gluten-Free Option: Use a gluten-free chocolate cake mix to make this dessert suitable for those with gluten sensitivities.
- Nut-Free Version: Omit the pecans and replace them with crushed graham crackers for a different texture without the nuts.
- Vegan Twist: Substitute the eggs and milk in the cake mix with flaxseed meal and almond milk, and use a dairy-free whipped topping.
- Chocolate Lovers Delight: Add a layer of chocolate ganache on top of the whipped topping for an extra chocolatey experience.
- Fruit Infusion: Incorporate sliced bananas or strawberries between the layers for a fruity contrast to the rich chocolate and caramel.
Serving Suggestions
- Pair with Coffee: A cup of freshly brewed coffee complements the rich flavors of the cake beautifully.
- Ice Cream Delight: Serve with a scoop of vanilla or caramel ice cream for an indulgent treat.
- Presentation: Garnish with extra pecans and a drizzle of caramel sauce for a stunning look.
- Fresh Berries: Add a side of fresh strawberries or raspberries for a refreshing contrast.
FAQs about Chocolate Turtle Cake
Got questions about this decadent Chocolate Turtle Cake? You’re not alone! Here are some common queries that might pop up as you embark on this delicious baking adventure.
Can I use a different cake mix for this recipe?
Absolutely! While Devil’s Food chocolate cake mix is a classic choice, you can experiment with other chocolate cake mixes. Just keep in mind that the flavor and texture may vary slightly.
How long can I store the Chocolate Turtle Cake?
This cake can be stored in the refrigerator for up to 5 days. Just make sure to cover it well to keep it fresh. The flavors actually improve after a day or two!
Can I freeze Chocolate Turtle Cake?
Yes, you can freeze this cake! Just wrap it tightly in plastic wrap and then in aluminum foil. It can last up to 3 months in the freezer. Thaw it in the fridge before serving for the best texture.
What can I substitute for sweetened condensed milk?
If you’re looking for a substitute, you can use a mixture of evaporated milk and sugar. Combine 1 cup of evaporated milk with 1 ¼ cups of sugar, and you’ll have a similar consistency and sweetness.
Can I make this cake ahead of time?
Definitely! In fact, making it a day in advance allows the flavors to meld beautifully. Just remember to keep it refrigerated until you’re ready to serve.
Final Thoughts
Creating a Chocolate Turtle Cake is more than just baking; it’s about crafting a moment of joy. Each layer tells a story, from the rich chocolate base to the creamy caramel topping. This cake is perfect for celebrations or simply to brighten a regular day. The smiles it brings are worth every step in the kitchen. Plus, it’s a fantastic way to bond with family and friends over a shared love for dessert. So, roll up your sleeves, embrace the process, and enjoy the sweet rewards of your hard work. Trust me, it’s a slice of happiness!
PrintChocolate Turtle Cake: Discover the Creamy Delight Today!
- Total Time: 1 hour 50 minutes
- Yield: 12 servings
- Diet: Vegetarian
Description
A rich and creamy Chocolate Turtle Cake topped with caramel, pecans, and chocolate chips.
Ingredients
- 1 box (15.25 oz) Devil’s Food chocolate cake mix
- Ingredients required on the cake mix box
- 1 can (14 oz) sweetened condensed milk
- 1 jar (12 oz) caramel sundae topping
- 1 container (8 oz) whipped topping, thawed
- ½ cup chopped pecans
- ½ cup mini semi-sweet chocolate chips
- ⅓ cup salted caramel sauce
Instructions
- Prepare the Devil’s Food cake mix according to the package directions. Bake in a greased 9×13-inch pan. Let it cool completely.
- Using the handle of a wooden spoon, skewer, or chopstick, poke deep holes evenly across the entire cake.
- Slowly pour the sweetened condensed milk over the cake, allowing it to soak into the holes.
- Spread the caramel sundae topping evenly over the entire surface.
- Refrigerate for at least 1 hour. For the best flavor and texture, chill overnight.
- Spread the thawed whipped topping evenly over the chilled caramel layer.
- Sprinkle with chopped pecans and mini chocolate chips.
- Finish with the salted caramel sauce.
- Keep refrigerated until ready to serve, then cut into squares and enjoy chilled.
Notes
- For best results, chill the cake overnight.
- Feel free to adjust the toppings according to your preference.
- Prep Time: 20 minutes
- Cook Time: 30 minutes
- Category: Dessert
- Method: Baking
- Cuisine: American
Nutrition
- Serving Size: 1 square
- Calories: 350
- Sugar: 30g
- Sodium: 200mg
- Fat: 15g
- Saturated Fat: 7g
- Unsaturated Fat: 5g
- Trans Fat: 0g
- Carbohydrates: 50g
- Fiber: 2g
- Protein: 4g
- Cholesterol: 30mg