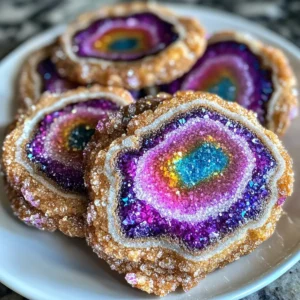
As I sifted through my collection of vibrant cookie recipes, I stumbled upon a true gem: Dazzling Geode Cookies. These stunning sweets, with their crunchy exterior and chewy center, are not just a treat for the taste buds; they’re edible works of art! The excitement of choosing your colors and designs makes baking them a delightful creative outlet, perfect for those cozy afternoons spent at home. What’s even better? They’re quick and incredibly fun to make, ensuring you’ll please a crowd without spending hours in the kitchen. So, are you ready to add a splash of color to your cookie repertoire and whip up these gorgeous, customized delights? Let’s dive in!
Why Are Geode Cookies So Special?
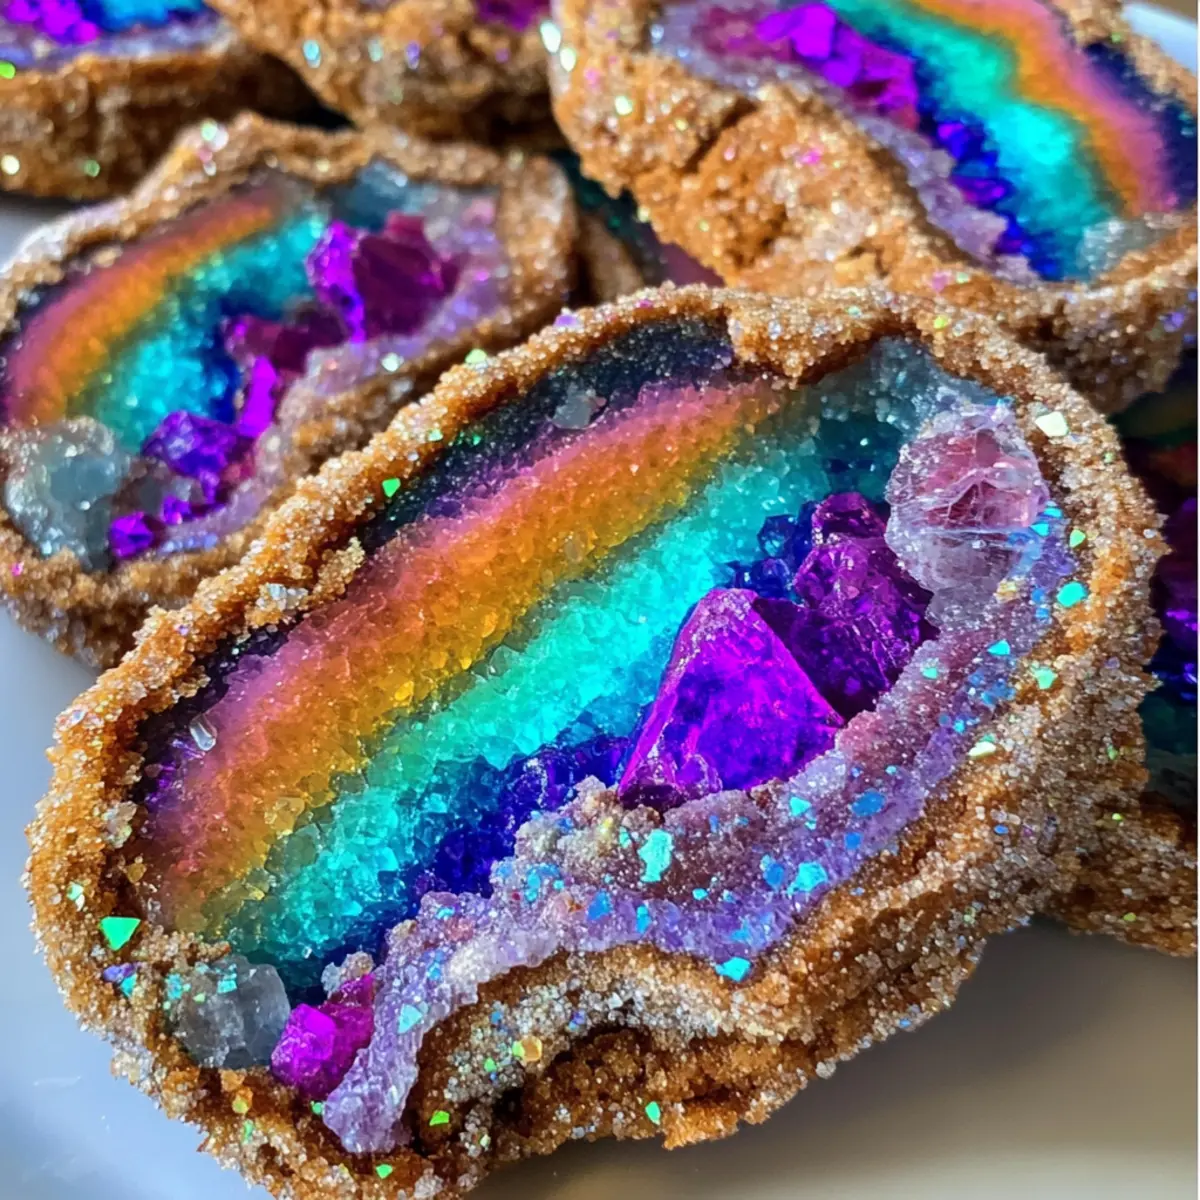
Visual Appeal: These cookies are a feast for the eyes! With their sparkling sugar crystal finishes, they look dazzling enough to grace any dessert table.
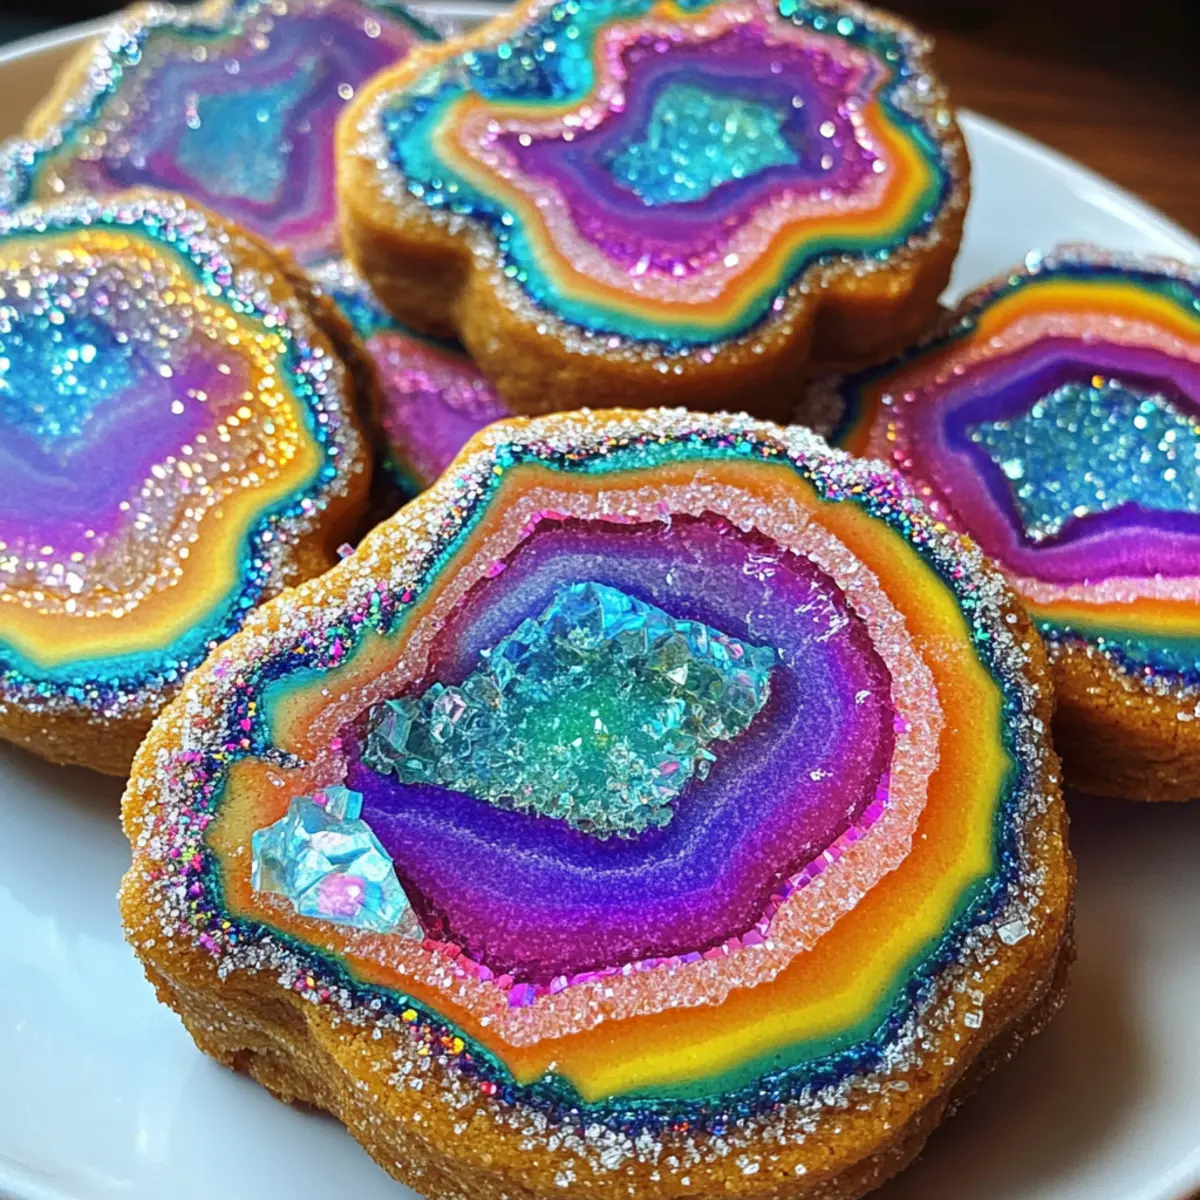
Customizable Creations: Unleash your inner artist! The color combinations and design options are endless, allowing you to tailor each batch to suit any occasion.
Crowd-Pleasing Delight: Whether for a birthday party or a festive gathering, Dazzling Geode Cookies are sure to impress your guests and leave them asking for more.
Quick and Easy: Don’t worry about being a master baker; these simple steps make it easy to create stunning cookies that taste as good as they look.
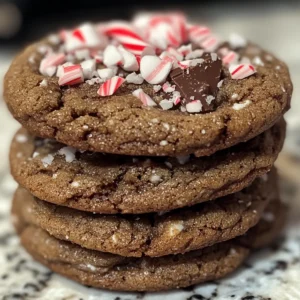
With a touch of creativity, you can make these cookies your own! Explore Crunchy Sugar Cookies or even try whipping up some Chocolate Pumpkin Cookies to expand your dessert repertoire. Get ready to dazzle your friends and family with these vibrant creations!
Dazzling Geode Cookies Ingredients
• Get ready to gather your supplies for these vibrant delights!
For the Cookie Base
- Butter (2 1/4 cups) – Provides richness and moisture for that chewy texture; substitute with margarine or coconut oil for a dairy-free option.
- Granulated Sugar (1 cup) – Adds sweetness and contributes to the delightful crunch; brown sugar can be used for a deeper flavor.
- Eggs (2) – Acts as a binder and adds moisture; replace with a flaxseed meal and water mix for a vegan option.
- All-Purpose Flour (1 cup) – Gives structure to the cookies; a gluten-free flour blend works perfectly for gluten-free versions.
- Baking Powder (1 tsp) – Essential for leavening to keep the cookies soft; no substitutions here for the best texture.
For Coloring and Decoration
- Food Coloring – Use gel coloring for vibrant hues; it’s perfect for elevating your edible art experience.
- Sugar Crystals/Rock Candy – Adds a delightful crunch and sparkly finish; try edible glitter if you want a shinier effect.
With these ingredients in hand, you’re one step closer to creating your own batch of Dazzling Geode Cookies!
Step‑by‑Step Instructions for Dazzling Geode Cookies
Step 1: Preheat the Oven
Begin by preheating your oven to 350°F (175°C). While the oven heats up, line two baking sheets with parchment paper to prepare for the cookies. This step ensures that your Dazzling Geode Cookies won’t stick during baking and will release easily, helping you maintain their beautiful shapes.
Step 2: Cream the Butter and Sugar
In a large mixing bowl, combine the softened butter and granulated sugar. Using an electric mixer, beat the mixture on medium speed for about 3 minutes until it becomes light and fluffy. This creamy base provides the rich texture for your Dazzling Geode Cookies, setting a strong foundation for their delightfully chewy centers.
Step 3: Add the Eggs
Next, crack in the eggs one at a time, mixing well after each addition. Continue to beat the mixture on medium speed until it’s well combined, about 1 minute. The eggs act as a binder, adding moisture and richness to the cookie dough, ensuring that the final cookies have that perfect soft-on-the-inside texture.
Step 4: Combine the Dry Ingredients
In a separate bowl, whisk together the all-purpose flour and baking powder. Gradually add this dry mixture to the butter mixture, folding it in gently until just combined. Don’t worry if some lumps remain; this stage is crucial as it helps create the structure of your Dazzling Geode Cookies without overmixing.
Step 5: Color the Dough
Divide the cookie dough into separate bowls based on how many colors you want for your Dazzling Geode Cookies. Using gel food coloring, tint each bowl until you achieve your desired vibrant hues. Mix the color in thoroughly, letting your creativity shine as you prepare to form stunning, colorful cookies.
Step 6: Shape the Cookies
Scoop small amounts of the colored dough onto the prepared baking sheets, spacing them about 2 inches apart. Using your fingers, gently press the sugar crystals or rock candy into each cookie ball. This decorative touch will give your Dazzling Geode Cookies their signature sparkling look before baking.
Step 7: Bake the Cookies
Place the baking sheets in the preheated oven and bake for 10-12 minutes. Look for the edges of the cookies to turn golden brown while the centers should still remain soft. This balance is essential for achieving the chewy texture that makes your Dazzling Geode Cookies so delightful.
Step 8: Cool on Wire Racks
Once baked to perfection, remove the cookies from the oven and let them cool on the baking sheets for a few minutes. Then carefully transfer them to wire racks to cool completely. This final cooling phase allows the cookies to firm up a bit while retaining a soft, chewy center, completing the irresistible allure of your Dazzling Geode Cookies.
Storage Tips for Dazzling Geode Cookies
Room Temperature: Store Dazzling Geode Cookies in an airtight container at room temperature for up to 1 week to maintain their delightful chewiness.
Fridge: If you prefer them chilled, place the cookies in a sealed container in the fridge for up to 10 days, but allow them to come to room temperature before serving for the best flavor.
Freezer: For longer storage, freeze unbaked dough or decorated cookies in an airtight bag or container for up to 3 months. Thaw in the fridge overnight before baking or serving.
Reheating: To refresh cookies and regain their soft centers, warm them briefly in a preheated oven at 350°F (175°C) for about 5 minutes, ensuring they remain deliciously irresistible.
Make Ahead Options
These Dazzling Geode Cookies are a fantastic choice for meal prep! You can make the cookie dough and refrigerate it for up to 24 hours before baking—simply wrap it tightly in plastic wrap to keep it fresh. Alternatively, you can scoop the shaped cookie balls and place them on a baking sheet, then freeze them for up to three months. Just remember to place them in a freezer-safe bag after they are frozen solid. When you’re ready to bake, there’s no need to thaw—simply pop them directly in the oven and add an extra minute or two to the baking time. This way, you’ll enjoy delicious, warm cookies with minimal effort on busy days!
Dazzling Geode Cookies Variations
Feel free to let your creativity shine by customizing these cookies to your taste and preferences!
-
Dairy-Free: Substitute butter with coconut oil or margarine to make these treats suitable for dairy-sensitive friends or family.
-
Vegan: Replace eggs with a flaxseed meal mixed with water for a vegan-friendly cookie that’s still delicious.
-
Flavor Twist: Swap traditional vanilla extract for almond extract to introduce a nutty flavor that pairs well with the sweetness.
-
Color Explosion: Create an ombre effect by layering different shades of dough; this will make each bite uniquely vibrant and visually enticing.
-
Textural Contrast: Mix in chopped nuts or seeds for an added crunch that complements the chewy center perfectly.
-
Zest of Citrus: Add a teaspoon of lemon or orange zest to the dough for a fresh and zesty flavor that will brighten these cookies even more.
-
Spicy Kick: Incorporate a pinch of cayenne pepper or cinnamon into the dough for a delightful, unexpected warmth that rounds out the sweet notes.
-
Sugar Swaps: Use brown sugar instead of granulated sugar for a richer flavor that enhances the overall cookie experience.
For more dazzling ideas, try out some Crumbl Salted Bake for an extra touch of sweetness, or add your flair to some Festive Cookies Sweet for the holiday gatherings. Let’s make your baking journey truly unique!
What to Serve with Dazzling Geode Cookies?
Elevate your cookie experience by pairing these vibrant delights with complementary flavors and textures!
- Milkshake Madness: A creamy vanilla or chocolate milkshake balances the sweetness and adds a nostalgic touch to your cookie indulgence.
- Fresh Fruit Platter: Crisp fruits like strawberries and apples provide a refreshing contrast, adding a delightful burst of natural sweetness alongside your cookies.
- Coffee or Espresso: Rich, bold coffee tones enhance the cookie’s sweetness, making each bite a luxurious treat perfect for afternoon gatherings.
- Colorful Macarons: These delicate, flavorful treats mirror the vibrant colors of your cookies, making for a stunning dessert table for any celebration.
- Creamy Ice Cream: Pair with a scoop of vanilla or raspberry sorbet for a delightful contrast between temperature and texture, creating a delightful dessert duo.
- Themed Fruit Punch: A refreshing, fruity drink adds an extra layer of festivity, especially appealing during get-togethers or celebrations.
With these pairing ideas, your Dazzling Geode Cookies will truly shine at your next gathering!
Expert Tips for Dazzling Geode Cookies
Chill the Dough: Chill your dough for at least 30 minutes before baking. This helps the cookies maintain their shape and prevents spreading.
Use Gel Coloring: Opt for gel food coloring to achieve the most vibrant shades. Liquid coloring can dilute the dough and affect texture.
Don’t Overbake: Keep an eye on your cookies; they should be lightly golden at the edges. They will continue to cook slightly after being removed from the oven.
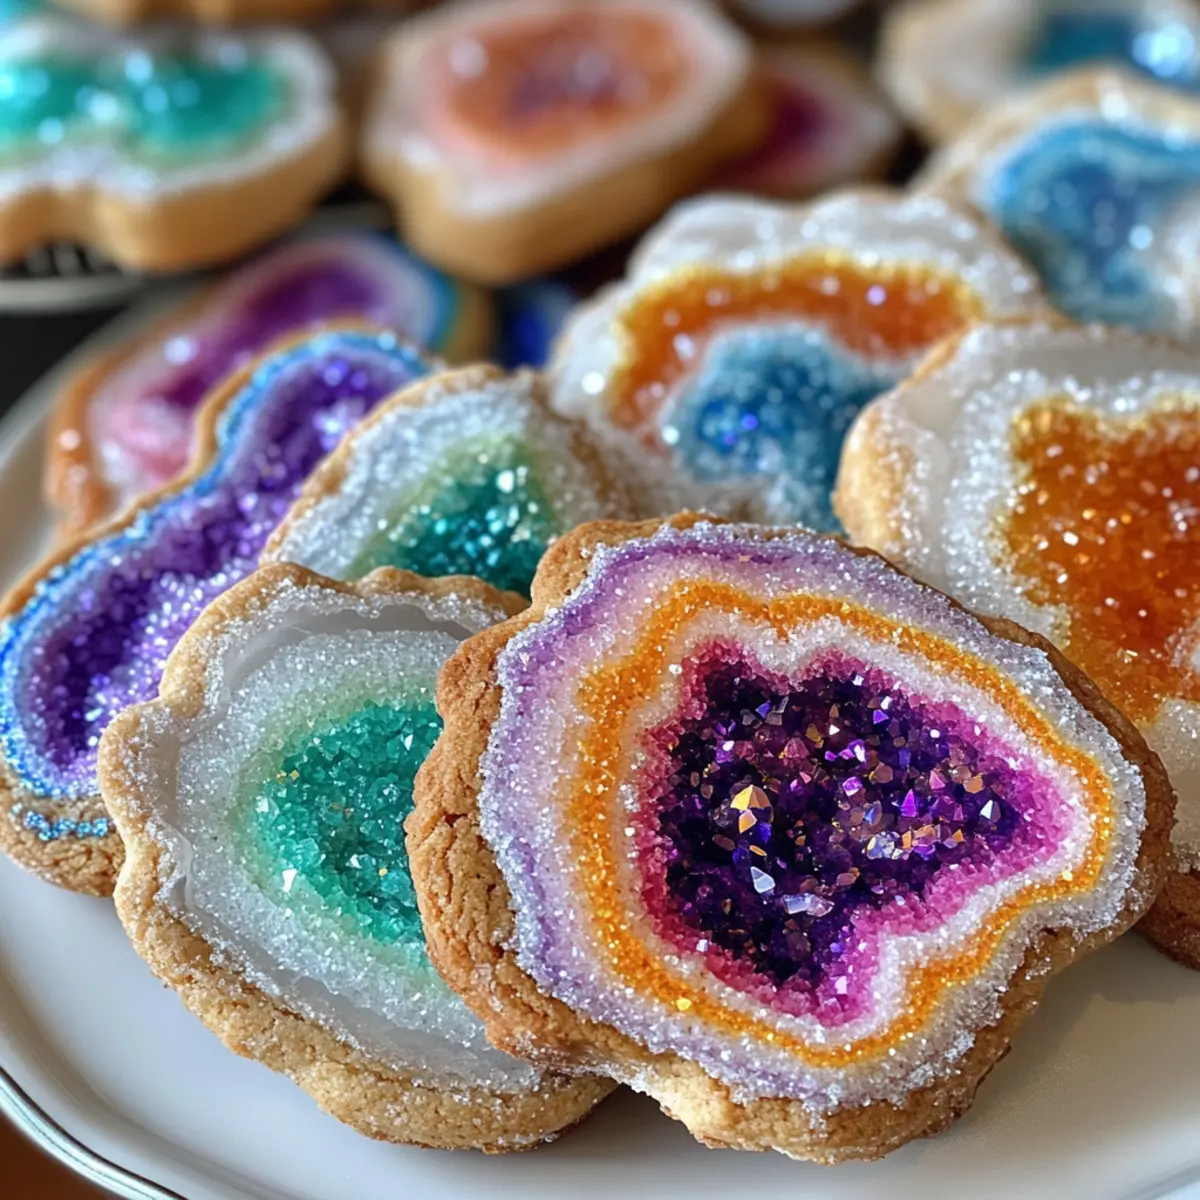
Layer Sugar Crystals: For an eye-catching geode effect, layer different shaped sugar crystals or rock candies on the cookie dough before baking.
Mix Well but Gently: When combining the dry and wet ingredients, mix until just combined. Overmixing can lead to tough cookies, affecting your Dazzling Geode Cookies’ chewy texture.
Dazzling Geode Cookies Recipe FAQs
What kind of food coloring is best for Dazzling Geode Cookies?
Absolutely! I recommend using gel food coloring for the brightest and most vibrant hues. Gel coloring allows you to achieve bolder colors without affecting the dough’s consistency, unlike liquid food coloring, which can dilute the mixture. Remember to start with a small amount and gradually add more until you reach your desired shade!
How can I store Dazzling Geode Cookies?
You can keep your Dazzling Geode Cookies in an airtight container at room temperature for up to a week. If you prefer them chilled, storing them in the fridge works too, where they can last about 10 days. Just be sure to let them come to room temperature before serving for the best flavor, as chilled cookies can lose their brightness.
Can I freeze Dazzling Geode Cookies?
Yes! For longer storage, unbaked cookie dough or decorated Dazzling Geode Cookies can be frozen in freezer-safe bags for up to 3 months. For unbaked dough, simply scoop it into balls, place them on a baking sheet, freeze until firm, then transfer them to a bag. When you’re ready to bake, thaw them in the refrigerator overnight, then bake as directed.
What should I do if my cookies spread too much during baking?
Very! If you notice that your Dazzling Geode Cookies tend to spread, it might be due to soft butter being used or not chilling the dough long enough. For next time, ensure your butter is properly softened (not melted) and chill the dough for at least 30 minutes before baking. This will allow the cookies to maintain their shape and achieve that perfect chewy center.
Are Dazzling Geode Cookies suitable for people with allergies?
Definitely! For allergy-friendly options, you can substitute the regular butter with margarine or coconut oil for a dairy-free version. Using flaxseed meal mixed with water can replace eggs for a vegan option. Additionally, for gluten-free cookies, a gluten-free flour blend works wonderfully. Just be mindful of any specific allergies when choosing your ingredients.
How can I enhance the decorative effects of the geode cookies?
I often suggest layering various shapes of sugar crystals or rock candy on top of each cookie ball before baking. This can create stunning visual effects that mimic the look of real geodes. Get creative by using alternative edible decorations like sprinkles or edible glitter to add more sparkle and fun to your Dazzling Geode Cookies!

Dazzling Geode Cookies: Create Colorful Edible Gems at Home
Ingredients
Equipment
Method
- Preheat your oven to 350°F (175°C) and line two baking sheets with parchment paper.
- In a large mixing bowl, cream together the softened butter and granulated sugar for about 3 minutes until light and fluffy.
- Add eggs one at a time, mixing well after each addition until well combined.
- In a separate bowl, whisk together the all-purpose flour and baking powder. Gradually add to the butter mixture, folding in gently until just combined.
- Divide the cookie dough into separate bowls for coloring. Use gel food coloring to tint each bowl as desired.
- Scoop small amounts of the colored dough onto the prepared baking sheets, spacing them about 2 inches apart. Press the sugar crystals or rock candy into each cookie ball.
- Bake for 10-12 minutes until the edges are golden brown and centers remain soft.
- Let the cookies cool on the baking sheets for a few minutes, then transfer them to wire racks to cool completely.