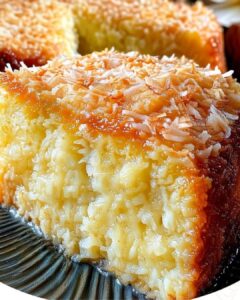
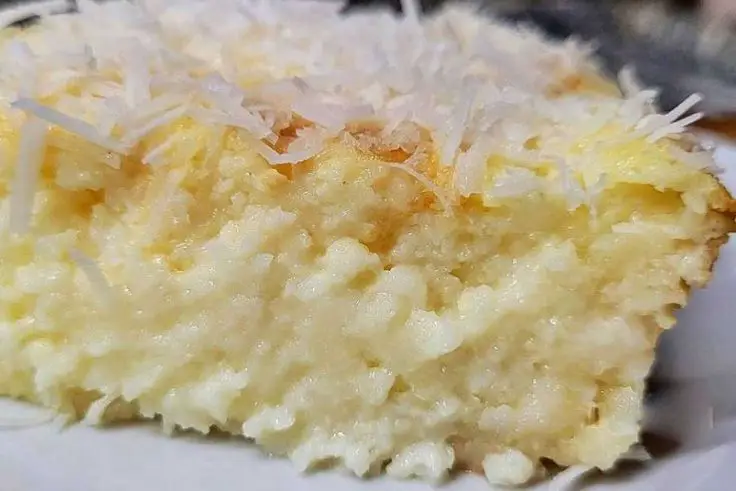
Introduction to Grandma’s Sticky Coconut Milk Cake
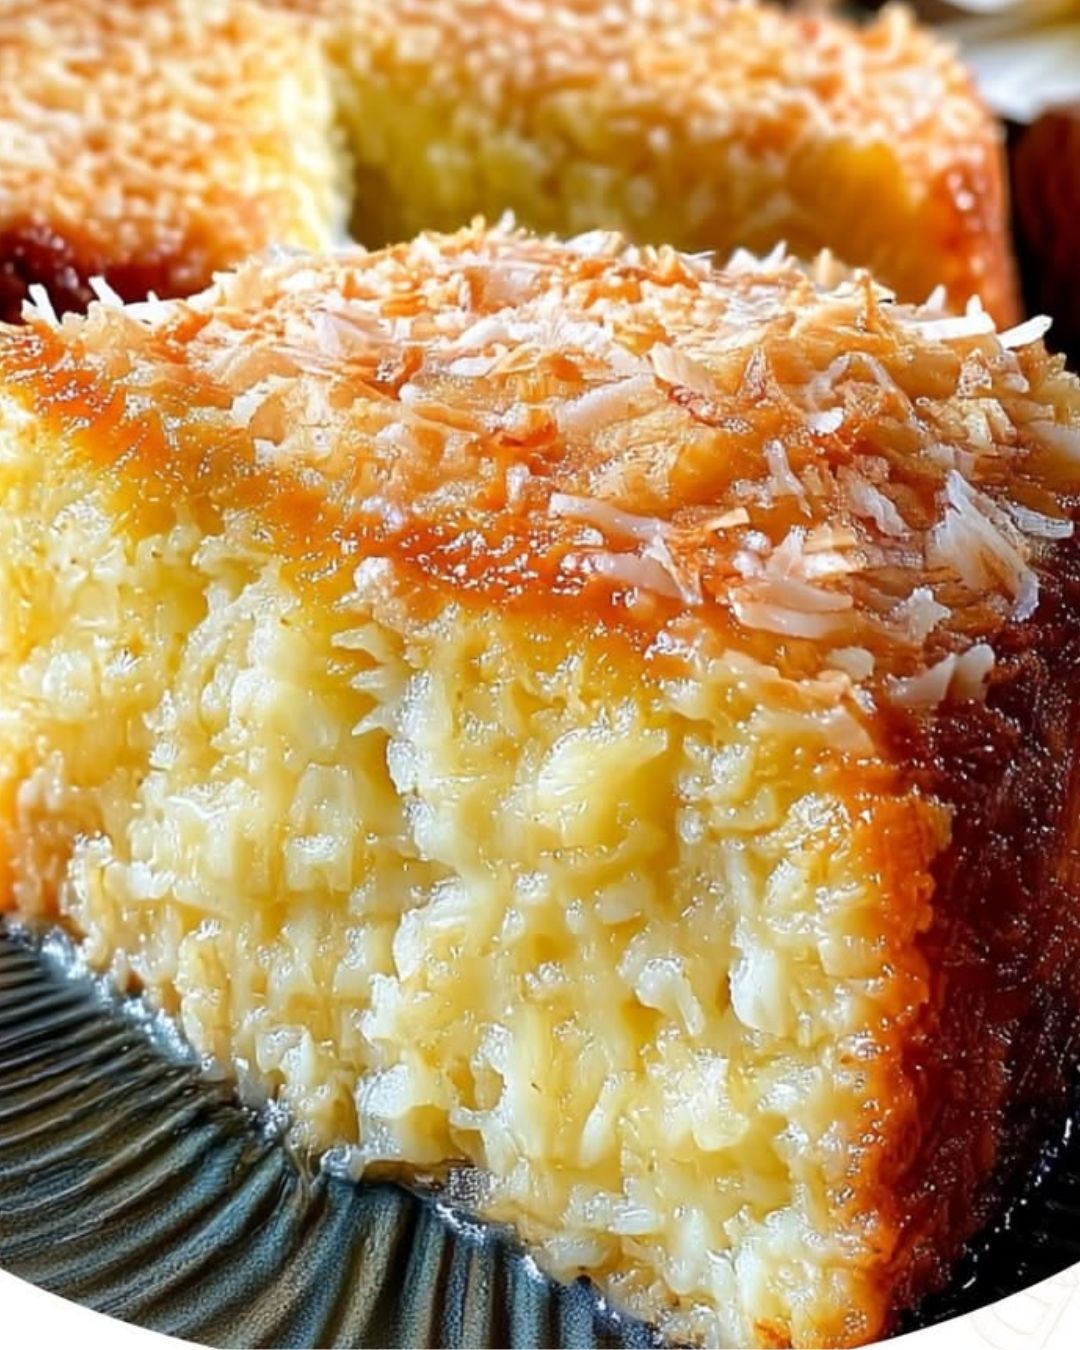
There’s something magical about the aroma of a cake baking in the oven, especially when it’s Grandma’s Sticky Coconut Milk Cake. This delightful dessert brings back memories of family gatherings, laughter, and the sweet taste of nostalgia. It’s the kind of cake that can turn an ordinary day into a special occasion. Whether you’re looking to impress your friends or simply treat yourself, this recipe is a quick solution that requires minimal fuss. With its rich coconut flavor and sticky texture, it’s bound to become a favorite in your home, just like it is in mine.
Why You’ll Love This Grandma’s Sticky Coconut Milk Cake
This cake is a true crowd-pleaser, and for good reason! It’s incredibly easy to whip up, making it perfect for those busy weeknights or last-minute gatherings. The rich, creamy coconut flavor dances on your palate, while the sticky texture keeps you coming back for more. Plus, it’s gluten-free, so everyone can enjoy a slice without worry. Trust me, once you try it, you’ll be hooked!
Ingredients for Grandma’s Sticky Coconut Milk Cake
Gathering the right ingredients is the first step to creating this delightful dessert. Here’s what you’ll need:
- Eggs: Two large eggs, separated, provide the structure and richness to the cake.
- Sugar: Granulated sugar sweetens the cake and helps achieve that lovely sticky texture.
- Coconut Milk: Full-fat coconut milk is essential for a creamy, rich flavor that makes this cake irresistible.
- Shredded Coconut: Sweetened shredded coconut adds texture and enhances the coconut flavor throughout the cake.
- Glutinous Rice Flour: This special flour is key to the cake’s unique sticky consistency. Don’t substitute it with regular rice flour!
- Vanilla Extract: A splash of vanilla extract rounds out the flavors, adding warmth and depth.
- Salt: Just a pinch of salt balances the sweetness and enhances the overall flavor.
- Toasted Shredded Coconut: Optional for topping, it adds a delightful crunch and extra coconut flavor.
For exact measurements, check the bottom of the article where you can find everything listed for easy printing. Happy baking!
How to Make Grandma’s Sticky Coconut Milk Cake
Now that you have your ingredients ready, let’s dive into the steps to create this delightful cake. Each step is simple, and I promise the end result will be worth it!
Preheat the Oven
First things first, preheat your oven to 350°F (175°C). This ensures that your cake bakes evenly. While the oven warms up, you can focus on mixing the batter.
Mix the Egg Yolks
In a large bowl, whisk together the egg yolks and granulated sugar. You want to mix until it’s smooth and slightly thickened. This step is crucial for a rich flavor, so take your time!
Add Coconut Milk
Next, pour in the full-fat coconut milk and a splash of vanilla extract. Whisk until everything is well combined. The coconut milk is what gives this cake its creamy texture, so don’t skimp on it!
Incorporate the Flour
Gradually add the glutinous rice flour and a pinch of salt to the mixture. Whisk until you have a smooth, thick batter. This flour is key to achieving that sticky consistency, so make sure you use glutinous rice flour, not regular rice flour.
Stir in the Shredded Coconut
Now, it’s time to fold in the sweetened shredded coconut. Stir gently until the coconut is evenly distributed throughout the batter. This will enhance the coconut flavor and add delightful texture.
Whip the Egg Whites
In a clean bowl, beat the egg whites until stiff peaks form. This step is essential for giving your cake that light, airy texture. It might take a few minutes, but the effort is worth it!
Fold the Mixtures Together
Gently fold the whipped egg whites into the coconut batter in two or three additions. Be careful not to overmix; you want to keep that airy texture intact. This is where the magic happens!
Bake the Cake
Pour the batter into your prepared cake pan and smooth the top. Bake for 40–45 minutes, or until the top is golden and the center is set. The aroma wafting through your kitchen will be heavenly!
Cool the Cake
Once baked, let the cake cool in the pan for about 10–15 minutes. Then, transfer it to a wire rack to cool completely. This cooling time allows the sticky texture to fully develop, making each slice a delight.
Finish and Serve
Finally, if you like, sprinkle some toasted shredded coconut on top for an extra crunch. Slice into wedges and serve at room temperature or slightly warm. Pair it with coffee or tea for a perfect treat!
Tips for Success
- Use fresh ingredients for the best flavor, especially the coconut milk.
- Don’t skip the cooling step; it enhances the cake’s sticky texture.
- For a richer taste, try adding a pinch of nutmeg or cinnamon.
- Make sure to whip the egg whites until stiff peaks form for a light cake.
- Store leftovers in an airtight container to keep them moist.
Equipment Needed
- 9-inch Round Cake Pan: A standard cake pan works, but a springform pan makes removal easier.
- Mixing Bowls: Use a large bowl for the batter and a separate one for whipping egg whites.
- Whisk: A hand whisk is fine, but an electric mixer speeds up the egg whites.
- Rubber Spatula: Perfect for folding in ingredients without deflating the batter.
- Wire Rack: Essential for cooling the cake evenly.
Variations
- Chocolate Coconut Cake: Add cocoa powder to the batter for a rich chocolate twist.
- Fruit-Infused: Incorporate diced mango or pineapple for a tropical flair.
- Nutty Delight: Mix in chopped nuts like almonds or walnuts for added crunch.
- Vegan Option: Substitute eggs with flaxseed meal mixed with water for a plant-based version.
- Spiced Coconut Cake: Add spices like cardamom or ginger for a warm, aromatic flavor.
Serving Suggestions
- Pair with Coffee: A warm slice of cake goes perfectly with a rich cup of coffee.
- Tea Time: Serve alongside a fragrant herbal tea for a delightful afternoon treat.
- Fresh Fruit: Add a side of tropical fruits like mango or pineapple for a refreshing contrast.
- Presentation: Dust with powdered sugar or drizzle with coconut cream for an elegant touch.
FAQs about Grandma’s Sticky Coconut Milk Cake
Can I use regular rice flour instead of glutinous rice flour?
No, it’s important to use glutinous rice flour for this recipe. Regular rice flour won’t give you that signature sticky texture that makes Grandma’s Sticky Coconut Milk Cake so special.
How should I store leftovers?
Store any leftover cake in an airtight container at room temperature. This will help maintain its moist, sticky texture. If you want to keep it longer, you can refrigerate it, but be sure to bring it back to room temperature before serving.
Can I make this cake ahead of time?
Absolutely! This cake actually tastes better the next day as the flavors meld together. Just make sure to cool it completely before storing it. It’s a great make-ahead dessert for gatherings!
What can I serve with Grandma’s Sticky Coconut Milk Cake?
This cake pairs wonderfully with coffee or tea. You can also serve it with fresh tropical fruits or a drizzle of coconut cream for an extra treat.
Is this cake suitable for gluten-free diets?
Yes! Grandma’s Sticky Coconut Milk Cake is naturally gluten-free, thanks to the use of glutinous rice flour. It’s a delicious option for anyone avoiding gluten.
Final Thoughts
Every bite of Grandma’s Sticky Coconut Milk Cake is like a warm hug from the past. It’s not just a dessert; it’s a celebration of family, tradition, and the simple joys of life. The sticky texture and rich coconut flavor create a delightful experience that lingers long after the last slice is gone. Whether you’re sharing it with loved ones or savoring it alone, this cake brings a sense of comfort and happiness. So, roll up your sleeves, embrace the process, and let this cake become a cherished part of your culinary adventures. You won’t regret it!
PrintGrandma’s Sticky Coconut Milk Cake: Discover the Secret!
- Total Time: 1 hour 5 minutes
- Yield: 8 servings
- Diet: Gluten Free
Description
A deliciously sticky cake made with coconut milk and shredded coconut, perfect for any occasion.
Ingredients
- 2 large eggs, separated
- 1¼ cups (250 g) granulated sugar
- 2¼ cups (540 mL) full-fat coconut milk
- 3 cups (225 g) sweetened shredded coconut
- 1½ cups (240 g) glutinous rice flour
- 1 teaspoon (5 mL) vanilla extract
- ¼ teaspoon (1.25 mL) salt
- ½ cup (45 g) toasted shredded coconut, for topping, optional
Instructions
- Preheat the oven: Heat oven to 350°F (175°C). Grease a 9-inch (23 cm) round cake pan and line the bottom with parchment paper.
- Mix the yolks: In a large bowl, whisk the egg yolks and sugar until smooth and slightly thickened.
- Add coconut milk: Pour in the coconut milk and vanilla. Whisk until well combined.
- Add the flour: Gradually whisk in the glutinous rice flour and salt until you have a smooth, thick batter.
- Add coconut: Stir in the shredded coconut until evenly distributed.
- Whip the egg whites: In a clean bowl, beat the egg whites until stiff peaks form.
- Fold: Gently fold the whipped egg whites into the coconut batter in two or three additions. Don’t overmix.
- Bake: Pour the batter into the prepared pan and smooth the top. Bake for 40–45 minutes, or until the top is golden and the center is set.
- Cool: Let the cake cool in the pan for 10–15 minutes, then transfer to a wire rack. Allow it to cool completely so the sticky texture can fully develop.
- Finish: Sprinkle with toasted coconut if desired.
- Serve: Slice into wedges and serve at room temperature or slightly warm with coffee or tea.
Notes
- Use glutinous rice flour (sweet rice flour), not ordinary rice flour. It’s what gives this cake its unique texture.
- Prep Time: 20 minutes
- Cook Time: 45 minutes
- Category: Dessert
- Method: Baking
- Cuisine: Asian
Nutrition
- Serving Size: 1 slice
- Calories: 250
- Sugar: 20g
- Sodium: 150mg
- Fat: 10g
- Saturated Fat: 8g
- Unsaturated Fat: 2g
- Trans Fat: 0g
- Carbohydrates: 35g
- Fiber: 2g
- Protein: 4g
- Cholesterol: 70mg