Introduction to Red Velvet Christmas Lush
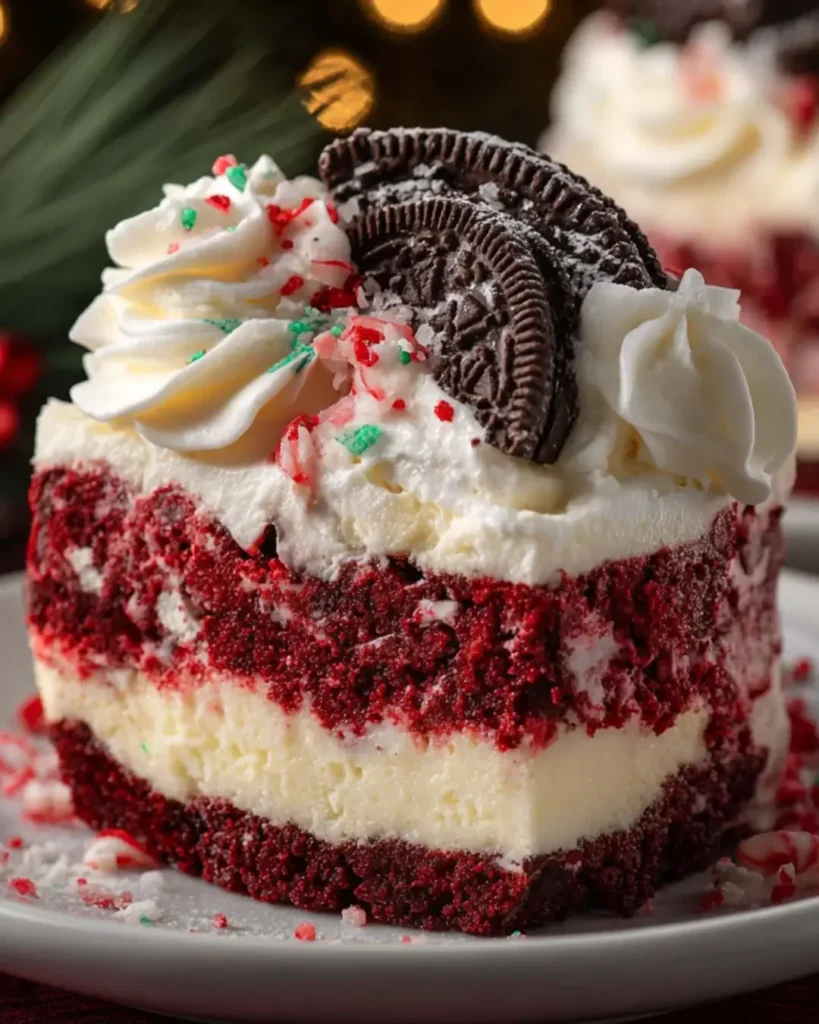
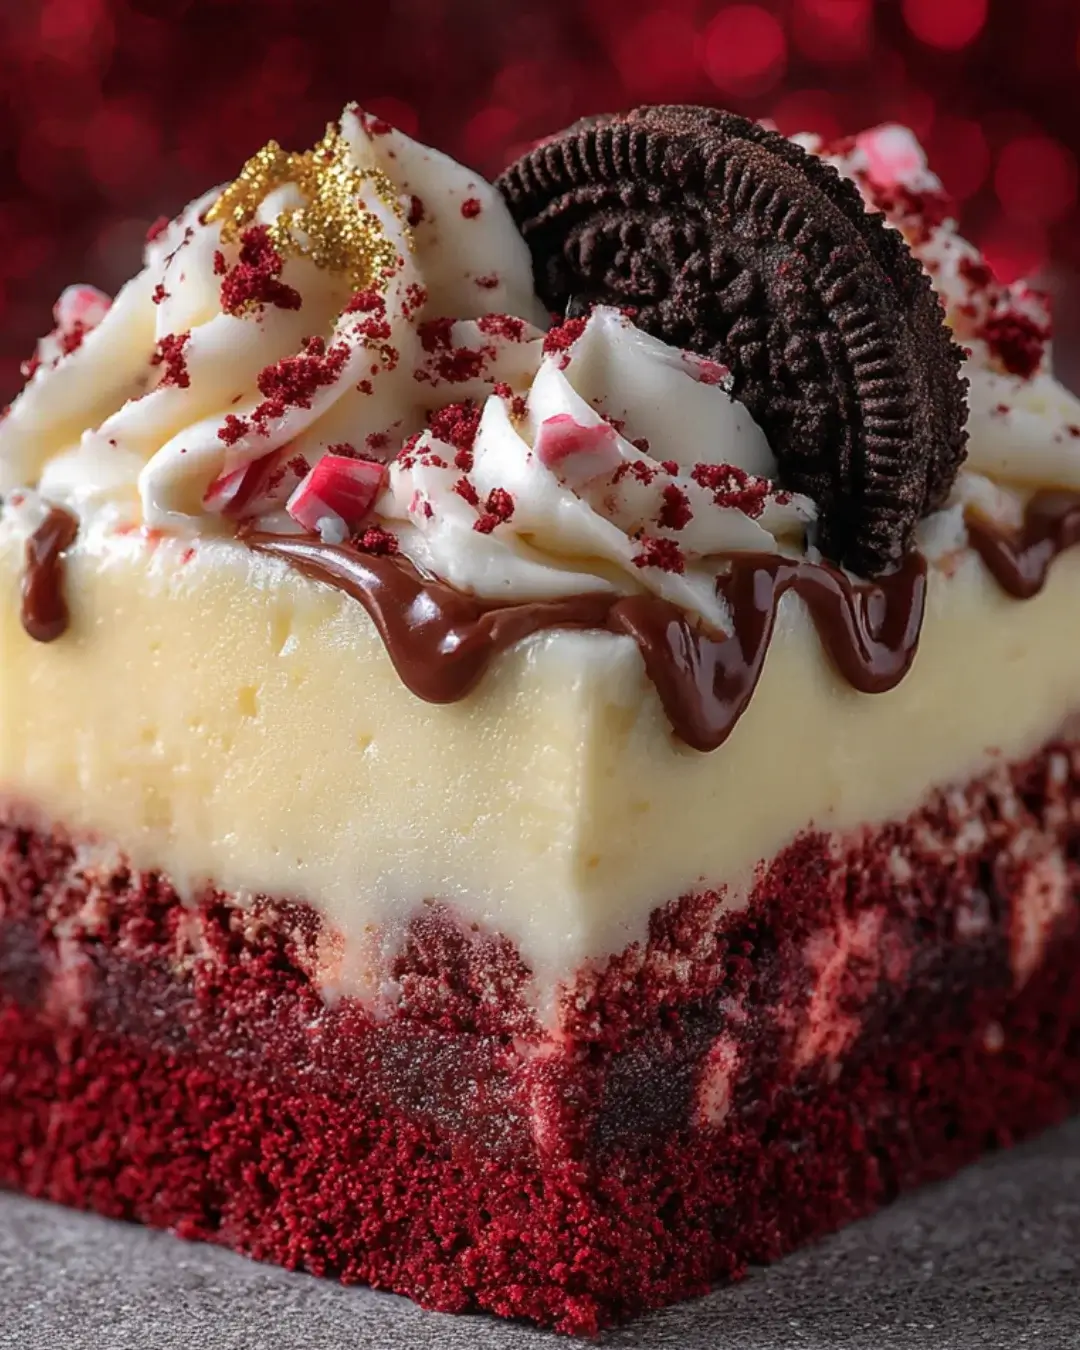
As the holiday season approaches, I find myself reminiscing about the sweet treats that filled my childhood. One dessert that always stood out was the Red Velvet Christmas Lush. This festive delight combines the rich flavors of red velvet cake with creamy layers that make every bite a celebration. It’s not just a dessert; it’s a quick solution for busy days filled with holiday cheer. Whether you’re hosting a gathering or simply want to impress your loved ones, this luscious treat is sure to bring smiles and warmth to your table.
Why You’ll Love This Red Velvet Christmas Lush
This Red Velvet Christmas Lush is a game-changer for your holiday dessert lineup. It’s incredibly easy to whip up, making it perfect for those busy days when time is tight. The layers of creamy goodness and rich red velvet cake create a flavor explosion that will have everyone coming back for seconds. Plus, it’s a stunning centerpiece that adds a festive touch to any gathering, ensuring your dessert table shines bright!
Ingredients for Red Velvet Christmas Lush
Gathering the right ingredients is the first step to creating this festive masterpiece. Here’s what you’ll need:
- Red Velvet Cake Mix: The star of the show! This mix provides that signature flavor and color.
- Unsalted Butter: Adds richness and moisture to the cake. Always go for unsalted to control the saltiness.
- Large Egg: This binds the ingredients together, giving the cake its structure.
- Cream Cheese: A must for that creamy layer! It brings a tangy flavor that balances the sweetness.
- Powdered Sugar: Sweetens the cream cheese mixture, making it smooth and delightful.
- Vanilla Extract: A splash of this adds warmth and depth to the flavors.
- Whipped Topping: Light and fluffy, it’s perfect for layering and topping off the dessert.
- Milk: Essential for the pudding layer, it helps achieve that creamy consistency.
- Instant Vanilla Pudding Mix: This thickens the pudding layer, creating a luscious texture.
- Mini Chocolate Chips: Optional, but they add a delightful crunch and extra sweetness.
- Crushed Peppermint Candies: Another optional garnish that brings a festive flair and a refreshing minty taste.
For exact measurements, check the bottom of the article where you can find everything listed for easy printing. Feel free to get creative with substitutions, like using white chocolate chips instead of mini chocolate chips for a different twist!
How to Make Red Velvet Christmas Lush
Step 1: Preheat and Prepare
Start by preheating your oven to 350°F (175°C). This ensures your cake bakes evenly. While the oven warms up, grab a 9×13-inch baking dish and grease it well. You can use cooking spray or butter for this. A well-greased dish prevents sticking, making it easier to serve later. Trust me, you want to avoid a cake disaster!
Step 2: Make the Cake Batter
In a mixing bowl, combine the red velvet cake mix, melted butter, and the large egg. Use a whisk or an electric mixer to blend everything until smooth. The batter should be thick and velvety, just like the name suggests! This step is crucial for achieving that rich flavor. Don’t be afraid to get in there and mix it well!
Step 3: Bake the Cake
Spread the cake batter evenly in your prepared baking dish. Pop it into the preheated oven and bake for 20-25 minutes. Keep an eye on it! You’ll know it’s done when a toothpick inserted in the center comes out clean. Once baked, let the cake cool completely in the dish. This cooling time is essential for layering later on.
Step 4: Prepare the Cream Cheese Mixture
While the cake cools, it’s time to whip up the cream cheese layer. In a separate bowl, beat the softened cream cheese, powdered sugar, and vanilla extract together until smooth and creamy. This mixture should be rich and luscious, perfect for spreading. Make sure there are no lumps; a smooth texture is key to a delightful dessert!
Step 5: Layer the Cream Cheese Mixture
Once your cake has cooled, it’s time to spread that delicious cream cheese mixture over the top. Use a spatula to evenly distribute it across the cake. This layer adds a creamy contrast to the rich red velvet. Take your time with this step; a good layer makes all the difference in flavor and presentation!
Step 6: Make the Pudding Layer
In another bowl, whisk together the milk and instant vanilla pudding mix. Keep whisking until the mixture thickens, which should take just a couple of minutes. This pudding layer adds a delightful creaminess to your Red Velvet Christmas Lush. Once thickened, spread it evenly over the cream cheese layer. It’s starting to look festive already!
Step 7: Assemble the Dessert
Now for the fun part! Top the pudding layer with the remaining whipped topping. Spread it out evenly, creating a fluffy cloud on top. For an extra touch, sprinkle mini chocolate chips and crushed peppermint candies over the whipped topping. This not only adds flavor but also makes your dessert visually stunning!
Step 8: Chill Before Serving
Finally, refrigerate your Red Velvet Christmas Lush for at least 2 hours. This chilling time allows the layers to set properly, making it easier to cut and serve. Plus, the flavors meld together beautifully during this time. Trust me, the wait will be worth it when you take that first bite!
Tips for Success
- Make sure your cream cheese is at room temperature for easy mixing.
- Don’t skip the chilling time; it’s crucial for the layers to set properly.
- Use a spatula to spread layers evenly for a beautiful presentation.
- Feel free to customize toppings based on your taste preferences.
- For a festive touch, add colorful sprinkles along with the chocolate chips.
Equipment Needed
- 9×13-inch Baking Dish: Essential for baking the cake. A glass or metal dish works well.
- Mixing Bowls: Use a couple of medium-sized bowls for mixing ingredients.
- Whisk or Electric Mixer: A whisk is great for small batches, but an electric mixer saves time.
- Spatula: Perfect for spreading layers evenly.
- Measuring Cups and Spoons: Necessary for accurate ingredient measurements.
Variations
- Gluten-Free Option: Use a gluten-free red velvet cake mix to make this dessert suitable for those with gluten sensitivities.
- Vegan Twist: Substitute the cream cheese with a vegan cream cheese alternative and use a plant-based whipped topping.
- Chocolate Lovers: Add a layer of chocolate pudding instead of vanilla for a rich chocolatey flavor.
- Nutty Addition: Incorporate chopped walnuts or pecans into the cream cheese layer for added texture and flavor.
- Fruit Infusion: Layer in some fresh raspberries or strawberries between the cream cheese and pudding layers for a fruity surprise.
Serving Suggestions
- Pair with a hot cup of cocoa or a festive spiced cider for a cozy treat.
- Serve alongside a light fruit salad to balance the richness of the dessert.
- Garnish with fresh mint leaves for a pop of color and freshness.
- Consider using decorative holiday plates to enhance the festive presentation.
FAQs about Red Velvet Christmas Lush
Can I make Red Velvet Christmas Lush ahead of time?
Absolutely! This dessert actually tastes better when made a day in advance. Just prepare it, refrigerate, and let the flavors meld together overnight. It’s a great time-saver for busy holiday schedules!
What can I substitute for cream cheese?
If you’re looking for a lighter option, you can use Greek yogurt or a dairy-free cream cheese alternative. Both will still give you that creamy texture without compromising flavor.
How long can I store leftovers?
Your Red Velvet Christmas Lush can be stored in the refrigerator for up to 3 days. Just make sure to cover it well to keep it fresh and delicious!
Can I freeze Red Velvet Christmas Lush?
While it’s best enjoyed fresh, you can freeze it for up to a month. Just be sure to wrap it tightly in plastic wrap and then foil to prevent freezer burn. Thaw it in the fridge before serving.
What’s the best way to serve this dessert?
For a festive touch, serve it in individual cups or slices topped with extra whipped cream and a sprinkle of crushed peppermint. It’s a delightful way to impress your guests!
Final Thoughts
Creating the Red Velvet Christmas Lush is more than just baking; it’s about crafting memories and sharing joy with those you love. Each layer tells a story, from the rich red velvet cake to the creamy, dreamy toppings. This dessert is a celebration of flavors and colors that can brighten any holiday gathering. Whether you’re serving it at a festive party or enjoying it with family on a cozy night, this luscious treat is bound to bring smiles and warmth. So, roll up your sleeves, gather your loved ones, and let the holiday spirit shine through every delicious bite!
PrintRed Velvet Christmas Lush: A Festive Treat to Enjoy!
- Total Time: 2 hours 45 minutes
- Yield: 12 servings
- Diet: Vegetarian
Description
Red Velvet Christmas Lush is a festive dessert that combines layers of red velvet cake, cream cheese, and vanilla pudding, topped with whipped cream and festive garnishes.
Ingredients
- 2 cups red velvet cake mix
- 1/2 cup unsalted butter, melted
- 1 large egg
- 8 ounces cream cheese, softened
- 1 cup powdered sugar
- 1 teaspoon vanilla extract
- 2 cups whipped topping (like Cool Whip)
- 1 cup milk
- 1 package (3.4 ounces) instant vanilla pudding mix
- 1/2 cup mini chocolate chips
- 1/2 cup crushed peppermint candies (optional for garnish)
Instructions
- Preheat your oven to 350°F (175°C). Grease a 9×13-inch baking dish.
- In a mixing bowl, combine the red velvet cake mix, melted butter, and egg. Mix until well combined.
- Spread the cake batter evenly in the prepared baking dish and bake for 20-25 minutes, or until a toothpick inserted in the center comes out clean. Allow to cool completely.
- In another bowl, beat the softened cream cheese, powdered sugar, and vanilla extract until smooth and creamy.
- Fold in 1 cup of whipped topping into the cream cheese mixture until well combined.
- Once the cake has cooled, spread the cream cheese mixture evenly over the top of the cake.
- In a separate bowl, whisk together the milk and instant vanilla pudding mix until it thickens. Spread the pudding mixture over the cream cheese layer.
- Top with the remaining whipped topping and sprinkle mini chocolate chips and crushed peppermint candies on top, if desired.
- Refrigerate for at least 2 hours before serving to allow the layers to set.
Notes
- For a festive touch, add red and green sprinkles on top along with the chocolate chips and crushed peppermint.
- Substitute the chocolate chips with white chocolate chips for a different flavor profile.
- Prep Time: 20 minutes
- Cook Time: 25 minutes
- Category: Dessert
- Method: Baking and Refrigerating
- Cuisine: American
Nutrition
- Serving Size: 1 slice
- Calories: 320
- Sugar: 20g
- Sodium: 200mg
- Fat: 18g
- Saturated Fat: 10g
- Unsaturated Fat: 8g
- Trans Fat: 0g
- Carbohydrates: 30g
- Fiber: 1g
- Protein: 3g
- Cholesterol: 50mg