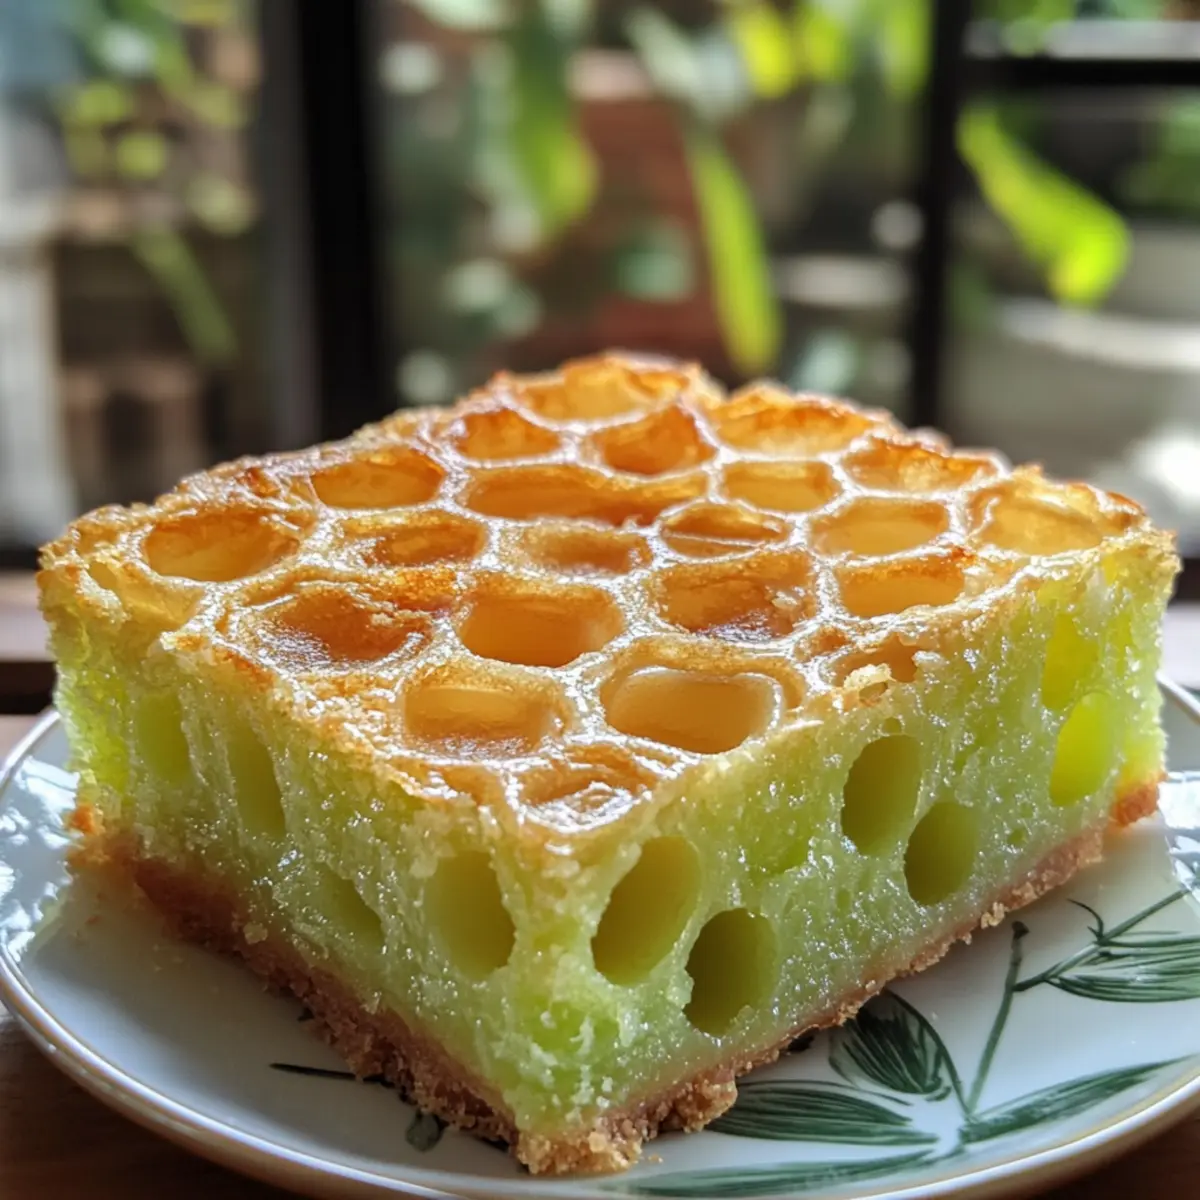
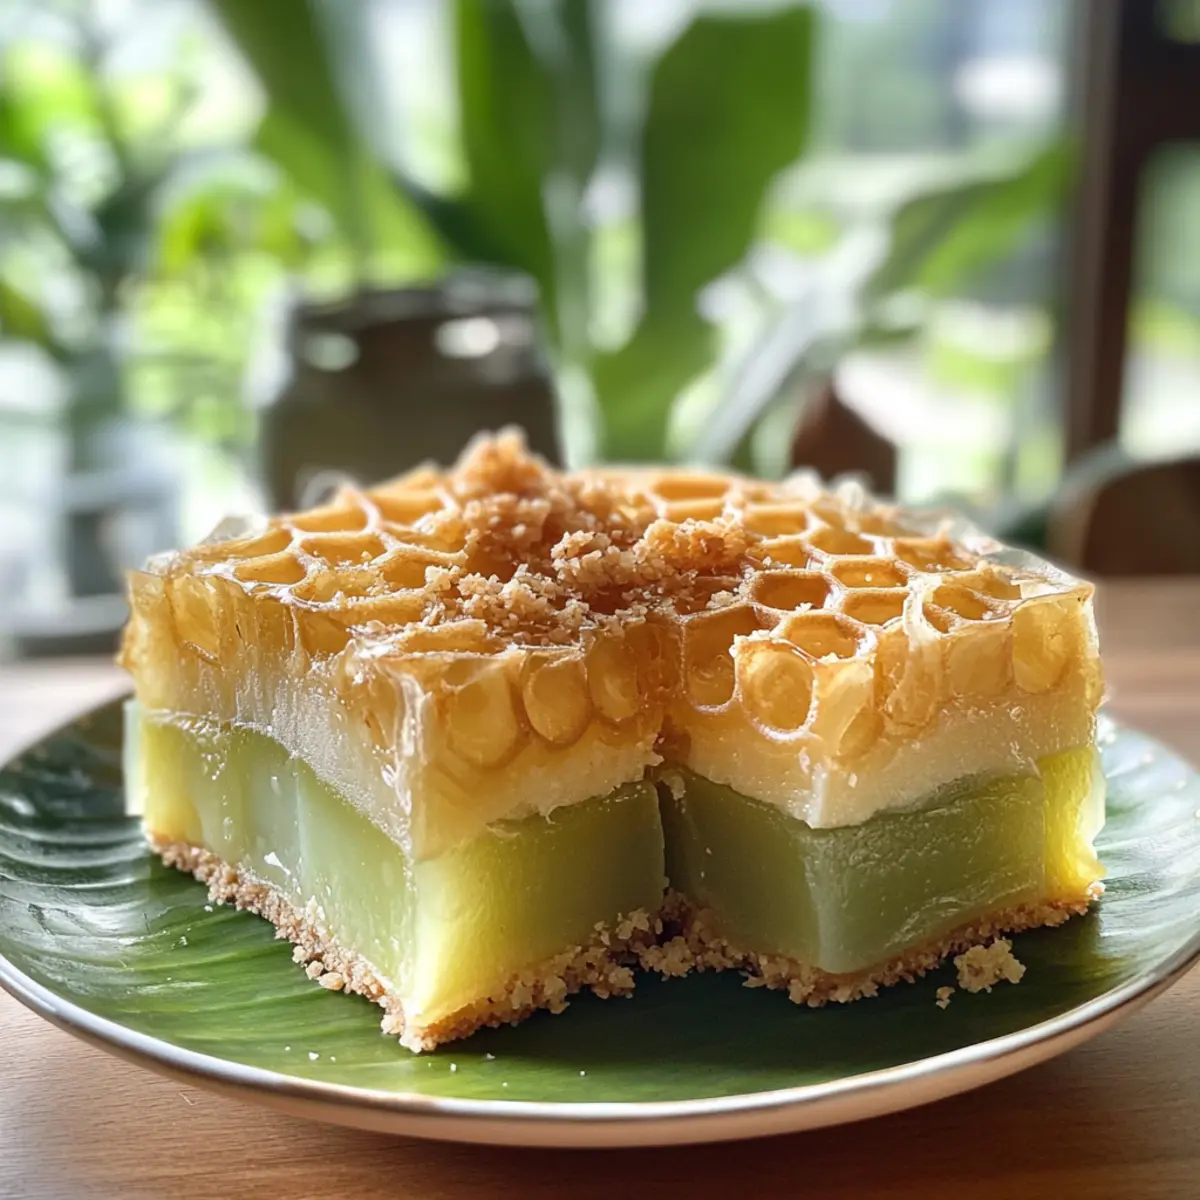
The aroma of coconut and pandan wafts through my kitchen like a warm hug on a chilly day. As I prepare to make Easy Vietnamese Honeycomb Cake, or Banh Bo Nuong, I can’t help but feel a sense of excitement bubbling inside me. This delightful cake, with its unique honeycomb texture, isn’t just a treat for the eyes; it’s also gluten-free and dairy-free, making it a perfect dessert for everyone at the table. It’s light and airy compared to the denser cakes we often bake and makes for an inviting companion with tea or fresh fruit. Plus, the simple prep means I can whip it up in no time, leaving me free to enjoy time with family and friends. Ready to dive into this tropical-inspired delight? Let’s get started!
Why is Banh Bo Nuong so special?
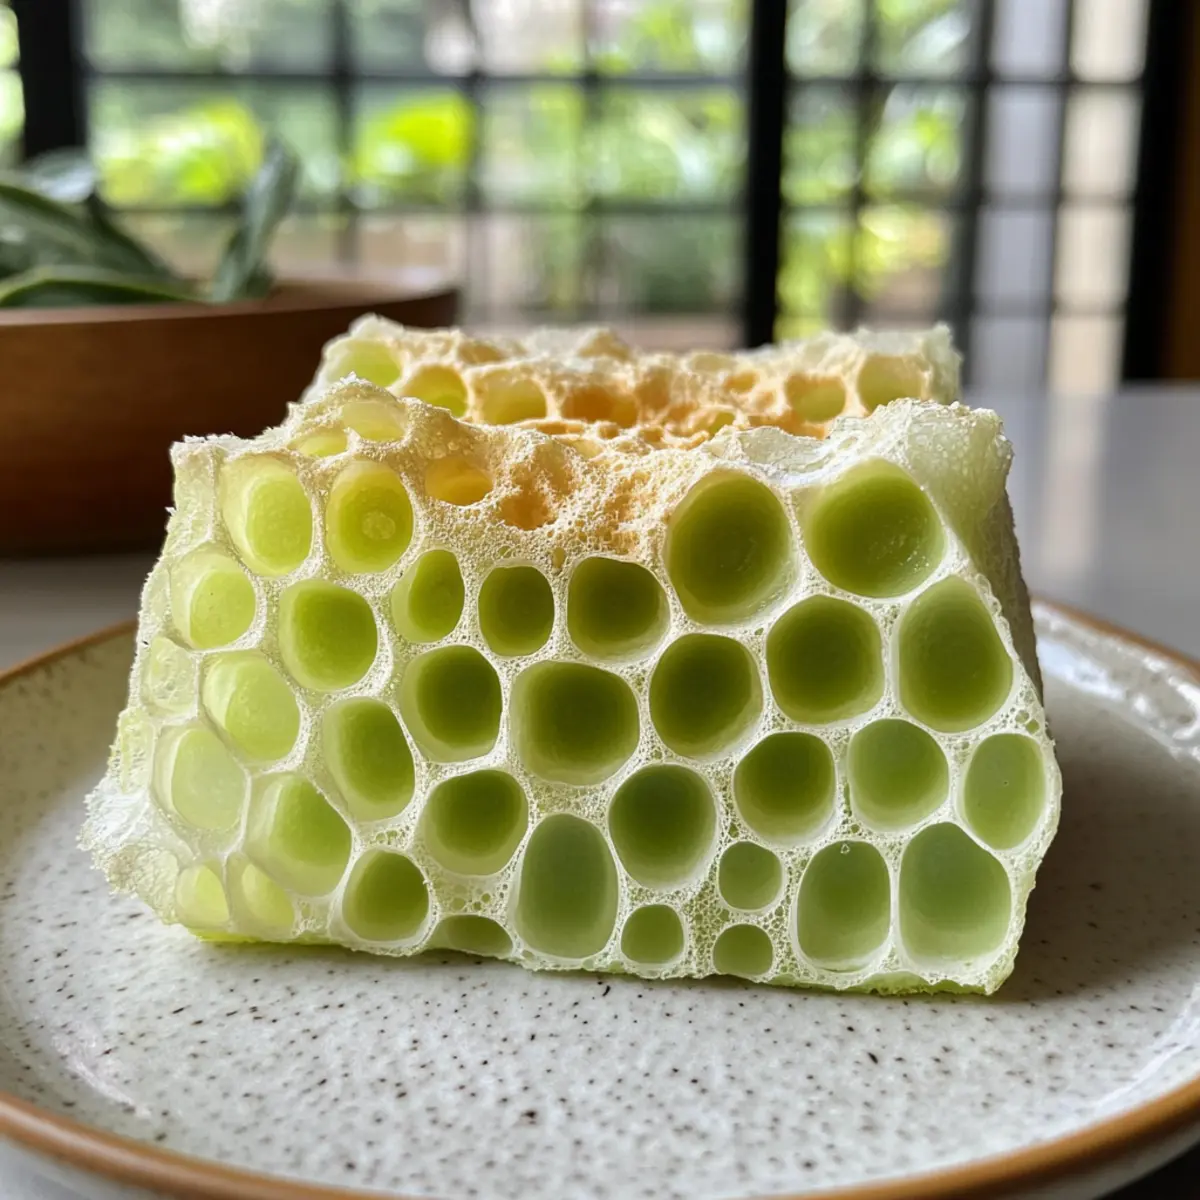
Uniquely Delicate Texture: The enchanting honeycomb structure creates a delightful, airy cake that feels light in every bite.
Exotic Flavors: With pandan and coconut harmonizing beautifully, every mouthful transports you to a tropical paradise.
Gluten-Free & Dairy-Free: Perfect for those with dietary restrictions, everyone can enjoy this indulgent treat without compromise.
Quick to Make: With just a few simple steps, you can impress family and friends with minimal fuss.
Versatile Presentation: This cake shines at celebrations, making it a stunning addition to your dessert table alongside a classic Sugar Cookie Cheesecake or Creme Brulee Cheesecake.
Crowd-Pleasing Appeal: Its distinct look and flavor make it a conversation starter and a favorite among guests!
Vietnamese Honeycomb Cake Ingredients
For the Batter
• Coconut Milk (14 oz) – Use full-fat coconut milk for richness and moisture in this Vietnamese Honeycomb Cake.
• Pandan Leaves (10) – The key to the unique flavor; if unavailable, 1 tsp of pandan extract can be substituted.
• Eggs (5) – Large eggs provide structure and moisture to the cake.
• Granulated Sugar (1 ⅓ cups) – Adjust to taste; up to 1.5 cups for a sweeter result that enhances browning.
• Pandan Extract (½ tsp) – Optional if using pandan leaves, but adds depth to the pandan flavor.
• Vanilla Extract (½ tsp) – Adds an extra layer of sweetness and flavor complexity.
• Tapioca Starch (1 cup) – Essential for achieving the signature chewy texture; don’t substitute with regular flour.
• Single Acting Baking Powder (1 packet) – Ensures proper leavening; do not substitute with double-acting baking powder.
• Salt (½ tsp) – Balances out the sweetness for a well-rounded flavor profile.
Step‑by‑Step Instructions for Vietnamese Honeycomb Cake
Step 1: Preheat the Oven
Begin by preheating your oven to 350°F (177°C). Place your bundt pan inside to warm up and help with the cake’s even baking later. This initial step is crucial to ensure the Vietnamese Honeycomb Cake rises perfectly and develops a beautiful golden hue during baking.
Step 2: Prepare the Pandan Mixture
In a blender, combine the coconut milk and pandan leaves, blending until smooth. Strain this mixture into a large bowl using a fine-mesh sieve to remove any solids. This step is essential as it allows the fragrant pandan flavor to shine through in your Vietnamese Honeycomb Cake, adding the delightful tropical essence you’ll love.
Step 3: Mix Wet Ingredients
In a separate bowl, whisk together the coconut milk mixture with the eggs and granulated sugar. Aim for a smooth consistency, being careful not to create bubbles. For a lump-free batter, strain this egg mixture again before moving on to ensure a delicate texture in the final cake.
Step 4: Incorporate Flavorings
Stir in the pandan extract and vanilla extract into the egg mixture until well combined. This step brings richness and depth to the flavor profile of your Vietnamese Honeycomb Cake, enhancing its allure with the sweet scent of vanilla and the taste of pandan.
Step 5: Combine Dry Ingredients
In another bowl, sift together the tapioca starch, baking powder, and salt to remove lumps. Gradually fold this dry mixture into the wet ingredients, mixing gently until just combined. Straining the batter again ensures a smooth and airy consistency, essential for achieving that signature honeycomb texture.
Step 6: Bake the Cake
Retrieve your preheated bundt pan and pour the smooth batter into it, spreading it evenly. Bake the Vietnamese Honeycomb Cake in the oven for about 50-55 minutes, or until a toothpick inserted into the center comes out clean. Keep an eye out for a slight puff and a golden crust as signs that it’s ready.
Step 7: Cool and Release
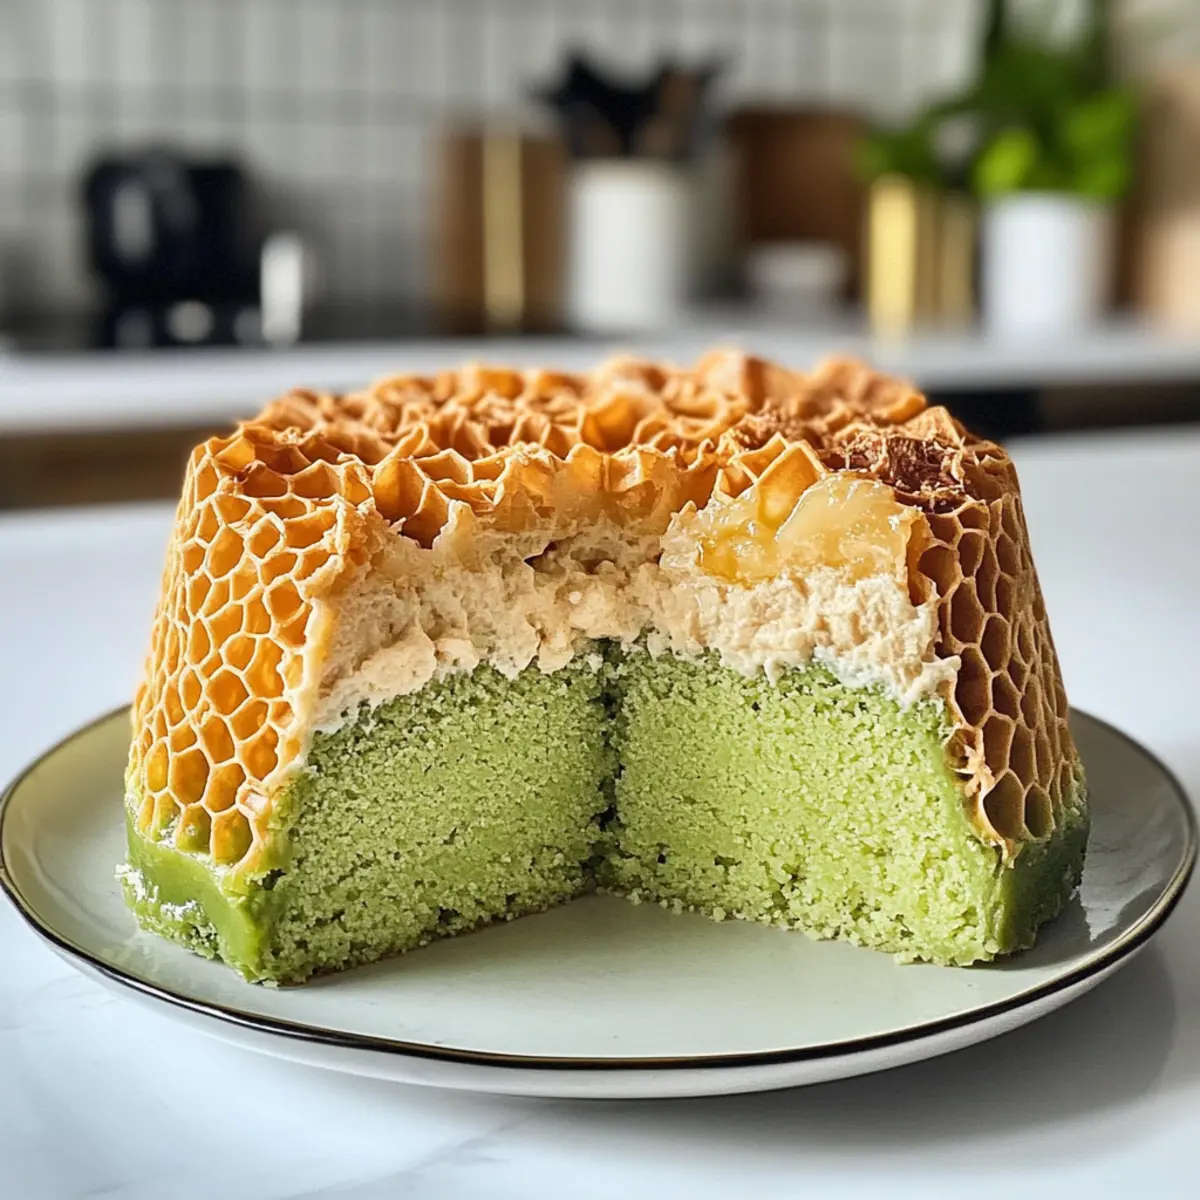
Once baked, carefully flip the bundt pan over onto a cooling rack. Allow the cake to cool completely for at least 60 minutes. This patience is key to ensuring that the cake properly releases from the pan without collapsing, preserving the beautiful honeycomb structure of your Vietnamese Honeycomb Cake.
Make Ahead Options
These Easy Vietnamese Honeycomb Cake (Banh Bo Nuong) are ideal for busy weeknight meal prep! You can prepare the batter up to 24 hours in advance by following the first five steps, including mixing your wet and dry ingredients, then cover it tightly and refrigerate. The flavors will meld beautifully overnight. When you’re ready to bake, simply remove the batter from the fridge, give it a gentle stir to ensure it’s well combined, and pour it into your preheated bundt pan. Bake as per instructions, and you’ll enjoy a freshly baked cake that’s just as delightful and fluffy, saving you essential time while delivering delicious results!
Expert Tips for Vietnamese Honeycomb Cake
- Choose the Right Coconut Milk: Use full-fat coconut milk for richness and moisture; low-fat versions may lead to a dry cake.
- Strain Twice: Straining the pandan and egg mixtures ensures a lump-free batter, crucial for the light texture of the Vietnamese Honeycomb Cake.
- Sift Dry Ingredients: Sifting the tapioca starch and baking powder removes lumps and helps create that signature airy texture in the cake.
- Monitor Baking Time: Keep an eye on your cake; ovens vary. A toothpick should come out clean, ensuring it’s beautifully baked without being overdone.
- Patience is Key: Allow the cake to cool completely before releasing it from the bundt pan; this prevents collapse and preserves the honeycomb structure.
What to Serve with Easy Vietnamese Honeycomb Cake
The perfect accompaniment elevates the delightful flavors of this unique dessert, creating a memorable experience for your taste buds.
- Refreshing Green Tea: Its earthy notes beautifully complement the sweet pandan and coconut flavors, making for a harmonious pairing.
- Tropical Fruit Salad: A vibrant mix of mango, pineapple, and kiwi adds a fresh zestiness that balances the cake’s sweetness.
- Almond Cookies: These crunchy delights provide a lovely texture contrast while enhancing the overall nutty undertones of the dessert.
- Chilled Coconut Water: The light and natural sweetness of coconut water harmonizes with the cake, offering a refreshing sip that keeps everything light.
- Sweetened Condensed Milk Drizzle: A drizzle across the honeycomb cake adds a decadent touch, enhancing the coconut flavor in every bite.
- Boba Tea: This trendy drink, with its chewy tapioca pearls, adds a fun experience, perfect for parties or casual gatherings with friends.
- Lemon Sorbet: Its tartness cuts through the richness of the cake, refreshing your palate with every spoonful.
- Mango Sticky Rice: For an indulgent dessert spread, this sweet and creamy treat shares a delightful tropical vibe that pairs exquisitely with the Honeycomb Cake.
Vietnamese Honeycomb Cake Variations
Feel free to put your personal spin on this delightful cake and make it uniquely yours!
- Dairy-Free: Use almond or oat milk instead of coconut milk to alter the flavor while keeping it plant-based.
- Ube Twist: Substitute pandan with ube extract for a vibrant, purple hue and a subtly sweet taste. This lovely twist adds a pop of color and uniqueness to every slice.
- Sweetness Level: Swap some granulated sugar with coconut sugar to impart a deeper, caramel-like flavor that complements the cake beautifully.
- Citrus Zest: Add zest from one lime or lemon to the batter for a zesty kick that brightens the flavors and offers a refreshing contrast.
- Nutty Addition: Fold in ½ cup of toasted shredded coconut for an extra crunch and nutty flavor, enhancing the cake’s fun and texture!
- Chili Infusion: For spice lovers, adding a pinch of cayenne pepper to the dry ingredients provides an unexpected heat that harmonizes with the sweet elements.
- Tropical Fruit Topping: Serve slices with fresh mango or pineapple chunks to elevate your dessert experience, pairing tropical fruits with the cake’s exotic flavors. Consider enjoying this cake alongside a refreshing cup of tea or fresh fruit for a delightful afternoon snack.
Your creativity can transform this Vietnamese Honeycomb Cake into a new favorite every time you bake. Whether you try a fruity topping or some nutty additions, each variation will make your cake a memorable experience. And if you’re looking for more delicious desserts, don’t miss out on my Strawberry Lemon Cake or the rich Caramel Brownie Cheesecake! Happy baking!
How to Store and Freeze Vietnamese Honeycomb Cake
Airtight Container: Store your Vietnamese Honeycomb Cake in an airtight container at room temperature for up to 3 days to maintain its light and airy texture.
Refrigeration: If the cake has been exposed to warm temperatures, refrigerate it to maintain freshness. Consuming within a couple of days is best.
Freezing: Wrap the cake tightly in plastic wrap, then in aluminum foil, to freeze for up to 2 months. Thaw it overnight in the fridge before serving.
Reheating: If desired, gently reheat slices in the microwave for a few seconds to bring back its soft texture before enjoying.
Easy Vietnamese Honeycomb Cake (Banh Bo Nuong) Recipe FAQs
What is the best way to select pandan leaves?
Look for fresh pandan leaves that are vibrant green and free from dark spots or wilting. If using frozen, ensure they are intact and not overly mushy. Fresh pandan will impart the best flavor to your Banh Bo Nuong!
How should I store leftover Vietnamese Honeycomb Cake?
Store your cake in an airtight container at room temperature for up to 3 days. If it’s warm in your area, refrigerate it to keep it fresh. Avoid leaving it uncovered, as it may dry out.
Can I freeze Banh Bo Nuong, and if so, how?
Absolutely! To freeze your Vietnamese Honeycomb Cake, wrap it tightly in plastic wrap, followed by aluminum foil, to prevent freezer burn. It can be stored for up to 2 months. When you’re ready to enjoy it, thaw it overnight in the refrigerator before serving.
What should I do if my cake doesn’t rise properly?
If your cake is dense or doesn’t rise, check that you used single-acting baking powder and that it’s fresh. Be sure to blend and strain your ingredients well, as lumps can weigh down the batter. If over-mixed, the cake may also lose its airy texture, so gently fold your dry ingredients into the wet ingredients just until combined.
Are there any dietary considerations with this recipe?
Yes! This recipe is gluten-free and dairy-free, making it suitable for those with gluten sensitivities or lactose intolerance. However, always double-check your specific brand of ingredients like coconut milk and tapioca starch to ensure they meet dietary needs. If making for pets, keep in mind that coconut can be high in fat, so store leftovers safely away from them!
Delicious Vietnamese Honeycomb Cake for Your Next Celebration
Ingredients
Equipment
Method
- Preheat your oven to 350°F (177°C). Place your bundt pan inside to warm up and help with even baking.
- In a blender, combine the coconut milk and pandan leaves until smooth. Strain into a large bowl using a fine-mesh sieve.
- In a separate bowl, whisk together the coconut milk mixture with the eggs and granulated sugar until smooth.
- Stir in the pandan extract and vanilla extract into the egg mixture until well combined.
- Sift together the tapioca starch, baking powder, and salt in another bowl. Gradually fold this into the wet ingredients.
- Pour the smooth batter into the preheated bundt pan, spreading it evenly. Bake for about 50-55 minutes or until a toothpick comes out clean.
- Carefully flip the bundt pan over onto a cooling rack. Allow the cake to cool completely for at least 60 minutes.