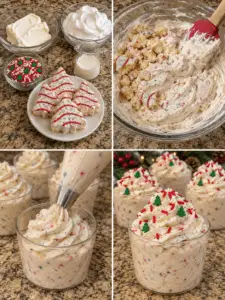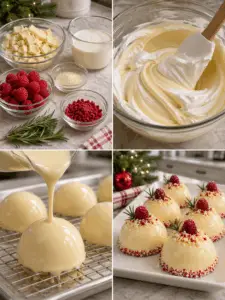
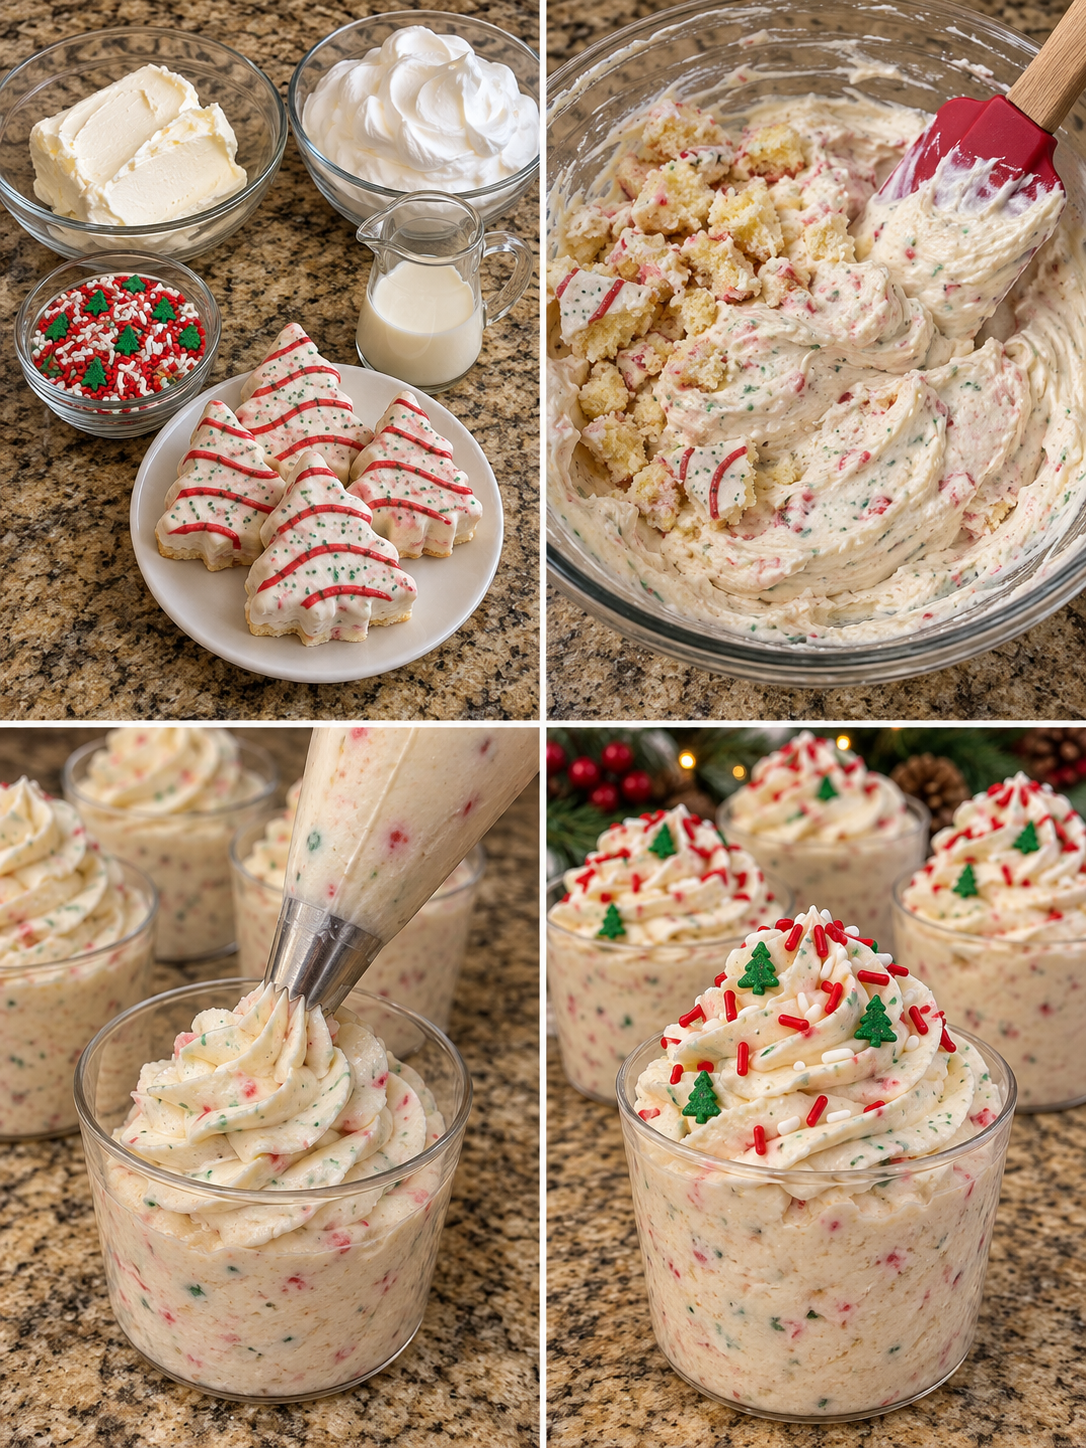
Introduction to Vintage Christmas Cake Dip Cups
As the holiday season approaches, I find myself reminiscing about the sweet treats that filled my childhood. One delightful memory is of my grandmother’s festive desserts, especially her rich, creamy cakes. This year, I’m excited to share a modern twist with these Vintage Christmas Cake Dip Cups. They’re not just a quick solution for a busy day; they’re a showstopper for any gathering. With layers of cake crumbs and a luscious cream cheese dip, these cups are sure to impress your loved ones and bring a smile to their faces. Let’s dive into this festive treat!
Why You’ll Love This Vintage Christmas Cake Dip Cups
These Vintage Christmas Cake Dip Cups are a holiday dream come true! They’re incredibly easy to whip up, making them perfect for busy schedules. The creamy texture and festive flavors will have everyone coming back for more. Plus, they look stunning on any dessert table, adding a touch of elegance to your celebrations. With minimal effort, you can create a delightful treat that captures the spirit of the season!
Ingredients for Vintage Christmas Cake Dip Cups
Gathering the right ingredients is the first step to creating these delightful Vintage Christmas Cake Dip Cups. Here’s what you’ll need:
- Vanilla or yellow cake crumbs: These form the base of your dip cups, adding a sweet, crumbly texture.
- Unsalted butter: Melted butter helps bind the cake crumbs together, giving them a rich flavor.
- Granulated sugar: A touch of sweetness to enhance the cake crumbs.
- Vanilla extract: This adds a warm, aromatic flavor that complements the cake.
- Cream cheese: Softened cream cheese creates a creamy, luscious dip that’s hard to resist.
- Powdered sugar: For sweetness and a smooth texture in the cream cheese base.
- Brown sugar: Adds a hint of caramel flavor, enhancing the overall taste.
- Almond extract: A little goes a long way in adding a delightful nutty flavor.
- Whipped topping: This lightens the dip, making it fluffy and airy.
- Finely crumbled vanilla cake or Christmas cake: For an extra layer of flavor and texture.
- Christmas sprinkles: These festive decorations add a pop of color and holiday cheer.
- White chocolate chips: For a sweet, creamy contrast that pairs beautifully with the dip.
- Crushed vanilla cookies: These add a crunchy topping that complements the creamy dip.
- Small pieces of Christmas cake (optional): A lovely garnish that enhances the festive feel.
For those looking to customize, feel free to swap in gluten-free cake crumbs and cookies for a gluten-free version. You can find all the exact measurements at the bottom of the article, ready for printing!
How to Make Vintage Christmas Cake Dip Cups
Creating these Vintage Christmas Cake Dip Cups is a delightful journey that combines flavors and textures. Follow these simple steps to whip up a festive treat that will impress your guests!
Prepare the Cake Crumbs
Start by combining the vanilla cake crumbs, melted butter, granulated sugar, and vanilla extract in a small bowl. Mix everything together until the crumbs are evenly coated. This mixture will form the delicious base of your dip cups, adding a sweet crunch that contrasts beautifully with the creamy filling.
Make the Cream Cheese Base
In a large mixing bowl, beat the softened cream cheese and butter together until the mixture is smooth and fluffy. This step is crucial; it creates the rich, creamy texture that makes these dip cups irresistible. Don’t rush it—take your time to achieve that perfect consistency!
Add the Sugars
Next, add the powdered sugar and brown sugar to the cream cheese mixture. Beat everything together until it’s creamy and fully combined. The powdered sugar adds sweetness, while the brown sugar brings a hint of caramel flavor that enhances the overall taste.
Add the Flavoring
Now, it’s time to mix in the vanilla and almond extracts. Stir until fragrant. These extracts will elevate the flavor profile, making your dip cups taste like a slice of holiday magic. Just a little goes a long way!
Fold in the Whipped Topping
Gently fold in the whipped topping until the mixture becomes light and fluffy. This step is key to achieving that airy texture that makes each bite feel indulgent. Be careful not to overmix; you want to keep that fluffiness intact!
Add the Cake
Now, fold in the finely crumbled vanilla cake until it’s evenly distributed throughout the dip. This adds an extra layer of flavor and texture, making each cup a delightful surprise. The cake pieces will blend seamlessly into the creamy dip.
Assemble the Cups
Divide the prepared cake crumbs among your dessert cups, pressing lightly to form a solid bottom layer. This base will support the creamy dip and add that satisfying crunch. Make sure each cup has an even layer for a beautiful presentation!
Add the Creamy Dip
Spoon or pipe the cream cheese dip over the crumb layer, filling each cup evenly. You want to create a generous layer of that luscious dip, so don’t be shy! The more, the merrier when it comes to creamy goodness.
Decorate
Sprinkle each cup with red and green Christmas sprinkles, white chocolate chips, and crushed vanilla cookies. This festive decoration not only adds color but also a delightful crunch. Your dip cups will look as good as they taste!
Chill
Refrigerate the assembled cups for at least 1 hour. This chilling time allows the flavors to blend beautifully and the filling to firm up. Trust me, the wait will be worth it when you take that first bite!
Serve
Finally, garnish with small pieces of Christmas cake if desired. Serve chilled with vanilla wafers, graham crackers, or shortbread cookies for dipping. These Vintage Christmas Cake Dip Cups are sure to be a hit at your holiday gatherings!
Tips for Success
- Use room temperature cream cheese for easier mixing and a smoother texture.
- Don’t skip the chilling step; it enhances the flavors and sets the dip perfectly.
- Feel free to customize toppings based on your preferences—get creative!
- For a festive touch, use themed cups or bowls to serve your dip.
- Make these dip cups a day ahead for stress-free entertaining!
Equipment Needed
- Mixing bowls: A large bowl for the cream cheese mixture and a small one for the cake crumbs.
- Electric mixer: A hand mixer works well, but a whisk can do the job if you’re feeling strong!
- Dessert cups: Any small cups or jars will work for serving.
- Spatula: For folding and mixing ingredients smoothly.
Variations
- Chocolate Lovers: Swap in chocolate cake crumbs for a rich, decadent twist on the classic dip.
- Nutty Delight: Add chopped nuts like pecans or walnuts for an extra crunch and flavor boost.
- Fruit Infusion: Mix in finely chopped dried fruits such as cranberries or cherries for a festive touch.
- Vegan Option: Use vegan cream cheese and whipped topping to create a plant-based version of this dessert.
- Spiced Up: Incorporate a dash of cinnamon or nutmeg into the cream cheese mixture for a warm, holiday flavor.
Serving Suggestions
- Pair with vanilla wafers or graham crackers for a delightful dipping experience.
- Serve alongside a warm cup of spiced cider or hot chocolate for a cozy touch.
- Present in festive cups or jars to enhance the holiday spirit.
- Add a sprig of mint on top for a pop of color.
FAQs about Vintage Christmas Cake Dip Cups
Can I make Vintage Christmas Cake Dip Cups ahead of time?
Absolutely! These dip cups can be made a day in advance. Just assemble them and refrigerate. This allows the flavors to meld beautifully, making them even more delicious when served.
What can I use instead of cream cheese?
If you’re looking for a lighter option, you can substitute cream cheese with Greek yogurt or a vegan cream cheese alternative. Both will give you a creamy texture while keeping the festive flavors intact.
How long do these dip cups last in the fridge?
Stored in an airtight container, your Vintage Christmas Cake Dip Cups will stay fresh for about 3-4 days. Just be sure to keep them chilled until serving!
Can I customize the toppings?
Definitely! Feel free to get creative with your toppings. You can use crushed candy canes, mini marshmallows, or even fresh fruit to add your personal touch to these festive dessert cups.
Are these dip cups gluten-free?
Yes, you can easily make these Vintage Christmas Cake Dip Cups gluten-free by using gluten-free cake crumbs and cookies. Just check the labels to ensure all ingredients meet your dietary needs!
Final Thoughts
Creating these Vintage Christmas Cake Dip Cups is more than just making a dessert; it’s about crafting memories that will linger long after the last bite. Each cup is a celebration of flavors, textures, and the joy of sharing with loved ones. The festive colors and creamy goodness bring a smile to everyone’s face, making them perfect for holiday gatherings. Whether you’re hosting a party or simply indulging at home, these dip cups are sure to become a cherished tradition. So, gather your ingredients, and let the holiday spirit fill your kitchen with warmth and joy!
PrintVintage Christmas Cake Dip Cups: Delight in Festive Flavor!
- Total Time: 1 hour 30 minutes
- Yield: 8 servings
- Diet: Vegetarian
Description
Delight in the festive flavors of Vintage Christmas Cake Dip Cups, a delicious dessert perfect for holiday gatherings.
Ingredients
- 2 cups vanilla or yellow cake crumbs
- 2 tablespoons unsalted butter, melted
- 1 tablespoon granulated sugar
- ½ teaspoon vanilla extract
- 8 oz cream cheese, softened
- ½ cup unsalted butter, softened
- 1 cup powdered sugar
- ½ cup brown sugar
- 1 teaspoon vanilla extract
- ½ teaspoon almond extract
- 1½ cups whipped topping
- ½ cup finely crumbled vanilla cake or Christmas cake
- ½ cup red and green Christmas sprinkles
- ¼ cup white chocolate chips
- ¼ cup crushed vanilla cookies
- 8 small pieces of Christmas cake, optional
Instructions
- Prepare the Cake Crumbs: In a small bowl, combine the vanilla cake crumbs, melted butter, granulated sugar, and vanilla extract. Mix until evenly coated.
- Make the Cream Cheese Base: In a large mixing bowl, beat the softened cream cheese and butter until smooth and fluffy.
- Add the Sugars: Add the powdered sugar and brown sugar. Beat until creamy and fully combined.
- Add the Flavoring: Mix in the vanilla extract and almond extract until fragrant.
- Fold in the Whipped Topping: Gently fold in the whipped topping until the mixture becomes light and fluffy.
- Add the Cake: Fold in the finely crumbled vanilla cake until evenly distributed throughout the dip.
- Assemble the Cups: Divide the prepared cake crumbs among 8 small dessert cups, pressing lightly to form the bottom layer.
- Add the Creamy Dip: Spoon or pipe the cream cheese cake dip over the crumb layer, filling each cup evenly.
- Decorate: Sprinkle with red and green Christmas sprinkles, white chocolate chips, and crushed vanilla cookies.
- Chill: Refrigerate for at least 1 hour to allow the flavors to blend and the filling to firm up.
- Serve: Garnish with small pieces of Christmas cake and serve chilled with vanilla wafers, graham crackers, or shortbread cookies for dipping.
Notes
- For a gluten-free version, use gluten-free cake crumbs and cookies.
- Feel free to customize the toppings based on your preferences.
- These dip cups can be made a day in advance for convenience.
- Prep Time: 30 minutes
- Cook Time: 0 minutes
- Category: Dessert
- Method: No-Bake
- Cuisine: American
Nutrition
- Serving Size: 1 cup
- Calories: 320
- Sugar: 25g
- Sodium: 150mg
- Fat: 18g
- Saturated Fat: 10g
- Unsaturated Fat: 5g
- Trans Fat: 0g
- Carbohydrates: 35g
- Fiber: 1g
- Protein: 3g
- Cholesterol: 40mg