Introduction to Vintage Christmas Cake Dip Cups
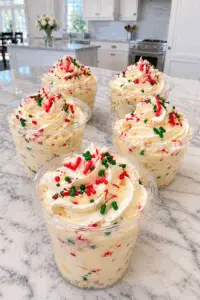
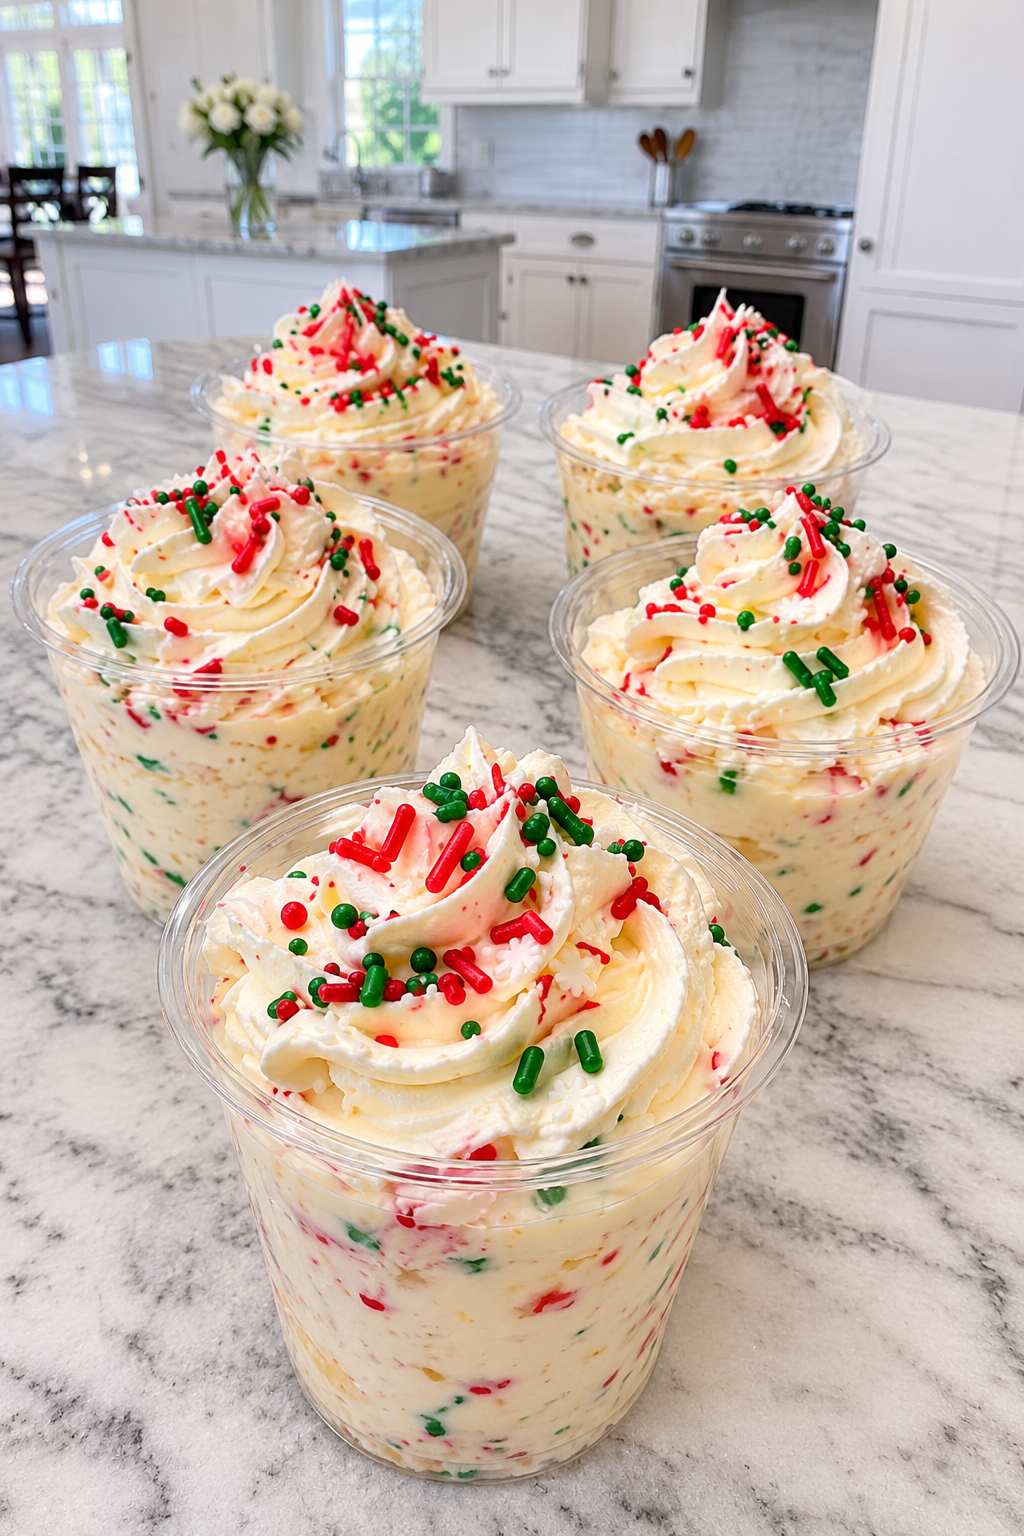
As the holiday season approaches, I find myself reminiscing about the festive gatherings of my childhood. The aroma of baked goods wafting through the air, laughter echoing around the table, and the joy of sharing delicious treats with loved ones. One delightful addition to any holiday spread is the Vintage Christmas Cake Dip Cups. These charming little cups are not only a quick solution for busy days but also a showstopper that will impress your guests. With creamy layers of cake and sprinkles, they capture the essence of Christmas in every bite. Let’s dive into this festive delight!
Why You’ll Love This Vintage Christmas Cake Dip Cups
These Vintage Christmas Cake Dip Cups are a game-changer for holiday entertaining. They come together in just 15 minutes, making them perfect for last-minute gatherings. The creamy texture and sweet vanilla flavor will have everyone coming back for more. Plus, they’re no-bake, so you can skip the oven and focus on enjoying the festivities. Trust me, these delightful cups will be the highlight of your dessert table!
Ingredients for Vintage Christmas Cake Dip Cups
Gathering the right ingredients is the first step to creating these delightful Vintage Christmas Cake Dip Cups. Here’s what you’ll need:
- Cream Cheese: This is the base of our dip, providing a rich and creamy texture. Make sure it’s softened for easy mixing.
- Powdered Sugar: This sweetener adds just the right amount of sweetness without the graininess of granulated sugar.
- Vanilla Extract: A splash of this aromatic extract enhances the flavor, giving your dip that classic vanilla taste.
- Whipped Topping: This light and airy ingredient adds volume and creaminess. You can use store-bought or homemade, depending on your preference.
- Vanilla Cake Crumbs: Crumbled vanilla cake brings a delightful texture and flavor. Use a fully baked cake, cooled and crumbled finely.
- Red and Green Sprinkles: These festive sprinkles not only add color but also a fun crunch. Feel free to use seasonal sprinkles for an extra holiday touch.
- Vanilla Wafers or Graham Crackers: These are perfect for serving alongside your dip. They provide a crunchy contrast to the creamy dip.
For exact measurements, check the bottom of the article where you can find everything listed for easy printing. Now that you have your ingredients ready, let’s move on to the fun part—making these festive cups!
How to Make Vintage Christmas Cake Dip Cups
Creating these Vintage Christmas Cake Dip Cups is a breeze! Follow these simple steps, and you’ll have a festive dessert that’s sure to impress. Let’s get started!
Step 1: Prepare the Cream Mixture
Begin by beating the softened cream cheese, powdered sugar, and vanilla extract together in a mixing bowl. Use an electric mixer for a smooth and creamy consistency. This mixture is the heart of your dip, so take your time to ensure it’s well combined. The aroma of vanilla will fill your kitchen, setting the perfect holiday mood!
Step 2: Fold in Whipped Topping
Next, gently fold in the whipped topping. This step adds lightness to your dip, making it airy and delightful. Remember to reserve one cup of this mixture for decorating later. Folding is key here—be gentle to keep that fluffy texture intact!
Step 3: Incorporate Cake Crumbs and Sprinkles
Now, it’s time to add the crumbled vanilla cake and two tablespoons of red and green sprinkles into the remaining cream mixture. Use a spatula to fold everything together until well combined. The cake crumbs will give your dip a lovely texture, while the sprinkles add a festive touch. It’s like a party in a bowl!
Step 4: Assemble the Cups
Divide the mixture evenly among six clear 6-ounce dessert cups. Clear cups not only showcase the beautiful layers but also make for an elegant presentation. Don’t worry about being perfect; a little rustic charm adds to the fun!
Step 5: Decorate and Chill
Finally, pipe or spoon the reserved cream mixture over each cup for a beautiful finish. Just before serving, sprinkle the remaining festive sprinkles on top. This adds a pop of color and excitement! Refrigerate the cups for at least one hour to let the flavors meld together. Trust me, the wait will be worth it!
Tips for Success
- Ensure your cream cheese is at room temperature for easy mixing.
- Use a rubber spatula to gently fold ingredients, preserving the airy texture.
- Experiment with different sprinkles for a unique twist—think chocolate or holiday-themed!
- Make these dip cups a day ahead for flavors to develop and save time.
- Serve with a variety of dippers like fruit or pretzels for added fun!
Equipment Needed
- Mixing Bowl: A large bowl for combining ingredients. A sturdy glass or ceramic bowl works well.
- Electric Mixer: For a smooth cream mixture. A whisk can be used if you prefer a workout!
- Spatula: Essential for folding and mixing. A rubber spatula is ideal for scraping down the sides.
- Dessert Cups: Clear 6-ounce cups for serving. Mason jars or small bowls can be fun alternatives!
- Refrigerator: To chill your dip cups. A cooler can work in a pinch if you’re short on space.
Variations
- Chocolate Cake Dip: Swap out the vanilla cake for chocolate cake crumbs for a rich, decadent twist.
- Fruit-Infused Dip: Add pureed strawberries or raspberries to the cream mixture for a fruity flavor boost.
- Nutty Delight: Incorporate crushed nuts like pecans or walnuts for added crunch and flavor.
- Dairy-Free Option: Use dairy-free cream cheese and whipped topping for a vegan-friendly version.
- Spiced Version: Mix in a pinch of cinnamon or nutmeg for a warm, holiday spice flavor.
Serving Suggestions
- Pair with Dippers: Serve alongside vanilla wafers, graham crackers, or fresh fruit for a delightful contrast.
- Festive Drinks: Complement with hot cocoa, spiced cider, or a holiday-themed cocktail for a complete experience.
- Presentation: Arrange cups on a decorative platter with extra sprinkles for a festive touch.
FAQs about Vintage Christmas Cake Dip Cups
Can I make Vintage Christmas Cake Dip Cups ahead of time?
Absolutely! These dip cups can be made a day in advance. Just store them in the refrigerator until you’re ready to serve. This not only saves time but also allows the flavors to meld beautifully.
What can I use instead of vanilla cake?
If you’re looking for a twist, chocolate cake crumbs work wonderfully! You can also try lemon or red velvet cake for a unique flavor profile that still captures the festive spirit.
How long do these dip cups last in the fridge?
These Vintage Christmas Cake Dip Cups can last up to three days in the refrigerator. Just make sure they’re covered well to maintain freshness.
Can I use low-fat cream cheese?
Yes, low-fat cream cheese can be used as a substitute. Just keep in mind that it may alter the creaminess slightly, but they’ll still taste delicious!
What are some fun dippers for serving?
Besides vanilla wafers and graham crackers, consider fresh fruit like strawberries or apple slices. Pretzels also add a nice salty crunch that pairs well with the sweet dip!
Final Thoughts
Creating Vintage Christmas Cake Dip Cups is more than just whipping up a dessert; it’s about crafting memories. Each layer of creamy goodness and festive sprinkles brings a smile to faces young and old. The joy of sharing these delightful cups with family and friends during the holidays is truly special. They’re not just a treat; they’re a conversation starter, a centerpiece, and a sweet reminder of the season’s magic. So, gather your loved ones, dive into these festive delights, and let the laughter and joy fill your home. Happy holidays and happy dipping!
PrintVintage Christmas Cake Dip Cups: A Festive Delight Recipe!
- Total Time: 1 hour 15 minutes
- Yield: 6 servings
- Diet: Vegetarian
Description
Vintage Christmas Cake Dip Cups are a festive and delightful dessert that combines the flavors of cream cheese, whipped topping, and vanilla cake, topped with colorful sprinkles.
Ingredients
- 8 oz (225 g) cream cheese, softened
- ½ cup powdered sugar
- 1 teaspoon vanilla extract
- 8 oz (225 g) whipped topping, thawed
- 1½ cups finely crumbled, fully baked vanilla cake, cooled
- ¼ cup red and green sprinkles, divided
- Vanilla wafers or graham crackers, for serving
Instructions
- Beat cream cheese, powdered sugar, and vanilla until smooth.
- Gently fold in whipped topping. Reserve 1 cup for decorating.
- Fold cake crumbs and 2 tablespoons sprinkles into the remaining mixture.
- Divide among six clear 6-ounce dessert cups.
- Pipe or spoon the reserved cream mixture over each cup. Add remaining sprinkles just before serving.
- Refrigerate for at least 1 hour. Serve with vanilla wafers or graham crackers.
Notes
- Make sure the cream cheese is softened for easier mixing.
- For a festive touch, use seasonal sprinkles.
- These dip cups can be made a day in advance and stored in the refrigerator.
- Prep Time: 15 minutes
- Cook Time: 0 minutes
- Category: Dessert
- Method: No-bake
- Cuisine: American
Nutrition
- Serving Size: 1 cup
- Calories: 250
- Sugar: 20g
- Sodium: 150mg
- Fat: 12g
- Saturated Fat: 7g
- Unsaturated Fat: 3g
- Trans Fat: 0g
- Carbohydrates: 30g
- Fiber: 1g
- Protein: 3g
- Cholesterol: 30mg