As I chopped through a vibrant bunch of red radishes the other day, I couldn’t help but think about how versatile and underrated this crunchy veggie can be. Enter my Zesty Radish Relish—a quick, easy pickle that adds an irresistible tang to everything from sandwiches to grilled meats. Not only does it help me utilize those extra radishes piling up in the fridge, but it also offers a delicious way to elevate any meal. With just a little prep and a refrigerator wait, you’ll have a condiment that lasts up to three weeks, making it perfect for meal prep or last-minute gatherings. Ready to discover how this fresh delight can transform your dishes? Let’s dive into the recipe and make your taste buds dance!
Why Is Zesty Radish Relish a Must-Try?
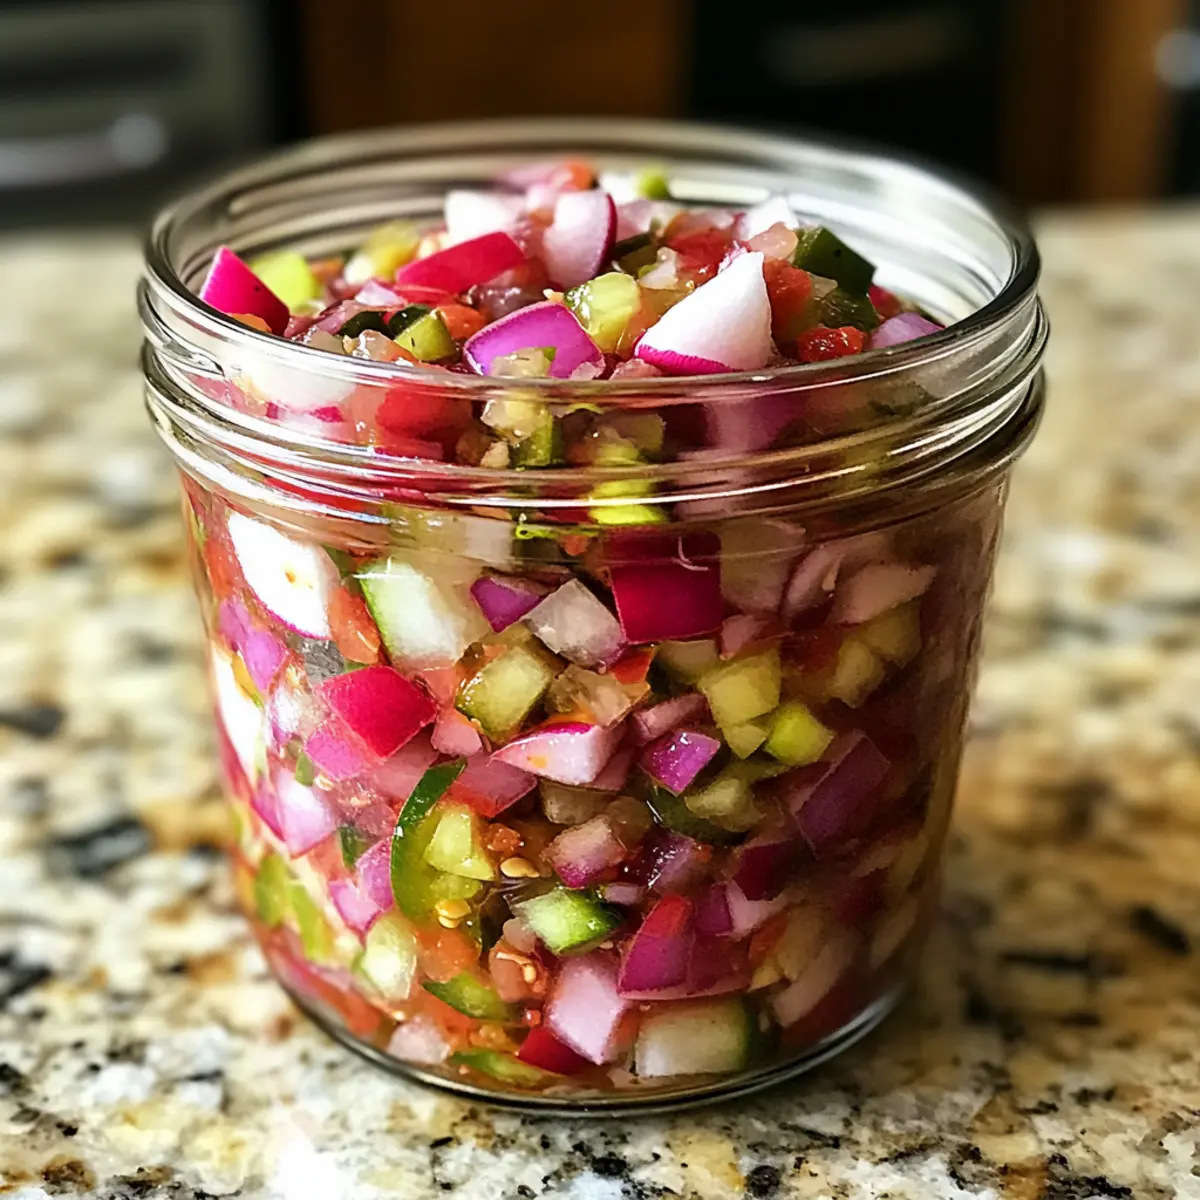
Versatile Delight: This Zesty Radish Relish is not merely a topping; it’s an explosion of flavor that transforms any dish.
Quick and Easy: With minimal prep, you’ll have a scrumptious pickle ready in no time! Perfect for busy weeknights or unexpected guests.
Long-Lasting: Enjoy the freshness for up to three weeks in your fridge—ideal for meal prep or making ahead of time!
Unique Flavor Blend: The sweet and tangy notes harmonize beautifully, giving each bite a zesty twist that enhances sandwiches, tacos, and grilled meats.
Health-Friendly: Packed with vitamins and low in calories, it’s the perfect condiment for enhancing your meals without the guilt.
This relish pairs wonderfully with various dishes, so don’t miss out on trying it in a quick homemade sandwich for a burst of flavor!
Zesty Radish Relish Ingredients
For the Relish
• Radishes – Freshness and crispness are key; you can substitute with French Breakfast or Watermelon radishes for a varied flavor.
• Red Onion – Adds sweetness and depth; no substitutions suggested, as it’s essential for flavor balance.
• Jalapeño – Provides heat and flavor; substitute with bell pepper for a milder relish.
• Vinegar – Acts as the pickling agent; while white vinegar is standard, apple cider vinegar can enhance flavor.
• Sugar – Balances the acidity of the vinegar; try using honey or a sugar substitute for a different sweetness.
• Garlic – Adds aromatic flavor; fresh garlic is best, but powdered garlic can be used in a pinch.
• Salt – Enhances all the other flavors; adjust according to your taste preference.
• Mustard Seeds – Introduce a subtle crunch and warmth; no direct substitute, but you can omit them if needed.
• Celery Seeds – Complement the other spices with a unique flavor; can be replaced with fennel seeds for a fun twist.
• Dill Weed – Essential for authentic pickle flavor; substitute with fresh dill if you have it on hand.
Step‑by‑Step Instructions for Zesty Radish Relish
Step 1: Prepare the Vegetables
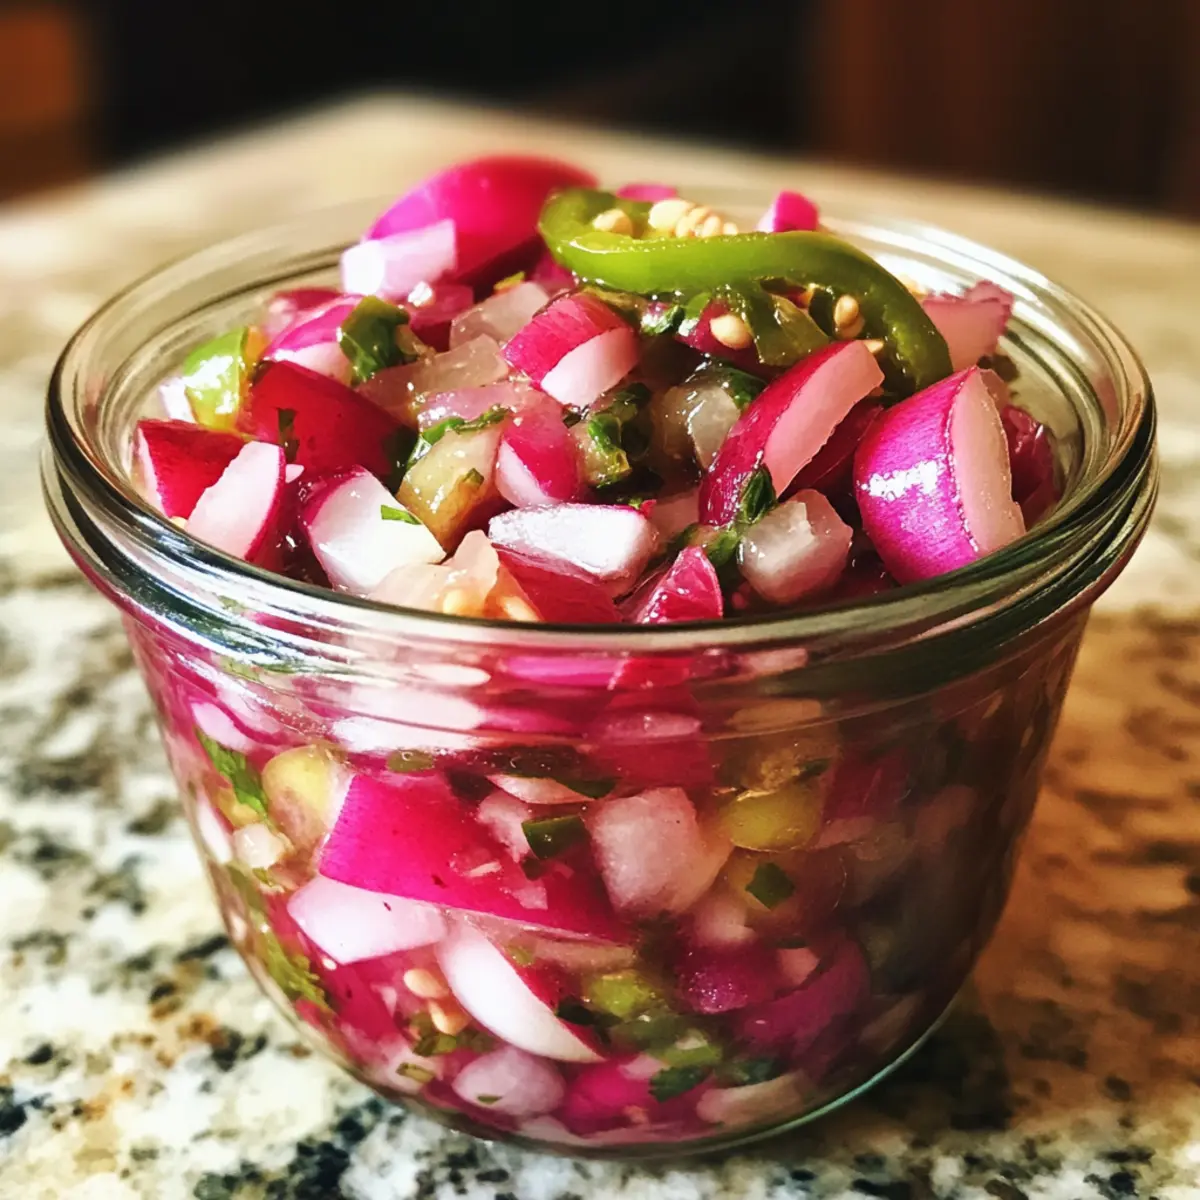
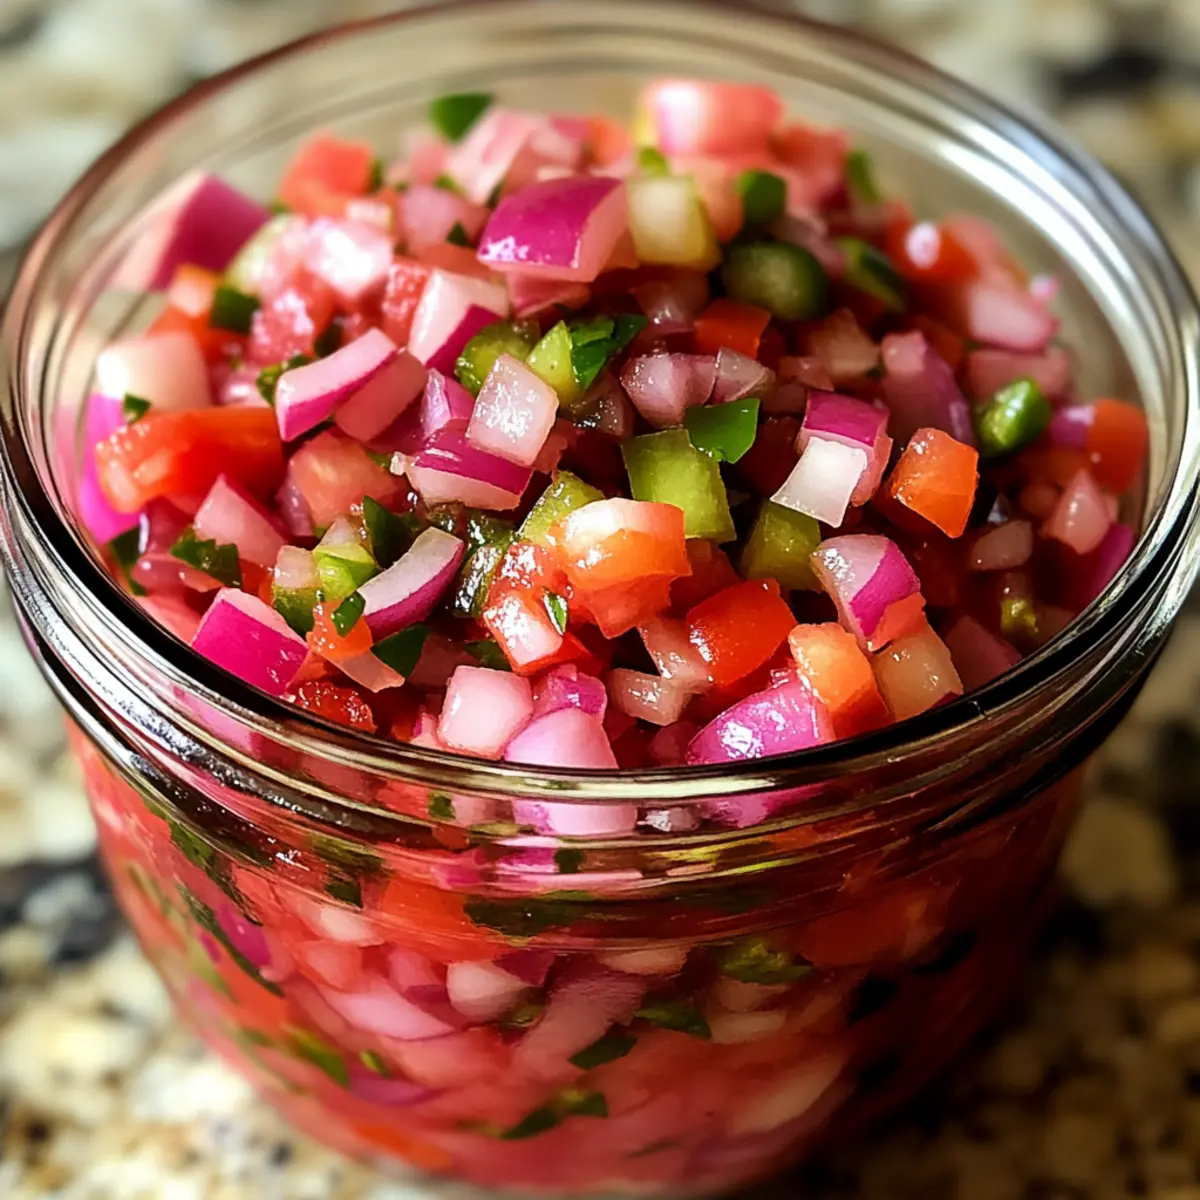
Begin by thoroughly washing the radishes, red onion, and jalapeño under cold water. Slice the radishes and onion thinly, about 1/8 inch, to ensure they absorb the flavors well. Cut the jalapeño into small pieces, adjusting the heat level to your preference. Arrange the slices on a cutting board, and enjoy the vibrant colors as you prep for making the Zesty Radish Relish.
Step 2: Chop the Mixture
Transfer the sliced vegetables into a blender or food processor. Pulse until finely chopped but not puréed, roughly the consistency of chunky salsa. This should take about 15-30 seconds, depending on your device. The mixture should be colorful and fragrant, setting the stage for the delightful flavor combination that defines this relish.
Step 3: Combine Ingredients in Stockpot
In a medium-sized stockpot, add the chopped vegetable mixture along with vinegar, sugar, garlic, salt, mustard seeds, celery seeds, and dill weed. Stir everything together to create a harmonious blend of flavors. Bring the pot to a gentle boil over medium heat, allowing the ingredients to mingle and the sugar to dissolve, which may take around 2-3 minutes.
Step 4: Cook the Mixture
Once boiling, reduce the heat to medium-low, stirring occasionally to prevent burning. Allow the mixture to simmer for about 10-12 minutes until it thickens slightly and the radishes become tender but retain a crunch. Keep an eye on the pot and enjoy the tantalizing aroma of your Zesty Radish Relish as the flavors meld together.
Step 5: Cool and Transfer
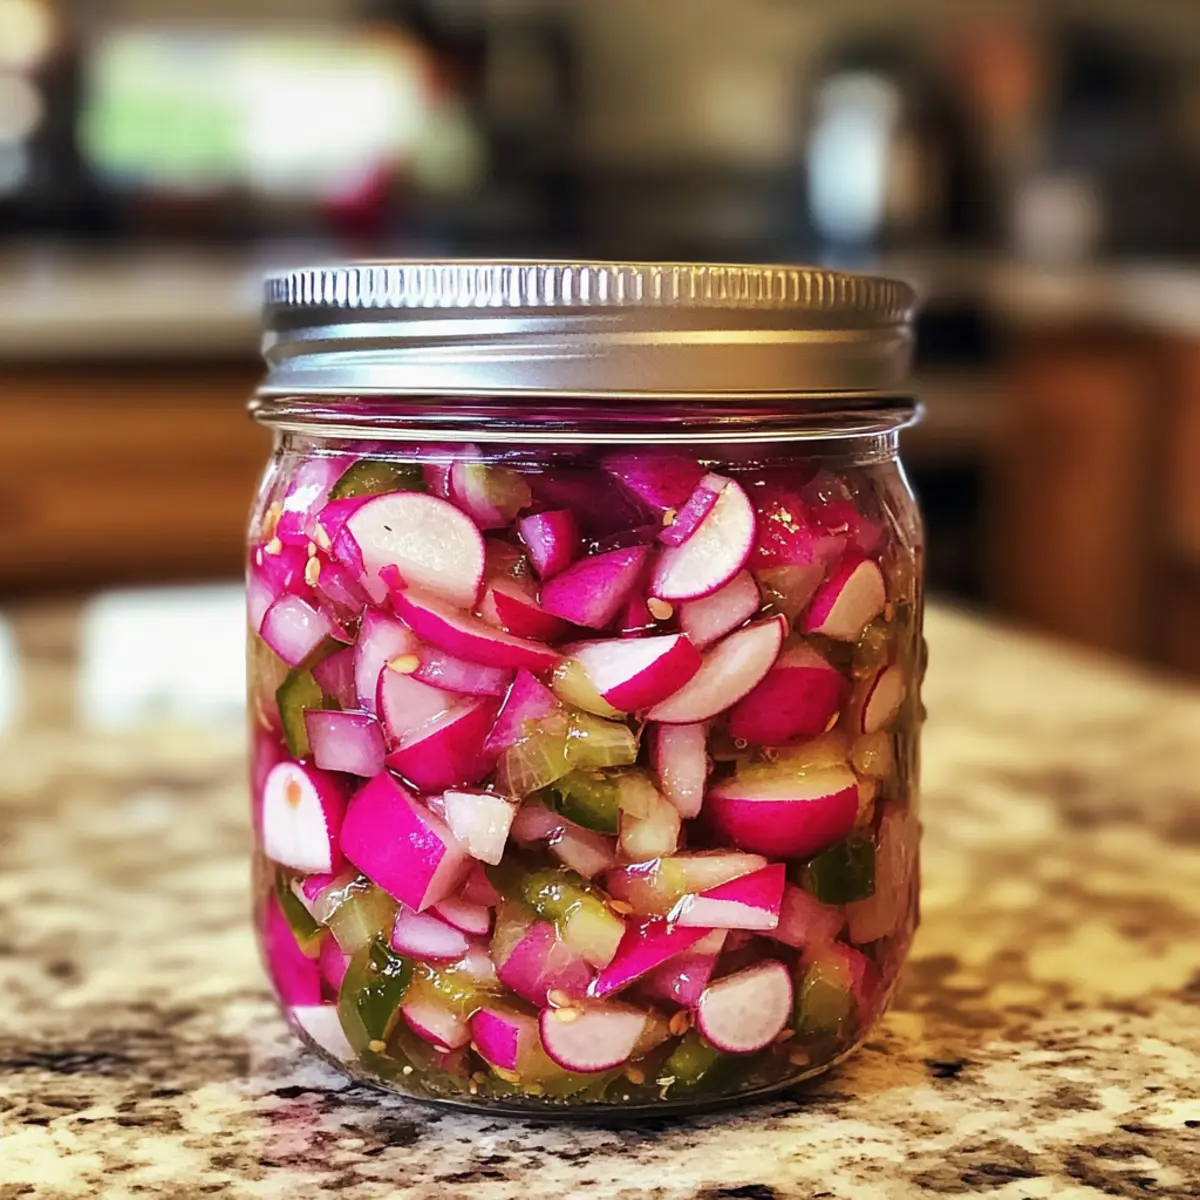
After simmering, remove the pot from heat and let the mixture cool for about 5-10 minutes. This cooling step helps retain the crispness of the radishes, essential for a delightful texture. Once the mixture is manageable, carefully transfer it into a clean, airtight jar, ensuring all the delicious liquid is included.
Step 6: Refrigerate and Allow Flavors to Develop
Seal the jar tightly and place it in the refrigerator for at least 24 hours before using. This resting period is crucial, as it allows the flavors of your Zesty Radish Relish to deepen and intensify. Your relish will be a fabulous addition to sandwiches, tacos, or any dish craving a zesty lift.
What to Serve With Zesty Radish Relish
Elevate your meals with a delightful array of dishes that complement the tangy crunch of this relish.
-
Creamy Avocado Toast: The richness of avocado pairs perfectly with the zesty kick, creating a balanced and satisfying bite. Add a sprinkle of salt and drizzle of olive oil for extra flavor.
-
Grilled Chicken Tacos: Nestle this relish among seasoned grilled chicken and fresh cilantro for a fresh, vibrant taco experience that bursts with flavor.
-
Rich Burgers: Elevate beef burgers with a hefty scoop of relish, providing a refreshing contrast to the hearty patty. It’s a game-changer that adds excitement to each mouthful.
-
Crispy Fish Tacos: The crunchy, tangy relish cuts through the richness of the fish, making each bite a celebration of flavors. Top with lime crema for added zing!
-
Cheese and Crackers Platter: Serve this relish alongside a selection of cheeses and crusty crackers. The tanginess complements creamy cheeses beautifully, enhancing your snack game.
-
Refreshing Summer Salads: Toss a spoonful of relish into your greens for a vibrant pop of flavor. It adds a delightful crunch to your salad, making it not just a side but the star of your lunch.
-
Chilled Gazpacho: A dollop of this zesty relish on chilled soup creates a refreshing twist and enhances the flavors of fresh vegetables. It makes for a perfect summer starter!
Make Ahead Options
This Zesty Radish Relish is an excellent option for meal prep, allowing you to have a tangy condiment ready to elevate your meals throughout the week! You can prepare the entire relish up to 3 days in advance, storing it in an airtight jar in the refrigerator to maintain its vibrant flavor and crunch. Simply make the relish according to the standard recipe, then cool and refrigerate it for at least 24 hours before serving to deepen the flavors. For optimal freshness, ensure the vegetables are sliced thinly for better absorption of the pickling liquid, and enjoy this flavorful relish on sandwiches or as a topping for grilled meats, knowing it’s just as delicious as when freshly made!
Storage Tips for Zesty Radish Relish
Fridge: Store your Zesty Radish Relish in an airtight container in the refrigerator for up to 3 weeks. This ensures the flavors remain fresh and crisp.
Long-Term Storage: For extended use, consider processing the relish using water bath canning. Properly sealed jars can last for up to 1 year in a cool, dark place.
Serving and Reheating: There’s no need to heat this relish before serving. Simply scoop it out and add it straight to your favorite dishes for an instant flavor boost.
Airtight Container: Always ensure your jar is tightly sealed after each use to maintain freshness and prevent spoilage.
Expert Tips for Zesty Radish Relish
• Slice Thinly: Ensuring your radishes are sliced thin helps them absorb the pickling liquid better, enhancing flavor throughout the relish.
• Cool Before Mixing: Allow the vinegar mixture to cool slightly before adding the vegetables; this helps maintain the crispness of your zesty radish relish.
• Sterilize for Canning: If you plan to can your relish, properly sterilize jars to prevent spoilage and enjoy your homemade goodness for even longer.
• Fresh is Best: Always opt for fresh spices. Old spices can dull the taste, leaving your zesty radish relish less vibrant than intended.
• Taste as You Go: Adjust salt and sugar according to your preference. Tasting during preparation ensures the perfect balance for your relish.
Zesty Radish Relish Variations & Substitutions
Unlock the full potential of your Zesty Radish Relish by customizing it to your taste! Explore these creative variations that can add new flavors and textures to your delightful condiment.
-
Different Radish Varieties: Use French Breakfast or Watermelon radishes for a sweeter or milder flavor twist that keeps your relish exciting.
-
Sweetness Swap: Try substituting sugar with honey or agave syrup for a delightful, natural sweetness that pairs well with the tang of vinegar.
-
Herb Infusion: Experiment with fresh mint or cilantro instead of dill to create a refreshing twist—just imagine the summer vibes!
-
Mustard Seed Boost: Add a pinch of ground turmeric or cumin to the mustard seeds for an extra pop of flavor that brightens your relish.
-
Jarred Heat: For those who love an extra spice kick, adding some diced pickled jalapeños can elevate the heat and add depth.
-
Crunchy Extras: Mix in diced cucumbers or carrots for additional texture and color—perfect for those who love a hearty relish.
-
Vinegar Variation: Swap white vinegar for balsamic or red wine vinegar to enrich the flavor profile and add a hint of sweetness.
-
Smoky Flavor: Introduce a touch of smoked paprika to give your relish a smoky dimension—ideal for pairing with grilled meats or tacos.
These variations keep your relish fresh and exciting, perfect for your next homemade sandwich or to brighten up grilled dishes. Enjoy experimenting with flavors!
Zesty Radish Relish Recipe FAQs
What type of radishes should I use for the best flavor?
Absolutely! For the best flavor, fresh red round radishes are ideal. However, you can also explore using French Breakfast or Watermelon radishes for a delightful twist. Just make sure they’re crisp, as that will enhance the relish’s overall texture.
How should I store my Zesty Radish Relish, and how long will it last?
You can store your Zesty Radish Relish in an airtight container in the refrigerator for up to 3 weeks. Make sure to keep it tightly sealed after each use to maintain its freshness. Just a quick tip: the relish tastes even better after a day or two in the fridge as the flavors meld together!
Can I freeze Zesty Radish Relish for long-term storage?
Definitely! If you want to freeze it for future enjoyment, pour the relish into freezer-safe containers or bags, leaving some space for expansion. It can last for up to 3 months in the freezer. When you’re ready to use it, simply thaw in the refrigerator overnight.
What should I do if my relish is too salty or sweet?
No worries, it happens to the best of us! If your relish tastes too salty, try adding a bit more vinegar or diced fresh radishes to balance it out. For a sweeter note, incorporate a teaspoon of sugar or honey to enhance the flavor according to your taste. Always remember to taste as you go—it’s part of the fun!
Is this relish pet-friendly or safe for people with allergies?
When making Zesty Radish Relish, most ingredients are generally safe for pets in small amounts; however, avoid giving them onions and garlic, as they can be harmful to dogs. If you or your guests have allergies, be cautious and check for any specific ingredient allergies, especially with spices and vinegar options. Always customize the ingredients to suit your needs!
Zesty Radish Relish: Elevate Your Sandwich Game Today
Ingredients
Equipment
Method
- Wash the radishes, red onion, and jalapeño under cold water. Slice thinly, about 1/8 inch.
- Transfer the sliced vegetables into a blender or food processor. Pulse until finely chopped but not puréed.
- In a stockpot, add the chopped vegetables, vinegar, sugar, garlic, salt, mustard seeds, celery seeds, and dill weed. Stir and bring to a gentle boil.
- Reduce heat to medium-low, simmering for about 10-12 minutes until thickened and radishes are tender.
- Remove from heat, cool for 5-10 minutes. Transfer to a clean, airtight jar.
- Seal jar and refrigerate for at least 24 hours to allow flavors to develop.